Introduction
This manual provides detailed instructions for the installation, operation, and maintenance of your Westek TM1627LP Digital Plug-in Countdown Lighting Timer. Please read this manual thoroughly before using the device to ensure proper function and safety. Keep this manual for future reference.
Safety Information
- For indoor use only. Do not expose to moisture or extreme temperatures.
- Do not exceed the maximum electrical rating of 15 Amps. Overloading the timer can cause damage or fire.
- Ensure the timer is securely plugged into a grounded electrical outlet.
- Do not disassemble or attempt to repair the timer. Refer all servicing to qualified personnel.
- Keep out of reach of children.
Product Overview
The Westek TM1627LP is a versatile digital timer designed to automate the control of your electrical devices. It features three grounded outlets, a clear digital display, and intuitive buttons for programming. Key functions include:
- Programmable up to 20 ON/OFF programs per week.
- Random function for enhanced security.
- Daylight Saving Time (DST) adjustment.
- Dusk-to-Dawn operation.
- Countdown timer function.
- Internal battery backup to retain settings during power outages.
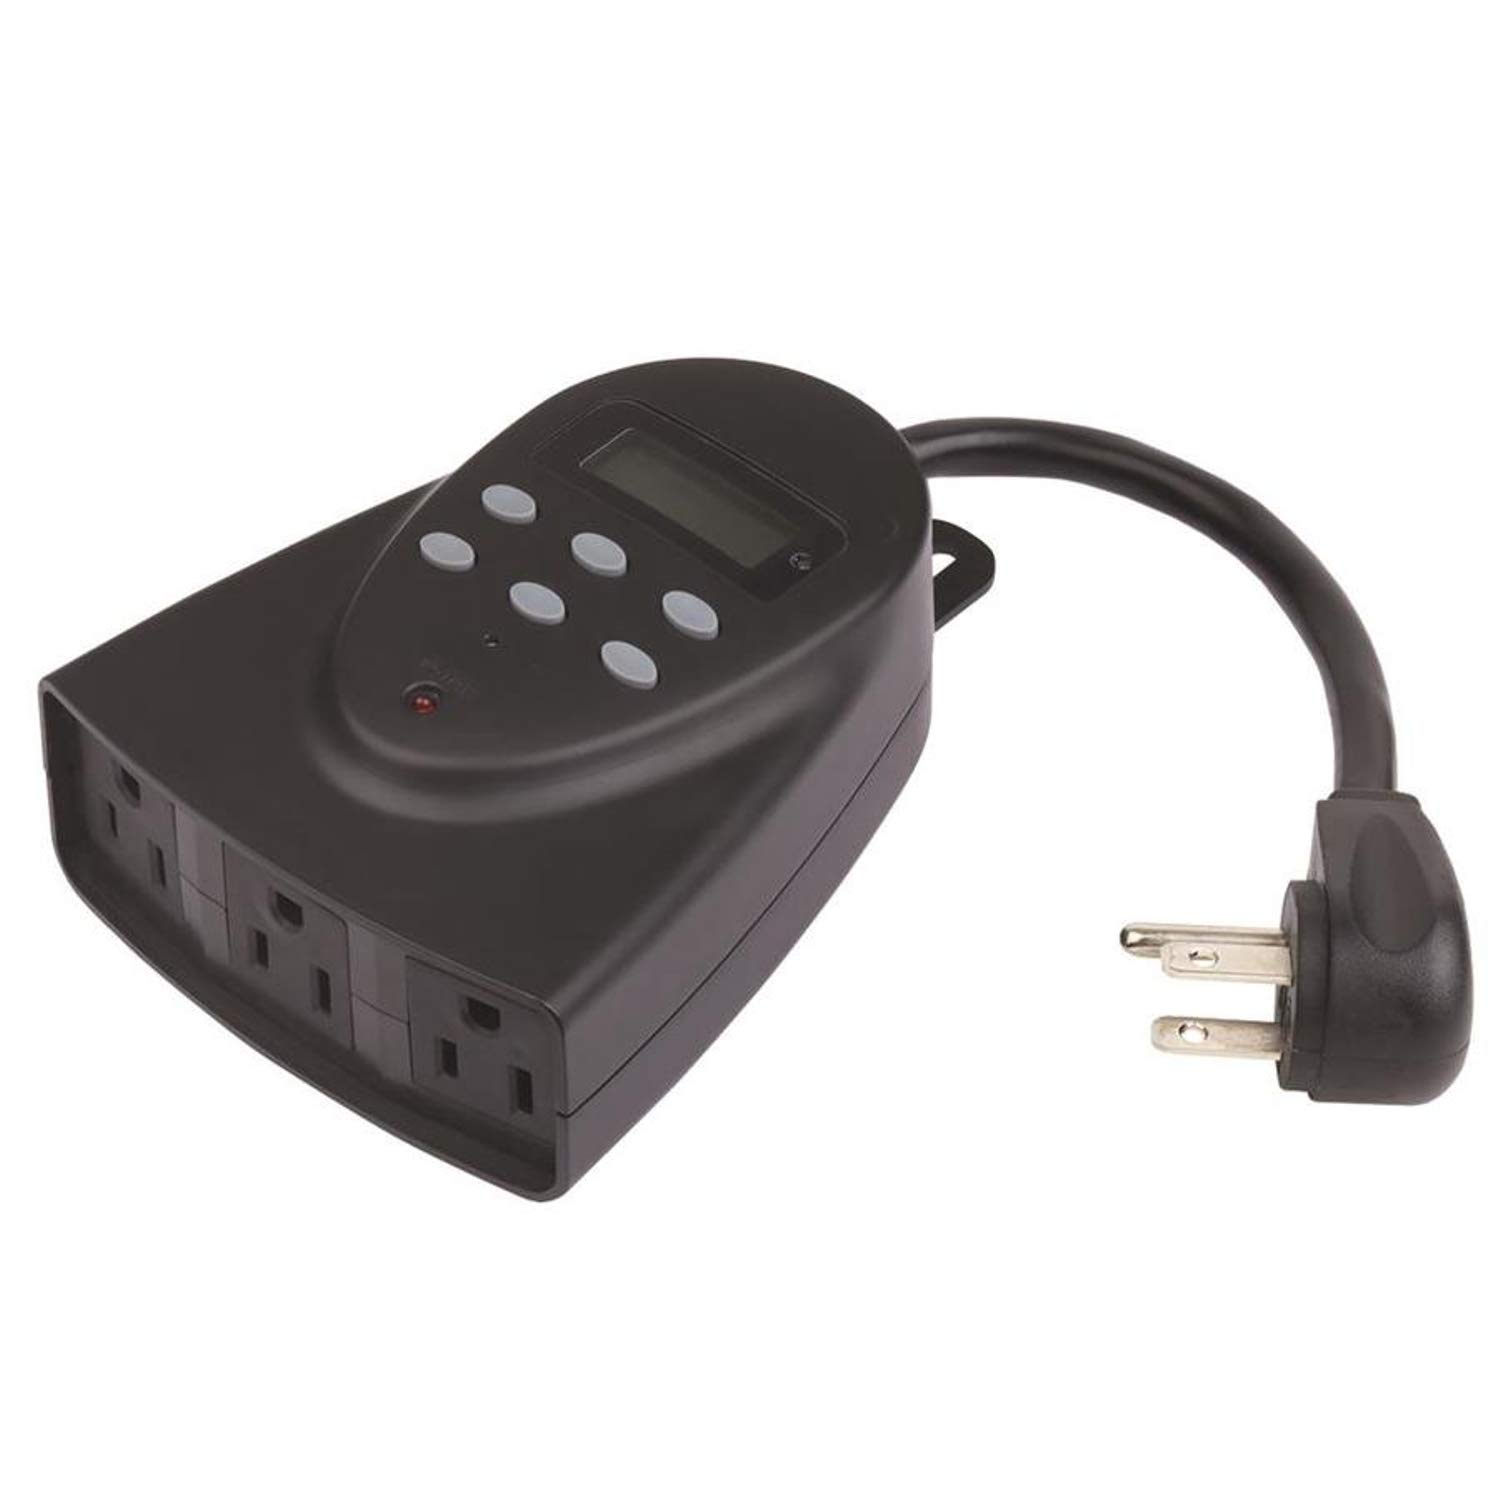
This image shows the front view of the Westek TM1627LP digital timer. It features a large digital display at the top, several control buttons below it, and three grounded electrical outlets on the bottom face. The timer is designed to plug directly into a wall outlet.
Setup
1. Initial Charging
Before first use, plug the timer into a live electrical outlet for at least 30 minutes to charge the internal battery backup. This ensures the display and settings are retained during power outages or when the timer is unplugged.
2. Setting Current Time and Day
- Press the CLOCK button. The display will show the current time.
- Use the HOUR and MINUTE buttons to adjust the time.
- Press the DAY button to cycle through the days of the week until the correct day is displayed.
- Press CLOCK again to save and exit.
3. Connecting Appliances
Plug your desired appliances into the three grounded outlets on the front of the timer. Ensure the total load does not exceed 15 Amps.
Operating Instructions
Programming ON/OFF Schedules
- Press the PROG button. The display will show "1 ON".
- Use the HOUR, MINUTE, and DAY buttons to set the desired ON time and day(s) for the first program.
- Press PROG again. The display will show "1 OFF".
- Use the HOUR, MINUTE, and DAY buttons to set the desired OFF time and day(s) for the first program.
- Repeat steps 1-4 for up to 20 ON/OFF programs.
- Press the CLOCK button to exit programming mode.
Countdown Function
- Press the COUNTDOWN button.
- Use the HOUR and MINUTE buttons to set the desired countdown duration.
- Press COUNTDOWN again to start the countdown. The timer will turn OFF after the set duration.
Random Function
To activate the random function, press the RANDOM button. The timer will turn connected devices ON and OFF at random intervals around your programmed times, providing a lived-in appearance for security purposes. Press RANDOM again to deactivate.
Daylight Saving Time (DST)
Press and hold the DST button for 3 seconds to toggle Daylight Saving Time ON or OFF. The clock will adjust automatically by one hour.
Dusk-to-Dawn Operation
The timer can be set to operate from dusk until dawn. Refer to the programming section for specific instructions on setting this mode, which typically involves selecting a specific program option or a dedicated button if available on your model (check the timer's face for a 'Dusk-to-Dawn' button or setting within the PROG menu).
Manual Override
Press the ON/OFF button to manually turn the connected devices ON or OFF, overriding any active programs. The timer will resume its programmed schedule at the next scheduled event.
Maintenance
The Westek TM1627LP timer requires minimal maintenance. To clean, wipe the exterior with a soft, dry cloth. Do not use abrasive cleaners or immerse the unit in water. There are no user-serviceable parts inside.
Troubleshooting
- Display is blank or unresponsive: Ensure the timer is plugged into a live outlet. Allow at least 30 minutes for the internal battery to charge. If the issue persists, try pressing the RESET button (usually a small recessed button requiring a paperclip).
- Timer not turning devices ON/OFF:
- Verify that the timer is receiving power from the wall outlet.
- Check that the connected device is properly plugged into the timer and is functional.
- Review your programmed ON/OFF times to ensure they are set correctly.
- Ensure the timer is not in manual override mode.
- Programs not saving: Ensure the internal battery backup is sufficiently charged. If programs are lost after a power outage, the battery may need more charging time.
Specifications
- Model:
- TM1627LP (Manufacturer Model: 864604)
- Electrical Rating:
- 125V AC, 60Hz, 15A Resistive, 1875W
- Connector Type:
- Plug In
- Outlets:
- 3-way Grounded
- Item Dimensions (L x W x H):
- 6 x 6 x 2.5 inches
- Mounting Type:
- Plug In Mount
- Actuator Type:
- Push Button
- Item Weight:
- 0.4 Pounds
- UPC:
- 070686507636
Warranty and Support
For warranty information or technical support, please contact Westek customer service. Refer to the product packaging or the Westek website for current contact details.


