1. Introduction
The STANLEY 10 Gallon Wet Dry Vacuum, Model SL18701P-10A, is a versatile and powerful cleaning tool designed for various tasks in your home, garage, workshop, or job site. With its 6 Peak HP motor and 10-gallon poly tank, it efficiently handles wet spills, dry debris, and can even function as a blower. This manual provides essential information for safe operation, assembly, maintenance, and troubleshooting to ensure optimal performance and longevity of your vacuum.

Image: The STANLEY 10 Gallon Wet Dry Vacuum, showcasing its main components and design.
2. Safety Information
WARNING: Read all safety warnings and all instructions before using this product. Failure to follow the warnings and instructions may result in electric shock, fire, and/or serious injury.
- Always unplug the vacuum from the power outlet before performing any maintenance, cleaning, or assembly.
- Do not pick up flammable or combustible liquids, such as gasoline, or use in areas where they may be present.
- Do not pick up anything that is burning or smoking, such as cigarettes, matches, or hot ashes.
- Do not expose to rain or use in wet locations when operating as a dry vacuum.
- Keep hair, loose clothing, fingers, and all parts of body away from openings and moving parts.
- Use only as described in this manual. Use only manufacturer's recommended attachments.
- Do not allow to be used as a toy. Close attention is necessary when used by or near children.
3. Package Contents
Verify that all items listed below are included in your package:
- Stanley SL18701P-10A Wet Dry Vacuum Cleaner (1 unit)
- 1-7/8" x 6' Hose (1 unit)
- Extension Wands (2 pieces)
- Cartridge Filter (1 unit)
- Disposable Dust Bag (1 unit)
- Floor Nozzle (1 unit)
- Crevice Nozzle (1 unit)
- User Manual (this document)
- Foam Filter (1 unit)
- Garden Hose Adaptor (1 unit)
- Utility Nozzle (1 unit)
4. Assembly
Follow these steps to assemble your STANLEY Wet Dry Vacuum:
- Attach Casters: Insert the four casters into the caster feet on the bottom of the tank. Ensure they click securely into place for enhanced mobility.
- Secure Power Head: Place the power head assembly onto the tank, aligning the latches. Secure the power head by snapping the side latches into place.
- Connect Hose: Insert the larger end of the hose into the vacuum port on the front of the tank. Twist to secure if applicable.
- Attach Accessories: Connect the extension wands to the hose, then attach your desired nozzle (floor, utility, or crevice nozzle) to the end of the wands.
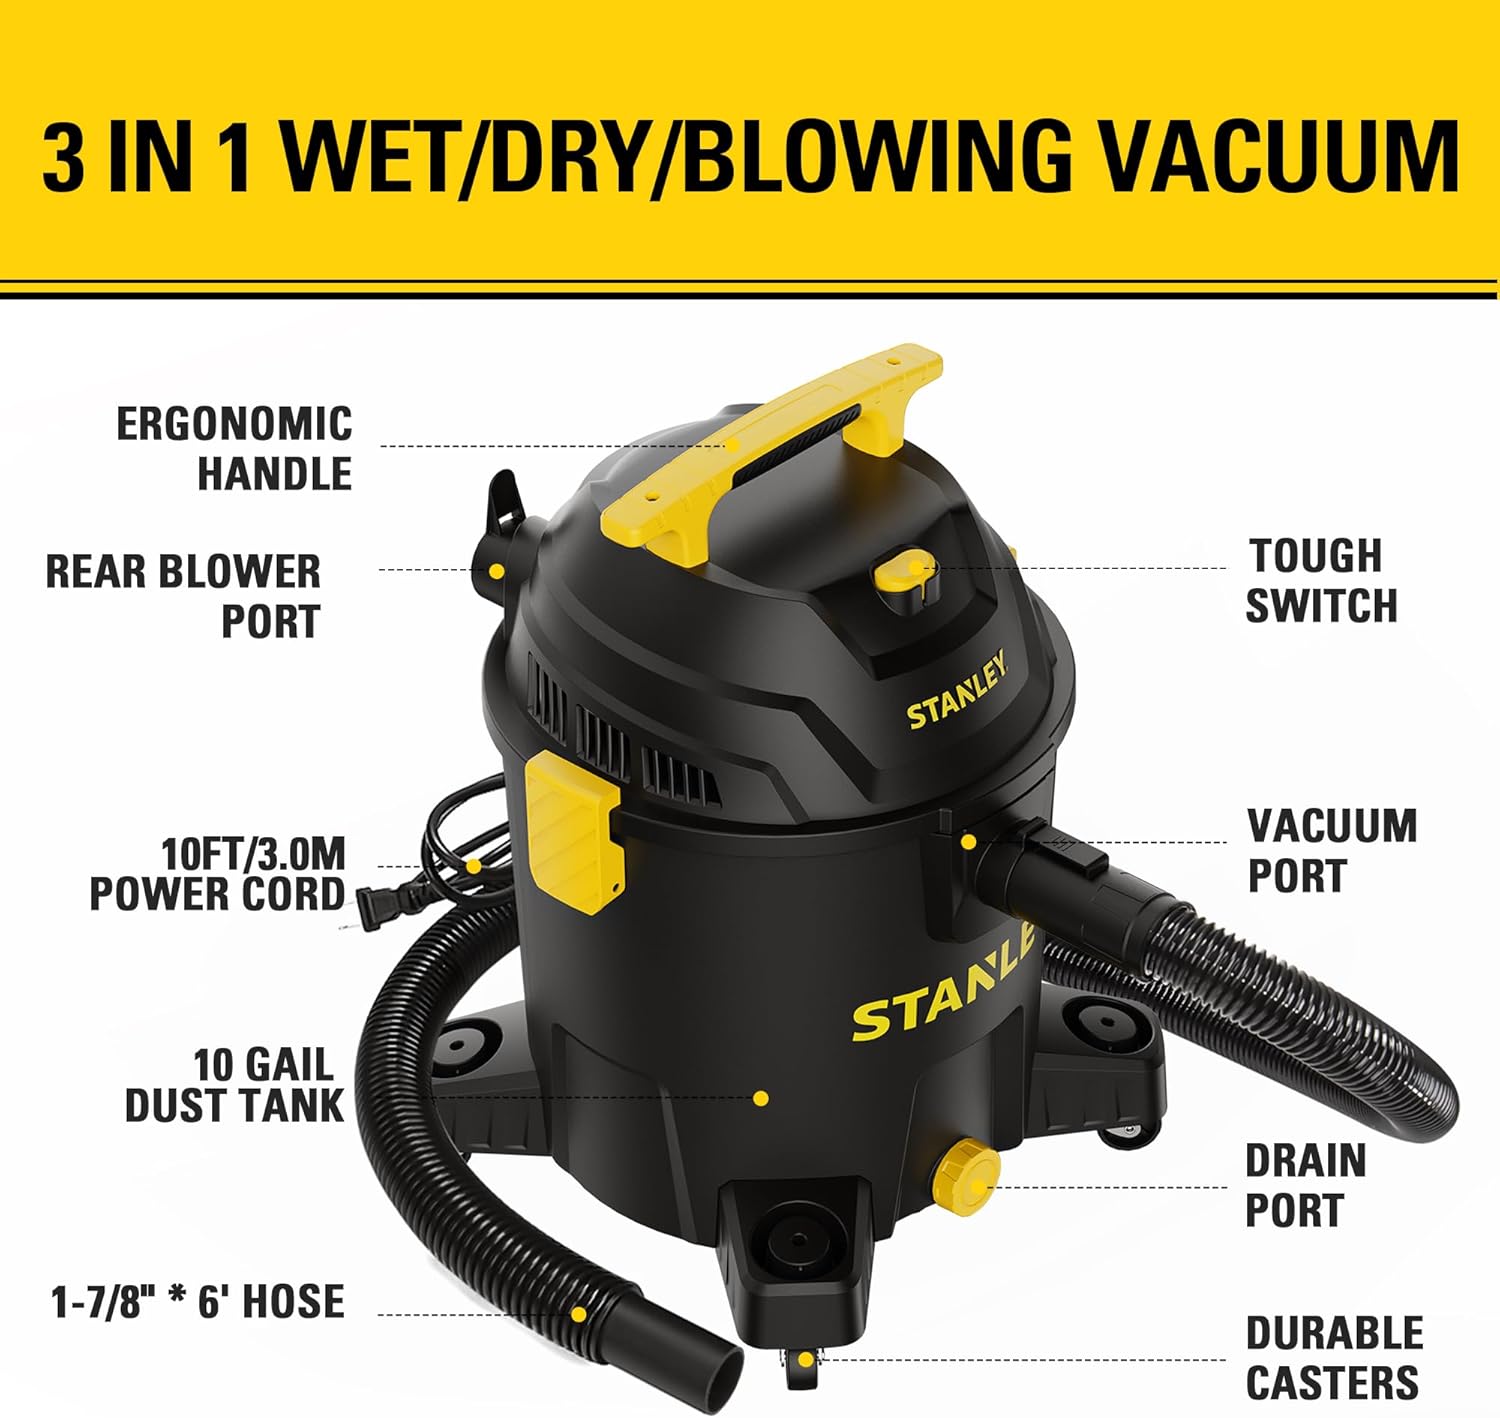
Image: Diagram illustrating the main components of the vacuum, including the ergonomic handle, rear blower port, power cord, dust tank, hose, drain port, and durable casters.
5. Setup
Proper setup ensures optimal performance for different cleaning tasks:
5.1. For Dry Vacuuming
- Ensure the cartridge filter is securely installed over the filter cage.
- For fine dust collection, it is recommended to install a disposable dust bag over the intake port inside the tank.
- Close the tank lid and secure the latches.
5.2. For Wet Vacuuming
- Remove the disposable dust bag (if installed) and the cartridge filter.
- Install the foam filter over the filter cage. This filter is designed for wet pickup and protects the motor from liquids.
- Ensure the drain plug at the bottom of the tank is securely closed.
- Close the tank lid and secure the latches.
6. Operating Instructions
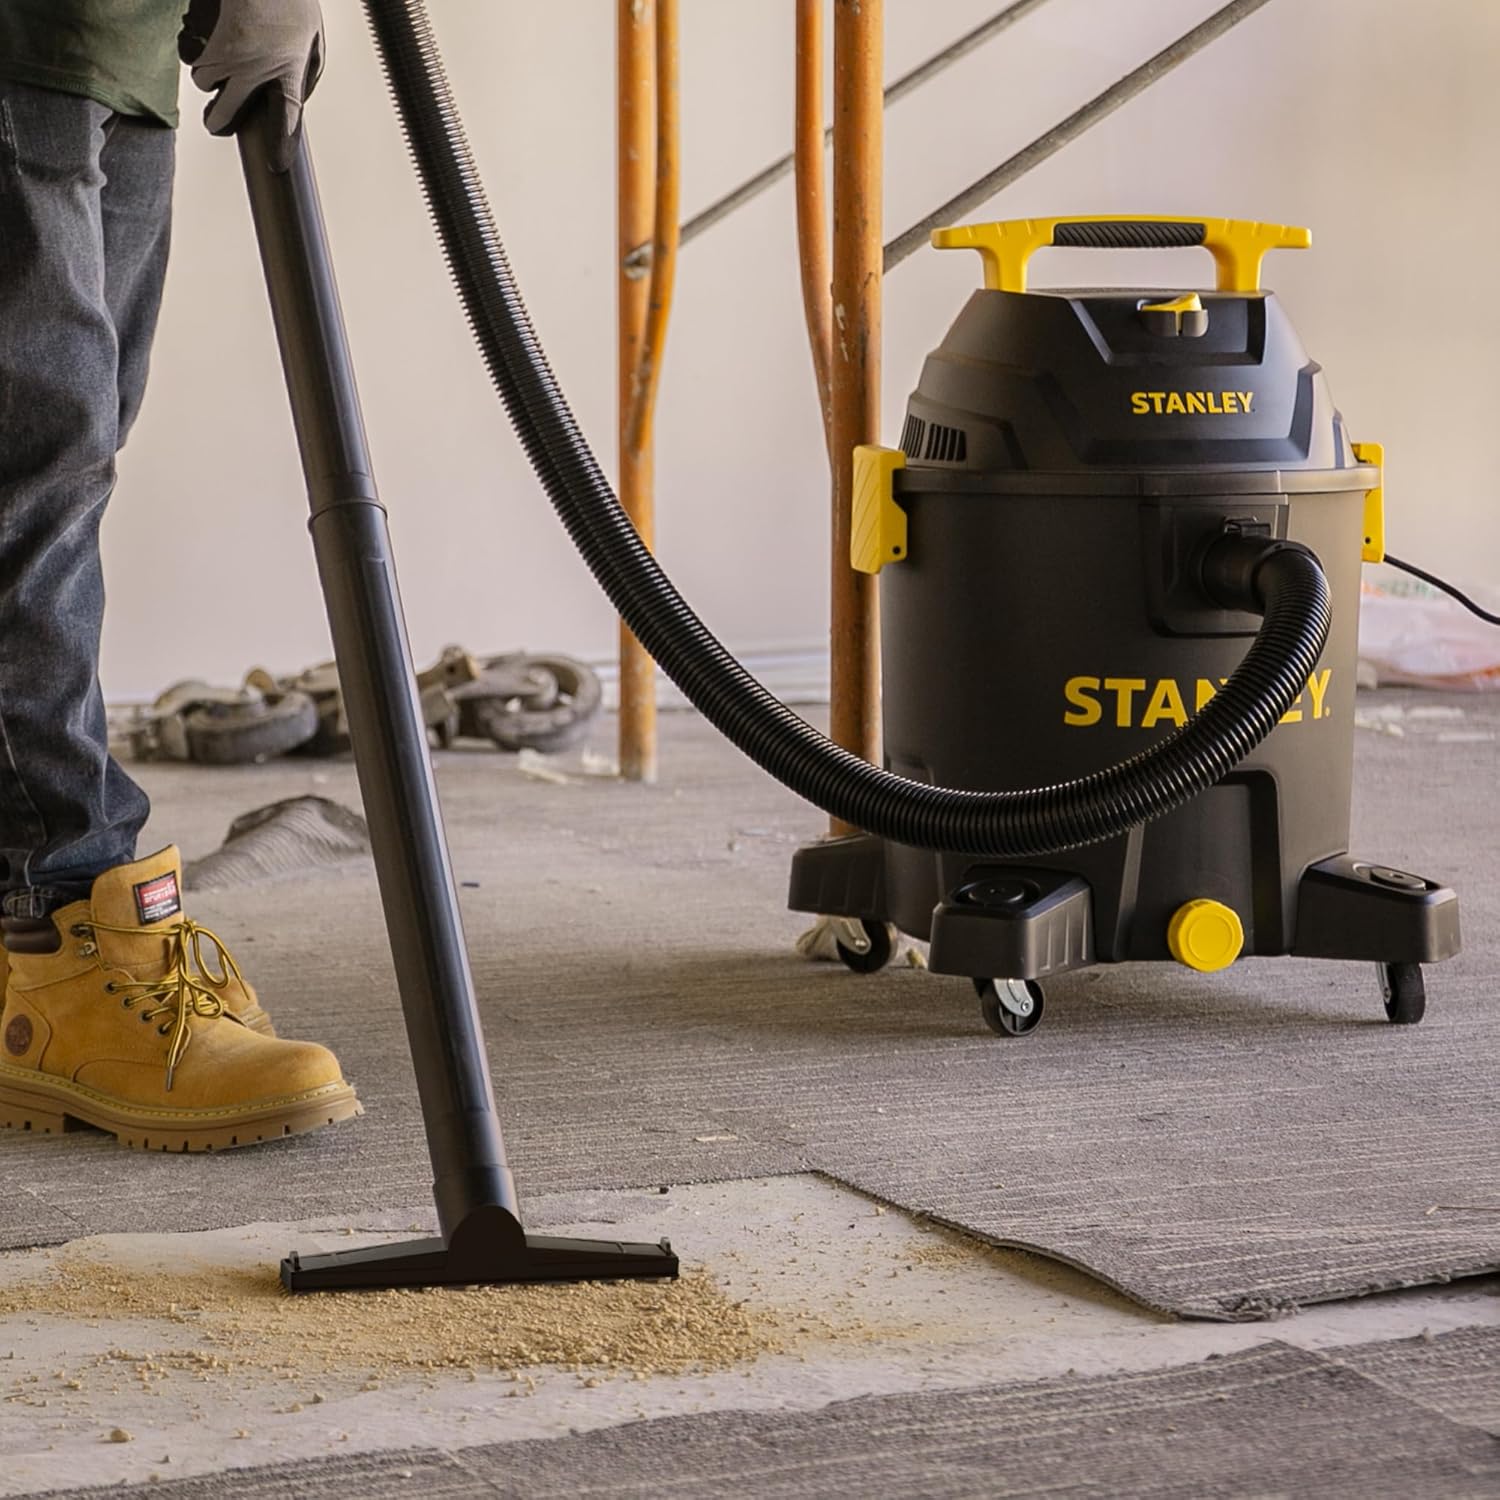
6.1. Dry Vacuuming
Connect the hose to the vacuum port on the front of the tank. Use the appropriate nozzle for your cleaning needs. The powerful suction is ideal for picking up pet hair, drywall dust, debris, and other dry messes.

Image: A person using the Stanley Wet Dry Vacuum with the floor nozzle to clean dry debris from a carpeted surface.
6.2. Wet Vacuuming
With the foam filter installed, connect the hose to the vacuum port. Use the utility or floor nozzle to pick up liquids such as juice, milk, or other spills. The vacuum features a reliable buoy technology that automatically powers off the motor when the water level reaches its maximum capacity, preventing overflow.
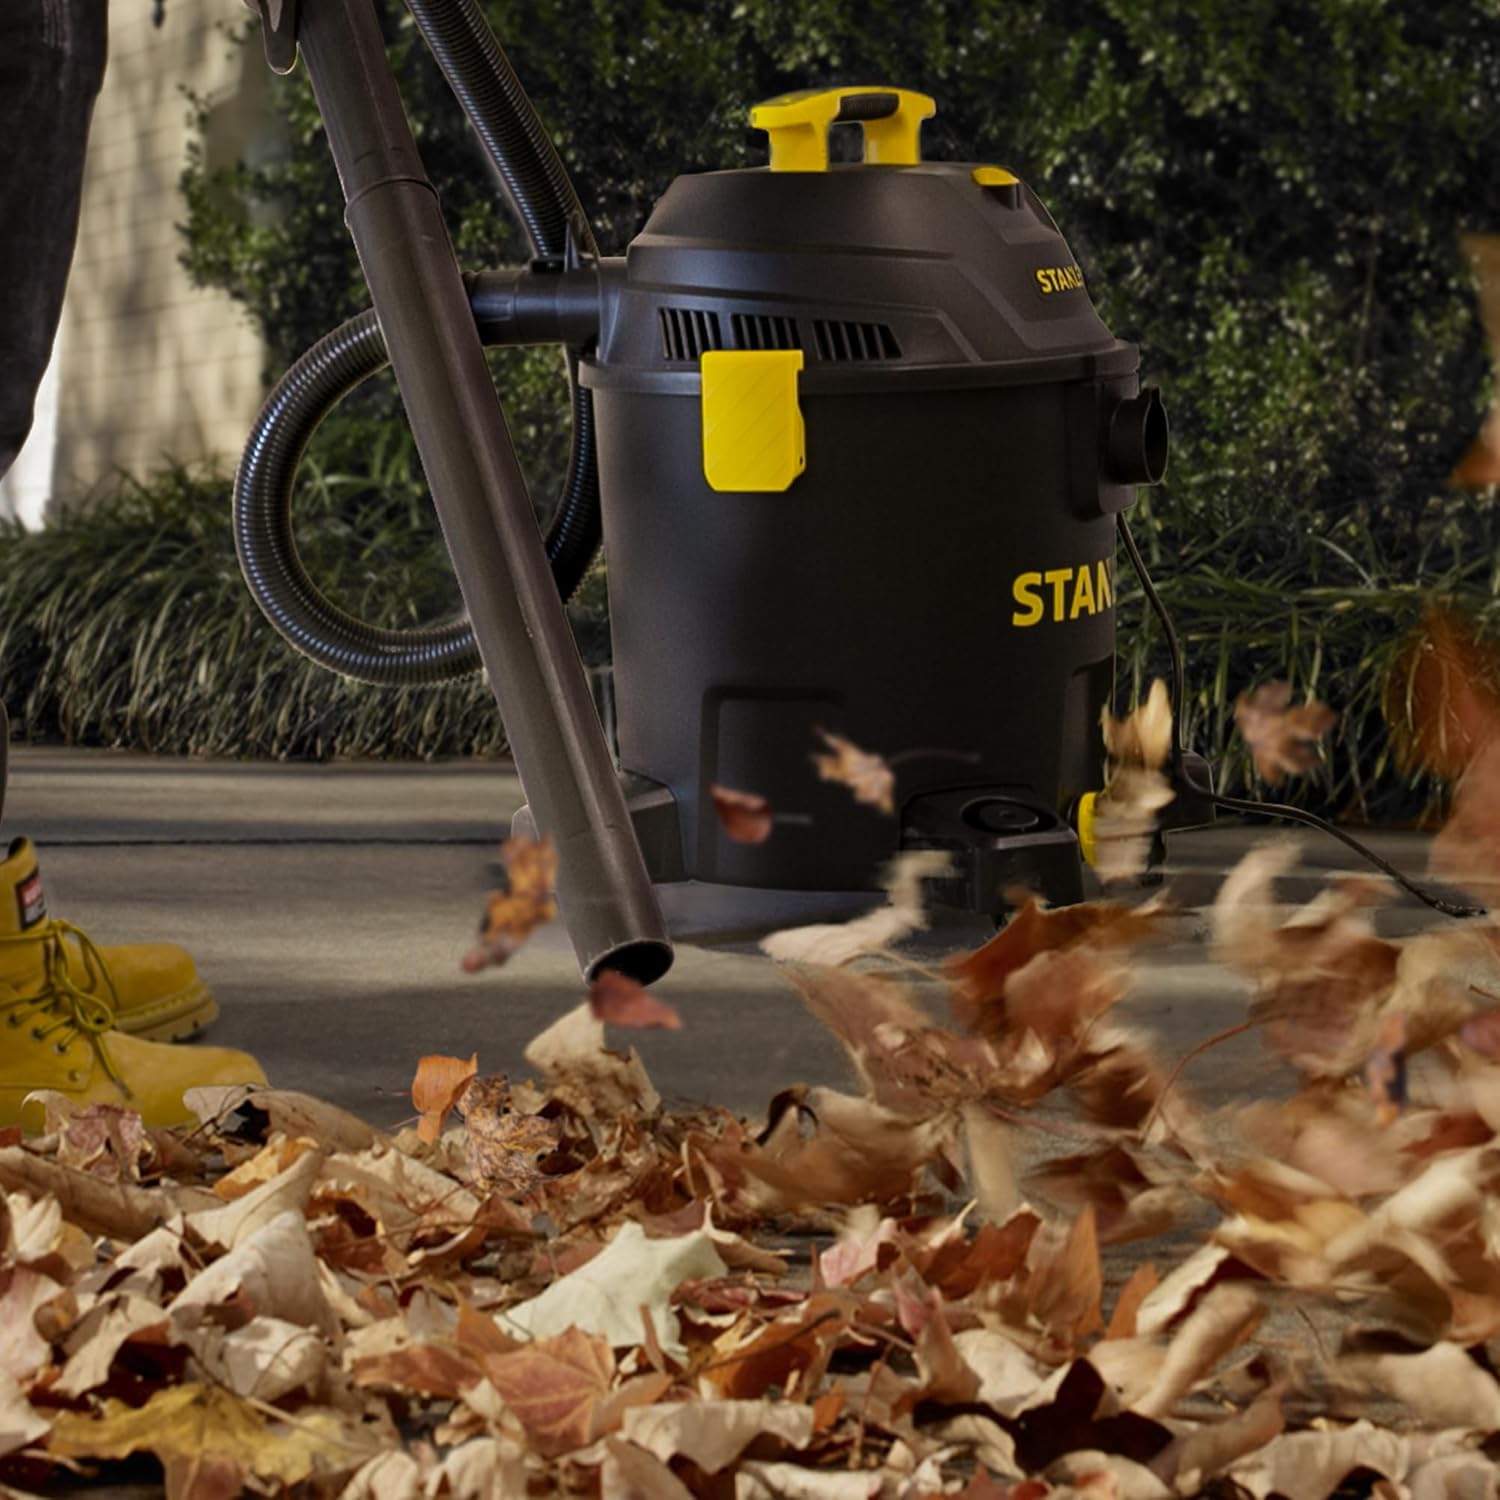
Image: A person using the Stanley Wet Dry Vacuum with the utility nozzle to clean a wet spill on a concrete floor.
6.3. Blower Function
To use the blower function, disconnect the hose from the vacuum port and connect it to the rear blower port. This feature is perfect for quickly drying wet surfaces, blowing away fallen leaves in yards, or clearing debris from driveways.

Image: A person using the Stanley Wet Dry Vacuum in blower mode to clear fallen leaves from a patio.
6.4. Nozzle Usage

Utility Nozzle: Ideal for general cleaning of larger areas and wet spills.
Floor Nozzle: Best for cleaning carpets, rugs, and hard floors.

Crevice Nozzle: Perfect for reaching tight spaces, corners, and crevices.
7. Maintenance
Regular maintenance extends the life and performance of your vacuum cleaner.
7.1. Filter Care
- Cartridge Filter (Dry Use): For optimal performance, clean the cartridge filter regularly by gently tapping it against a hard surface to dislodge debris. For thorough cleaning, you can rinse it with water, but ensure it is completely dry before reinstallation. Replace the filter when it is heavily soiled or damaged.
- Foam Filter (Wet Use): After wet vacuuming, remove the foam filter and rinse it thoroughly with water. Allow it to air dry completely before storing or using for subsequent wet pickup.
7.2. Tank Cleaning
- After each use, especially after wet vacuuming, empty the tank and rinse it with water to remove any residue or debris.
- For wet pickup, utilize the large drain port at the bottom of the tank to easily empty liquids.
- Wipe the interior and exterior of the tank with a damp cloth. Ensure the tank is dry before storing.
7.3. Accessory Care
- Clean all nozzles, wands, and the hose as needed to prevent clogs and maintain suction power.
- Store accessories in the on-board storage slots for convenience and to prevent loss.
8. Troubleshooting
If you encounter issues with your vacuum, refer to the table below for common problems and solutions:
| Problem | Possible Cause | Solution |
|---|---|---|
| Vacuum does not start | No power to outlet Power switch OFF Damaged power cord | Check circuit breaker/fuse Turn switch ON Contact customer support |
| Loss of suction | Hose or nozzle clogged Tank full Filter dirty or improperly installed Lid not sealed properly | Clear obstruction Empty tank Clean/reinstall filter Secure lid latches |
| Water leaking from tank | Drain plug open or loose Hose connection loose Tank damaged | Secure drain plug Tighten hose connection Contact customer support |
| Motor shuts off during wet pickup | Tank is full | Empty tank. This is a safety feature. |
9. Specifications
| Feature | Specification |
|---|---|
| Brand | STANLEY |
| Model Name | SL18701P-10A |
| Capacity | 10 Gallons |
| Motor Horsepower | 6 Peak HP |
| Special Feature | Waterproof, Wet/Dry, Blower Function |
| Filter Type | Cartridge, Foam |
| Hose Length | 6 feet (1.8 Meters) |
| Power Cord Length | 18 feet (approximate, based on feature bullets) |
| Product Dimensions | 16"L x 16"W x 19.9"H |
| Item Weight | 21.2 pounds |
| Noise Level | 80 dB |
| Number of Wheels | 4 |
| Material | Polypropylene |
| UPC | 871613008192 |
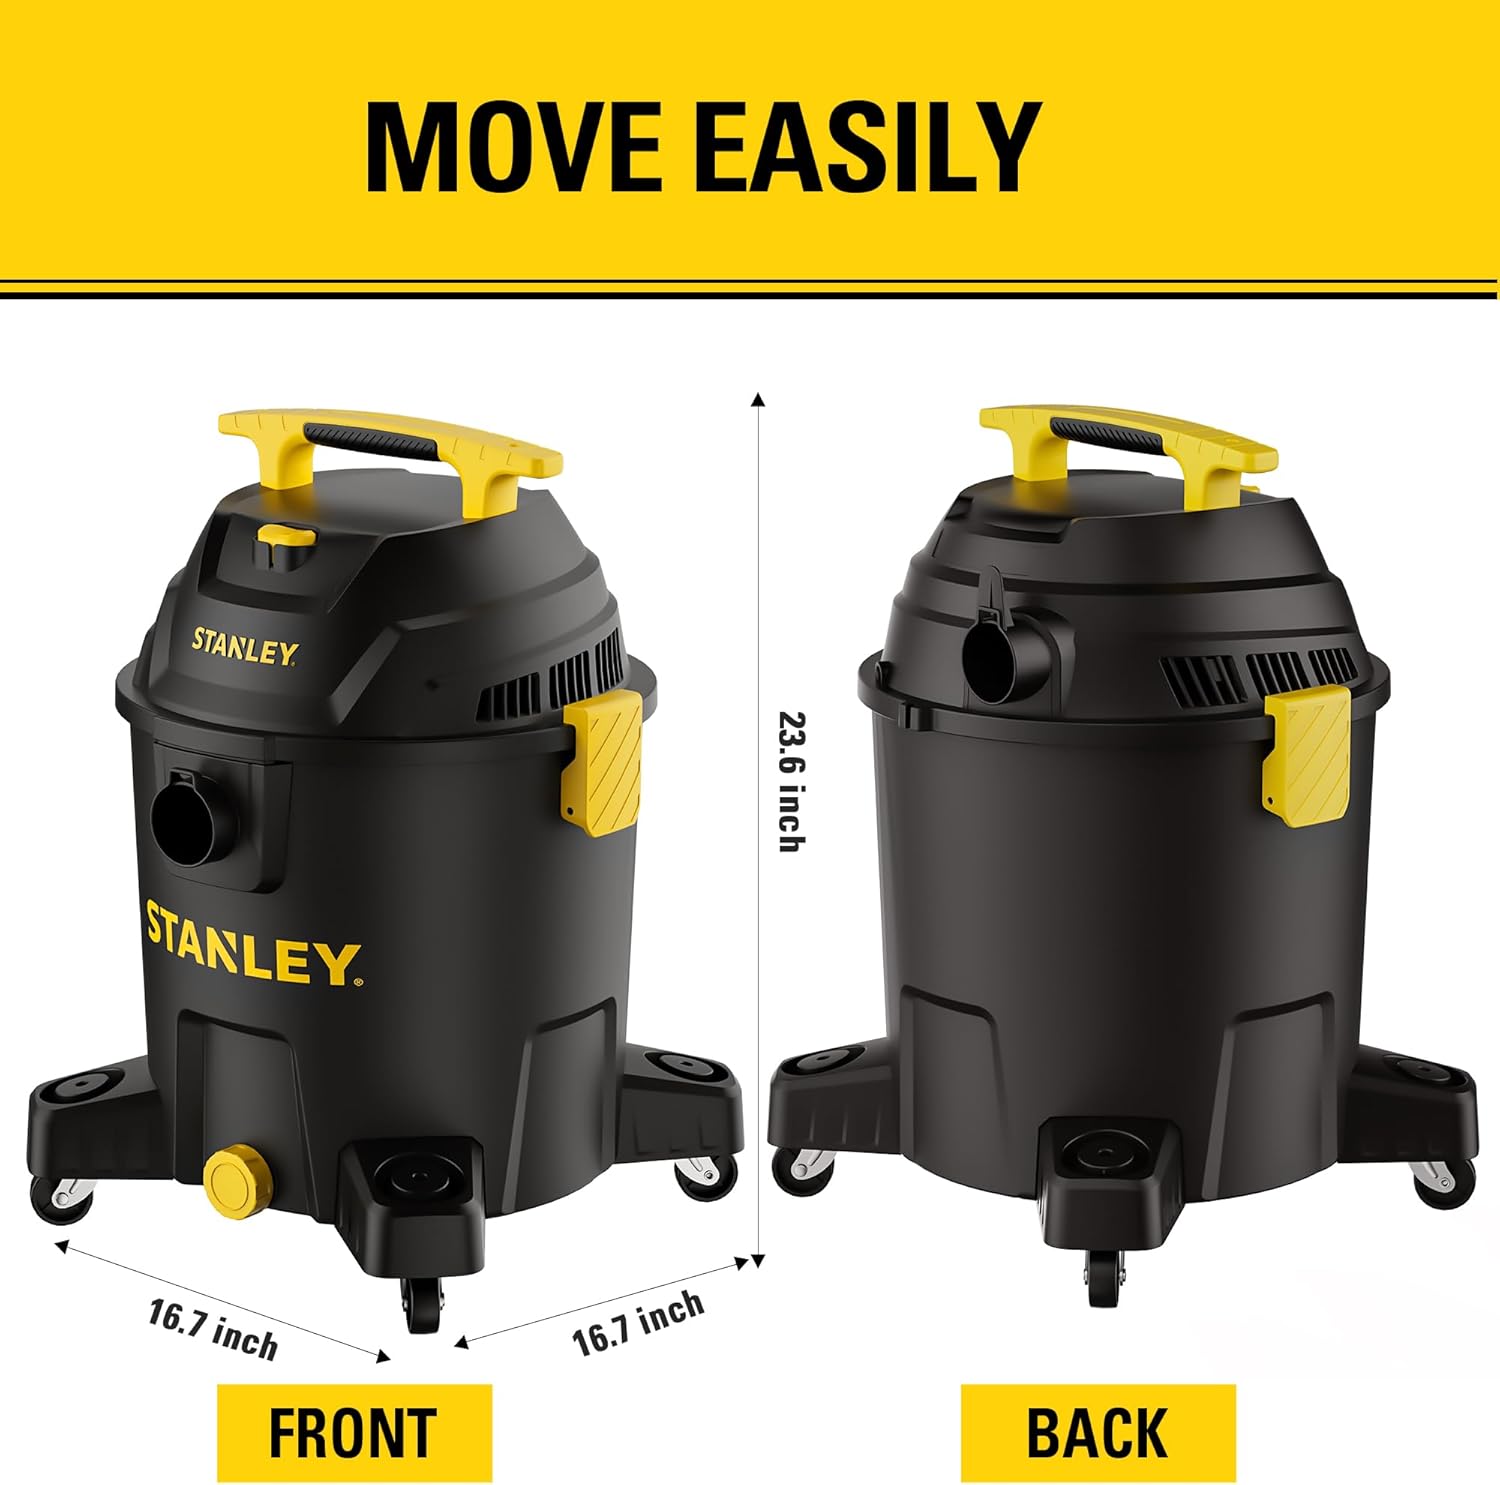
Image: Front and back views of the Stanley Wet Dry Vacuum with key dimensions (16.7 inches width, 23.6 inches height).
10. Warranty & Support
Your STANLEY 10 Gallon Wet Dry Vacuum is covered by a 2-year manufacturer limited warranty. Please retain your proof of purchase for warranty claims.
For further assistance, detailed instructions, or to download a PDF version of this user guide, please refer to the official user guide document: