Introduction
This manual provides comprehensive instructions for the setup, operation, and maintenance of your Pro-Ject Primary E turntable. Please read this manual carefully before using the product to ensure proper function and longevity. Keep this manual for future reference.
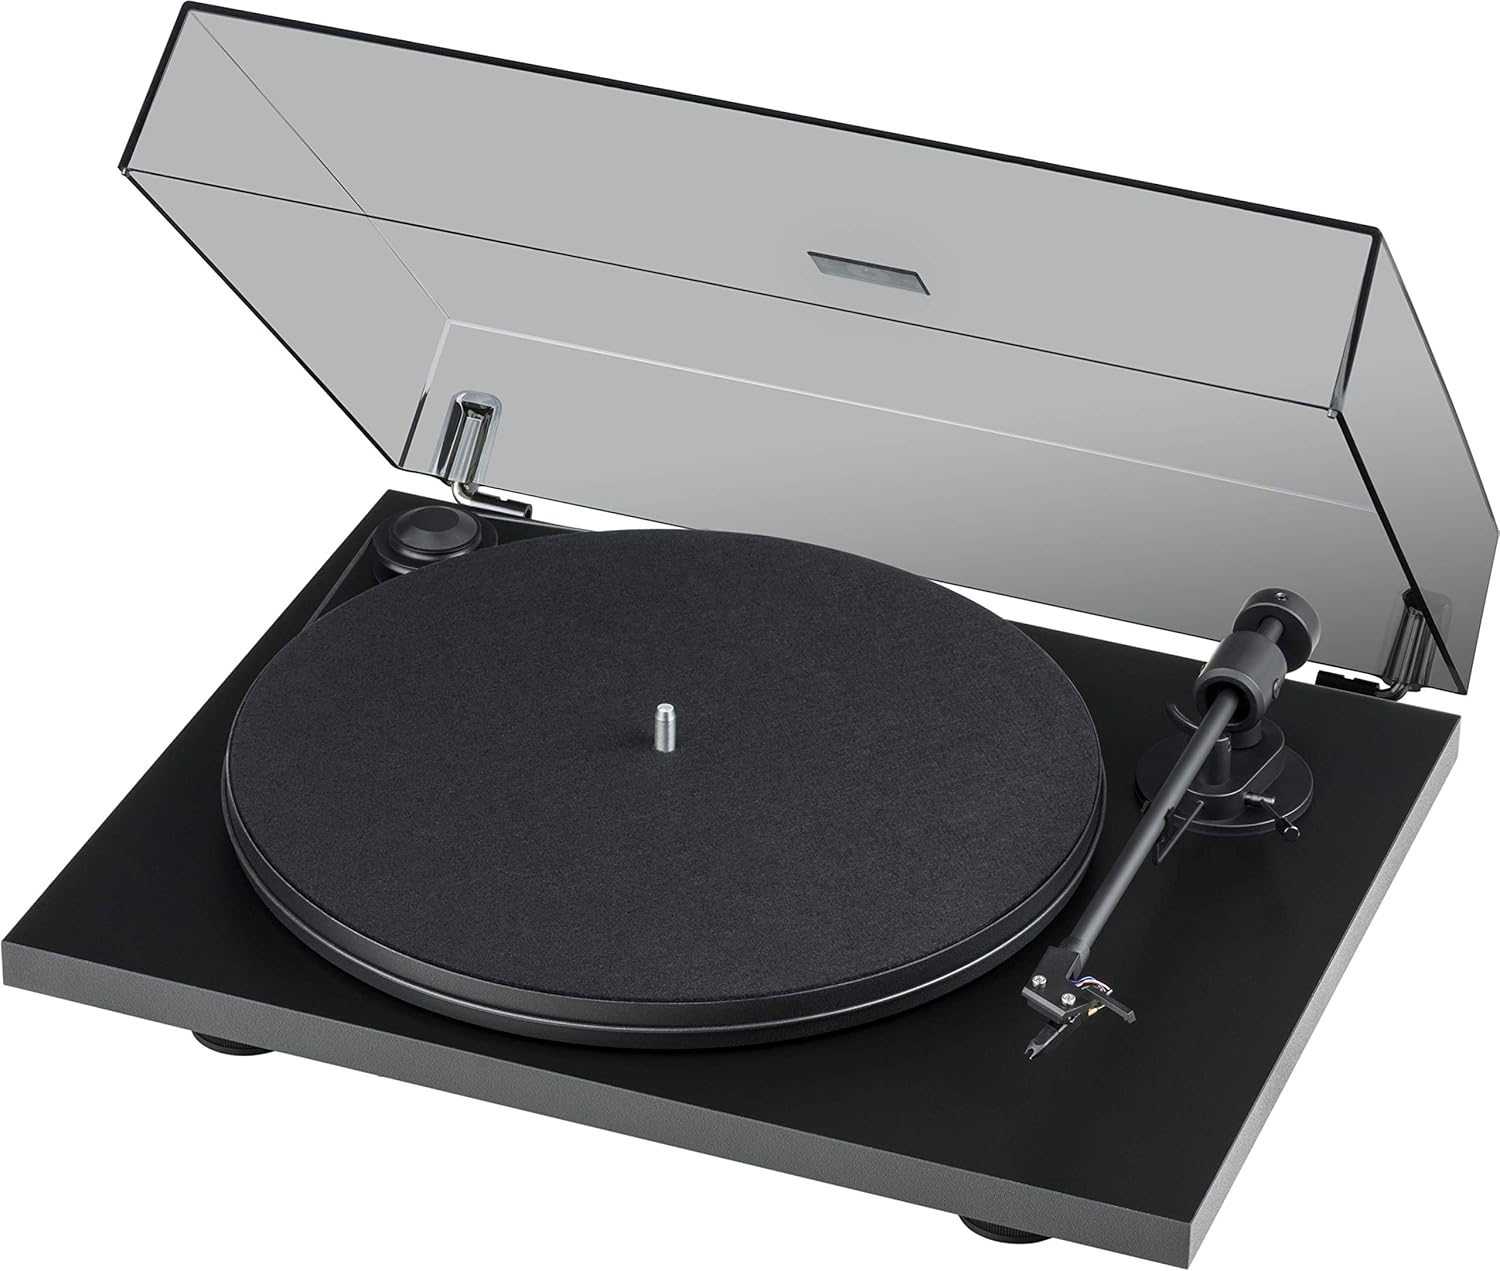
Figure 1: Pro-Ject Primary E Turntable with dust cover open, showcasing its matte black finish and minimalist design.
Important Safety Instructions
- Read these instructions.
- Keep these instructions.
- Heed all warnings.
- Follow all instructions.
- Do not use this apparatus near water.
- Clean only with dry cloth.
- Do not block any ventilation openings. Install in accordance with the manufacturer’s instructions.
- Do not install near any heat sources such as radiators, heat registers, stoves, or other apparatus (including amplifiers) that produce heat.
- Protect the power cord from being walked on or pinched, particularly at plugs, convenience receptacles, and the point where they exit from the apparatus.
- Only use attachments/accessories specified by the manufacturer.
- Unplug this apparatus during lightning storms or when unused for long periods of time.
- Refer all servicing to qualified service personnel. Servicing is required when the apparatus has been damaged in any way, such as power-supply cord or plug is damaged, liquid has been spilled or objects have fallen into the apparatus, the apparatus has been exposed to rain or moisture, does not operate normally, or has been dropped.
Setup
1. Unpacking and Contents Verification
Carefully unpack all components from the packaging. Retain the packaging for future transport or storage. Verify that all items listed below are present:
- Primary E Phono turntable with Ortofon OM cartridge
- Gold-plated RCA Phono Cable
- Felt mat
- Dust cover
- Adapter for 7-inch singles
- Power supply
- Allen key
- Stylus pressure gauge
2. Placement
Place the turntable on a stable, level surface, away from direct sunlight, heat sources, and excessive vibration. Ensure adequate ventilation around the unit.
3. Assembly
- Platter and Belt Installation:
Carefully place the platter onto the spindle. Locate the drive belt and stretch it around the motor pulley and the outer rim of the platter. Ensure the belt is seated correctly and not twisted.

Figure 2: Detailed view of the belt drive system, showing the belt correctly positioned around the motor pulley and platter.
- Cartridge and Tonearm Setup:
The Ortofon OM NN cartridge is pre-mounted and aligned. Ensure the stylus guard is removed before operation. The tonearm features an 8.6-inch aluminum design with sapphire bearings.

Figure 3: Close-up of the pre-mounted Ortofon OM NN cartridge and the tonearm, ready for playback.

Figure 4: View of the tonearm base, showing the cueing lever and anti-skate mechanism.
- Dust Cover Installation:
Attach the dust cover to the hinges at the rear of the turntable. The hinges are adjustable.

Figure 5: The turntable base without the dust cover, illustrating the points where the dust cover hinges attach.
4. Connections
- Audio Connection: Connect the supplied gold-plated RCA phono cable from the turntable's output to the phono input of your amplifier or phono preamplifier. Ensure correct left and right channel connections.
- Power Connection: Connect the power supply to the DC input on the turntable and then plug it into a suitable wall outlet.
Operating Instructions
1. Power On/Off
The turntable is powered on by connecting the power supply. There is no separate power switch. To turn off, disconnect the power supply.
2. Speed Selection
The Primary E supports 33 1/3 and 45 RPM playback. To change speed, manually move the drive belt to the appropriate step on the motor pulley. The larger diameter step is for 33 1/3 RPM, and the smaller diameter step is for 45 RPM.
3. Playing a Record
- Place a record on the platter, ensuring it is centered.
- If using a 7-inch single, place the adapter on the spindle first.
- Lift the tonearm using the cueing lever.
- Carefully position the tonearm over the desired starting groove of the record.
- Gently lower the tonearm using the cueing lever. The stylus will descend onto the record and playback will begin.
4. Stopping Playback
- Lift the tonearm using the cueing lever.
- Return the tonearm to its rest.
- Gently lower the cueing lever to secure the tonearm.
- Remove the record from the platter.
Maintenance
1. Cleaning
- Dust Cover: Clean the dust cover with a soft, damp cloth. Avoid abrasive cleaners.
- Turntable Chassis: Wipe the matte black chassis with a soft, dry cloth. Do not use chemical cleaners.
- Stylus: Use a dedicated stylus brush to gently clean the stylus from back to front. Clean regularly to prevent debris buildup.
- Records: Keep your records clean using a record brush or cleaning solution to minimize dust and static.
2. Belt Replacement
Over time, the drive belt may stretch or degrade, affecting speed stability. If you notice inconsistent speed or the belt slipping, it may be time for a replacement. Contact Pro-Ject support or an authorized dealer for genuine replacement belts.
3. Cartridge and Stylus Care
The stylus is a delicate component. Avoid touching it with your fingers. If the stylus becomes bent or damaged, it will need to be replaced. The Ortofon OM NN cartridge allows for stylus replacement without replacing the entire cartridge body.
Troubleshooting
If you encounter issues with your turntable, consult the following table before contacting support.
| Problem | Possible Cause | Solution |
|---|---|---|
| No sound from one or both channels. |
|
|
| Distorted or unclear sound. |
|
|
| Turntable speed is incorrect (too fast/slow). |
|
|
| Record skipping. |
|
|
Specifications
- Model: Primary E (OM NN) - Matte Black
- Brand: Pro-Ject
- Product Dimensions: 16.54 x 12.99 x 4.41 inches (42 x 33 x 11.2 cm)
- Item Weight: 11.5 pounds (5.2 kg)
- Material: Composite Fiber, Stainless Steel, Brass, Aluminum
- Tonearm: 8.6-inch aluminum tonearm with sapphire bearings
- Drive System: Belt-drive with synchronous motor
- Cartridge: Ortofon OM NN phono cartridge (pre-mounted)
- Speeds: 33 1/3, 45 RPM (manual speed change)
- Features: Vibration absorbing feet, machined special composite fiber chassis, elegant dust cover with adjustable hinges.
- Power Consumption (On-mode): 4.50 watts
- Included Components: Primary E Phono with Ortofon OM cartridge, Gold-plated RCA Phono Cable, Felt mat, Dust cover, Adapter for 7-inch singles, Power supply, Allen key, Stylus pressure gauge.
Warranty and Support
Warranty Information
Pro-Ject Audio Systems products are manufactured to the highest quality standards. For specific warranty terms and conditions, please refer to the warranty card included with your product or visit the official Pro-Ject Audio Systems website. Keep your proof of purchase for warranty claims.
Customer Support
For technical assistance, troubleshooting beyond this manual, or inquiries about replacement parts, please contact Pro-Ject Audio Systems customer support or your authorized dealer. You can find more information and contact details on the official Pro-Ject website: Visit the Pro-Ject Store on Amazon or search for the official Pro-Ject Audio Systems website.


