1. Introduction
This instruction manual provides detailed guidance for the installation, operation, and maintenance of the Dyson Genuine DC40 Upright Vacuum Cleaner Change Over Valve Hose (Part Number 922625-03). This component is essential for maintaining optimal suction and functionality in your Dyson DC40 series upright vacuum cleaner. Please read this manual thoroughly before attempting any installation or repair to ensure proper function and safety.
2. Safety Information
Always observe the following safety precautions when handling or installing vacuum cleaner parts:
- Disconnect Power: Always unplug the vacuum cleaner from the electrical outlet before performing any maintenance, installation, or troubleshooting.
- Wear Protective Gear: Consider wearing gloves to protect your hands during installation.
- Handle with Care: Components may have sharp edges or small parts. Handle with care to avoid injury.
- Genuine Parts: Use only genuine Dyson replacement parts to ensure compatibility and maintain product performance and warranty.
- Keep Away from Children: Store replacement parts and tools out of reach of children.
- Professional Assistance: If you are unsure about any step, consult a qualified technician or Dyson customer support.
3. Product Overview
The Dyson Genuine DC40 Change Over Valve Hose (Part 922625-03) is a critical internal component of your Dyson DC40 upright vacuum cleaner. It facilitates the redirection of airflow between the main cleaner head and the accessory tools, ensuring consistent suction performance across different cleaning modes. This hose is designed for durability and precise fit within the vacuum's ball mechanism.

Figure 1: Front view of the Dyson DC40 Change Over Valve Hose. This image shows the hose with its grey and black connectors, highlighting the corrugated transparent section.
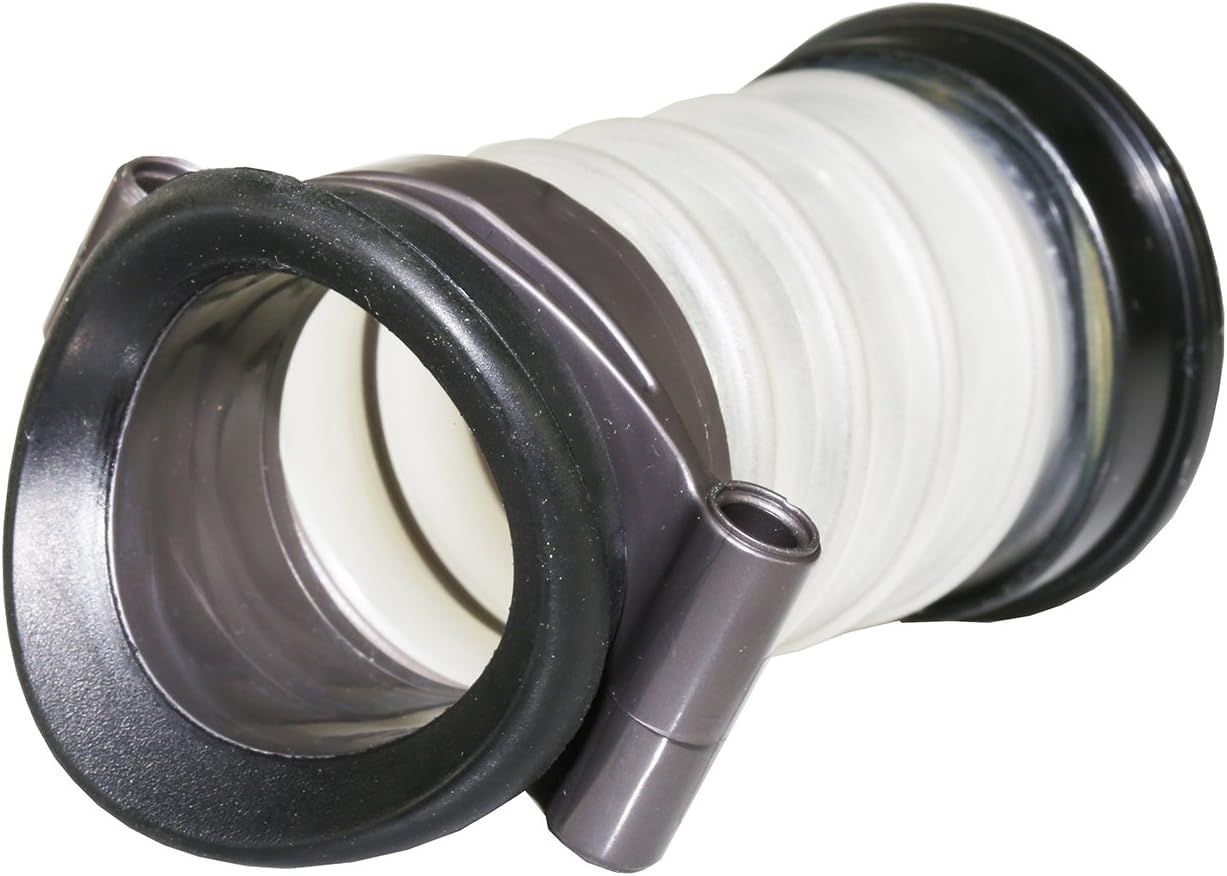
Figure 2: Angled view of the Dyson DC40 Change Over Valve Hose, showing the connection points and the flexible hose material. The grey plastic components are visible.

Figure 3: Side profile of the Dyson DC40 Change Over Valve Hose, illustrating its compact, accordion-like design. This view emphasizes the length and flexibility of the hose.

Figure 4: Another side view of the Dyson DC40 Change Over Valve Hose, showing the attachment clips and the overall structure. This perspective helps in understanding how the hose connects within the vacuum.
4. Compatibility
This genuine Dyson Change Over Valve Hose (Part Number 922625-03) is compatible with the following Dyson DC40 series upright vacuum cleaner models:
- Dyson DC40
- Dyson DC40 Animal
- Dyson DC40 ERP
- Dyson DC40 Multi Floor
- Dyson DC40 Multi Floor Complete
Ensure your vacuum cleaner model is listed above before proceeding with installation.
5. Installation Guide
Replacing the change over valve hose requires careful disassembly and reassembly of parts within the vacuum's ball mechanism. It is recommended to consult a visual guide, such as a repair video, if you are unfamiliar with internal vacuum repairs. Tools typically required include Torx screwdrivers.
- Prepare the Vacuum:
- Unplug the Dyson DC40 vacuum cleaner from the power outlet.
- Lay the vacuum flat on a clean, stable surface, preferably with the cleaner head facing upwards.
- Access the Ball Mechanism:
- Locate and remove the screws securing the outer casing of the ball mechanism. These are typically Torx screws.
- Carefully separate the two halves of the ball casing to expose the internal components.
- Locate the Old Hose:
- Identify the existing change over valve hose. It is usually a flexible, corrugated hose connecting different sections within the ball.
- Note its orientation and how it connects to the various ports.
- Remove the Old Hose:
- Gently disconnect the ends of the old hose from their respective ports. This may involve releasing clips or carefully pulling the hose ends off.
- Remove the entire old hose from the vacuum.
- Install the New Hose:
- Take the new Dyson Genuine DC40 Change Over Valve Hose.
- Carefully connect one end of the new hose to its corresponding port, ensuring a secure and airtight fit.
- Route the hose correctly within the ball mechanism, matching the path of the old hose.
- Connect the other end of the hose to its port, again ensuring a tight seal.
- Verify that the hose is not kinked or pinched and that all connections are firm.
- Reassemble the Vacuum:
- Carefully align and reattach the two halves of the ball casing. Ensure no wires or other components are pinched.
- Replace all screws and tighten them securely, but do not overtighten.
- Ensure all external covers and components are properly reattached.
- Test Functionality:
- Plug the vacuum cleaner back into the power outlet.
- Turn on the vacuum and test both the main cleaner head and the accessory tools to ensure proper suction and airflow redirection.
- Listen for any unusual noises or air leaks.
If you encounter difficulties, online video tutorials specific to Dyson DC40 hose replacement can provide additional visual guidance.
6. Operation
Once the new change over valve hose is correctly installed, your Dyson DC40 vacuum cleaner should operate as intended, providing efficient suction for both floor cleaning and when using attachments. The hose automatically redirects airflow when you switch between the main cleaner head and the wand/accessory tools. No specific operational steps are required for the hose itself beyond ensuring it is properly installed.
7. Maintenance
The change over valve hose is designed for durability, but periodic inspection can help prolong its lifespan and maintain vacuum performance:
- Visual Inspection: Periodically inspect the hose for any signs of wear, cracks, tears, or punctures. If accessible, check the internal hose for damage.
- Check Connections: Ensure that the hose connections remain secure and airtight. Loose connections can lead to a loss of suction.
- Clear Blockages: If you experience a sudden loss of suction, check for blockages within the hose. Disconnect the hose (following safety guidelines) and clear any debris.
- Cleaning: The hose generally does not require cleaning. If it becomes excessively dirty, wipe the exterior with a damp cloth. Do not immerse the hose in water.
8. Troubleshooting
If you experience issues after installing the new change over valve hose, refer to the table below for common problems and solutions:
| Problem | Possible Cause | Solution |
|---|---|---|
| Loss of suction | Hose not securely connected; hose kinked or pinched; blockage in hose. | Ensure both ends of the hose are firmly attached. Check for proper routing and clear any visible blockages. |
| Air leaks | Improperly seated hose connections; damaged hose. | Re-check all connections for a tight seal. Inspect the hose for any tears or holes. If damaged, replace the hose. |
| Vacuum not switching between modes (floor/tools) | Hose incorrectly installed or obstructed; issue with the change over valve mechanism itself. | Verify the hose is installed correctly and not impeding the valve's movement. If the problem persists, the valve mechanism may require further inspection or professional service. |
9. Specifications
| Feature | Detail |
|---|---|
| Part Number | 922625-03 |
| Compatibility | Dyson DC40, DC40 Animal, DC40 ERP, DC40 Multi Floor, DC40 Multi Floor Complete |
| Material | Plastic |
| Color | Gray |
| Item Weight | 0.634 ounces |
| Item Length | 84 Inches (approximate, as per product data) |
| Manufacturer | Dyson |
10. Warranty and Support
As a genuine Dyson part, this change over valve hose is covered by Dyson's standard warranty for replacement parts. For specific warranty details, claims, or technical support, please refer to your original Dyson vacuum cleaner documentation or visit the official Dyson support website.
Dyson Official Website: www.dyson.com/support
Using non-genuine parts may void your vacuum cleaner's warranty and could affect its performance and safety.


