
1. Introduction
Thank you for choosing the Pro Breeze Portable Oil-Filled Radiator, Model PB-H05. This manual provides important information regarding the safe operation, installation, maintenance, and troubleshooting of your new appliance. Please read this manual thoroughly before use and retain it for future reference.

Image 1: Pro Breeze Portable Oil-Filled Radiator (Model PB-H05) showing its full design with control panel and wheels.
2. Safety Instructions
To reduce the risk of fire, electric shock, or injury, always observe basic safety precautions when using this appliance.
- Overheat Protection: The radiator is equipped with an integrated overheat protection system that automatically shuts off the unit if it becomes too hot.
- Tip-Over Switch: An automatic tip-over switch will instantly turn off the radiator if it is accidentally knocked over.
- Always place the radiator on a firm, level surface.
- Do not cover the radiator or obstruct its air vents.
- Keep flammable materials at least 1 meter (3 feet) away from the radiator.
- Do not use in bathrooms, laundry areas, or similar indoor locations where water may be present.
- Unplug the radiator when not in use.
- Do not operate with a damaged cord or plug.
- This appliance is for indoor use only.

Image 2: Illustration of the radiator's tip-over safety feature, showing the unit automatically shutting off if tilted.
3. Product Features
- 8 Oil-Filled Elements: Efficiently heats small to medium-sized rooms up to 28m².
- 3 Heat Settings: Select from 800W, 1200W, or 2000W power levels.
- Adjustable Thermostat: Maintain your desired room temperature.
- 24-Hour Timer: Program the radiator to turn on or off automatically.
- Chimney Effect Design: Accelerates hot air circulation for rapid heating.
- Portable Design: Pre-assembled with 4 swivel casters and carry handles for easy movement.
- Safety Features: Integrated overheat protection and tip-over switch.
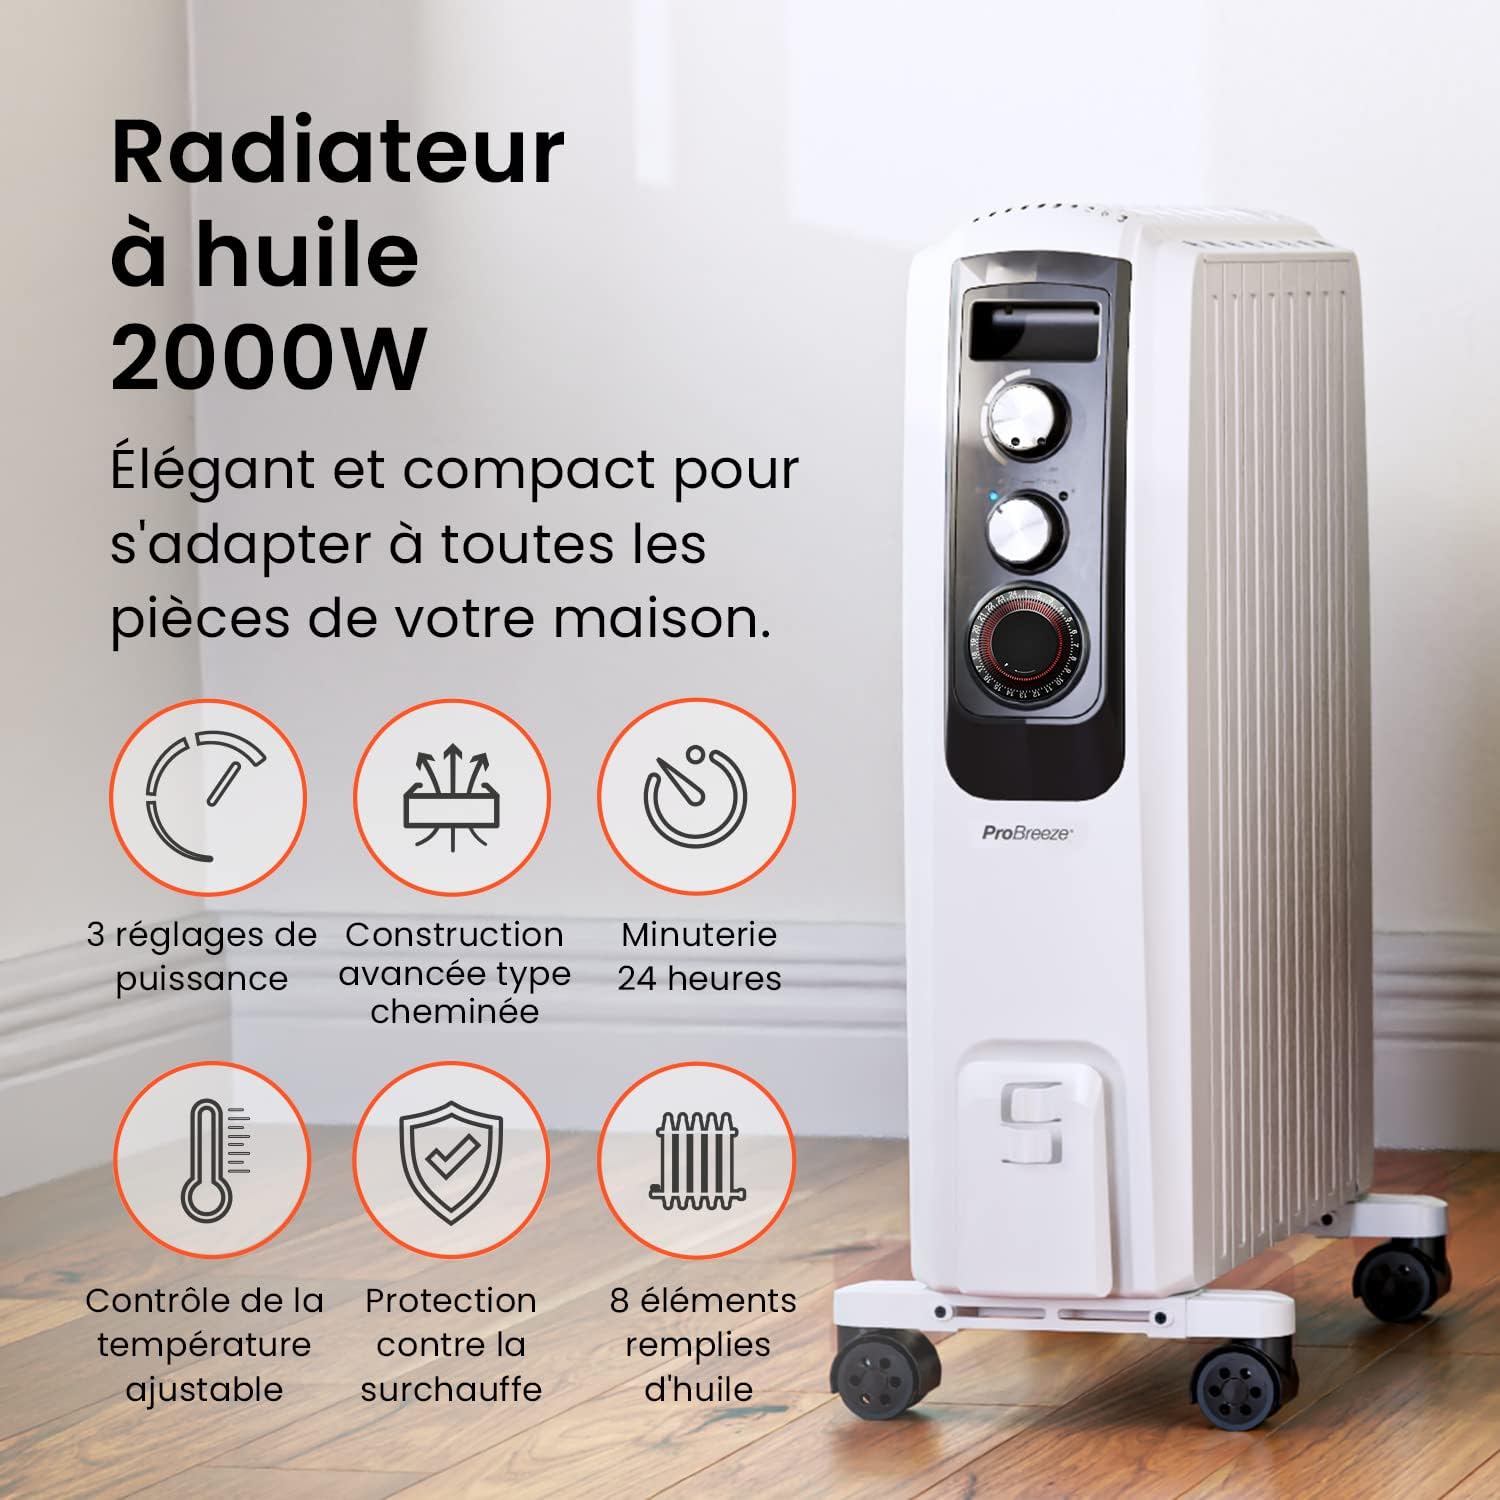
Image 3: Overview of the radiator's key features, including power settings, chimney design, timer, temperature control, overheat protection, and 8 oil-filled elements.

Image 4: Diagram illustrating the advanced chimney-effect design, which enhances heat diffusion and speeds up room heating.
4. Setup
- Unpacking: Carefully remove the radiator from its packaging. Retain packaging for storage or disposal.
- Placement: Place the radiator on a stable, level surface. Ensure it is at least 1 meter (3 feet) away from walls, furniture, and other objects.
- Power Connection: Plug the power cord into a suitable 240V AC electrical outlet. Ensure the outlet is properly grounded.
The radiator comes pre-assembled with swivel casters for easy mobility. No assembly is required for the wheels.
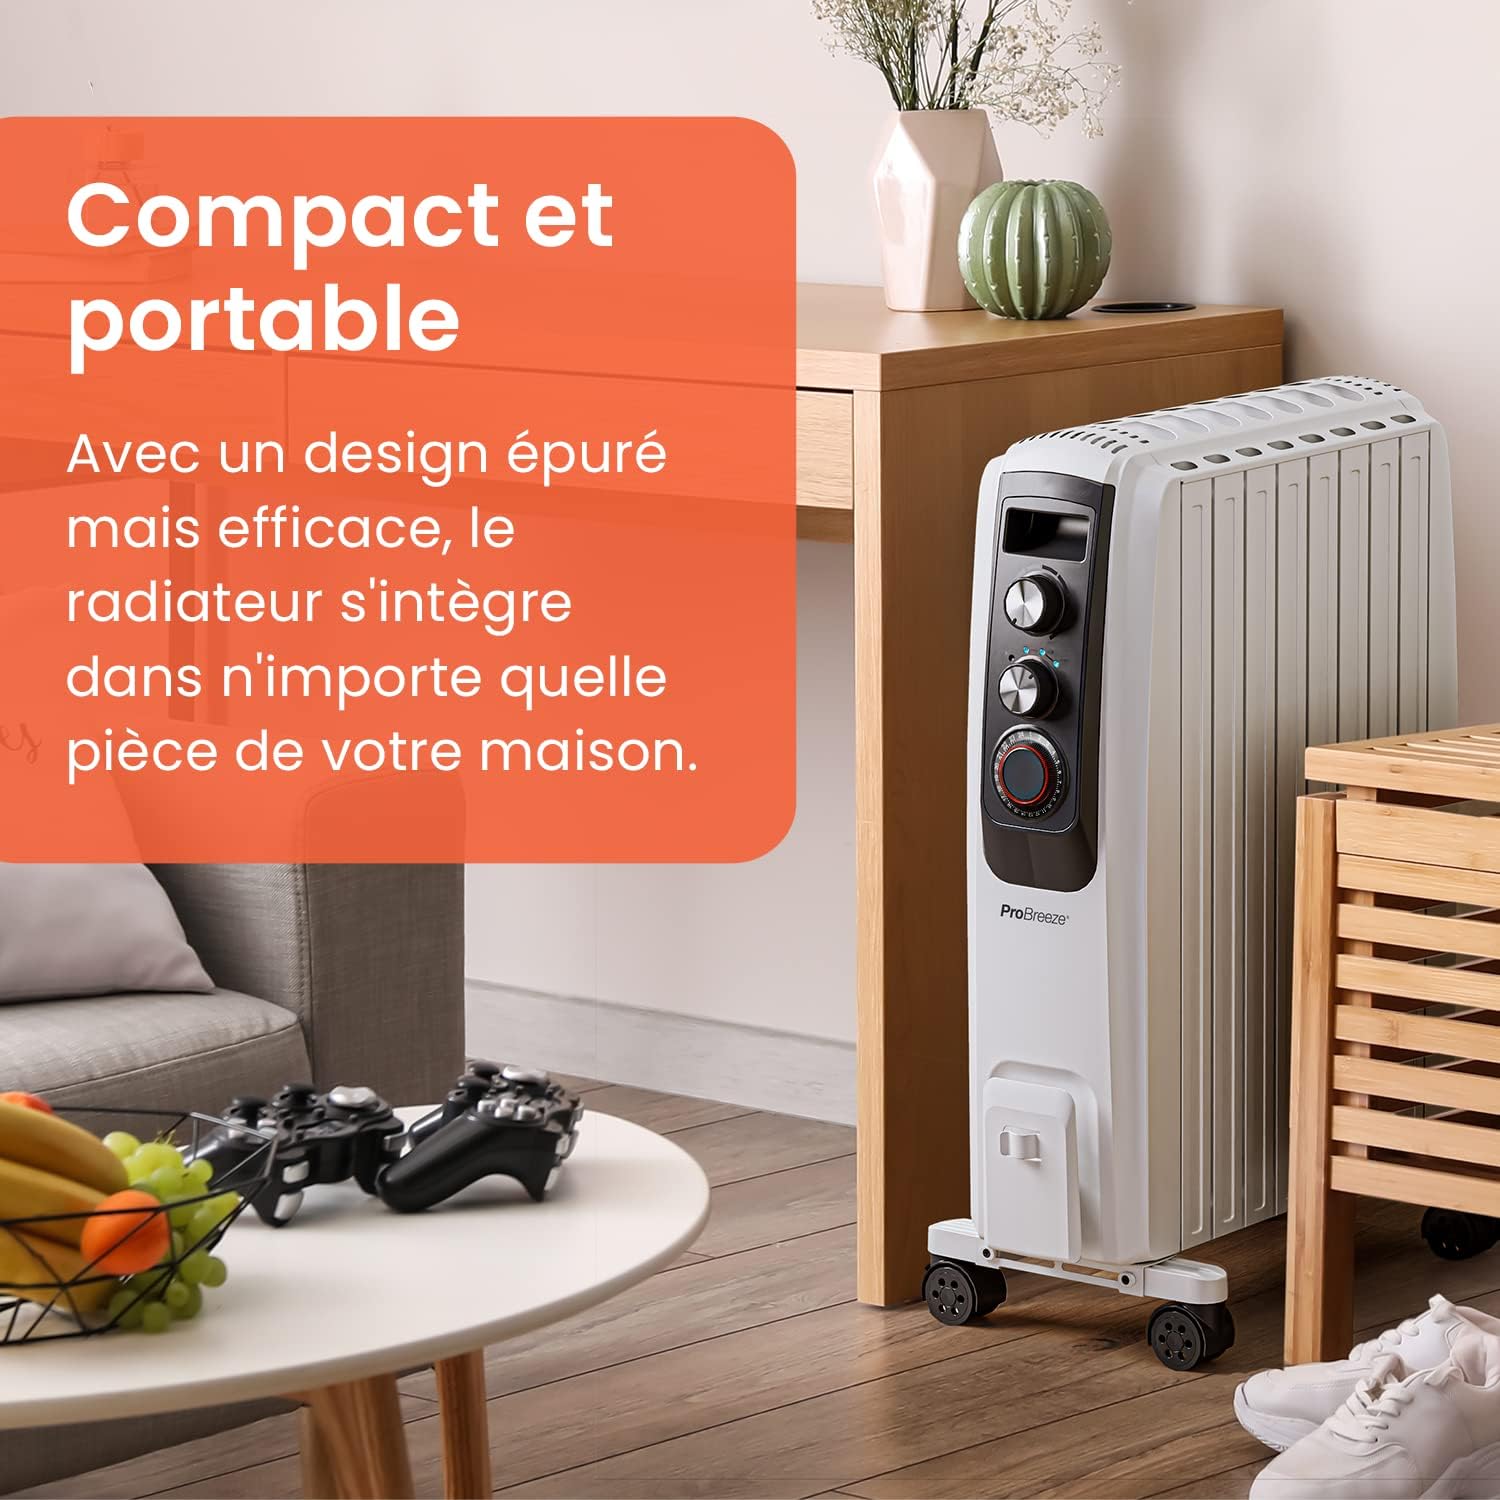
Image 5: The radiator positioned in a living space, demonstrating its compact and portable design.
5. Operating Instructions
5.1 Control Panel Overview
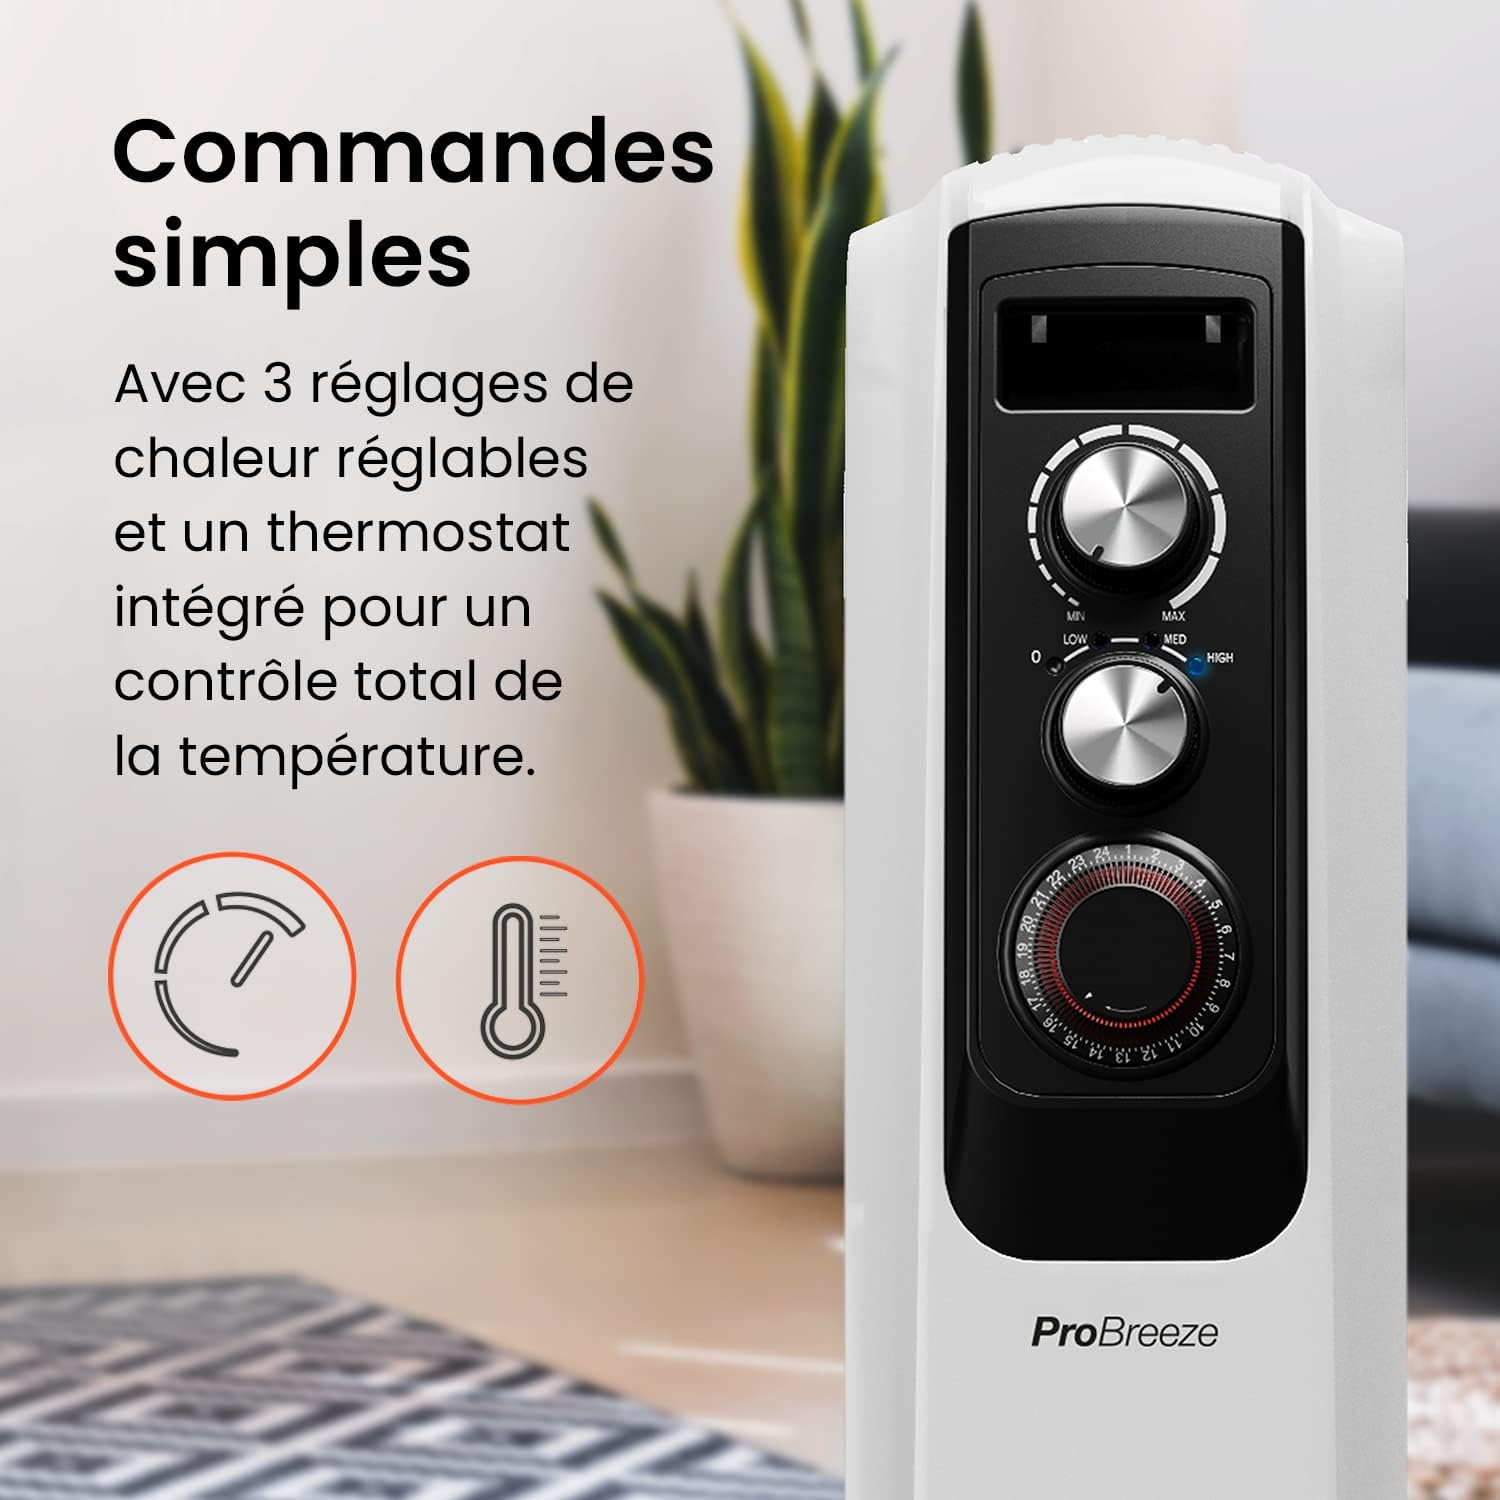
Image 6: Close-up view of the control panel, showing the power selector dial, thermostat dial, and 24-hour timer.
- Power Selector Dial: Used to choose the heat output (MIN, MED, MAX).
- Thermostat Dial: Used to set the desired room temperature.
- 24-Hour Timer: Used to program automatic on/off times.
5.2 Initial Operation
- Plug the radiator into a suitable power outlet.
- Turn the Power Selector Dial to your desired heat setting:
- MIN: 800W
- MED: 1200W
- MAX: 2000W
- Turn the Thermostat Dial to the maximum setting. Once the room reaches your desired temperature, slowly turn the thermostat dial counter-clockwise until the indicator light turns off. The radiator will now maintain this temperature.
5.3 Using the 24-Hour Timer
The 24-hour timer allows you to program specific on/off periods for the radiator.
- Ensure the radiator is plugged in and the Power Selector Dial is set to a desired heat level (MIN, MED, or MAX).
- Each segment on the timer dial represents 15 minutes. Push the segments inwards for the periods you want the radiator to be ON. Leave segments outwards for periods you want the radiator to be OFF.
- Rotate the timer dial clockwise until the current time aligns with the arrow indicator.
- The radiator will now operate according to your programmed schedule.
Note: If the timer is set, the radiator will only operate during the programmed "ON" periods, provided the thermostat is set above the ambient room temperature.

Image 7: A person relaxing, illustrating the convenience of the 24-hour timer for automatic operation.
6. Maintenance
- Cleaning: Always unplug the radiator and allow it to cool completely before cleaning. Wipe the exterior surfaces with a soft, damp cloth. Do not use abrasive cleaners or solvents.
- Storage: When not in use for extended periods, store the radiator in a cool, dry place. It is recommended to store it in its original packaging to protect it from dust and damage.
- No Internal Maintenance: The oil in this radiator is permanently sealed and never needs refilling or replacement. Do not attempt to open the unit.
7. Troubleshooting
| Problem | Possible Cause | Solution |
|---|---|---|
| Radiator does not turn on. |
|
|
| Radiator produces insufficient heat. |
|
|
| Radiator makes clicking noises. |
|
|
8. Specifications
| Brand | Pro Breeze |
| Model Number | PB-H05 |
| Color | White |
| Dimensions (L x W x H) | 47.5 x 26 x 67 cm |
| Weight | 13.4 Kilograms |
| Power | 2000 Watts (Max) |
| Voltage | 240 Volts |
| Heat Settings | 3 (800W, 1200W, 2000W) |
| Timer | 24-Hour Programmable |
| Automatic Safety Shut-off | Yes (Overheat & Tip-over) |
| Heating Method | Radiant |
| Recommended Use | Indoor, Home |
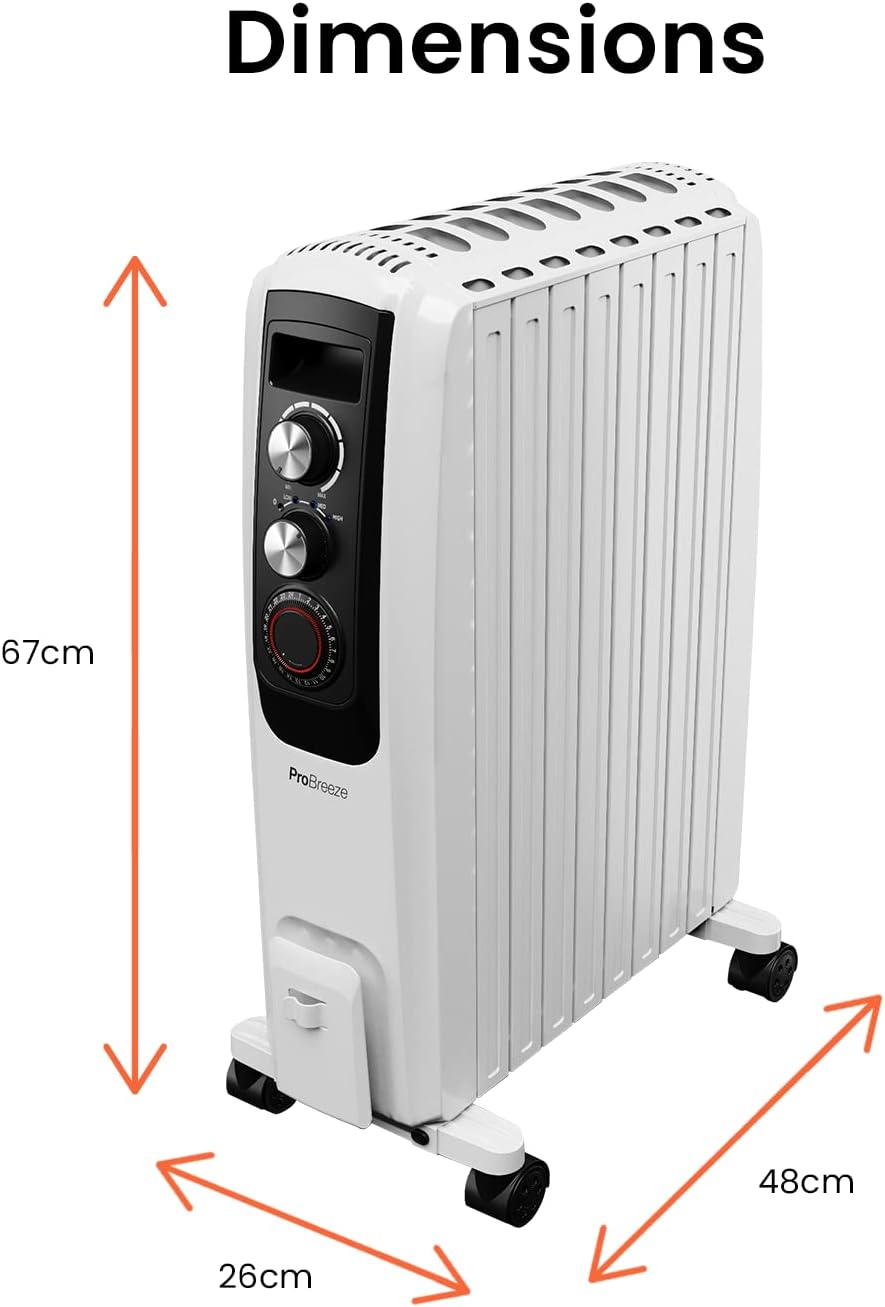
Image 8: Diagram showing the physical dimensions of the Pro Breeze Oil-Filled Radiator: 67cm height, 26cm width, and 48cm depth.
9. Warranty and Support
For information regarding warranty coverage, technical support, or spare parts, please refer to the warranty card included with your product packaging or visit the official Pro Breeze website. Do not attempt to repair the appliance yourself; contact qualified personnel for service.
Pro Breeze Website: Visit Pro Breeze Store