
1. Introduction
Thank you for choosing the MEBUS Wireless Weather Station, Model 40649. This device provides accurate indoor and outdoor temperature and humidity readings, a weather forecast, moon phase display, and a radio-controlled clock with an alarm function. Please read this manual carefully to ensure proper setup and operation.
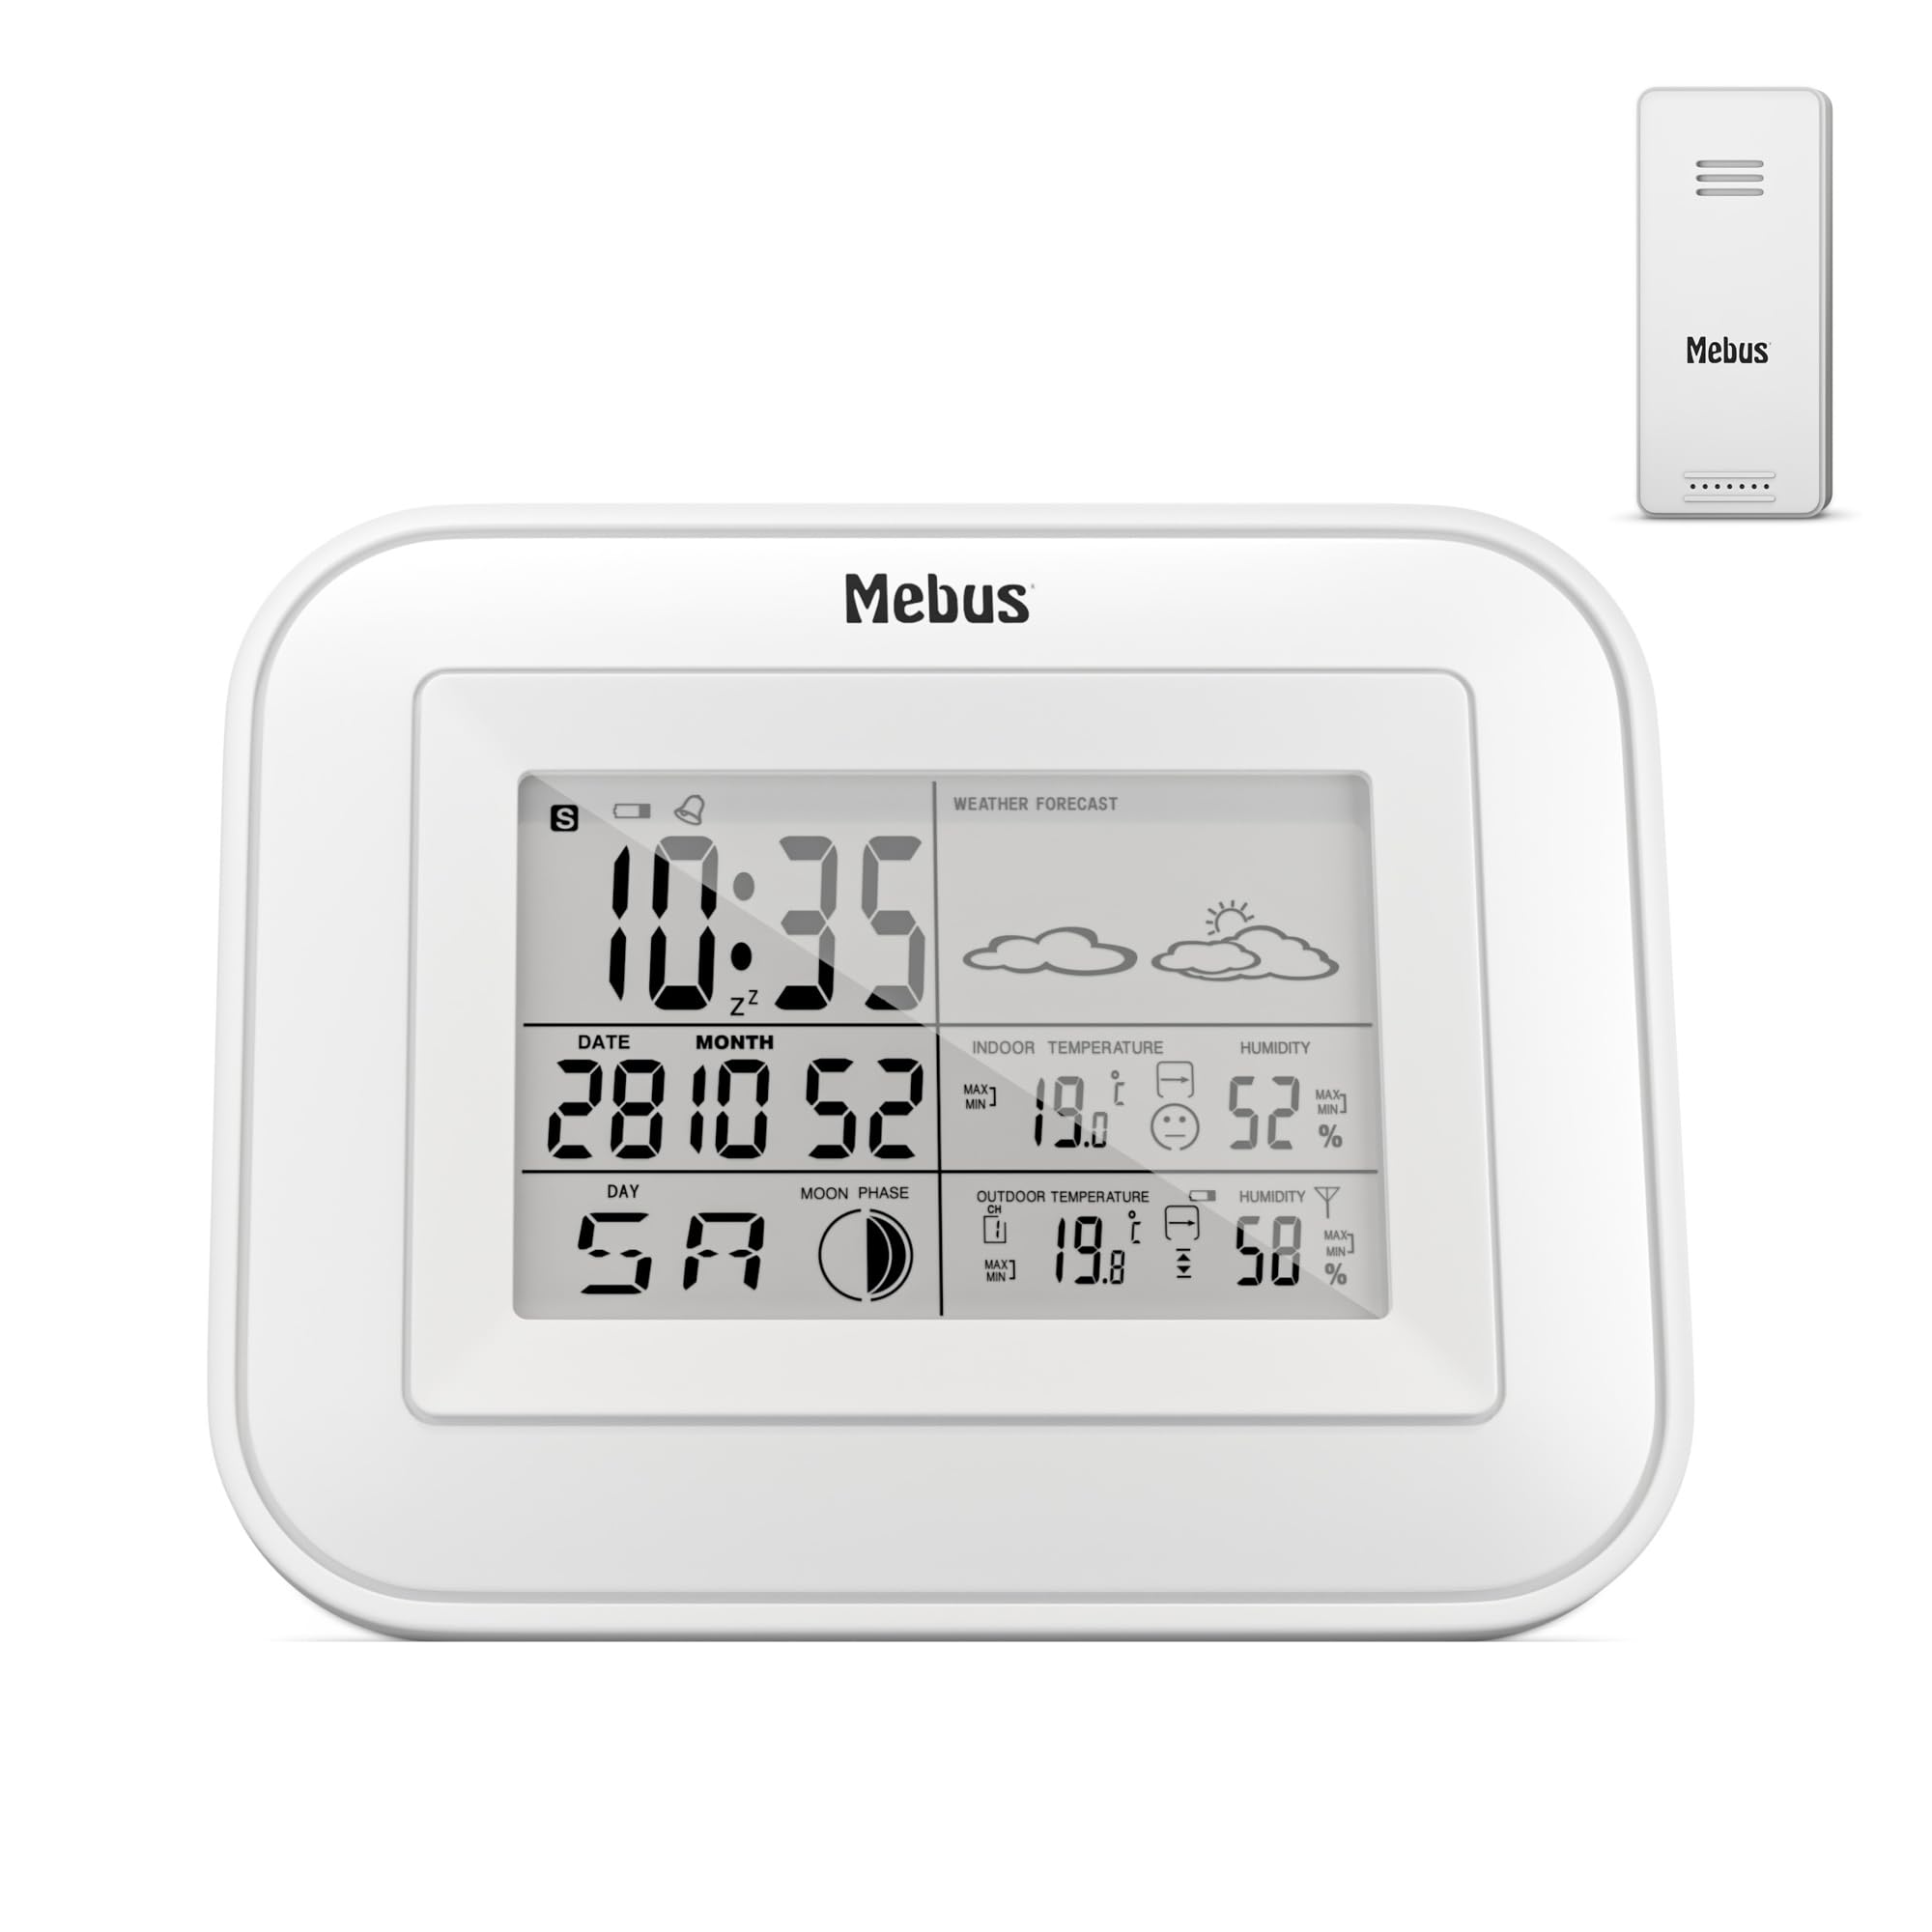
Image 1.1: The MEBUS Wireless Weather Station main unit and its accompanying outdoor sensor.
2. Package Contents
- MEBUS Wireless Weather Station (Main Unit)
- Wireless Outdoor Sensor
- Batteries (2 x AA for main unit, 2 x AAA for outdoor sensor)
- Instruction Manual (this document)
3. Setup
3.1 Battery Installation
Main Unit:
- Open the battery compartment cover on the back of the main unit.
- Insert 2 x AA batteries, observing the correct polarity (+/-).
- Close the battery compartment cover.
Outdoor Sensor:
- Open the battery compartment cover on the back of the outdoor sensor.
- Insert 2 x AAA batteries, observing the correct polarity (+/-).
- Close the battery compartment cover.

Image 3.1: Rear view of the weather station showing the battery compartment and the outdoor sensor.
3.2 Sensor Placement
Place the outdoor sensor in a shaded, dry location, protected from direct sunlight and rain, to ensure accurate temperature and humidity readings. Ensure it is within the wireless range of the main unit (typically up to 30 meters in open air).

Image 3.2: The main unit and outdoor sensor, illustrating their relative sizes.
3.3 Initial Synchronization (DCF 77)
After battery installation, the weather station will automatically attempt to synchronize with the DCF 77 radio signal. This process may take several minutes. During synchronization, the time and date will be set automatically, including daylight saving time adjustments. If the signal is weak or unavailable, you can manually set the time and date.
4. Operating Instructions
4.1 Display Overview
The display shows the following information:
- Time and Date: Radio-controlled (DCF 77) or manually set.
- Indoor Temperature and Humidity: Current readings inside your home.
- Outdoor Temperature and Humidity: Current readings from the wireless sensor.
- Weather Forecast: Graphical representation of expected weather conditions.
- Moon Phase: Visual display of the current lunar phase.
- Comfort Indicator: Indicates indoor climate quality based on temperature and humidity.
- Temperature Trend: Shows if temperature is rising or falling.

Image 4.1: Detailed view of the weather station display, highlighting various data points.
4.2 Time and Date Settings
The time is automatically set via the DCF 77 radio signal. If you are in an area without DCF 77 reception or prefer manual setting:
- Press and hold the SET button to enter manual time setting mode.
- Use the UP/DOWN buttons to adjust values (e.g., hour, minute, year, month, day).
- Press SET again to confirm each setting and move to the next.
- You can also set a specific time zone if needed.
4.3 Alarm Function with Snooze
- To set the alarm, press the ALARM button.
- Use the UP/DOWN buttons to adjust the alarm time.
- Press ALARM again to confirm.
- When the alarm sounds, press the SNOOZE button (usually the top button) to temporarily silence it for 5 minutes.
4.4 Temperature Units (°C/°F)
To switch between Celsius (°C) and Fahrenheit (°F), locate the dedicated button (often labeled °C/°F or integrated into another setting button) and press it. The display will update accordingly.
4.5 Comfort Indicator
The comfort indicator measures the quality of the indoor climate based on humidity and temperature. It provides a visual representation (e.g., a smiley face or text) to help you maintain optimal living conditions.

Image 4.2: Close-up of the display showing the comfort indicator and moon phase icons.
5. Maintenance
5.1 Cleaning
Wipe the weather station and outdoor sensor with a soft, damp cloth. Do not use abrasive cleaners or solvents, as these can damage the display or casing.
5.2 Battery Replacement
When the battery indicator appears on the display, replace the batteries in both the main unit and the outdoor sensor with new ones of the correct type (2 x AA for main unit, 2 x AAA for outdoor sensor). Ensure correct polarity.
6. Troubleshooting
6.1 No Outdoor Sensor Reading
- Check if the outdoor sensor batteries are correctly inserted and not depleted.
- Ensure the outdoor sensor is within range of the main unit.
- Minimize obstructions between the sensor and the main unit (e.g., thick walls, metal objects).
- Try re-pairing the sensor by removing batteries from both units, then reinserting them first into the sensor, then the main unit.
6.2 Incorrect Time Display
- Ensure the weather station is in an area with good DCF 77 signal reception.
- Allow sufficient time for automatic synchronization (up to 24 hours in some cases).
- Manually set the time if automatic synchronization fails consistently.
6.3 Display Not Working
- Check the main unit batteries and replace them if necessary.
- Ensure batteries are inserted with correct polarity.
7. Specifications
| Feature | Detail |
|---|---|
| Model Number | 40649 |
| Dimensions (Main Unit) | 19 x 3 x 15 cm |
| Weight | 300 grams |
| Power Source (Main Unit) | 2 x AA batteries |
| Power Source (Outdoor Sensor) | 2 x AAA batteries |
| Functions | Temperature (indoor/outdoor), Humidity (indoor/outdoor), Weather Forecast, Moon Phases, DCF 77 Radio Clock, Alarm with Snooze, Comfort Indicator, Temperature Trend |
| Components Included | Weather station, batteries, outdoor sensor |
8. Warranty and Support
8.1 Warranty Information
This product comes with a standard manufacturer's warranty. Please refer to the warranty card included in your original packaging or contact your retailer for specific warranty terms and conditions.
8.2 Customer Support
For technical assistance, troubleshooting, or general inquiries, please contact MEBUS customer support through their official website or the contact information provided with your purchase. Please have your model number (40649) ready when contacting support.