
1. Introduction
This manual provides detailed operating instructions for the Technics Hi-Fi Component System, encompassing models SD-S9325, SD-S7325, ST-K55, SU-G88, SH-GE50, and SL-MC409. It explains the functions and operations of the audio components within the system, ensuring proper setup and optimal performance.
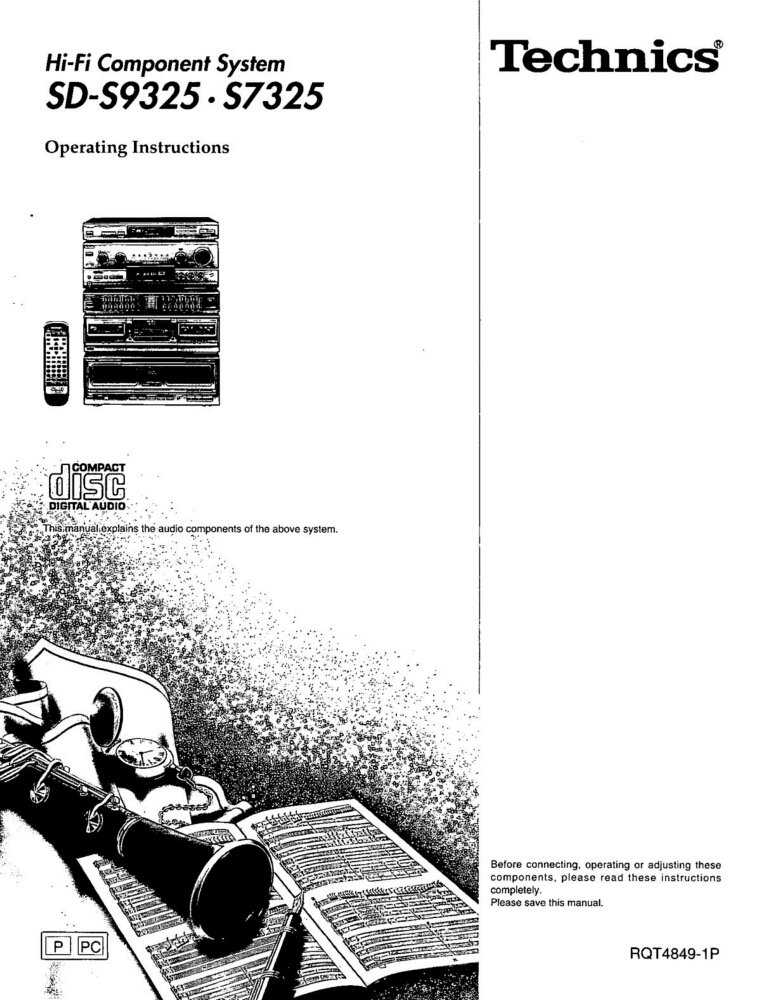
Figure 1.1: Front cover of the Technics Hi-Fi Component System Operating Instructions manual. This image displays the front cover of the operating instructions manual for the Technics Hi-Fi Component System, featuring an illustration of the audio components and their remote control. The title 'Hi-Fi Component System SD-S9325 • S7325 Operating Instructions' is prominently displayed, along with the Technics logo.
1.1 Package Contents
Upon unpacking, verify that all items are present:
- Main Unit(s) (e.g., Amplifier, Tuner, CD Player, Cassette Deck)
- Remote Control Unit
- Power Cords
- Audio Connection Cables (RCA type)
- FM Indoor Antenna
- AM Loop Antenna
- Operating Instructions Manual (this document)
If any items are missing or damaged, contact your Technics dealer immediately.
2. Important Safety Instructions
To reduce the risk of electric shock, fire, or damage to the unit, please observe the following safety precautions:
- Power Source: Connect the unit only to an AC power source of the voltage indicated on the unit.
- Ventilation: Ensure adequate ventilation. Do not block ventilation openings. Install the unit in a location with proper airflow.
- Water and Moisture: Do not expose the unit to rain or moisture. Do not place objects filled with liquids, such as vases, on the unit.
- Heat: Keep the unit away from heat sources such as radiators, heat registers, stoves, or other apparatus (including amplifiers) that produce heat.
- Cleaning: Unplug the unit from the wall outlet before cleaning. Use a dry cloth only.
- Servicing: Do not attempt to service this unit yourself. Refer all servicing to qualified service personnel.
- Cables: Protect the power cord from being walked on or pinched, particularly at plugs, convenience receptacles, and the point where they exit from the unit.
3. Setup and Connections
3.1 Component Placement
Place the components on a stable, level surface, ensuring sufficient space for ventilation around each unit. Avoid placing units directly on top of each other if they generate significant heat.
3.2 Audio Connections
Connect the audio components using the supplied RCA cables. Ensure correct left (white) and right (red) channel connections.
- Connect the CD Player (e.g., SL-MC409) to the CD IN jacks on the Amplifier (e.g., SU-G88).
- Connect the Tuner (e.g., ST-K55) to the TUNER IN jacks on the Amplifier.
- Connect the Cassette Deck (e.g., SD-S7325/SD-S9325) to the TAPE IN/OUT jacks on the Amplifier. Ensure both input and output connections are made for recording functionality.
- Connect the Graphic Equalizer (e.g., SH-GE50) between the Amplifier's PRE OUT and MAIN IN jacks, or via the TAPE MONITOR loop if available, following the specific instructions for the equalizer.
3.3 Speaker Connections
Connect your speakers to the SPEAKER OUT terminals on the Amplifier. Observe correct polarity (+ to + and - to -) for optimal sound quality. Use appropriate gauge speaker wire.
3.4 Antenna Connections
- FM Antenna: Connect the supplied FM indoor antenna to the FM ANTENNA terminal. For improved reception, consider an outdoor FM antenna.
- AM Antenna: Connect the supplied AM loop antenna to the AM ANTENNA terminals. Position the loop antenna for best reception.
3.5 Power Connections
After all audio and speaker connections are made, plug the power cords of each component into a suitable AC outlet. It is recommended to use a surge protector.
4. Basic Operation
4.1 Power On/Off
Press the POWER button on the Amplifier or the remote control to turn the system on or off. Some components may have individual power switches.
4.2 Source Selection
Use the INPUT SELECTOR or SOURCE buttons on the Amplifier or remote control to choose the desired audio source (e.g., CD, TUNER, TAPE).
4.3 Volume Control
Adjust the overall system volume using the VOLUME knob on the Amplifier or the VOL +/- buttons on the remote control.
4.4 CD Player Operation (SL-MC409)
- Loading Discs: Open the disc tray/changer door and place CDs onto the tray/spindles.
- Play/Pause: Press the PLAY button to start playback. Press again to pause.
- Stop: Press the STOP button to halt playback.
- Skip Tracks: Use the SKIP buttons (|< / >|) to navigate between tracks.
4.5 Tuner Operation (ST-K55)
- Band Selection: Select FM or AM using the BAND button.
- Tuning: Use the TUNING buttons (up/down arrows) to manually tune to a station or the AUTO TUNE/SCAN button to find stations automatically.
- Preset Stations: Store and recall your favorite stations using the PRESET buttons.
4.6 Cassette Deck Operation (SD-S7325/SD-S9325)
- Loading Tapes: Open the cassette door and insert a cassette tape.
- Play: Press the PLAY button.
- Record: Press RECORD and PLAY simultaneously to begin recording. Ensure the input source is selected correctly.
- Fast Forward/Rewind: Use the FF/REW buttons.
4.7 Graphic Equalizer Operation (SH-GE50)
The graphic equalizer allows you to adjust the frequency response of your audio. Use the sliders to boost or cut specific frequency bands to tailor the sound to your preference or room acoustics. Refer to the equalizer's specific manual for detailed preset and memory functions.
5. Maintenance and Care
5.1 Cleaning
Regularly clean the exterior of the components with a soft, dry cloth. For stubborn dirt, slightly dampen the cloth with water or a mild, non-abrasive cleaner. Do not use strong solvents or abrasive pads.
5.2 CD Player Lens Cleaning
If disc playback becomes erratic, the CD player's lens may require cleaning. Use a commercially available CD lens cleaner disc, following its instructions.
5.3 Cassette Deck Head Cleaning
For optimal sound quality and to prevent tape damage, clean the cassette deck's heads, capstans, and pinch rollers periodically using a cotton swab lightly moistened with isopropyl alcohol or a specialized head cleaning fluid.
5.4 Storage
If storing the system for an extended period, disconnect all power cords and store the components in a cool, dry place, away from direct sunlight and extreme temperatures.
6. Troubleshooting
Before contacting service personnel, please check the following common issues and solutions:
| Problem | Possible Cause | Solution |
|---|---|---|
| No power | Power cord disconnected; Power outlet faulty | Ensure power cord is securely plugged in; Try a different outlet. |
| No sound | Incorrect input source; Volume too low; Speaker wires disconnected | Select correct input; Increase volume; Check speaker connections. |
| Poor radio reception | Antenna not connected or poorly positioned | Connect/adjust FM/AM antenna; Consider an outdoor antenna. |
| CD skips or doesn't play | Disc dirty or scratched; Lens dirty | Clean or replace disc; Use a CD lens cleaner. |
| Cassette tape playback distorted | Tape heads dirty; Worn tape | Clean tape heads; Try a different tape. |
If the problem persists after trying these solutions, please contact qualified service personnel.
7. Specifications
Note: Specifications are typical and subject to change without notice. Refer to individual component manuals for precise details.
7.1 General (Applicable to System)
- Power Requirements: AC 120V, 60Hz (USA/Canada) / AC 230-240V, 50Hz (Europe/Australia)
- Power Consumption: Varies by component (refer to individual unit labels)
- Dimensions (W x H x D): Varies by component
- Weight: Varies by component
7.2 Amplifier (e.g., SU-G88)
- Output Power: e.g., 100W per channel (RMS, 8 ohms, 20Hz-20kHz, 0.05% THD)
- Frequency Response: 10Hz - 50kHz (+/- 3dB)
- Input Sensitivity/Impedance: Phono, CD, Tuner, Tape
7.3 CD Player (e.g., SL-MC409)
- Disc Compatibility: CD, CD-R/RW
- Frequency Response: 2Hz - 20kHz (+/- 0.5dB)
- Signal-to-Noise Ratio: >100dB
7.4 Tuner (e.g., ST-K55)
- FM Tuning Range: 87.9 - 107.9 MHz
- AM Tuning Range: 530 - 1710 kHz
- Usable Sensitivity: FM 1.5 µV (mono)
7.5 Cassette Deck (e.g., SD-S7325/SD-S9325)
- Track System: 4-track, 2-channel stereo
- Tape Speed: 4.8 cm/s
- Frequency Response: 20Hz - 17kHz (Metal tape)
7.6 Graphic Equalizer (e.g., SH-GE50)
- Frequency Bands: e.g., 7-band (63Hz, 160Hz, 400Hz, 1kHz, 2.5kHz, 6.3kHz, 16kHz)
- Control Range: +/- 10dB
8. Warranty and Support
For warranty information and customer support, please refer to the warranty card included with your product or visit the official Technics website. Keep your purchase receipt as proof of purchase for warranty claims.
Online Support: www.technics.com/support
Service Centers: For authorized service centers, please consult the Technics website or contact your local dealer.