
1. Introduction
This manual provides essential information for the proper use and maintenance of your CHOICEMMED Blood Pressure Monitor, Model CBP1E4. This device is designed for non-invasive measurement of systolic and diastolic blood pressure and pulse rate in adults, using the oscillometric method. It features a talking function and a large display for easy readability.
Regular monitoring of blood pressure can be an important part of managing your health. Please read this manual thoroughly before using the device to ensure accurate measurements and safe operation.
2. Important Safety Information
- Consult Your Physician: Always consult your physician for interpretation of blood pressure measurements. Self-diagnosis and treatment based on measurements can be dangerous.
- Medical Device: This device is a medical product. Do not use it for purposes other than measuring blood pressure.
- Children and Infants: Do not use this device on infants or children without consulting a medical professional.
- Cuff Application: Ensure the cuff is applied correctly and comfortably. Improper cuff placement can lead to inaccurate readings.
- Battery Safety: Use only specified batteries. Do not mix old and new batteries or different types of batteries. Dispose of batteries according to local regulations.
- Avoid Strong Electromagnetic Fields: Keep the device away from strong electromagnetic fields, such as mobile phones or microwave ovens, as they may interfere with operation.
3. Product Overview and Components
The CHOICEMMED Blood Pressure Monitor consists of the main monitor unit and an arm cuff. Familiarize yourself with the components before use.
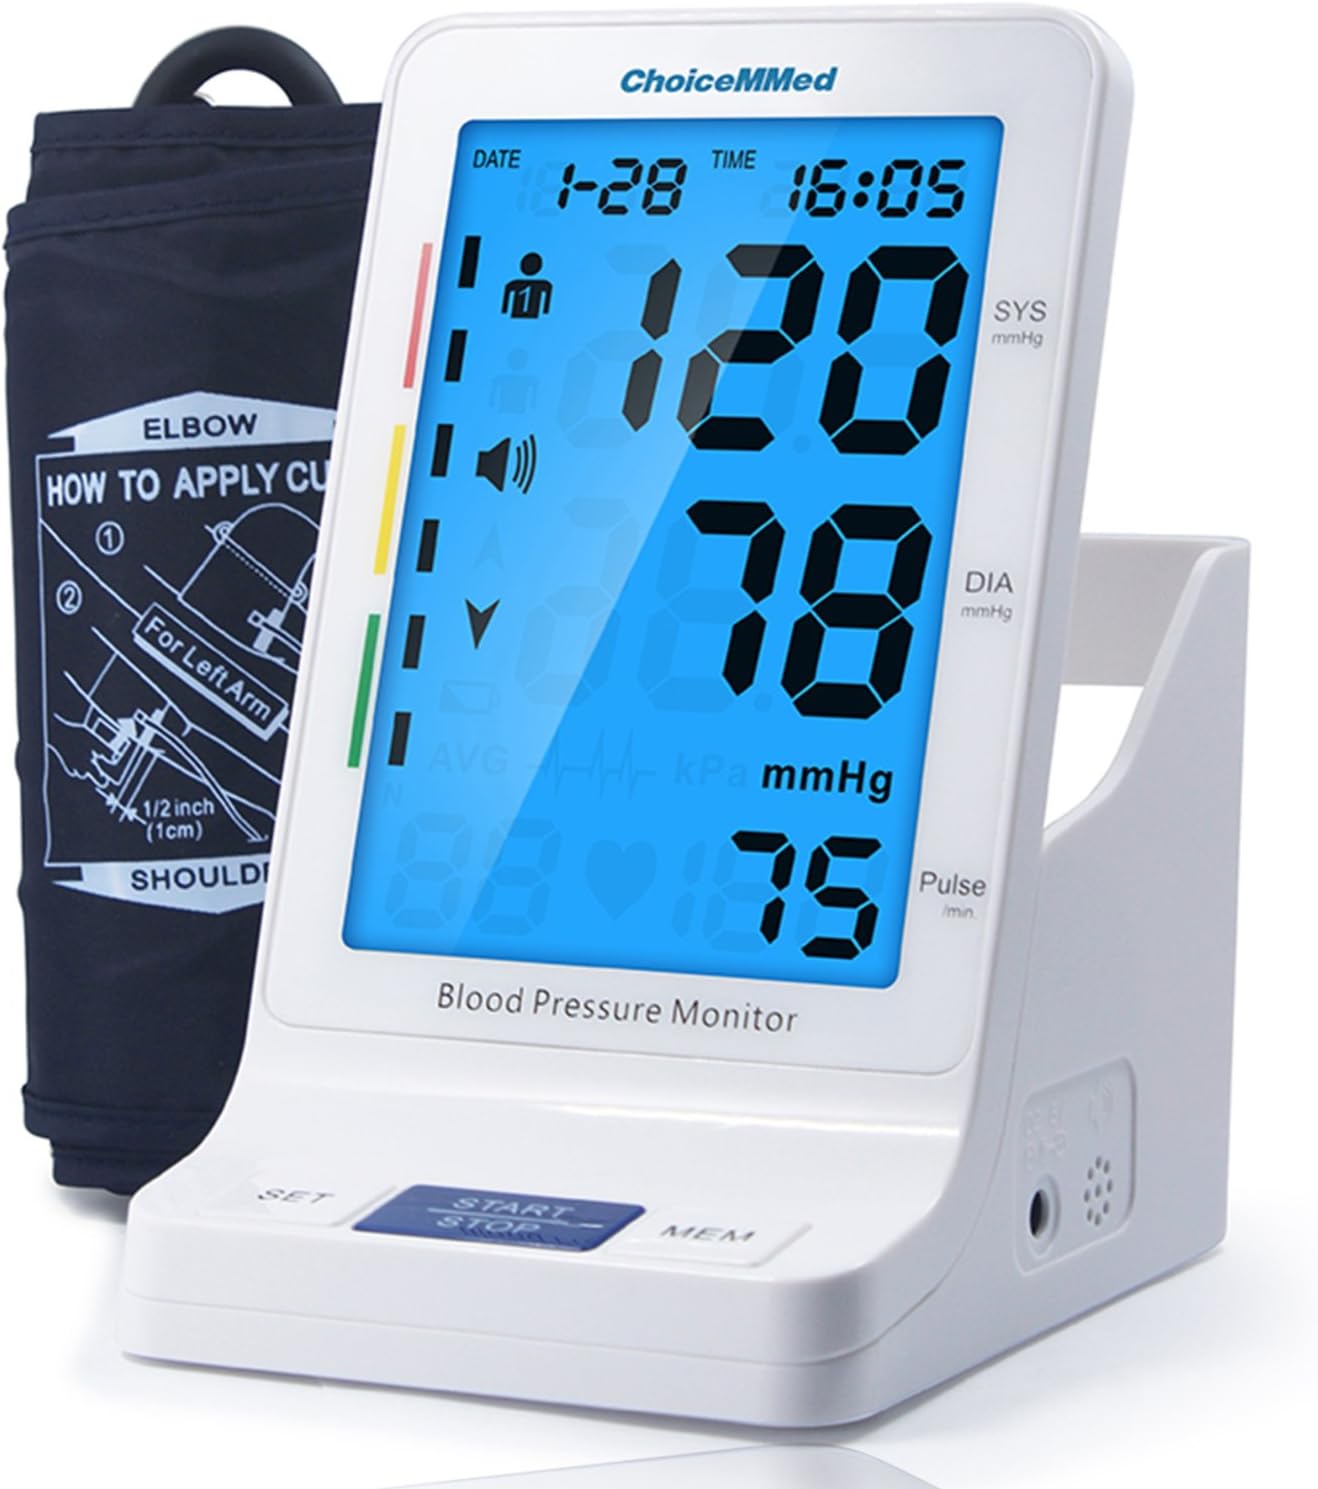
Image 1: The CHOICEMMED Blood Pressure Monitor unit with its accompanying arm cuff. The monitor features a large digital display showing blood pressure and pulse readings, along with date and time. The cuff is shown folded next to the monitor.
- Monitor Unit: The main device housing the display, control buttons (SET, START/STOP, MEM), and internal electronics.
- Arm Cuff: A fabric cuff with an inflatable bladder, connected to the monitor via an air tube. Designed for upper arm measurements. The cuff size is adjustable from 9.4 to 13.4 inches (24 to 34 cm).
- Large LCD Display: A 5.2-inch screen showing systolic pressure (SYS), diastolic pressure (DIA), pulse rate, date, time, and various indicators.
- Talking Function Speaker: Located on the side of the monitor, providing audible readings and instructions.
- Cuff Storage Compartment: An integrated handle and compartment for convenient storage of the arm cuff.

Image 2: A detailed view of the monitor's large 5.2-inch LCD digital display, showing example readings (120/80 mmHg and 75 pulse). The image also highlights the monitor's dimensions (6.3 inches / 161mm height) and the built-in DC6V battery power adapter port, as well as the cuff storage compartment.
4. Setup
4.1 Battery Installation
- Open the battery compartment cover located on the bottom or back of the monitor.
- Insert four (4) AA batteries, ensuring the polarity (+ and -) matches the diagrams inside the compartment.
- Close the battery compartment cover securely.
- The monitor can also be powered by an optional DC 6V AC adapter (not included). Connect the adapter to the DC 6V port on the side of the monitor.
4.2 Connecting the Arm Cuff
- Locate the air tube connector on the arm cuff.
- Insert the air tube connector firmly into the air jack on the side of the monitor unit. Ensure a snug fit to prevent air leakage during measurement.

Image 3: Side view of the CHOICEMMED Blood Pressure Monitor, showing the DC 6V power input port and the air jack for connecting the arm cuff. The speaker grille is also visible.
5. Operating Instructions
5.1 Applying the Arm Cuff
- Sit in a comfortable position with your back supported and feet flat on the floor. Rest your arm on a table so the cuff is at heart level.
- Slide your left arm through the cuff loop. The bottom edge of the cuff should be approximately 0.5 to 1 inch (1-2 cm) above your elbow.
- Ensure the air tube runs down the center of your arm in line with your middle finger.
- Wrap the cuff snugly around your upper arm. The fabric fastener should be secure but not overly tight. You should be able to insert two fingers between the cuff and your arm.
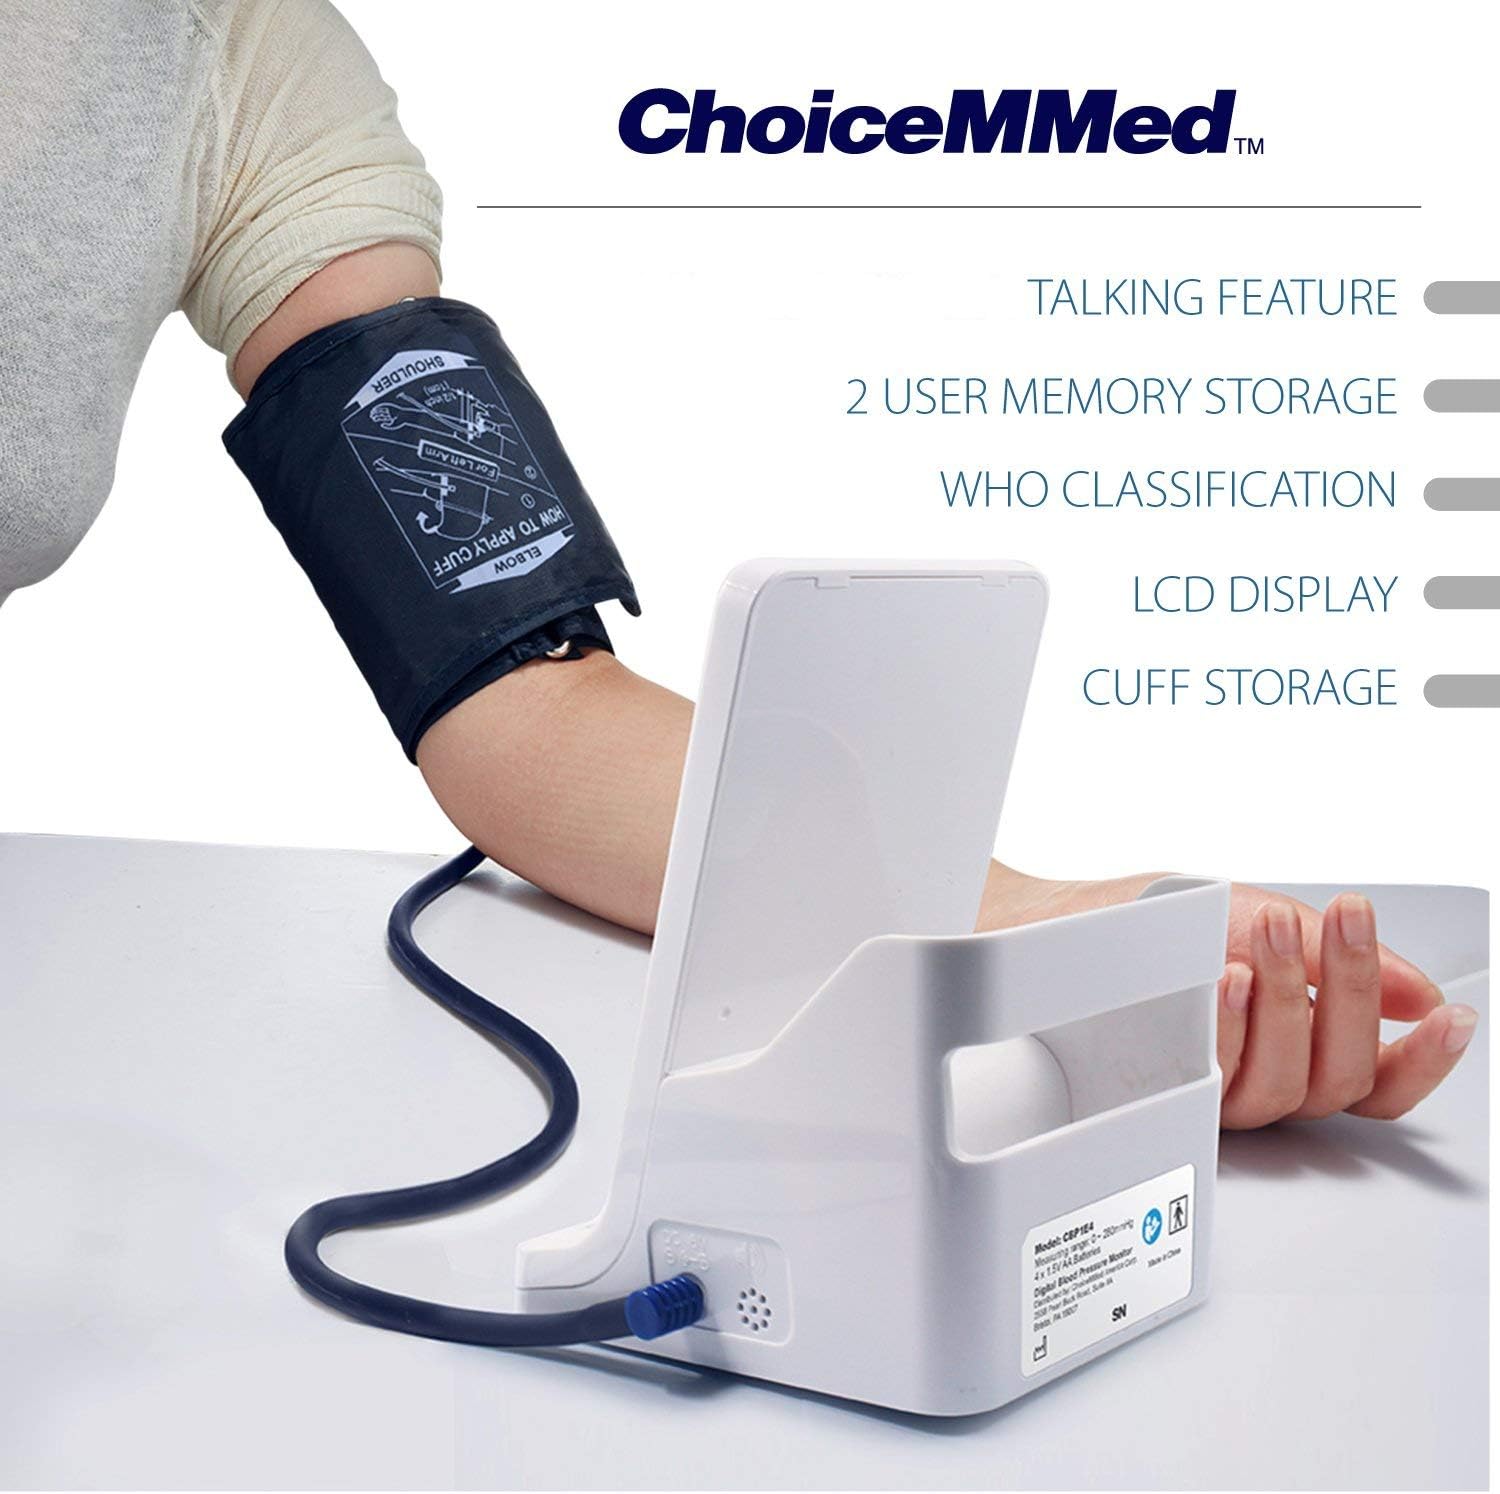
Image 4: A person demonstrating the correct application of the blood pressure cuff on the upper arm. The cuff is positioned above the elbow, and the air tube is visible, connecting to the monitor unit.
5.2 Taking a Measurement
- After applying the cuff, remain still and avoid talking.
- Press the START/STOP button. The cuff will begin to inflate automatically.
- The monitor will display your systolic pressure, diastolic pressure, and pulse rate once the measurement is complete. The talking function will announce the results.
- Press the START/STOP button again to turn off the monitor, or it will automatically shut off after a period of inactivity.
5.3 Understanding Your Readings
- SYS (Systolic Pressure): The highest pressure in your arteries when your heart beats.
- DIA (Diastolic Pressure): The lowest pressure in your arteries when your heart rests between beats.
- Pulse: Your heart rate, measured in beats per minute.
- WHO Classification Indicator: The monitor includes a color-coded indicator on the left side of the display, based on World Health Organization (WHO) guidelines, to help you understand your blood pressure category. Consult your doctor for a full interpretation.
5.4 Talking Function
The monitor is equipped with a talking function that announces measurement results. To adjust the volume or turn off the talking function, use the SET button to navigate through settings. Refer to the on-screen icons for volume control.
6. Memory Function
The CHOICEMMED Blood Pressure Monitor can store up to 90 readings for two different users (User 1 and User 2), totaling 180 records. Each record includes the blood pressure, pulse rate, date, and time of measurement.
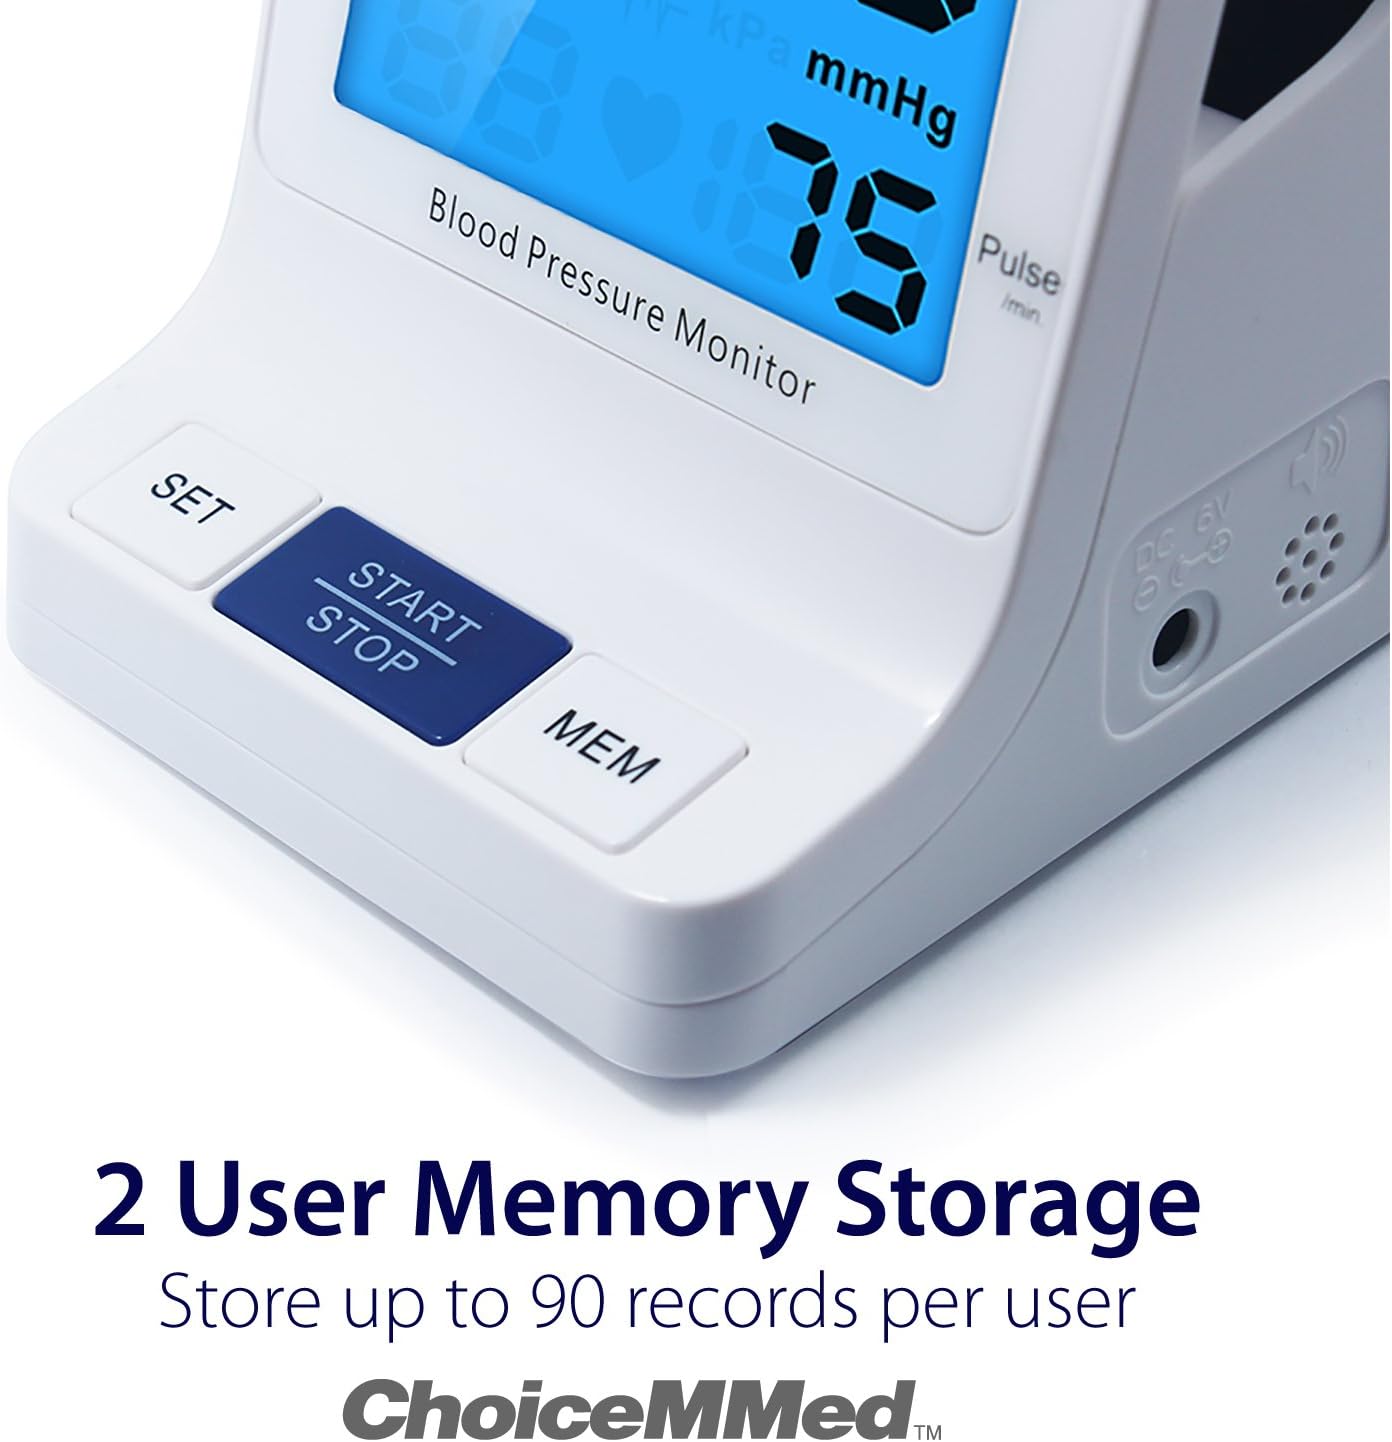
Image 5: Close-up of the CHOICEMMED Blood Pressure Monitor's display, emphasizing the 2-user memory storage capability. The text indicates that the device can store up to 90 records per user, with date and time stamps.
6.1 Accessing Memory Records
- With the monitor off, press the MEM button.
- The display will show the average of the last three readings.
- Press the MEM button repeatedly to scroll through individual past measurements, from the most recent to the oldest.
- To switch between User 1 and User 2 memory, use the SET button while in memory mode.
6.2 Clearing Memory Records
Specific instructions for clearing memory are not provided in the product description. Typically, this involves holding down the MEM button for several seconds while in memory review mode. Refer to the full product manual for detailed instructions on clearing memory, if desired.
7. Maintenance and Storage
7.1 Cleaning
- Wipe the monitor unit and cuff with a soft, dry cloth.
- If necessary, use a cloth lightly dampened with water or a mild detergent. Do not use abrasive cleaners or immerse the device in water.
- Ensure the cuff is completely dry before storage.
7.2 Storage
- Store the device in its integrated cuff storage compartment or a clean, dry place.
- Avoid extreme temperatures, direct sunlight, and high humidity.
- If the device will not be used for an extended period, remove the batteries to prevent leakage.
8. Troubleshooting
| Problem | Possible Cause | Solution |
|---|---|---|
| No display when powered on | Batteries are dead or incorrectly inserted. | Replace batteries or check polarity. Ensure AC adapter is properly connected if used. |
| Inaccurate readings | Improper cuff placement, movement during measurement, talking during measurement, incorrect body posture. | Re-apply cuff correctly. Remain still and silent during measurement. Ensure proper sitting posture with arm at heart level. |
| Cuff does not inflate or inflates slowly | Air tube not securely connected, air leakage from cuff or tube, cuff damaged. | Check air tube connection. Inspect cuff and tube for damage. Contact customer support if damaged. |
| Error message on display | Various operational errors. | Turn off the monitor, wait a few minutes, and try again. If the error persists, consult the full manual or contact customer support. |
9. Specifications
| Feature | Specification |
|---|---|
| Measurement Method | Oscillometric |
| Cuff Length Range | 9.4" - 13.4" (24 cm - 34 cm) |
| Memory Capacity | 2 users x 90 records each (total 180 records) |
| Pressure Measurement Range | 0 - 300 mmHg |
| Pulse Measurement Range | 30 - 180 beats/minute |
| Pressure Measurement Accuracy | ± 3 mmHg |
| Pulse Measurement Accuracy | ± 5% |
| Power Source | 4 AA batteries (included) or optional DC 6V AC adapter (not included) |
| Display Type | Large LCD Digital Display |
| ASIN | B07D5457Q9 |
| UPC | 846841014314 |
10. Warranty and Support
For warranty information or technical support, please refer to the documentation included with your purchase or contact CHOICEMMED customer service directly. Keep your purchase receipt as proof of purchase.


