
Royalbaby Freestyle Kids Bike 16 Inch
RoyalBaby Freestyle Kids Bike 16 Inch Instruction Manual
Introduction
Welcome to the RoyalBaby Freestyle Kids Bike 16 Inch instruction manual. This guide provides essential information for the safe assembly, operation, and maintenance of your new bicycle. Please read this manual thoroughly before assembly and first use to ensure proper function and safety.
The RoyalBaby Freestyle Kids Bike is designed with patented components for quality and durability. It complies with CPSC and ISO standards, ensuring a safe riding experience for children aged 3-12 years.
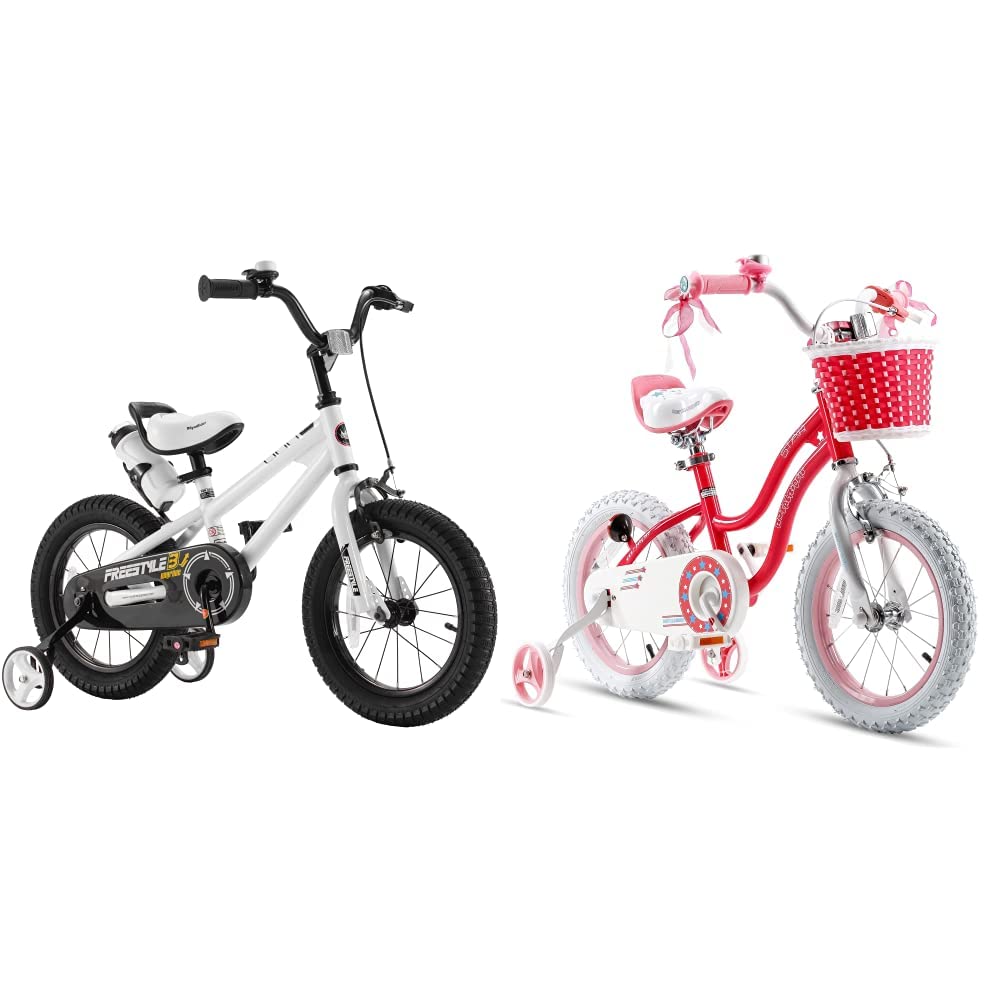
Image: RoyalBaby Freestyle Kids Bike 16 Inch, white model, featuring a sturdy frame and wide tires.
What's in the Box
Your RoyalBaby Freestyle Kids Bike 16 Inch package includes the following components:
- Partially assembled bicycle frame with wheels
- Seat with seat post
- Water bottle and holder
- Training wheels (for 12/14/16 inch bikes)
- Kickstand (for 16/18/20 inch bikes)
- Pedals (left and right specific)
- Bell
- Front and rear reflectors
- Installation tools (wrench, Allen key)
Please verify all parts are present before beginning assembly. If any parts are missing or damaged, contact customer support.
Assembly Instructions
The RoyalBaby Freestyle Kids Bike comes 95% pre-assembled. You will primarily need to tighten a few nuts and attach the remaining components. For a visual guide, please refer to the official assembly video below. Detailed text instructions follow the video.
Video: Official RoyalBaby Bicycle Assembly Guide. This video demonstrates the general assembly process for RoyalBaby kids bikes. Note that the bike color in the video may differ from your specific model.
Step-by-Step Assembly
- Unpacking and Initial Preparation:
- Carefully remove the bicycle and all components from the packaging.
- Locate and remove any protective pieces, such as the plastic chain guard protector on the rear wheel. This piece can be discarded.
- Installing Training Wheels:
- Identify the left (L) and right (R) training wheels. They are marked and are different.
- Remove the nut and spacers from the rear axle.
- Place the plastic square spacer onto the axle.
- Attach the training wheel leg, ensuring the ear of the leg is positioned correctly to prevent loosening.
- Re-install the black iron round washer and the large nut in that order.
- Tighten the nut in a clockwise direction using the provided wrench. Repeat for the other side.
- Installing Pedals:
- Identify the left (L) and right (R) pedals. They are marked and cannot be interchanged.
- Align the pedal with the crank arm.
- Turn the pedal pivot in the forward direction until it is tight. For the right pedal, screw in clockwise. For the left pedal, screw in counter-clockwise.
- Always remember to tighten the nut with the spanner after screwing in the pedal.
- Installing Handlebar:
- Remove the plastic protective sleeve from under the handlebar.
- Insert the handlebar into the head tube vertically.
- Ensure the maximum height safety line on the handlebar stem is completely covered by the head tube.
- Adjust the front wheel and handlebar to be properly aligned. You can stand in front of the bike, hold the front wheel with your legs, and then adjust the handlebar angle.
- Adjust the height to a comfortable position.
- Tighten the screws clockwise using the provided Allen key to secure the handlebar.
- Installing Seat:
- Insert the seat post into the seat tube.
- Ensure the maximum height safety line on the seat post is completely covered by the seat tube.
- Hold the nut and adjust the operating lever to achieve the desired tightness. If too tight, twist it back slightly.
- Close the quick release lever by pushing it over to the front direction to lock the seat in place. Do not just tighten the nut; the lever must be closed for proper locking.
- Installing Bell and Reflectors:
- Attach the bell to the handlebar using the provided screw and Allen key.
- Install the front reflector on the handlebar stem and the rear reflector on the seat post or rear fender, ensuring they are securely fastened and visible.
Operation
Braking System
Your RoyalBaby Freestyle Kids Bike is equipped with efficient brakes. The most suitable angle for the brake levers on the handlebar is approximately 45 degrees downwards for easy reach and effective braking. Ensure the brake levers are within comfortable reach of the rider's hands.
- Hand Brakes: Squeeze the levers gently to apply the brakes. Practice braking at low speeds to get a feel for their responsiveness.
- Coaster Brake (if applicable): Some models may include a coaster brake, activated by pedaling backward.
Adjusting Handlebar and Seat Height
The handlebar and seat height can be adjusted to accommodate the rider's growth. Always ensure the maximum height safety lines on both the handlebar stem and seat post are completely covered by the frame tubes after adjustment. Tighten all quick-release levers and screws securely after making adjustments.
Maintenance
Regular maintenance ensures the longevity and safe operation of your bicycle.
- Tire Pressure: Check tire pressure before each ride. Maintain the recommended PSI (pounds per square inch) indicated on the tire sidewall.
- Brakes: Regularly inspect brake pads for wear and ensure brake levers operate smoothly. Adjust brake cables as needed to maintain proper tension.
- Chain: Keep the chain clean and lubricated. Apply a suitable bicycle chain lubricant periodically to prevent rust and ensure smooth pedaling.
- Nuts and Bolts: Periodically check all nuts, bolts, and quick-release levers for tightness. Loose components can affect safety and performance.
- Cleaning: Clean the bike regularly with mild soap and water. Avoid high-pressure washing, which can damage bearings.
Safety Guidelines
Riding a bicycle can be a fun and rewarding activity, but safety should always be the top priority.
- Wear a Helmet: Always wear a properly fitted helmet that meets safety standards.
- Pre-Ride Check: Before each ride, check the brakes, tires, chain, and all fasteners to ensure they are in good working order.
- Riding Environment: Ride in safe areas away from traffic. Supervise young riders at all times.
- Visibility: Ensure reflectors are clean and properly positioned. Consider adding lights for riding in low-light conditions.
- Traffic Laws: Teach children basic traffic laws and hand signals.
Specifications
| Feature | Detail |
|---|---|
| Bike Type | Kids Bike |
| Age Range (Description) | Big Kid |
| Brand | Royalbaby |
| Number of Speeds | 1 |
| Color | White |
| Wheel Size | 16 Inches |
| Frame Material | Alloy Steel |
| Suspension Type | Rigid |
| Special Feature | Basket (if included), Kickstand, Training Wheel |
| Brake Style | Coaster |
| Specific Uses For Product | Freestyle, BMX |
| Assembly Required | Yes (95% pre-assembled) |
Warranty and Support
RoyalBaby bikes are built to be compliant with CPSC (Consumer Product Safety Commission) and ISO (International Organization for Standardization) standards, ensuring high safety and quality. For specific warranty details or technical support, please refer to the warranty card included with your product or visit the official RoyalBaby website.
If you encounter any issues during assembly or operation, or if you have questions about your product, please contact RoyalBaby customer service for assistance.
Related documentsFreestyle Kids Bike 16 Inch


Ask a question about this manual
Ask about setup, troubleshooting, compatibility, parts, safety, or missing instructions. Manuals+ will review the question and use this page’s manual context to help answer it.