
1. Introduction
This manual provides detailed instructions for the installation, operation, and maintenance of your SMONET 1080P 8 Channel Wireless Security Camera System. This system is designed to provide reliable 24/7 surveillance for your home or business, featuring high-definition video, motion detection, and remote access capabilities. Please read this manual thoroughly before using the product to ensure proper setup and optimal performance.
2. Package Contents
Before proceeding with installation, please verify that all items listed below are included in your package. If any items are missing or damaged, please contact SMONET customer support.

Image: Contents of the SMONET Wireless Security Camera System package, including the NVR, wireless IP cameras, power adapters, USB mouse, network cable, mounting screws, and user manual.
- 1 x 8-Channel 1080P Wireless NVR (Network Video Recorder) with 3TB HDD Pre-installed
- 4 x 1080P Wireless IP Cameras
- 1 x DC 12V/2A Power Adapter (for NVR)
- 4 x DC 12V/1A Power Adapters (for Cameras)
- 1 x USB Mouse
- 1 x 3.3ft Network Cable
- Mounting Screws and Wall Plugs
- 1 x User Manual
3. Setup Guide
The SMONET Wireless Security Camera System is designed for true plug-and-play setup. Follow these steps for initial installation:
3.1 NVR Connection
- Connect the NVR to a power outlet using the provided 12V/2A power adapter.
- Connect the USB mouse to a USB port on the NVR.
- Connect the NVR to a monitor or TV using an HDMI or VGA cable for local viewing.
- For remote access, connect the NVR's WAN port to your router's LAN port using the provided network cable.

Image: Diagram showing the various ports on the back of the NVR, including VGA, HDMI, WAN, USB, and power input, along with camera dimensions.
3.2 Camera Installation
- Connect each camera to a power outlet using its dedicated 12V/1A power adapter.
- Position the cameras in desired locations. The cameras are IP66 weatherproof, suitable for both indoor and outdoor use.
- The cameras will automatically pair with the NVR once powered on, displaying video feeds on the connected monitor.

Image: Illustration of the auto-pairing process between the wireless cameras and the NVR, highlighting the plug-and-play nature and 24/7 recording capability.
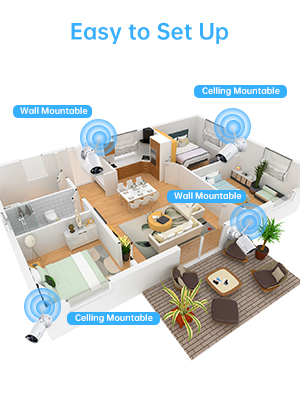
Image: A floor plan diagram illustrating various suitable mounting locations for cameras, including wall-mountable and ceiling-mountable options, to ensure optimal coverage.
3.3 Expanding the System
The NVR supports up to 8 cameras. You can add additional SMONET 1296P Indoor/Outdoor Wireless Security Cameras (ASIN: B01IR4TXA8) to expand your surveillance coverage.
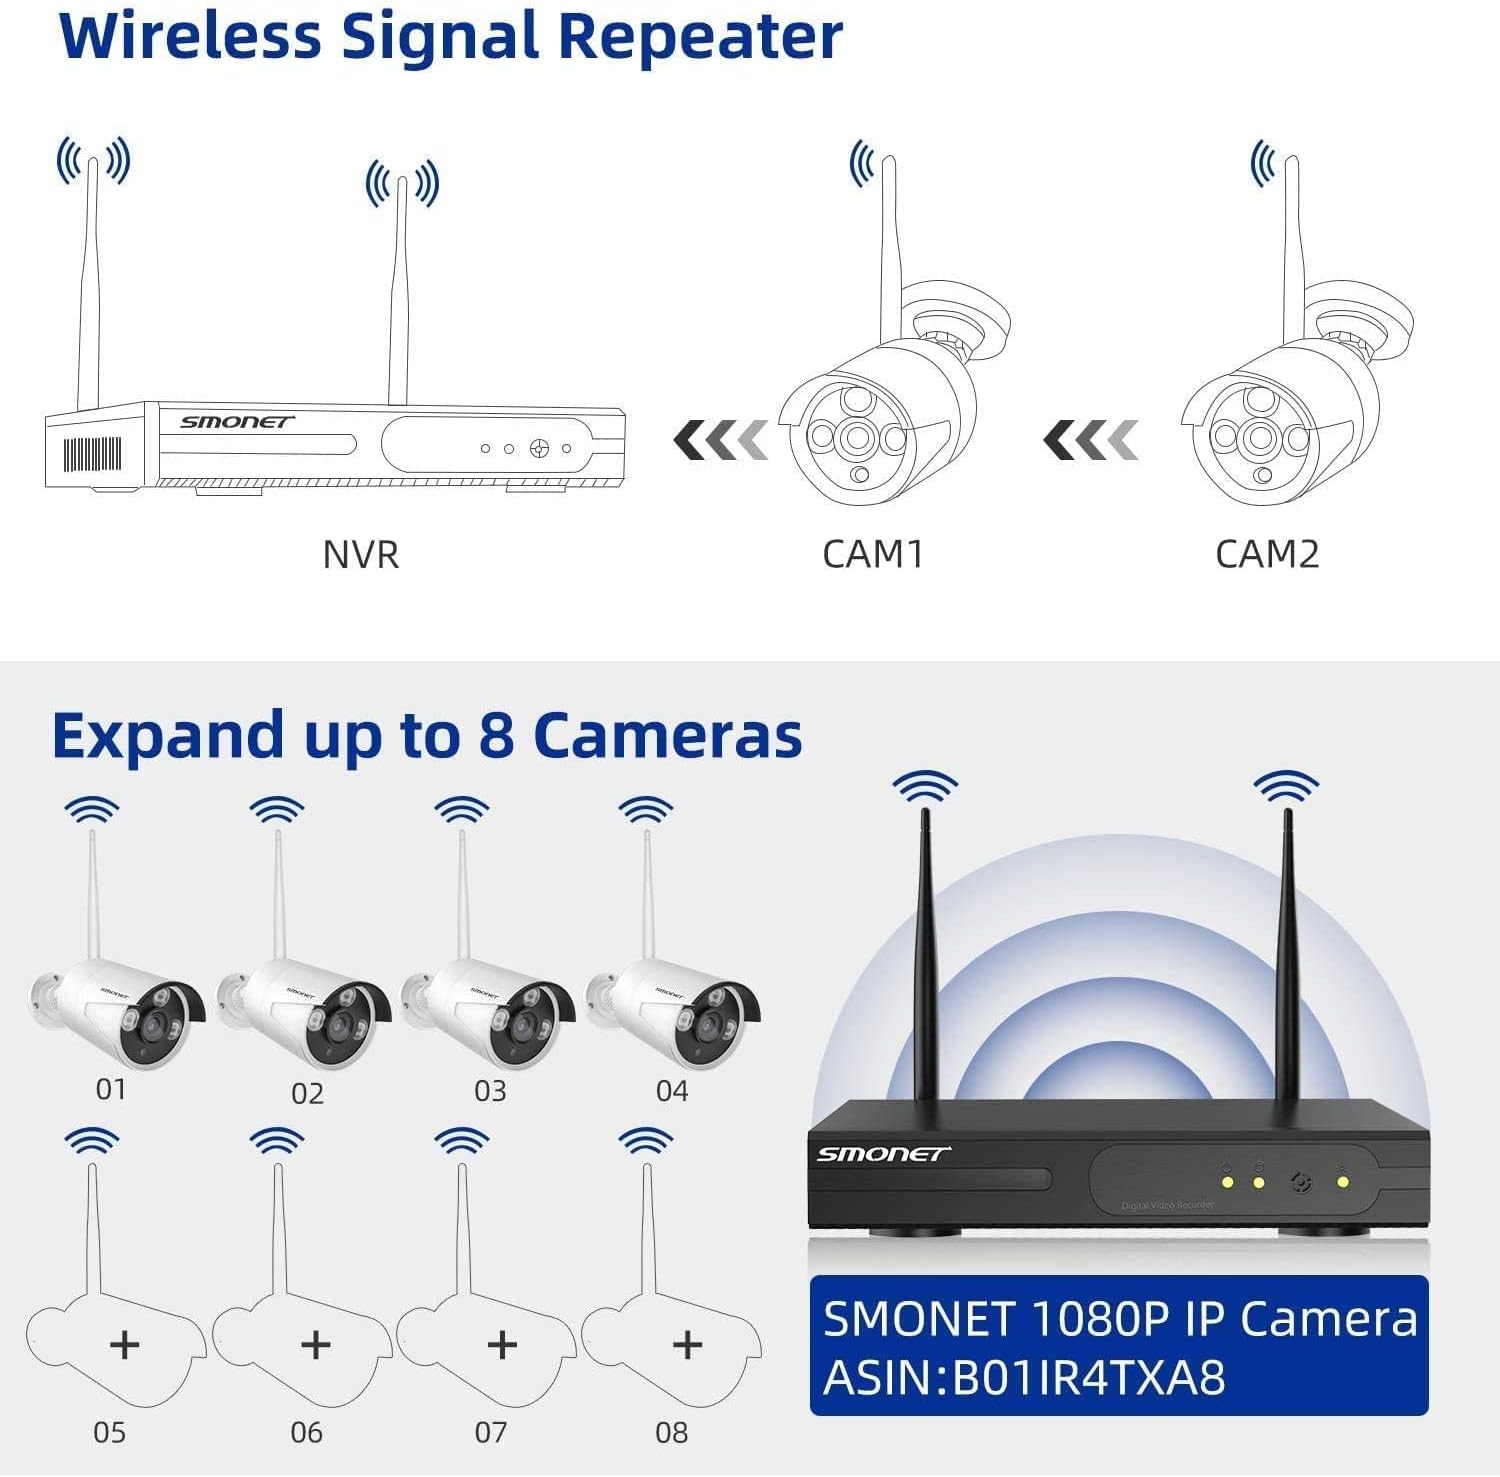
Image: Diagram showing how the NVR can act as a wireless signal repeater for cameras and illustrating the system's expandability to include up to 8 cameras.
4. Operating Instructions
4.1 Remote Monitoring and Playback
Access your camera feeds remotely using the free "Eseecloud" app on your Android or iOS device. You can view live video, play back recorded footage, and receive alerts from anywhere with an internet connection.
- Download the "Eseecloud" app from Google Play Store or Apple App Store.
- Register a new account and log in.
- Add your device by scanning the QR code on the NVR or manually entering its ID.
- You can now view live video and access playback via Wi-Fi or mobile data (4G/3G/2G).
For PC/Laptop viewing, contact smonet@mmllxx.com to obtain the necessary software.

Image: Illustration demonstrating remote access to camera feeds via various devices such as smartphones, tablets, laptops, and desktop PCs, showing live views from multiple cameras.
4.2 Motion Detection and Alerts
The system supports motion detection, which can trigger alerts and recording. When motion is detected, the system can send email alerts or app notifications to your registered device.
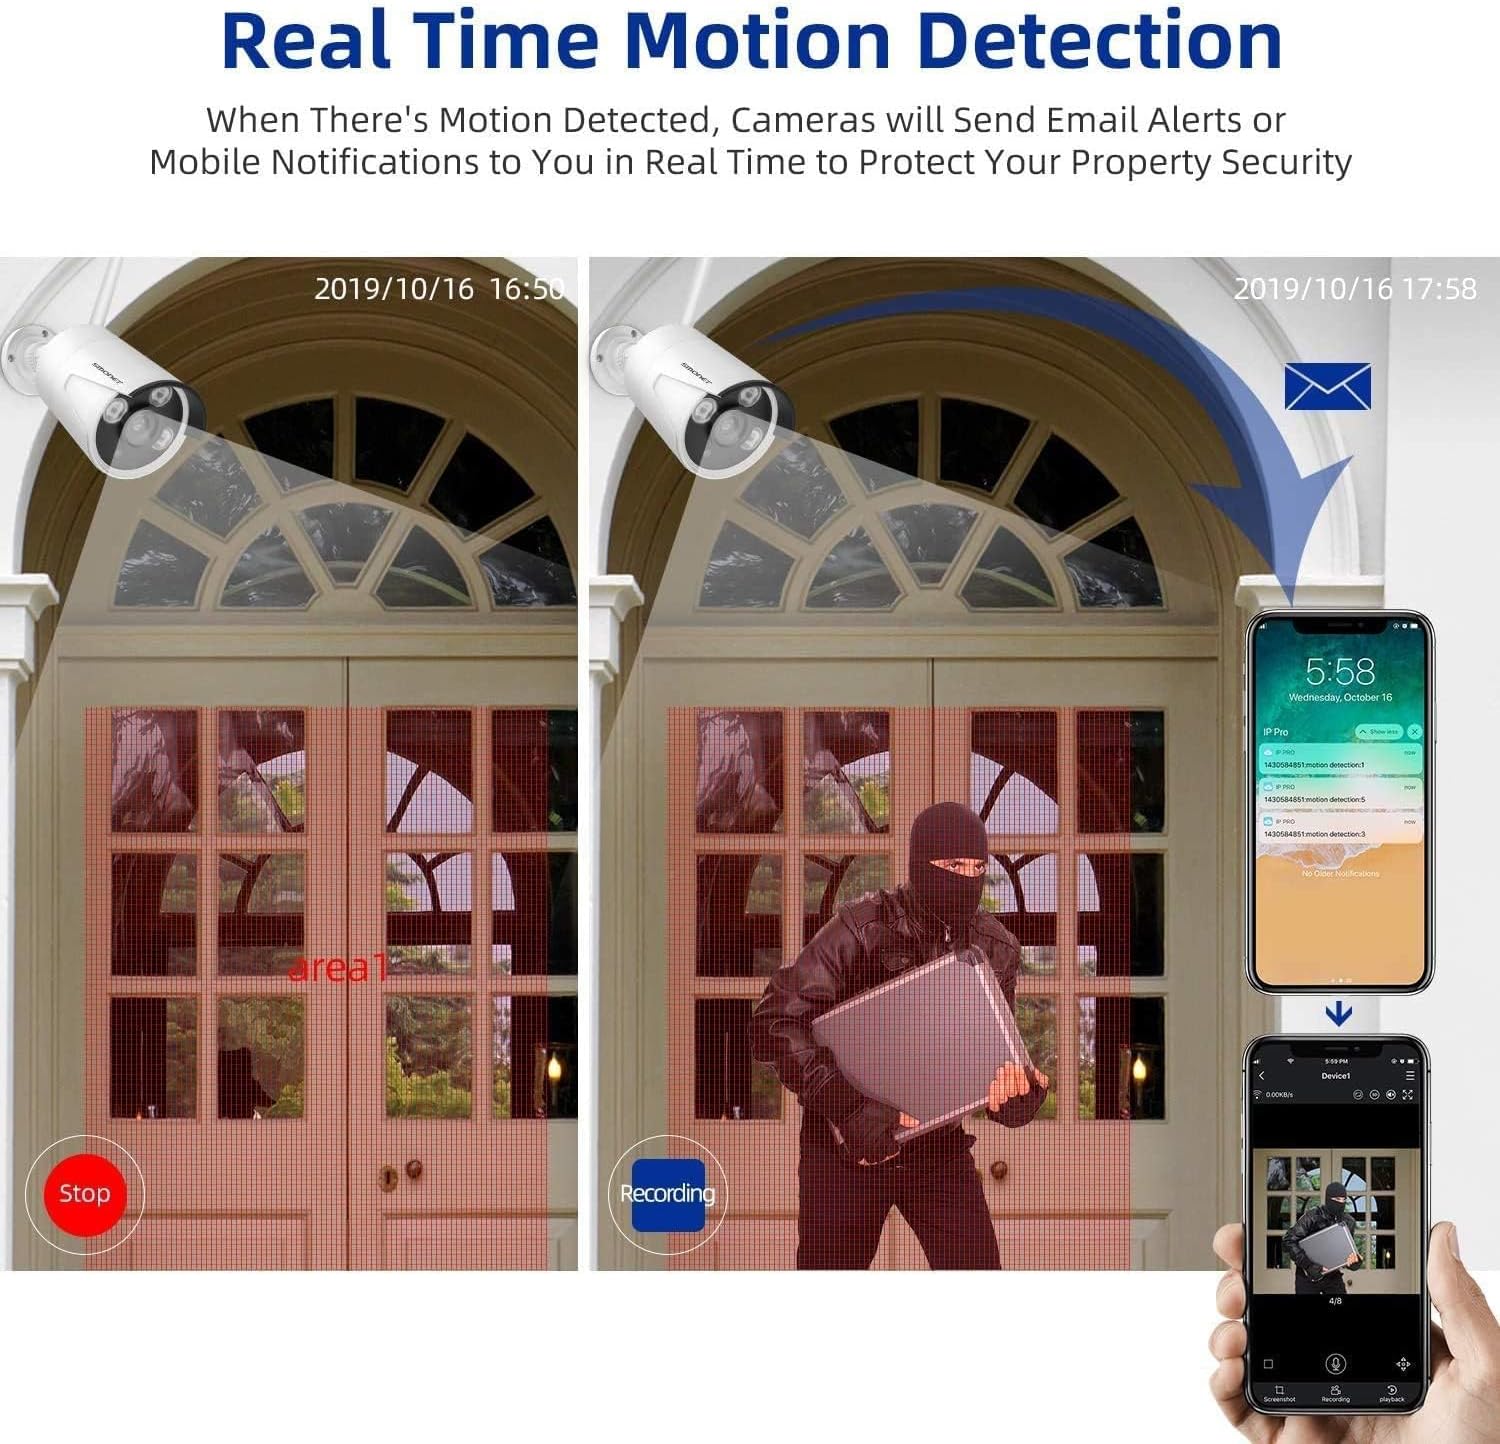
Image: A visual representation of real-time motion detection, showing a person entering a monitored area and the subsequent mobile notification and email alert.
5. Key Features
- Advanced H.264 PRO Video Compression: This technology improves transmission efficiency and delivers ultra HD image quality. Compared to H.264, H.264 PRO doubles the data compression ratio while improving video quality at low bitrates, enabling smooth HD video with low bandwidth and saving up to 50% video storage space.
- 1080P Full HD Resolution: Enjoy clear and detailed video footage.
- 24/7 Live Surveillance: The system provides continuous video recording and monitoring.
- Day and Night Vision: Cameras provide colorful day vision and clear infrared night vision for round-the-clock monitoring.
- IP66 Weatherproof Cameras: The cameras are built with durable metal housing, making them resistant to dust and water, suitable for various weather conditions.
- One-Way Audio: Some camera models may support one-way audio, allowing you to hear sound from the camera's location.
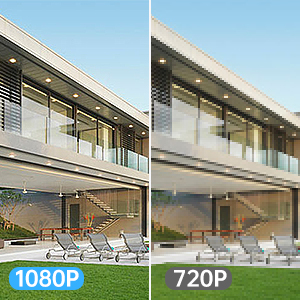
Image: A side-by-side comparison illustrating the superior clarity and detail of 1080P video resolution compared to 720P.
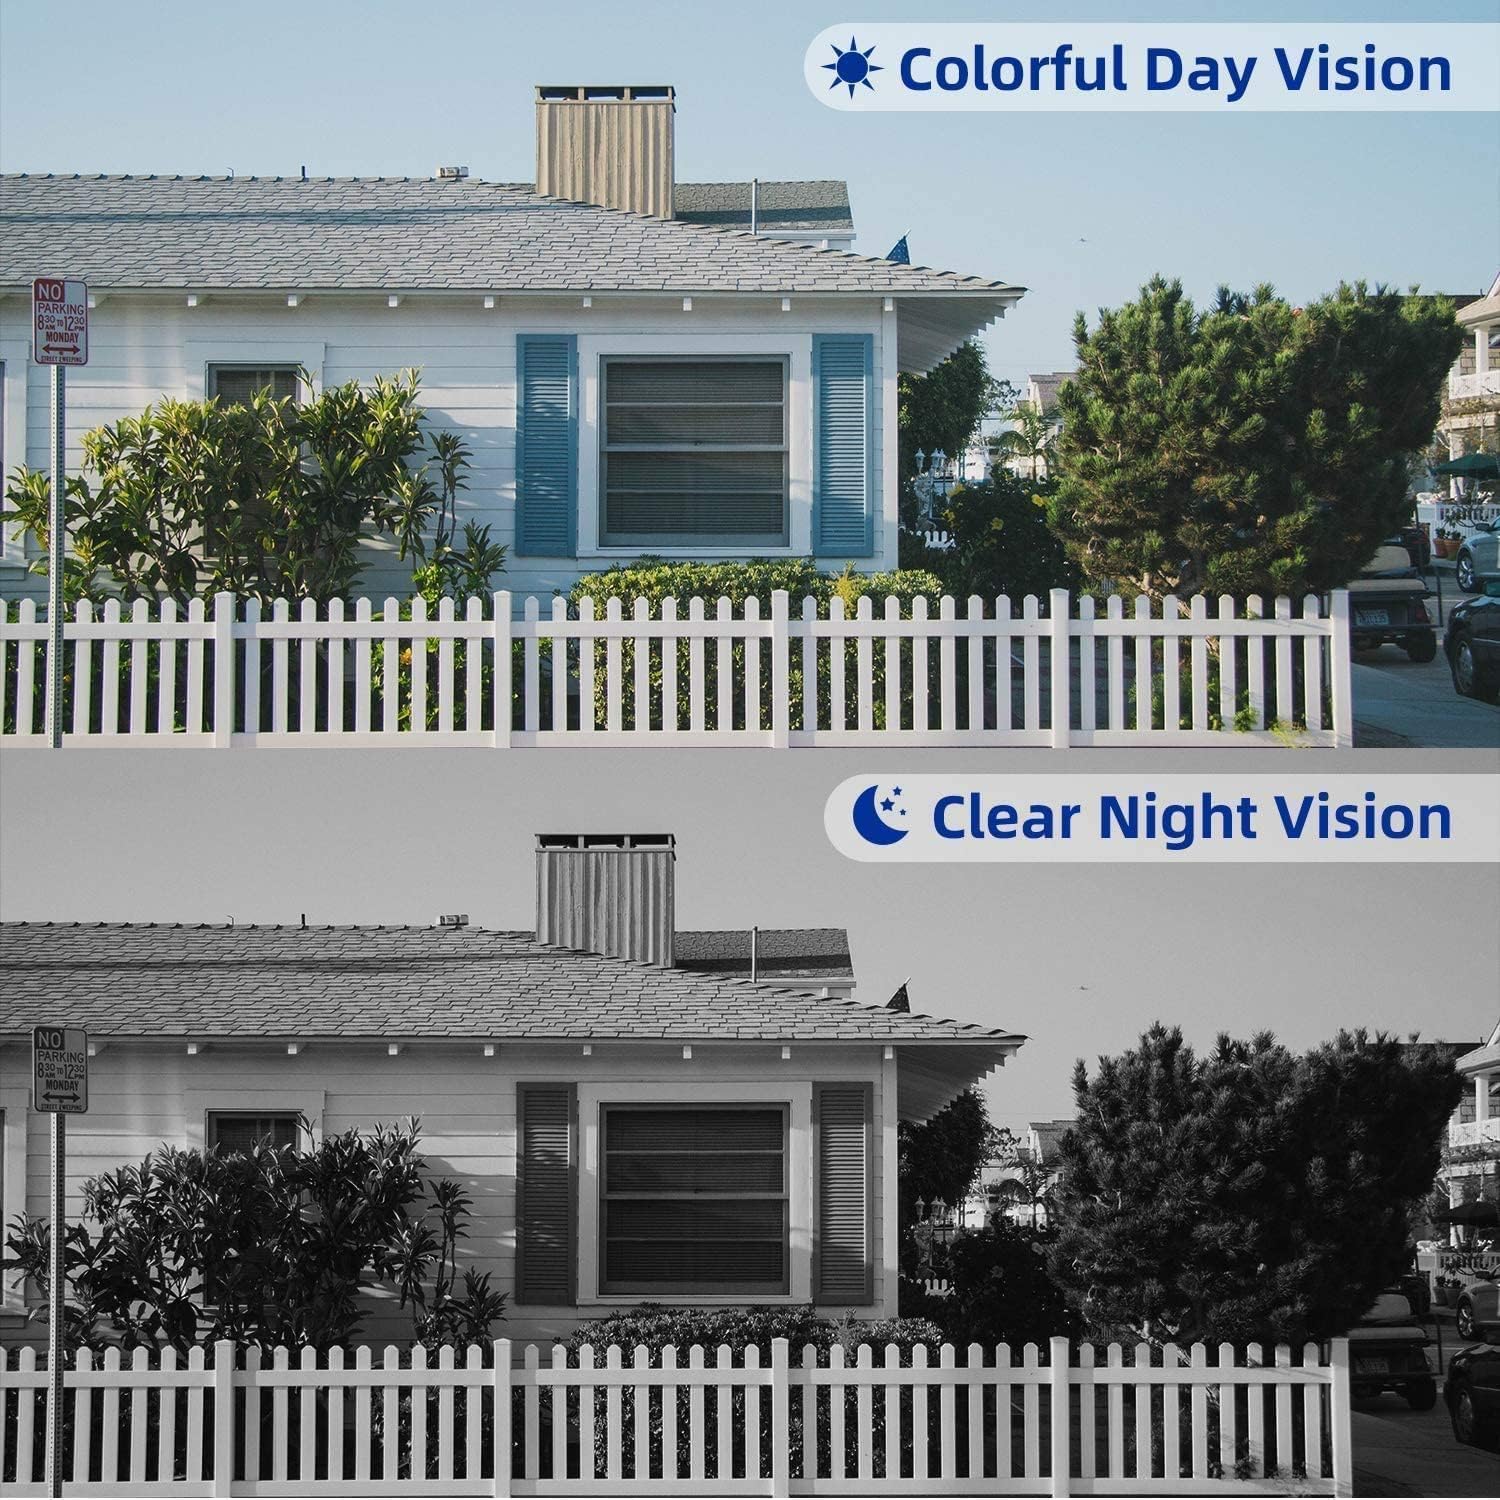
Image: A split image showing the same scene captured during the day with full color and at night in clear black and white infrared vision.
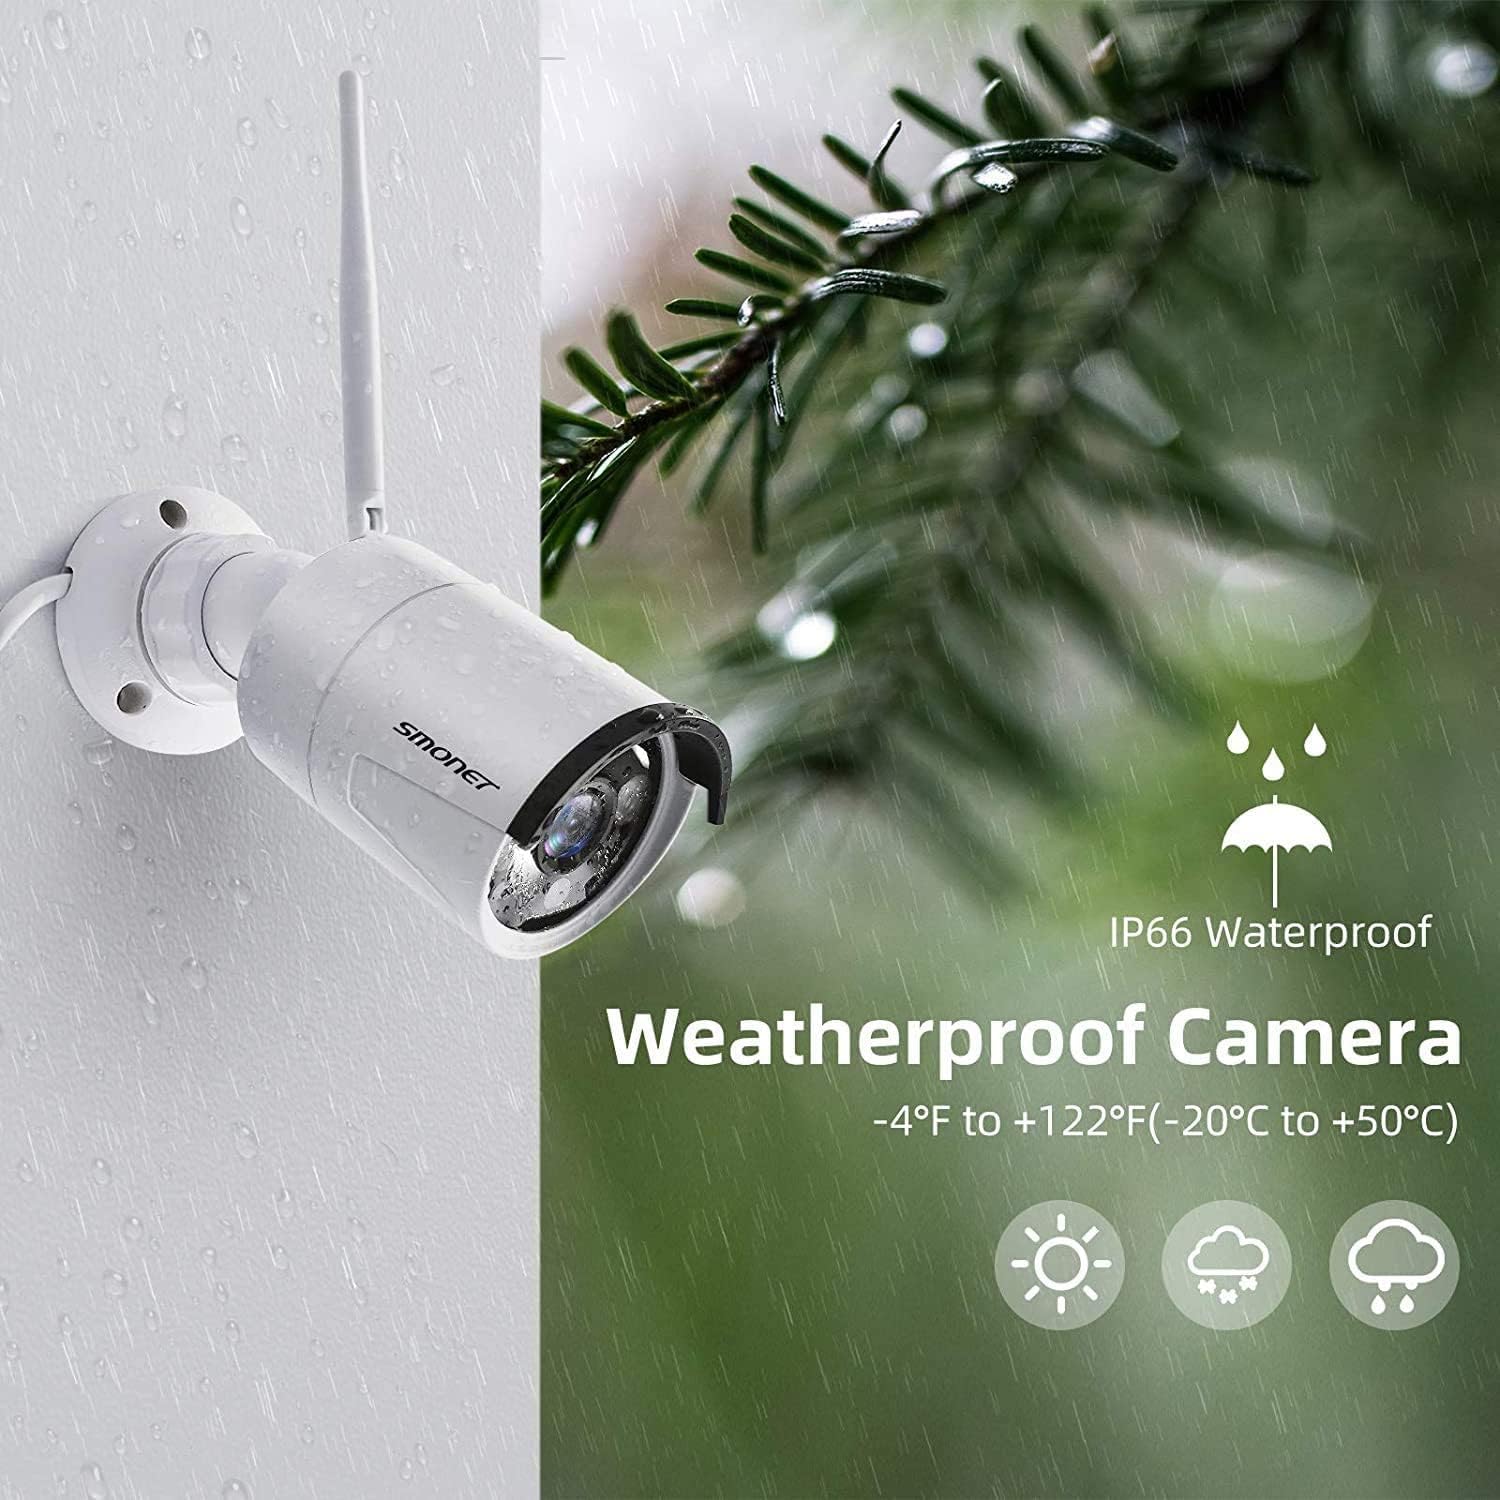
Image: A close-up of a SMONET camera with water droplets, illustrating its IP66 weatherproof rating and ability to withstand temperatures from -4°F to +122°F.

Image: An illustration showing a child drawing and a smartphone displaying the camera feed with a speech bubble indicating "Mom, I'm drawing," demonstrating the one-way audio capability.
6. Maintenance
Regular maintenance ensures the longevity and optimal performance of your security system:
- Clean Cameras: Periodically wipe the camera lenses with a soft, damp cloth to remove dust and dirt that may obstruct the view.
- Check Connections: Ensure all power and network cables are securely connected to prevent signal loss.
- Firmware Updates: Check the SMONET official website or contact support for any available firmware updates for your NVR and cameras to ensure the latest features and security patches.
- Hard Drive Health: Monitor the health of the pre-installed hard drive through the NVR's settings. Regularly back up important footage.
- Power Supply: Ensure stable power supply to both NVR and cameras. Avoid using unapproved power adapters.
7. Troubleshooting
If you encounter issues with your SMONET security system, refer to the following common troubleshooting tips:
- No Video Output on Monitor:
- Ensure the NVR is powered on and the power adapter is securely connected.
- Check the HDMI/VGA cable connection between the NVR and the monitor.
- Verify the monitor input source is correctly selected (HDMI/VGA).
- If using an older monitor, you may need to connect to a different monitor first to adjust the NVR's resolution settings.
- Cameras Not Displaying Video:
- Ensure each camera is powered on and its power adapter is securely connected.
- Verify the cameras are within the wireless range of the NVR. Obstacles like thick walls can reduce signal strength.
- Restart both the NVR and the cameras.
- Check if the cameras are properly paired with the NVR. Refer to the setup guide for auto-pairing.
- Remote Access Not Working:
- Ensure the NVR is connected to your router via the network cable and has internet access.
- Verify your mobile device has a stable internet connection (Wi-Fi or mobile data).
- Confirm you have correctly added the device to the "Eseecloud" app.
- Check your router's firewall settings; they might be blocking the connection.
- Hard Drive Not Recording/Faulty:
- Access the NVR's settings to check the hard drive status.
- Attempt to reformat the hard drive through the NVR's menu (this will erase all existing recordings).
- If the issue persists, the hard drive may be faulty and require replacement. Contact customer support.
For further assistance, please contact SMONET technical support.
8. Specifications
| Feature | Specification |
|---|---|
| Brand | SMONET |
| Model | SN-SMUS-W84101T-H5 |
| Connectivity Technology | Wireless |
| Video Capture Resolution | 1080p |
| Number of Channels | 8 |
| Memory Storage Capacity | 3 TB (Hard Drive) |
| Color | White |
| Power Source | Battery Powered (Note: Cameras and NVR require constant power from outlets, not battery operated for continuous use) |
| Item Dimensions (L x W x H) | 102.6 x 51 x 6.5 Centimetres |
| Recommended Uses | Office, Surveillance, Outdoor, Indoor, Security, Home |
| Special Features | Day-and-night camera, Wireless, Motion Detection |
| Material Type | Metal (Camera Housing) |
| Form Factor | Bullet (Cameras) |
| IP Rating | IP66 Weatherproof |
9. Warranty and Support
SMONET is committed to providing excellent customer service and support for your security system.
- Warranty: The SMONET Wireless Surveillance Camera System comes with a 1-year warranty.
- Technical Support: Enjoy lifetime free technical support. SMONET provides free brand-new parts for replacement if needed.
- Contact Information:
- Email Support: smonet@mmllxx.com
- CA Toll Free: (888) 792 5254 (Available after 5:30 PM Pacific Time)


