1. Introduction
The D-Link N300 Mesh Wi-Fi Range Extender (DAP-1325-US) is designed to expand the coverage of your existing wireless network. This device helps eliminate Wi-Fi dead zones and weak signal areas in your home or office, providing improved connectivity for your devices. It supports wireless N standards, offering connection speeds up to 300 Mbps, and is backward compatible with older wireless devices. The DAP-1325-US also features an Ethernet port for connecting wired devices.
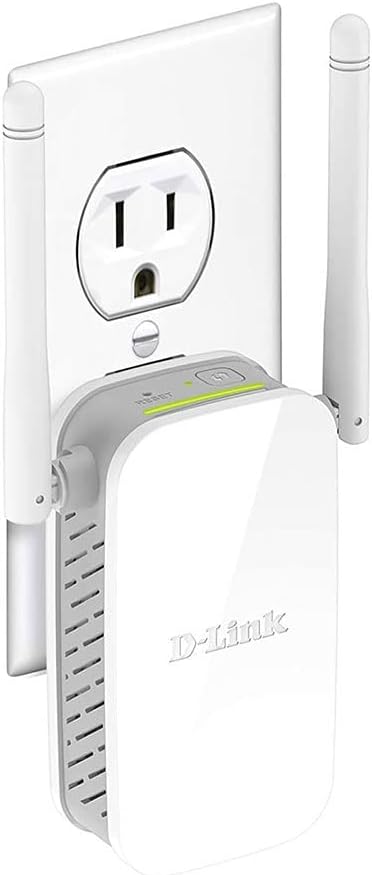
Image: The D-Link N300 Mesh Wi-Fi Range Extender (DAP-1325-US) shown plugged into a standard wall outlet, illustrating its compact, wall-plug design.
2. Package Contents
Verify that your package contains the following items:
- D-Link DAP-1325-US N300 Mesh Wi-Fi Range Extender
- Quick Installation Guide (QIG)
If any items are missing or damaged, please contact your local D-Link reseller.
3. Product Overview
3.1 Device Layout

Image: Top view of the D-Link DAP-1325-US, highlighting the Reset button and the WPS button.
- WPS Button: Used for quick setup with a WPS-enabled router.
- Reset Button: Press and hold to restore factory default settings.
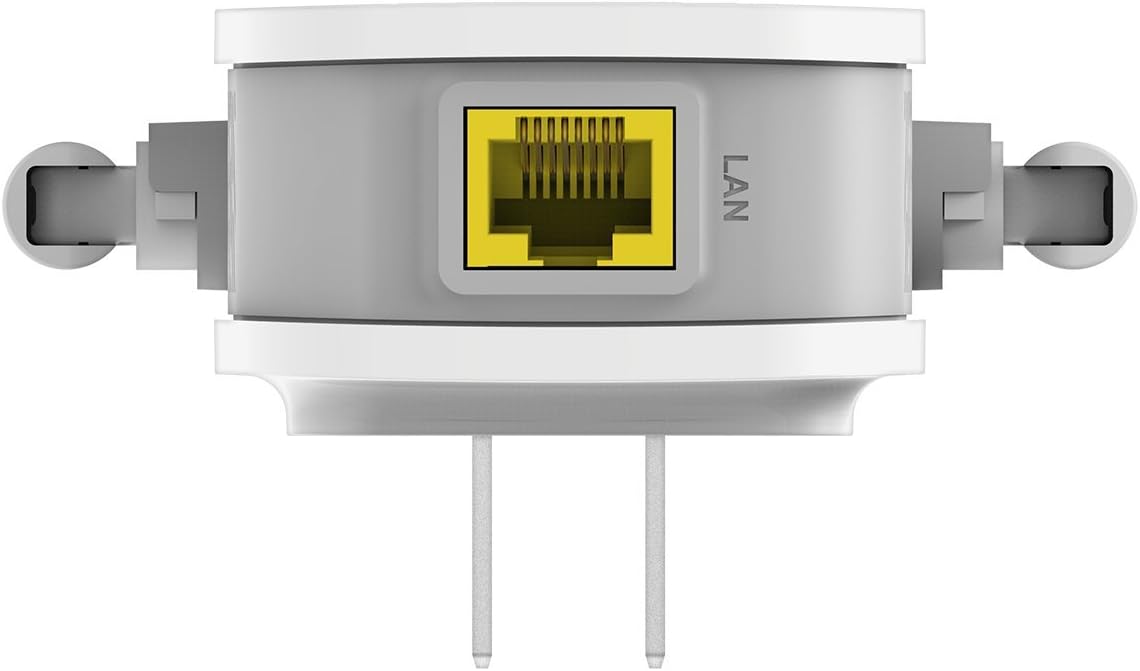
Image: Bottom view of the D-Link DAP-1325-US, showing the Ethernet (LAN) port.
- Ethernet (LAN) Port: Connects wired devices to your extended network.
3.2 LED Indicators
- Signal Indicator LED: Displays the strength of the signal from your router. Green indicates a good connection, amber indicates a fair connection, and red indicates a poor or no connection.
- Power LED: Indicates the power status of the device.
4. Setup
The D-Link DAP-1325-US offers multiple setup methods:
4.1 WPS (Wi-Fi Protected Setup) Method
- Plug the DAP-1325-US into a power outlet near your existing Wi-Fi router.
- Wait for the Power LED to turn solid green.
- Press the WPS button on your existing Wi-Fi router.
- Within two minutes, press the WPS button on the DAP-1325-US.
- The Signal Indicator LED on the DAP-1325-US will flash during connection and then turn solid green or amber when successfully connected.
- Once connected, unplug the DAP-1325-US and move it to a location between your router and the area where you need extended Wi-Fi coverage. Ensure the Signal Indicator LED remains solid green or amber in the new location for optimal performance.
4.2 QRS Mobile App Setup
For a guided setup using your smartphone or tablet:
- Download the D-Link QRS Mobile app from the App Store (iOS) or Google Play (Android).
- Plug the DAP-1325-US into a power outlet.
- Open the QRS Mobile app and follow the on-screen instructions to connect to the extender and configure its settings.
4.3 Web Browser Setup
You can also configure the extender using a web browser:
- Plug the DAP-1325-US into a power outlet.
- Connect your computer or mobile device to the extender's default Wi-Fi network (SSID and password can be found on the device label or Quick Installation Guide).
- Open a web browser and enter
http://dlinkap.local/or the IP address provided in the Quick Installation Guide. - Follow the on-screen setup wizard to configure the extender.
5. Operating Instructions
5.1 Optimal Placement
After initial setup, place the DAP-1325-US in a location that is roughly halfway between your wireless router and the area where you need to extend coverage. The Signal Indicator LED should be solid green or amber to ensure a strong connection to your router.
5.2 Connecting Devices
Once the extender is set up, devices in the extended coverage area can connect to the new Wi-Fi network created by the DAP-1325-US. If Mesh Smart Roaming is enabled, your devices will automatically connect to the strongest available Wi-Fi signal (either from your router or the extender) as you move around your home.
5.3 Using the Ethernet Port
The built-in Ethernet port allows you to connect a wired device, such as a desktop computer, gaming console, or smart TV, to your extended wireless network. Simply connect an Ethernet cable from your device to the LAN port on the DAP-1325-US.
6. Maintenance
- Cleaning: Use a soft, dry cloth to clean the device. Do not use liquid or aerosol cleaners.
- Firmware Updates: Periodically check the D-Link support website for firmware updates to ensure optimal performance and security.
- Restarting: If the device experiences issues, try unplugging it from the power outlet for 10 seconds and then plugging it back in.
7. Troubleshooting
7.1 No Internet Connection After Setup
- Ensure the DAP-1325-US is within range of your main router. The Signal Indicator LED should be solid green or amber.
- Verify that your main router has an active internet connection.
- Try restarting both your main router and the DAP-1325-US.
- If using WPS, ensure you pressed the WPS button on both devices within the two-minute window.
7.2 Slow Wi-Fi Speed
- Relocate the DAP-1325-US to a more central position between your router and devices. A solid green Signal Indicator LED is ideal.
- Reduce interference from other electronic devices (e.g., microwaves, cordless phones).
- Ensure your main router is providing adequate speed.
7.3 Cannot Access Web-Based Setup
- Ensure your device is connected to the extender's Wi-Fi network.
- Try using a different web browser.
- Clear your browser's cache and cookies.
- If
http://dlinkap.local/does not work, try using the extender's IP address (refer to your router's client list or the Quick Installation Guide).
7.4 Factory Reset
If all troubleshooting steps fail, you may need to perform a factory reset:
- With the DAP-1325-US powered on, use a paperclip to press and hold the Reset button for approximately 5-10 seconds until the Power LED blinks.
- Release the button and wait for the device to restart. All settings will be restored to factory defaults.
8. Specifications
| Feature | Specification |
|---|---|
| Model Number | DAP-1325-US |
| Wireless Type | 802.11g/n |
| Data Transfer Rate | Up to 300 Megabits Per Second |
| Frequency Band Class | Single-Band (2.4 GHz) |
| Ethernet Port | 1 x 10/100 Mbps LAN Port |
| Dimensions (LxWxH) | 3.26 x 2.71 x 3.86 inches |
| Item Weight | 3.52 ounces |
| Color | White |
| Special Feature | Foldable Antennas |
9. Safety Information
- Do not open the device or attempt to repair it.
- Keep the device away from water, fire, and high temperatures.
- Ensure proper ventilation around the device.
- Use only the power source specified for this device.
10. Warranty and Support
For warranty information and technical support, please refer to the documentation included with your product or visit the official D-Link website. D-Link provides various support resources, including FAQs, troubleshooting guides, and contact information for technical assistance.
D-Link Support Website: https://us.dlink.com/support