
1. Introduction
This manual provides detailed instructions for the installation, setup, and maintenance of your COUGAR 385GMU0.0001 Midi Tower PC Case. Please read this manual thoroughly before beginning installation to ensure proper assembly and safe operation.
The COUGAR 385GMU0.0001 is a Midi Tower PC case designed for various PC builds, supporting Mini ITX, MicroATX, and ATX motherboards. It features tempered glass panels for a clear view of internal components and robust construction.
2. Safety Information
Observe the following safety precautions to prevent damage to the product or injury to yourself:
- Always disconnect the power supply from the wall outlet before installing or removing any components.
- Handle tempered glass panels with care to avoid breakage.
- Avoid exposing the case to liquids or excessive humidity.
- Ensure proper ventilation around the case to prevent overheating.
- Keep small parts and packaging materials away from children.
3. Package Contents
Verify that all items are present in the package:
- COUGAR 385GMU0.0001 PC Case
- Accessory Box (screws, standoffs, cable ties, etc.)
- User Manual (this document)
4. Features Overview
The COUGAR 385GMU0.0001 PC Case offers the following key features:
- Tempered Glass Panels: Front and side panels for durability and aesthetic appeal.
- Midi Tower Design: Compatible with Mini ITX, MicroATX, and ATX motherboards.
- Optimized Cooling: Supports water cooling methods and multiple fan configurations.
- Convenient I/O Panel: Easily accessible front panel ports including USB.
- Efficient Cable Management: Designed for clean and organized internal wiring.

Figure 1: Front and side view of the COUGAR 385GMU0.0001 PC Case.
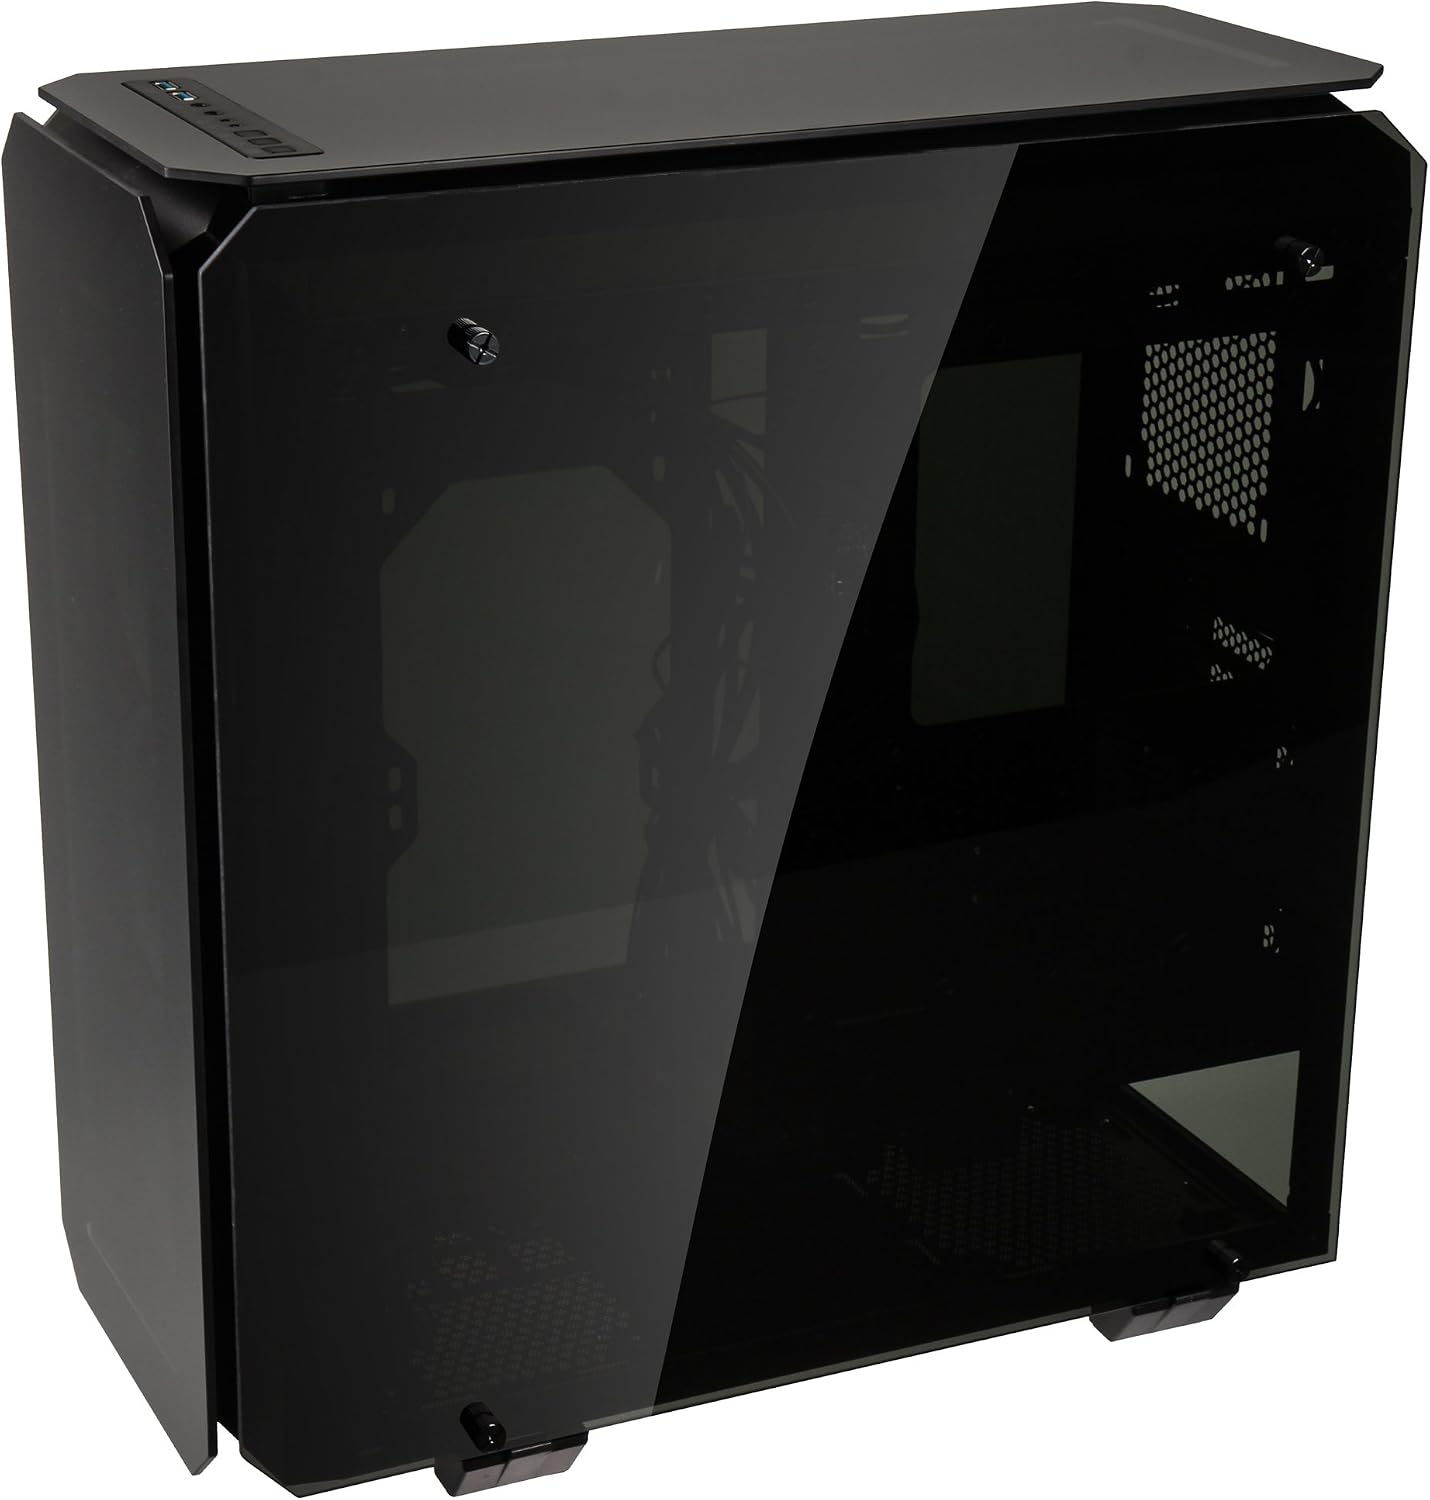
Figure 2: Side view of the COUGAR 385GMU0.0001 PC Case.
5. Setup and Installation
5.1 Unpacking the Case
- Carefully remove the PC case from its packaging.
- Place the case on a stable, flat surface.
- Remove any protective films from the tempered glass panels.
5.2 Removing Side Panels
To access the interior for component installation, remove the side panels:
- Locate the thumbscrews on the rear of the case securing the side panels.
- Unscrew the thumbscrews and carefully slide the tempered glass panel backward, then lift it off.
- Repeat for the other side panel if necessary.
5.3 Motherboard Installation
- Install the necessary motherboard standoffs into the motherboard tray according to your motherboard's form factor (Mini ITX, MicroATX, or ATX).
- Place the I/O shield into the rear opening of the case.
- Carefully align your motherboard with the standoffs and I/O shield, then gently lower it into place.
- Secure the motherboard with the provided screws.

Figure 3: Interior view of the PC case, showing the motherboard mounting area.
5.4 Power Supply Unit (PSU) Installation
The COUGAR 385GMU0.0001 supports rear-mounted power supplies.
- Slide the PSU into its designated compartment at the rear bottom of the case.
- Align the PSU with the screw holes on the rear panel.
- Secure the PSU with the provided screws.

Figure 4: View of the PSU shroud and drive bay area.
5.5 Storage Drive Installation
The case supports 3.5-inch hard disk form factors.
- Locate the drive bays, typically beneath the PSU shroud or behind the motherboard tray.
- Mount your 3.5-inch hard drives or 2.5-inch SSDs into the appropriate trays or mounting points.
- Secure the drives with screws.

Figure 5: Close-up of the drive bay area.
5.6 Connecting Front Panel Cables
Connect the front panel cables (USB, audio, power, reset, LED) to the corresponding headers on your motherboard. Refer to your motherboard manual for specific header locations.

Figure 6: Front I/O panel with USB ports and control buttons.
6. Operating Instructions
6.1 Powering On/Off
- Power On: Press the power button located on the front I/O panel.
- Power Off: Initiate a shutdown from your operating system. For a forced shutdown, press and hold the power button for several seconds.
6.2 Using Front Panel Ports
- USB Ports: Connect USB devices to the available USB ports on the front panel.
- Audio Jacks: Connect headphones or microphones to the audio input/output jacks.
- LED Control: If your case features integrated LED lighting, use the dedicated LED control button on the front panel to cycle through lighting modes or turn them off.
7. Maintenance
Regular maintenance helps ensure optimal performance and longevity of your PC case.
- Cleaning Dust Filters: Periodically remove and clean any dust filters to maintain good airflow.
- Cleaning Tempered Glass: Use a soft, lint-free cloth and a glass cleaner (non-abrasive) to clean the tempered glass panels. Avoid harsh chemicals.
- Internal Cleaning: Use compressed air to remove dust from internal components and fans. Ensure the system is powered off and unplugged before cleaning.
8. Troubleshooting
If you encounter issues with your PC case, consider the following common troubleshooting steps:
- No Power: Ensure all power cables are securely connected to the PSU, motherboard, and wall outlet. Check the power switch on the PSU.
- Fans Not Spinning: Verify that fan cables are correctly connected to the motherboard or fan controller.
- Front Panel Ports Not Working: Check that the front panel cables (USB, audio) are correctly connected to the motherboard headers.
- LEDs Not Lighting Up: Ensure the LED power cable is connected and try pressing the LED control button on the front panel.
For more complex issues, consult your component manuals or contact COUGAR support.
9. Specifications
| Feature | Specification |
|---|---|
| Brand | COUGAR |
| Model Number | 385GMU0.0001 |
| Case Type | Midi Tower |
| Color | Black |
| Material | Tempered Glass |
| Motherboard Compatibility | Mini ITX / MicroATX / ATX |
| Power Supply Mounting Type | Rear Mount |
| Cooling Method | Water (Support) |
| Item Weight | 4 kg |
| Hard Disk Form Factor | 3.5 inches (Support for 2.5 inches also implied) |
10. Warranty and Support
For warranty information, please refer to the warranty card included with your product or visit the official COUGAR website. For technical support or further assistance, please contact COUGAR customer service.
You can find more information and support resources on the COUGAR Store.