1. Introduction
This manual provides comprehensive instructions for the ASUS ZenBook Pro 15 UX580GE-XB74T laptop. It is designed to assist users in setting up, operating, maintaining, and troubleshooting their device. The ZenBook Pro 15 features a 15.6-inch UHD 4K touch display, an Intel Core i9-8950HK processor, NVIDIA GeForce GTX 1050 Ti graphics, 16GB DDR4 RAM, and a 512GB PCIe SSD. A key feature is the integrated ScreenPad, an interactive display that enhances multitasking and workflow efficiency.
2. Package Contents
Verify that all items are present in the package before proceeding with setup. If any item is missing or damaged, contact your retailer.
- ASUS ZenBook Pro 15 UX580GE-XB74T Laptop
- Power Adapter & Cord
- USB 3.0 to RJ45 Cable (Ethernet Adapter)
- User Guide (this document)
- Warranty Card
3. Product Overview
Familiarize yourself with the main components and features of your ASUS ZenBook Pro 15 laptop.
3.1 Laptop Exterior

Figure 3.1: Angled view of the ASUS ZenBook Pro 15 laptop with the display open.
The laptop features a sleek design with a 15.6-inch display and a distinct ScreenPad below the keyboard.
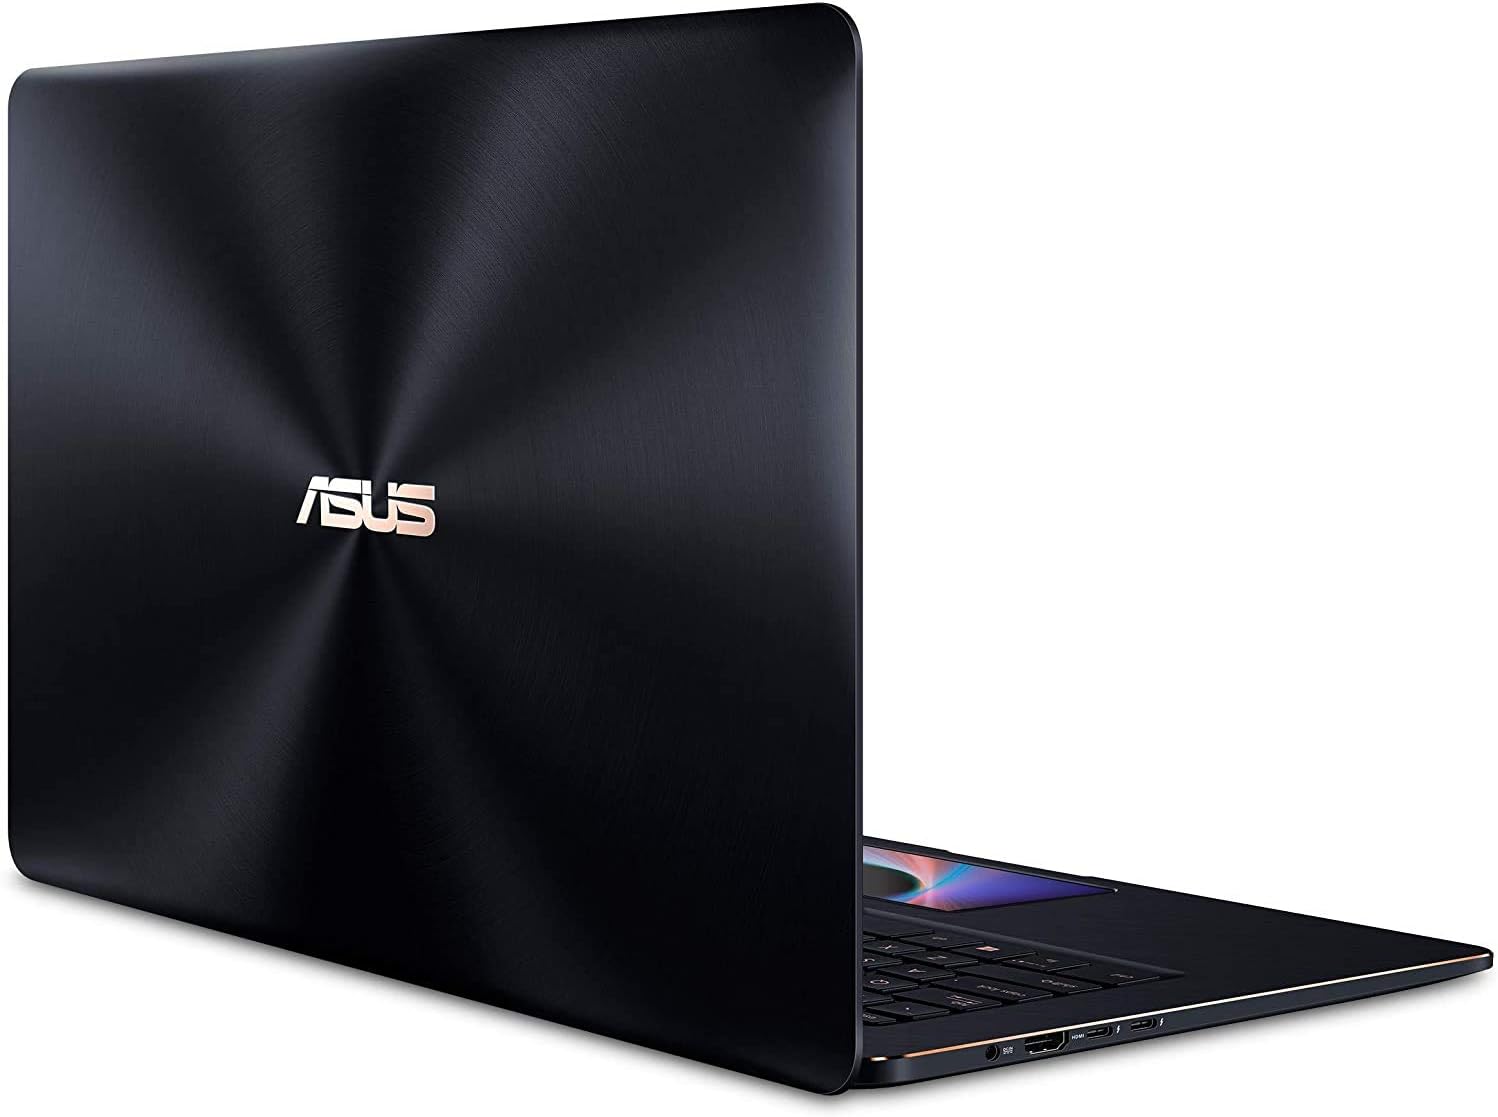
Figure 3.2: Rear view of the ASUS ZenBook Pro 15, showcasing the chassis design.
3.2 Keyboard and ScreenPad

Figure 3.3: Top-down view of the keyboard and ScreenPad. The ScreenPad is located where a traditional touchpad would be.
The full-size keyboard includes a backlight for use in low-light conditions. The ScreenPad functions as both a traditional touchpad and a secondary interactive display.

Figure 3.4: The ScreenPad in action, showing various application shortcuts and controls.
3.3 Ports and Connectors

Figure 3.5: Detailed view of the laptop's side ports, including USB, HDMI, and power input.
- Left Side: Power input (DC-IN), HDMI port, 2x USB-C (Thunderbolt 3 compatible) ports.
- Right Side: Audio jack, MicroSD card reader, 2x USB 3.0 ports.
4. Setup
4.1 Connecting the Power Adapter
- Connect the AC power cord to the AC adapter.
- Plug the DC output connector of the AC adapter into the laptop's power input port (DC-IN).
- Plug the AC power cord into a wall outlet.
It is recommended to fully charge the battery before initial use.
4.2 Initial Power-On and Windows Setup
- Open the laptop lid.
- Press the power button, typically located on the top-right of the keyboard.
- Follow the on-screen instructions to complete the Windows 10 Pro setup process. This includes selecting your region, language, accepting terms, and creating a user account.
5. Operating Instructions
5.1 Using the ScreenPad
The ScreenPad offers an interactive display experience. It can function as a traditional touchpad or as a secondary screen for various applications and shortcuts.
- Touchpad Mode: By default, the ScreenPad operates as a precision touchpad for cursor control.
- ScreenPad Mode: Tap the F6 key (or the dedicated ScreenPad key if present) to switch between touchpad mode and ScreenPad mode. In ScreenPad mode, you can launch applications, use quick access tools, or extend your main display onto the ScreenPad.
- Customization: Access ScreenPad settings to customize shortcuts, application layouts, and display preferences.
5.2 Keyboard Functions
The keyboard includes function keys (F1-F12) that can be activated by pressing the 'Fn' key in combination with the desired function key. Common functions include:
- Brightness Control: Adjust screen brightness.
- Volume Control: Adjust audio volume.
- Keyboard Backlight: Toggle or adjust keyboard illumination.
- Wireless On/Off: Enable or disable Wi-Fi and Bluetooth.
5.3 Touch Display Usage
The 15.6-inch UHD 4K display supports touch input. Use gestures similar to those on a smartphone or tablet for navigation, zooming, and interaction with applications.
5.4 Connecting External Devices
- USB Devices: Connect USB peripherals (e.g., mouse, keyboard, external drives) to the USB 3.0 or USB-C ports.
- External Display: Use the HDMI port or a USB-C to DisplayPort/HDMI adapter to connect an external monitor.
- Network: Use the provided USB 3.0 to RJ45 cable to connect to a wired Ethernet network.
- Wireless: The laptop supports dual-band Wi-Fi 5 (802.11ac) and Bluetooth for wireless connectivity. Ensure these are enabled in Windows settings.
6. Maintenance
6.1 Cleaning the Laptop
- Always power off the laptop and disconnect the power adapter before cleaning.
- Use a soft, lint-free cloth slightly dampened with water or a specialized screen cleaner for the display. Avoid harsh chemicals.
- For the keyboard and chassis, use a soft, dry cloth. A can of compressed air can remove dust from crevices.
6.2 Battery Care
- Avoid exposing the laptop to extreme temperatures.
- For optimal battery longevity, avoid frequently discharging the battery completely.
- If storing the laptop for an extended period, ensure the battery is charged to approximately 50-60%.
6.3 Software Updates
Regularly update your Windows operating system and ASUS drivers to ensure optimal performance, security, and compatibility. Check for updates through Windows Update and the ASUS support website.
7. Troubleshooting
This section addresses common issues you might encounter with your laptop.
- Laptop does not power on: Ensure the power adapter is securely connected and the wall outlet is functional. Try pressing and holding the power button for 15-20 seconds to perform a hard reset.
- Screen is blank: Check if the laptop is powered on. Adjust screen brightness using function keys. If an external monitor is connected, ensure it is properly configured.
- ScreenPad is unresponsive: Ensure the ScreenPad is in the correct mode (not touchpad mode). Restart the ScreenPad software or the laptop.
- Wi-Fi or Bluetooth not working: Verify that wireless functions are enabled via function keys or Windows settings. Check device drivers in Device Manager.
- Overheating: Ensure ventilation vents are clear of obstructions. Use the laptop on a hard, flat surface. Update drivers and check background processes.
For more detailed troubleshooting or issues not covered here, refer to the ASUS support website or contact ASUS customer service.
8. Specifications
The following table outlines the technical specifications of the ASUS ZenBook Pro 15 UX580GE-XB74T.
| Feature | Specification |
|---|---|
| Model Name | ASUS ZenBook Pro 15 UX580GE-XB74T |
| Standing Screen Display Size | 15.6 Inches |
| Max Screen Resolution | 3840 x 2160 Pixels (UHD 4K) |
| Processor | Intel Core i9-8950HK (4.8 GHz) |
| RAM | 16 GB DDR4 (2400 MHz) |
| Hard Drive | 512 GB PCIe SSD |
| Graphics Coprocessor | NVIDIA GeForce GTX 1050 Ti |
| Graphics Card Ram Size | 4 GB Dedicated |
| Wireless Type | 802.11ac (Wi-Fi 5), Bluetooth |
| Number of USB 3.0 Ports | 2 |
| USB-C Ports | 2 (Thunderbolt 3 compatible) |
| Operating System | Windows 10 Pro |
| Item Weight | 5.5 pounds |
| Product Dimensions | 14.1 x 9.7 x 0.9 inches |
| Color | Black |
| Special Feature | Backlit Keyboard, Touch Screen, ScreenPad |
9. Warranty and Support
Your ASUS ZenBook Pro 15 UX580GE-XB74T laptop comes with a limited warranty. Please refer to the included Warranty Card for detailed terms and conditions, including coverage period and service procedures.
For technical support, driver downloads, or further assistance, please visit the official ASUS support website or contact ASUS customer service directly. Contact information can typically be found on the ASUS website or in your warranty documentation.


