1. Product Overview
This manual provides essential information for the eBuilderDirect Kwikset compatible rekey bottom pins, specifically size #5 (0.264 inches). These pins are designed for locksmiths and individuals performing rekeying operations on Kwikset lock cylinders. Proper use ensures correct keying and reliable lock function.
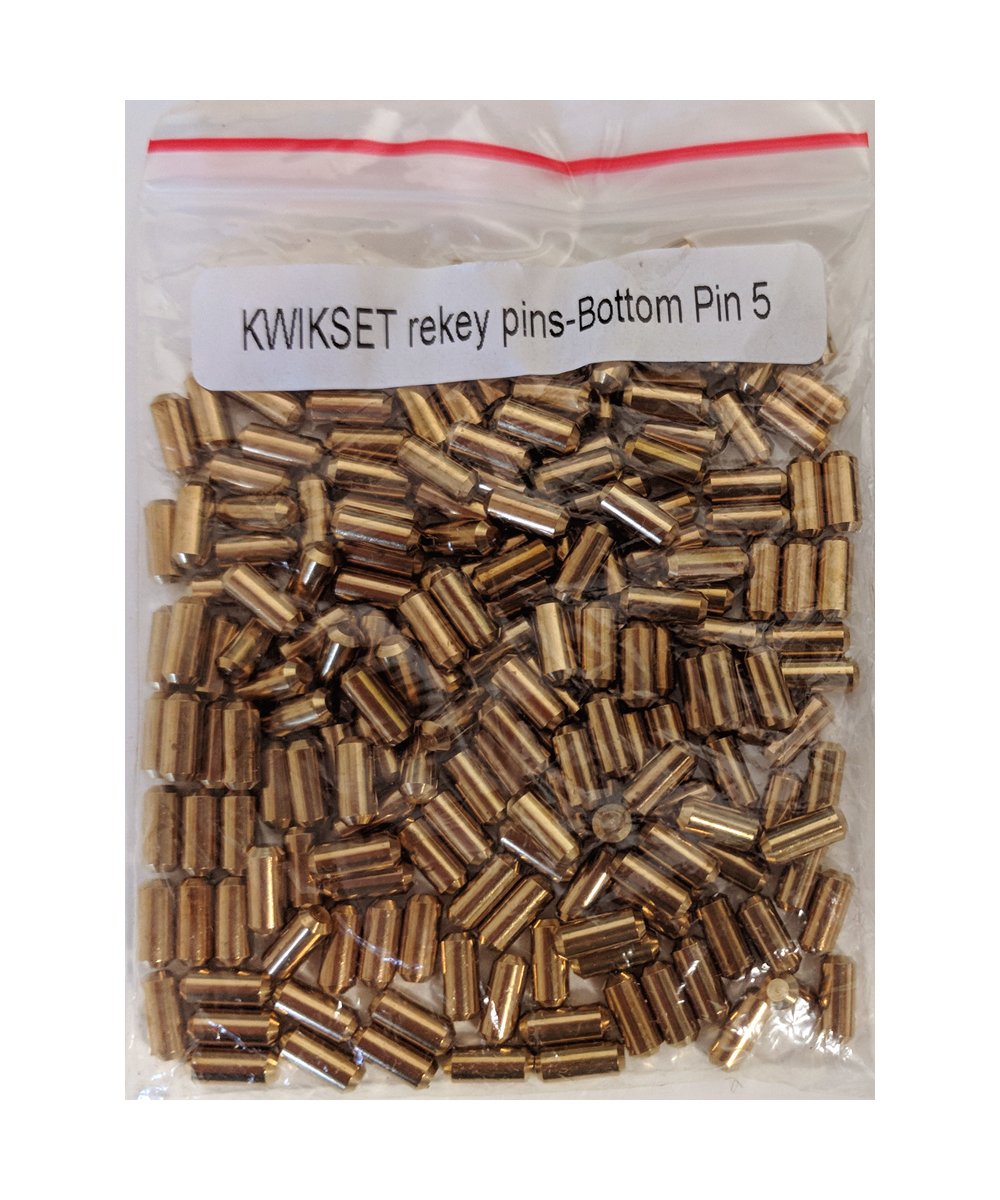
Figure 1: A package of eBuilderDirect Kwikset compatible rekey bottom pins, size #5 (0.264 inches). The image displays the brass pins, indicating their quantity and specific size for rekeying Kwikset lock cylinders.
2. Product Features
- Quantity: Contains 200 pieces of rekey bottom pins.
- Compatibility: Specifically designed to be compatible with Kwikset lock cylinders.
- Size: #5 bottom pins, measuring 6.69 mm (0.264 inches).
- Material: Constructed from durable brass for reliable performance.
- Purpose: Essential components for rekeying Kwikset residential and commercial locks.
3. Specifications
| Specification | Detail |
|---|---|
| Brand | eBuilderDirect |
| Model Number | EBD-K-Bottom-200-Pins |
| Pin Type | Bottom Pin |
| Size | #5 (0.264 inches / 6.69 mm) |
| Material | Brass |
| Quantity | 200 Pieces |
| Color | Brass |
| Item Weight | 5 ounces |
| UPC | 761620027395 |
4. Setup and Installation (Rekeying Process)
These bottom pins are components used in the rekeying of Kwikset lock cylinders. The rekeying process typically requires specialized tools and knowledge. This section outlines the role of these pins in the process.
- Disassembly: Carefully disassemble the Kwikset lock cylinder according to manufacturer instructions. This usually involves removing the plug from the cylinder housing.
- Pin Removal: Remove the existing bottom pins, master pins (if present), and top pins from the plug and cylinder housing. Note the position and size of each pin if you are attempting to duplicate an existing keying.
- Key Insertion: Insert the new key you wish to use into the lock plug. The key's bitting will align the bottom pin chambers.
- Bottom Pin Placement: Select the appropriate size bottom pins (e.g., #5, 0.264") based on the new key's bitting and the desired shear line. Place these bottom pins into the key chambers of the plug. The top of each bottom pin should be flush with the shear line when the new key is fully inserted.
- Top Pin and Spring Placement: Place the corresponding top pins and springs into the cylinder housing chambers, above the bottom pins.
- Reassembly: Carefully reassemble the lock cylinder, ensuring all pins and springs are correctly seated and the plug rotates freely with the new key. Test the lock function thoroughly before final installation.
Note: Rekeying requires precision. If you are unfamiliar with the process, it is recommended to consult a professional locksmith.
5. Operation
Once correctly installed, the eBuilderDirect Kwikset compatible bottom pins, in conjunction with the top pins and springs, create the unique keying for your lock. When the correct key is inserted, the cuts on the key align the bottom pins and top pins at the shear line, allowing the cylinder plug to rotate and operate the lock mechanism. If an incorrect key is used, the pins will not align, preventing the plug from turning.
6. Maintenance
Proper maintenance of your lock cylinder, where these pins reside, ensures longevity and smooth operation.
- Lubrication: Periodically apply a graphite-based lubricant or a silicone-free lock lubricant into the keyway. Avoid oil-based lubricants as they can attract dirt and debris, potentially fouling the pins.
- Cleanliness: Keep the keyway free from dirt, dust, and foreign objects. Accumulated debris can interfere with pin movement.
- Key Care: Use only clean, undamaged keys. Worn or bent keys can damage the pins and internal lock mechanisms over time.
- Professional Inspection: If the lock becomes difficult to operate or the key sticks, consider having a locksmith inspect the cylinder for worn pins or other internal issues.
7. Troubleshooting
If you encounter issues after rekeying or during normal lock operation, consider the following:
- Key Does Not Insert Fully: Check for obstructions in the keyway. Ensure the key is not bent or damaged. If rekeying, verify that the bottom pins are correctly sized and seated.
- Key Inserts but Does Not Turn: This is a common rekeying issue. It indicates that the pins are not aligning correctly at the shear line.
- Verify that the correct size bottom pins were used for each chamber according to the new key's bitting.
- Ensure no pins are stuck or binding due to debris or incorrect placement.
- Check that top pins and springs are correctly installed and not inverted or damaged.
- Key Turns but Does Not Unlock: This suggests a mechanical issue beyond the pin tumblers, possibly with the cam or tailpiece connecting to the bolt mechanism. Inspect these components for damage or incorrect assembly.
- Stiff Operation: Apply a suitable lock lubricant. If stiffness persists, the pins or other internal components might be worn or misaligned.
For persistent issues, professional locksmith assistance is recommended.
8. Warranty Information
eBuilderDirect products are manufactured to high standards. For specific warranty details regarding these Kwikset compatible rekey bottom pins, please refer to the product packaging or contact eBuilderDirect directly. General warranties typically cover manufacturing defects.
9. Support and Contact
If you require further assistance, have questions about the product, or need to report an issue, please contact eBuilderDirect customer support.
- Manufacturer: eBuilderDirect
- Website: Visit the eBuilderDirect Store on Amazon
- For direct contact information, please refer to your purchase documentation or the eBuilderDirect website.


