
1. Introduction
The Whirlpool WPPRO 2000 Air Purifier is designed to improve indoor air quality by filtering airborne particles and odors. This manual provides essential information for the safe and efficient operation, maintenance, and troubleshooting of your air purifier. Please read these instructions thoroughly before use and retain them for future reference.
2. Important Safety Information
To reduce the risk of fire, electric shock, or injury, always follow basic safety precautions when operating this appliance.
- Read all instructions before operating the air purifier.
- Ensure the power supply voltage matches the rating label on the unit.
- Do not operate the unit with a damaged cord or plug.
- Keep the power cord away from heated surfaces.
- Do not insert fingers or foreign objects into any openings.
- Unplug the air purifier from the power outlet before moving, cleaning, or performing any maintenance.
- Do not use the unit near water or in excessively humid environments.
- This appliance is not intended for use by persons (including children) with reduced physical, sensory, or mental capabilities, or lack of experience and knowledge, unless they have been given supervision or instruction concerning use of the appliance by a person responsible for their safety.
3. Package Contents
Verify that all items are present in the package:
- Whirlpool WPPRO 2000 Air Purifier Unit
- Pre-filter (Activated Carbon Filter)
- True HEPA Filter
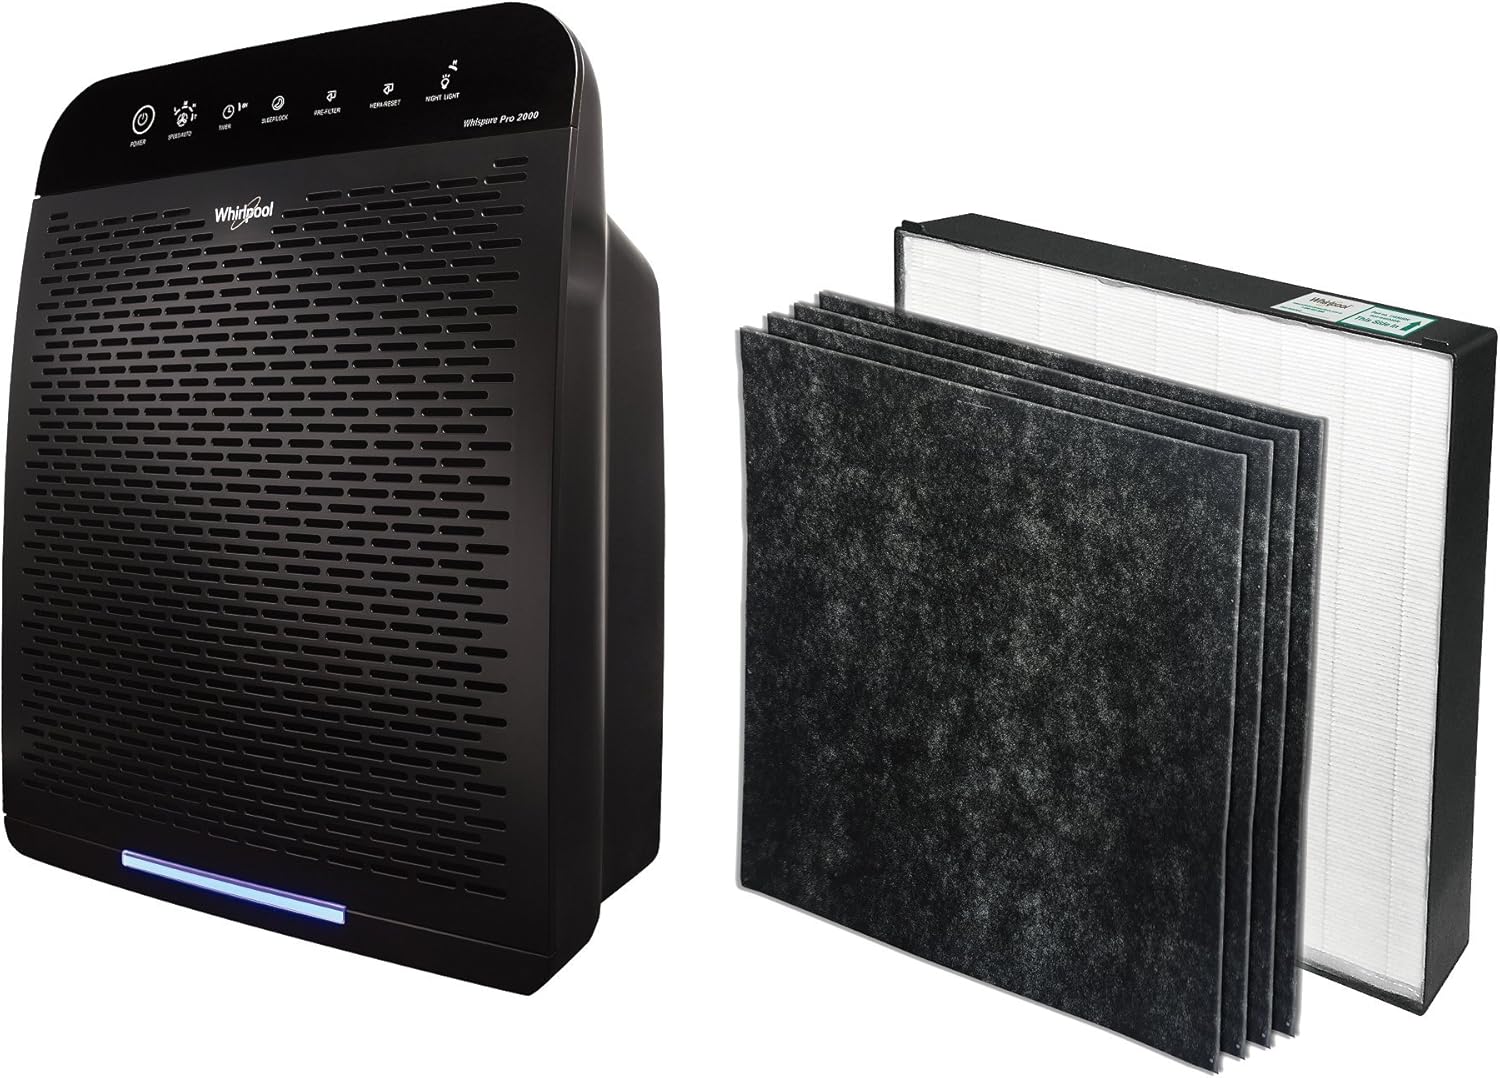
Image 3.1: The Whirlpool WPPRO 2000 Air Purifier unit shown alongside its activated carbon pre-filters and True HEPA filter.
4. Setup
4.1 Unpacking and Placement
- Carefully remove the air purifier from its packaging.
- Place the unit on a firm, level surface.
- Ensure there is at least 6 inches (15 cm) of clear space around all sides of the unit for proper airflow. Avoid placing it directly against walls or furniture.
4.2 Filter Installation
The filters are typically pre-installed but may require removal of protective packaging before first use.
- Locate the front grille of the air purifier.
- Gently pull the front grille to detach it. It is secured by magnetic latches.
- Remove any plastic packaging from the Pre-filter and True HEPA Filter.
- Insert the True HEPA filter first, ensuring it is seated correctly.
- Place the Activated Carbon Pre-filter in front of the HEPA filter.
- Reattach the front grille, ensuring it clicks securely into place.

Image 4.1: Exploded view showing the front grille, pre-filter, HEPA filter, and mainframe assembly of the air purifier.
5. Operating Instructions
The Whirlpool WPPRO 2000 features an electronic touch screen control panel for easy operation.
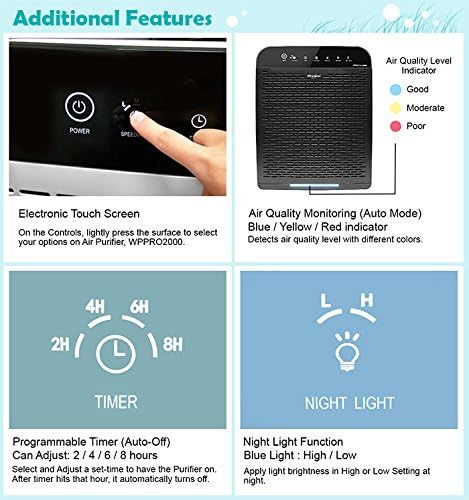
Image 5.1: Close-up of the control panel, indicating Power, Fan Speed, Timer, Sleep Mode/Control Lock, Filter Status Lights, and Night Light buttons.
5.1 Control Panel Overview
- Power Button: Turns the unit on or off.
- Fan Speed/Auto Button: Cycles through fan speeds (Low, Medium, High, Turbo) and activates Auto Mode.
- Timer Button: Sets the auto-off timer for 2, 4, 6, or 8 hours.
- Sleep Mode/Control Lock Button: Activates Sleep Mode for quiet operation and dims lights. Press and hold to activate/deactivate Child Safety Lock.
- Pre-Filter Reset Button: Indicates when to replace the Pre-filter and resets the timer after replacement.
- HEPA Filter Reset Button: Indicates when to replace the HEPA filter and resets the timer after replacement.
- Night Light Button: Adjusts the night light brightness (Low/High) or turns it off.
- Air Quality Indicator: Displays current air quality (Blue: Good, Yellow: Moderate, Red: Poor).
5.2 Power On/Off
Press the Power button once to turn the air purifier on. Press it again to turn the unit off.
5.3 Fan Speed Adjustment
Press the Fan Speed/Auto button repeatedly to cycle through the available fan speeds: Low, Medium, High, and Turbo. Select the speed appropriate for your needs.
5.4 Auto Mode and Air Quality Monitoring
Press the Fan Speed/Auto button until 'Auto' is selected. In Auto Mode, the air purifier's built-in VOC sensor automatically detects the air quality and adjusts the fan speed accordingly. The Air Quality Indicator light will change color to reflect the current air quality: Blue (Good), Yellow (Moderate), or Red (Poor).
5.5 Timer Function
Press the Timer button to set the desired operating duration. You can choose 2, 4, 6, or 8 hours. The unit will automatically turn off once the set time has elapsed.
5.6 Sleep Mode
Press the Sleep Mode button to activate Sleep Mode. In this mode, the fan operates at its lowest, quietest setting, and all indicator lights dim to minimize disturbance during sleep.
5.7 Night Light
Press the Night Light button to cycle through the night light settings: Low, High, and Off. This feature provides ambient lighting.
5.8 Child Safety Lock
To activate the Child Safety Lock, press and hold the Sleep Mode/Control Lock button for approximately 3 seconds until an indicator light confirms activation. This prevents accidental changes to settings. To deactivate, press and hold the button again for 3 seconds.
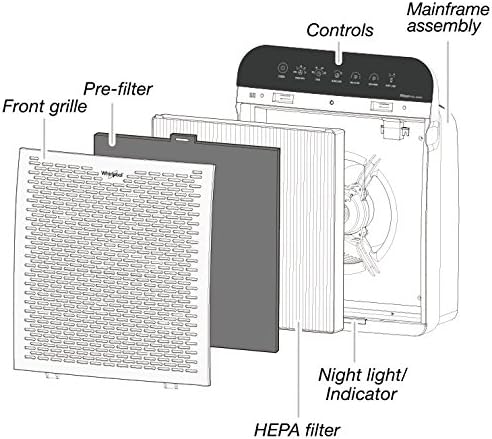
Image 5.2: Display illustrating the electronic touch screen, air quality monitoring, programmable timer, and night light function.
6. Maintenance
Regular maintenance ensures optimal performance and extends the life of your air purifier.
6.1 Filter Replacement
The air purifier is equipped with indicator lights that signal when filters need replacement. It is recommended to replace the Activated Carbon Pre-filter every 3 months and the True HEPA Filter once a year, depending on usage and air quality.
- Unplug the air purifier from the power outlet.
- Remove the front grille.
- Carefully remove the old filters.
- Insert the new True HEPA filter (part number 1183050K) first, followed by the new Activated Carbon Pre-filter (part number 8171510K). Ensure they are correctly oriented.
- Reattach the front grille.
- Plug the unit back in.
- Press and hold the corresponding Pre-Filter Reset or HEPA Filter Reset button for 3 seconds until the indicator light turns off, signaling the reset of the filter life monitor.

Image 6.1: The Activated Carbon Pre-filter (part number 8171510K) which helps remove odors.
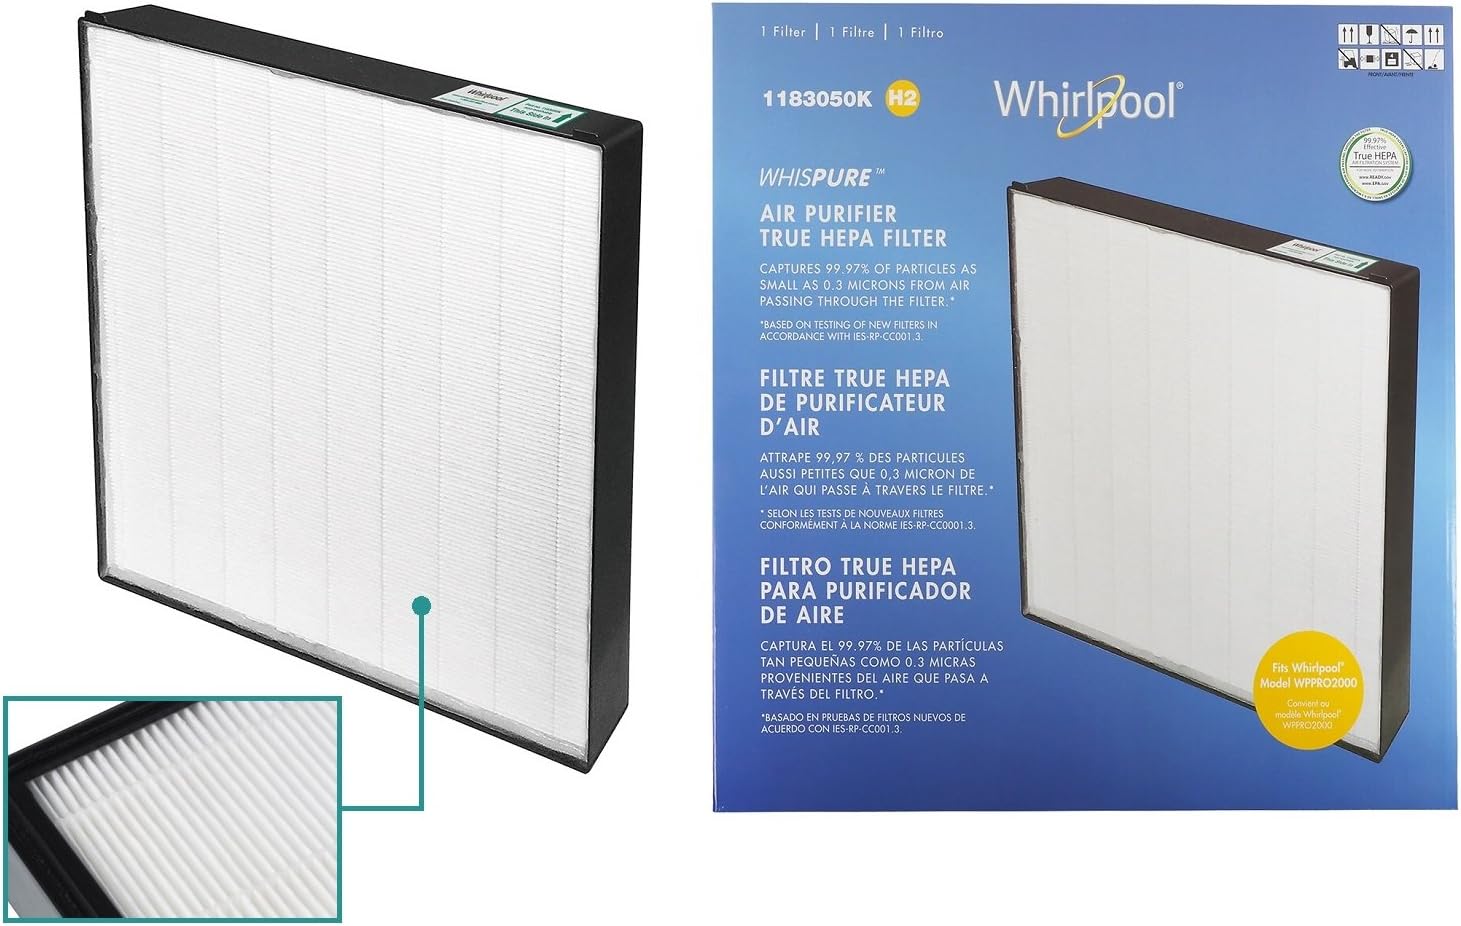
Image 6.2: The True HEPA Filter (part number 1183050K) which captures fine particles.
6.2 Cleaning the Unit
Wipe the exterior of the air purifier with a soft, dry cloth. Do not use abrasive cleaners, solvents, or immerse the unit in water. Ensure the unit is unplugged before cleaning.
7. Troubleshooting
If you encounter issues with your air purifier, refer to the following common problems and solutions:
- Unit does not turn on:
- Check if the power cord is securely plugged into a working outlet.
- Ensure the front grille is properly closed and latched. The unit has a safety switch that prevents operation if the grille is open.
- Airflow is weak or air is not cleaning effectively:
- Check if the filters are dirty and require replacement. Refer to Section 6.1.
- Ensure there are no obstructions blocking the air intake or outlet vents.
- Verify that the unit is not in Sleep Mode if you expect higher fan speed.
- Unusual noise:
- Check for any foreign objects inside the unit.
- Ensure filters are correctly installed and not loose.
- Filter indicator light remains on after replacement:
- You must manually reset the filter life monitor by pressing and holding the corresponding filter reset button for 3 seconds. Refer to Section 6.1.
8. Specifications
| Feature | Specification |
|---|---|
| Model | WPPRO2000B (Black) |
| Dimensions (D x W x H) | 10.08" x 19.45" x 25.08" |
| Weight | 22.4 lbs (Unit), 1.86 lbs (Item Weight from data, likely filter) |
| Rating | 120Vac, 60Hz, 115W (@Turbo) |
| CADR Rate | 328 cfm |
| Recommended Room Size | 508 sq. ft. (based on 4.8 air changes per hour) |
| Fan Speeds | Low / Medium / High / Turbo |
| HEPA Filter Efficiency | 99.97% capture of particles as small as 0.3 microns |
| Pre-filter | Active Carbon |
| Approvals | CUL / AHAM / Energy Star / CARB |
| UPC | 886416001707 |
9. Warranty and Support
The Whirlpool WPPRO 2000 Air Purifier comes with a 5-year limited warranty. For detailed warranty information, service, or technical support, please refer to the warranty card included with your product or visit the official Whirlpool website.
For customer support, please contact:
- Whirlpool Customer Service (Contact details typically found on product packaging or official website)
- Online Support: www.whirlpool.com


