
1. Introduction
Thank you for choosing the BEVA Laser Measure. This device is designed for precise distance measurements, offering an easier, faster, and more accurate method compared to traditional tools. Utilizing advanced laser precision technology, it provides reliable measurements up to 131 feet (40 meters) with an accuracy of ±2mm (1/16 inch). Its versatile functions make it suitable for various applications in household and engineering decoration, construction, city planning, and water project monitoring.
This manual provides detailed instructions on how to set up, operate, and maintain your BEVA Laser Measure to ensure optimal performance and longevity.

Image 1.1: Front view of the BEVA Laser Measure, displaying its screen and control buttons.
2. Safety Information
The BEVA Laser Distance Measure is a Class 2 laser product. Adhere to the following safety guidelines to prevent injury:
- DO NOT look directly into the laser beam with optical aids (e.g., binoculars, telescopes).
- DO NOT direct the laser beam towards other people unnecessarily.
- Avoid exposing the device to extreme temperatures or humidity.
- Keep the device out of reach of children.

Image 2.1: Front and back view of the BEVA Laser Measure, highlighting the laser caution label on the back. The label warns against direct eye exposure to the laser beam.
3. Product Overview
3.1 Key Features
- Precision Measurement: Accuracy of ±2mm, measuring range up to 131 feet (40m).
- Dual Bubble Levels: Provides more precise horizontal and vertical alignment compared to single bubble designs.
- Multi-Measurement Functions: Single-distance, Continuous, Area, Volume, Pythagorean (three points), Addition/Subtraction.
- Unit Switching: Easily switch between Meters (m), Inches (in), and Feet (ft).
- Large Backlit LCD Display: Ensures clear and easy reading, even in low-light conditions.
- Mute Function: Allows for quiet operation in sensitive environments.
- Historical Memory: Stores the last 20 measurement records for easy recall.
- Durable Design: IP54 rated for dust and splash protection.
- Portable: Lightweight, compact size with wrist strap and belt clip for easy carrying.
3.2 Device Components
Refer to Image 2.1 for a visual representation of the device components:
- Bubble Level
- Area/Volume/Pythagorean button
- Beep Button (Mute Function)
- Measuring Reference (Front/Rear)
- Measurement Button (MEAS)
- Continuous Measurement (MAX/MIN)
- Add(+)/Subtract(-)
- Return/Clear Button (C)
- Unit Button (Unit)
- Historical Memory
- ON/OFF Button
- Back Splint (Battery Compartment)

Image 3.1: The BEVA Laser Measure showcasing icons for Single measurement, Area, Volume, Pythagorean, IP54 rating, Drop & Skid Resistance, Max/Min Continuous measurement, and Intelligent Mute function.
4. Setup
4.1 Battery Installation
The BEVA Laser Measure requires two (2) AAA batteries for operation. To install or replace batteries:
- Locate the battery compartment on the back of the device (Back Splint, component 12 in Image 2.1).
- Slide the battery compartment cover downwards to open it.
- Insert two AAA batteries, ensuring the correct polarity (+/-) as indicated inside the compartment.
- Close the battery compartment cover by sliding it back into place until it clicks securely.
Note: Always use new batteries and dispose of old batteries responsibly. If the device will not be used for an extended period, remove the batteries to prevent leakage.
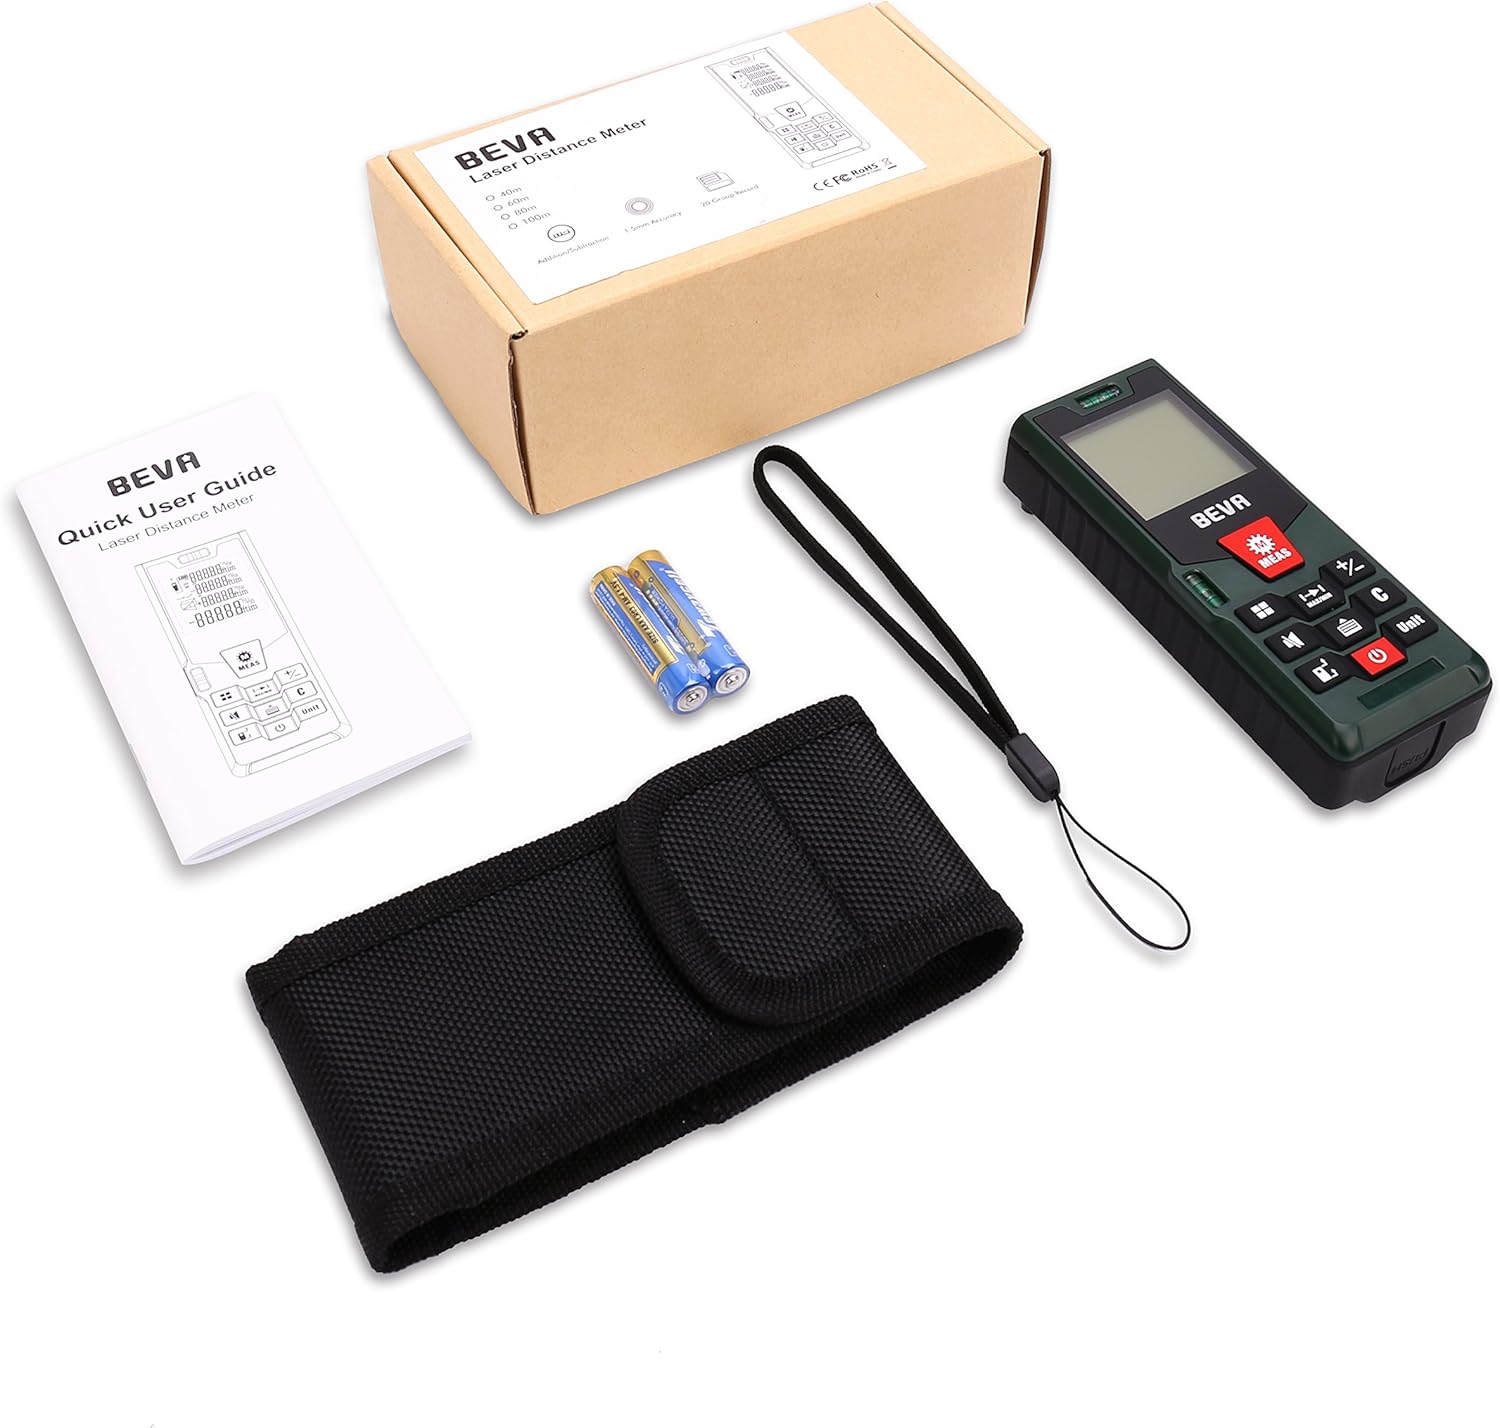
Image 4.1: The BEVA Laser Measure packaging contents, showing the device, two AAA batteries, a hand strap, a belt clip, a carry bag, and the user manual.
4.2 Powering On/Off
- To Power On: Press the ON/OFF Button (component 11) once. The display will light up.
- To Power Off: Press and hold the ON/OFF Button (component 11) for a few seconds until the display turns off. The device also features an automatic power-off function after a period of inactivity to conserve battery life.
5. Operating Instructions
5.1 Setting Measurement Reference
The device can measure from its front edge or its rear edge. Press the Measuring Reference Button (component 4) to toggle between the front and rear reference points. An icon on the display will indicate the currently selected reference.

Image 5.1: Two BEVA Laser Measures demonstrating the difference between measuring from the rear reference point (left) and the front reference point (right). The display shows the measurement value relative to the chosen reference.
5.2 Changing Units
Press the Unit Button (component 9) to cycle through the available measurement units: meters (m), inches (in), and feet (ft).
5.3 Single Distance Measurement
- Power on the device.
- Aim the laser at the target point.
- Press the Measurement Button (MEAS) (component 5) once. The measured distance will be displayed instantly.
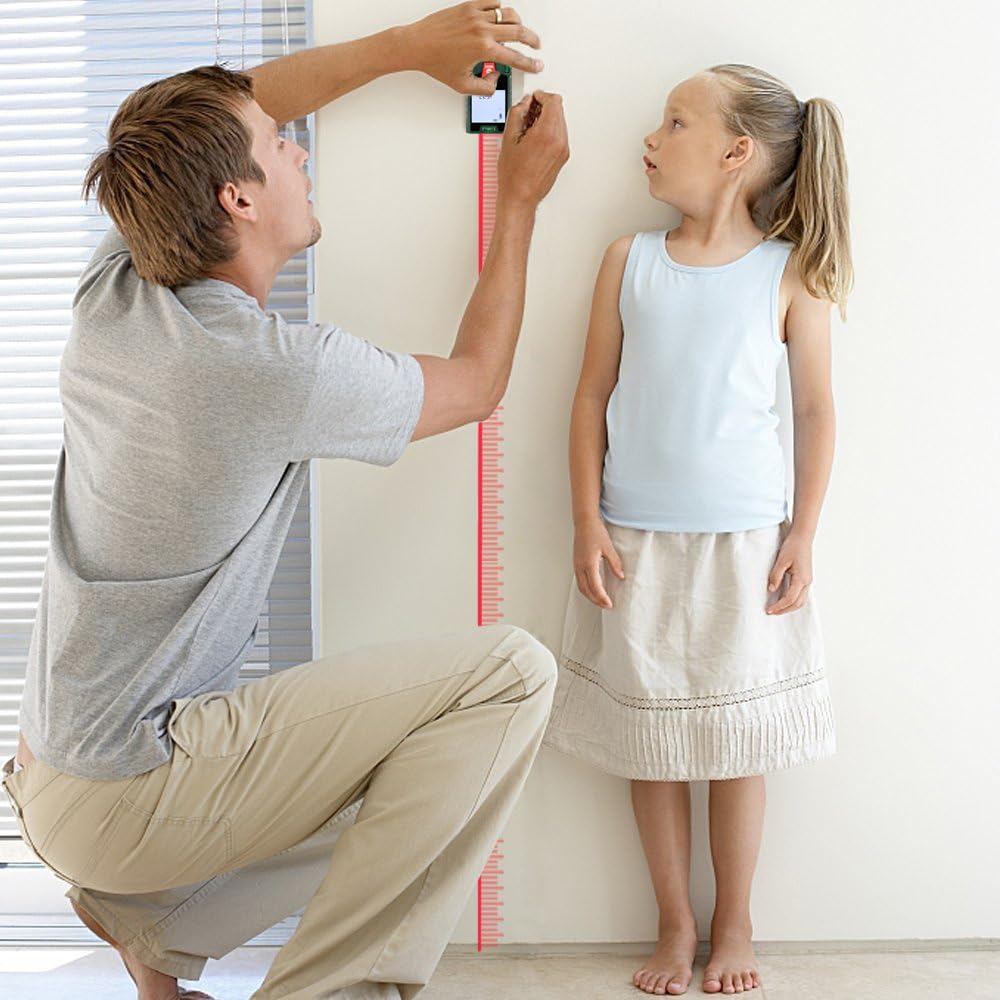
Image 5.2: A person using the BEVA Laser Measure to determine a child's height against a wall, demonstrating a practical application of single distance measurement.
5.4 Continuous Measurement (MAX/MIN)
This mode allows for dynamic measurement, displaying the maximum and minimum distances as you move the device.
- Press the Continuous Measurement Button (MAX/MIN) (component 6) once.
- Move the device slowly towards or away from the target. The display will continuously update the current, maximum, and minimum distances.
- Press the Continuous Measurement Button (MAX/MIN) again or the Measurement Button (MEAS) to stop.
5.5 Area Measurement
To calculate the area of a rectangular space:
- Press the Area/Volume/Pythagorean Button (component 2) once until the area icon (a square) appears on the display.
- Measure the first side (e.g., length) by pressing the Measurement Button (MEAS).
- Measure the second side (e.g., width) by pressing the Measurement Button (MEAS) again.
- The device will automatically calculate and display the area.
5.6 Volume Measurement
To calculate the volume of a rectangular space:
- Press the Area/Volume/Pythagorean Button (component 2) twice until the volume icon (a cube) appears on the display.
- Measure the length by pressing the Measurement Button (MEAS).
- Measure the width by pressing the Measurement Button (MEAS).
- Measure the height by pressing the Measurement Button (MEAS).
- The device will automatically calculate and display the volume.
5.7 Pythagorean Measurement
This mode allows indirect measurement of height or distance using the Pythagorean theorem.
- Press the Area/Volume/Pythagorean Button (component 2) repeatedly until the desired Pythagorean mode icon appears (e.g., a triangle with one side unknown).
- Follow the on-screen prompts to measure the required sides (hypotenuse, base, etc.) by pressing the Measurement Button (MEAS) for each segment.
- The device will calculate and display the unknown side.

Image 5.3: Visual guides for performing Area Measurement, Volume Measurement, Single Measurement by Pythagoras, and Twice Measurement by Pythagoras. Each diagram shows the required measurements to be taken.
5.8 Addition and Subtraction
To add or subtract measurements:
- Perform a measurement.
- Press the Add(+)/Subtract(-) Button (component 7) once for addition (+) or twice for subtraction (-).
- Perform the next measurement.
- The result of the addition or subtraction will be displayed. Repeat for multiple operations.
5.9 Mute Function
To enable or disable the beep sound:
- Press the Beep Button (component 3) to toggle the sound on or off. An icon on the display will indicate the mute status.
5.10 Historical Memory
The device stores the last 20 measurement records. To access them:
- Press the Historical Memory Button (component 10).
- Use the Add(+)/Subtract(-) Button (component 7) to scroll through the stored records.
- Press the Return/Clear Button (C) (component 8) to exit the memory view.
6. Maintenance
- Cleaning: Use a soft, damp cloth to clean the device. Do not use abrasive cleaners or solvents.
- Lens Care: The laser lens is a critical component. Clean it gently with a soft cloth, similar to cleaning camera lenses. Avoid touching the lens with bare fingers.
- Storage: Store the device in its protective bag in a cool, dry place when not in use. Remove batteries if storing for extended periods.
- Water and Dust Protection: The device is IP54 rated, meaning it is protected against dust ingress and splashing water from any direction. However, it is not waterproof and should not be submerged in water.

Image 6.1: The BEVA Laser Measure shown with a belt clip for easy carrying and a close-up of the device on a wet surface, illustrating its waterproof and dust-proof protection features.
7. Troubleshooting
If you encounter issues with your BEVA Laser Measure, refer to the following common problems and solutions:
| Problem | Possible Cause | Solution |
|---|---|---|
| Device does not power on | Low or dead batteries; Incorrect battery installation | Replace batteries with new AAA batteries; Ensure correct polarity. |
| Inaccurate measurements | Laser lens obstructed; Incorrect measurement reference; Unstable surface | Clean the laser lens; Verify the correct measurement reference (front/rear); Ensure the device is stable during measurement. |
| Laser beam not visible | Bright ambient light; Device malfunction | Use in lower light conditions or closer to the target; If problem persists, contact customer support. |
| Display shows 'Error' | Measurement out of range; Environmental interference | Ensure target is within the 131ft (40m) range; Avoid measuring through transparent surfaces or in extreme conditions. |
If the problem persists after attempting these solutions, please contact BEVA customer support for further assistance.
8. Specifications
| Feature | Specification |
|---|---|
| Measuring Range | 0.05 - 40m (0.16 - 131ft) |
| Measuring Accuracy | ±2mm (1/16 inch) |
| Measuring Unit | mm / inch / ft |
| Laser Class | Class II |
| Power Output | <1mW |
| Dust and Splash Proof | IP54 |
| Display | 4-line LCD with backlight |
| Battery Type | 2 x 1.5V AAA Alkaline Batteries |
| Automatic Power Off | Yes (after inactivity) |
| Historical Records | 20 records |
| Dimensions | 120 x 49 x 28mm (4.6 x 1.6 x 1.1 inches) |
| Weight | 96g (8.8 ounces) |
9. Warranty and Support
BEVA provides the following warranty and support for this product:
- 1-Year Warranty: The BEVA Laser Measure comes with a 1-year replacement warranty from the date of purchase.
- 30-Day Money Back Guarantee: If you are not satisfied with your purchase, you may return it within 30 days for a full refund.
- Customer Service: For any questions, issues, or warranty claims, please contact BEVA customer support. We are committed to providing prompt and friendly service within 24 hours.