1. Introduction
The Plugable UD-6950H Universal Laptop Docking Station is designed to expand the connectivity of your Windows, Mac, or ChromeOS laptop. This docking station enables dual 4K displays via DisplayPort or HDMI, provides Gigabit Ethernet, audio input/output, and six USB 3.0 ports for connecting various peripherals. It is compatible with systems featuring USB 3.0 Type-A or Type-C ports.

Figure 1: Plugable UD-6950H Universal Laptop Docking Station.
2. Package Contents
Verify that all items are present in the package:
- Plugable UD-6950H Docking Station
- USB-C to USB-C Cable
- USB-C to USB-A Cable
- Power Adapter (DC 20V)
- Quick Installation Guide

Figure 2: Included items: Docking Station, Power Adapter, USB-C to USB-C Cable, USB-C to USB-A Cable.
3. Product Features and Ports
The UD-6950H docking station offers a comprehensive set of ports for enhanced connectivity:
Front Ports:
- 4x USB 3.0 Type-A Ports: For connecting USB peripherals like keyboards, mice, and external storage.
- Headphone Jack (3.5mm): For audio output to headphones or speakers.
- Microphone Jack (3.5mm): For audio input from a microphone.
- Power Indicator LED: Illuminates when the docking station is powered on.
Rear Ports:
- Power Switch: To turn the docking station on or off.
- DC 20V Power Input: Connect the included power adapter here.
- Gigabit Ethernet (LAN) Port: For wired network connectivity.
- 2x HDMI 2.0 Ports: For connecting displays.
- 2x DisplayPort 1.2 Ports: For connecting displays.
- 2x USB 3.0 Type-A Ports: Additional USB ports for peripherals.
- USB-C to Host Port: Connects the docking station to your laptop.

Figure 3: Detailed view of the docking station's front and rear ports.
4. System Requirements
The UD-6950H docking station is compatible with a range of operating systems and hardware configurations:
- Operating Systems: Windows 11, 10, 8.x, and 7; macOS 10.14+ (driver installation required); ChromeOS 100.x or later. Linux/Unix are not officially supported.
- Host Connection: USB 3.0 Type-A or Type-C port on your laptop.
- DisplayLink Driver: Required for display functionality on Windows and macOS.
- Note: This docking station does not charge the host computer. An external power adapter is included for the dock itself.
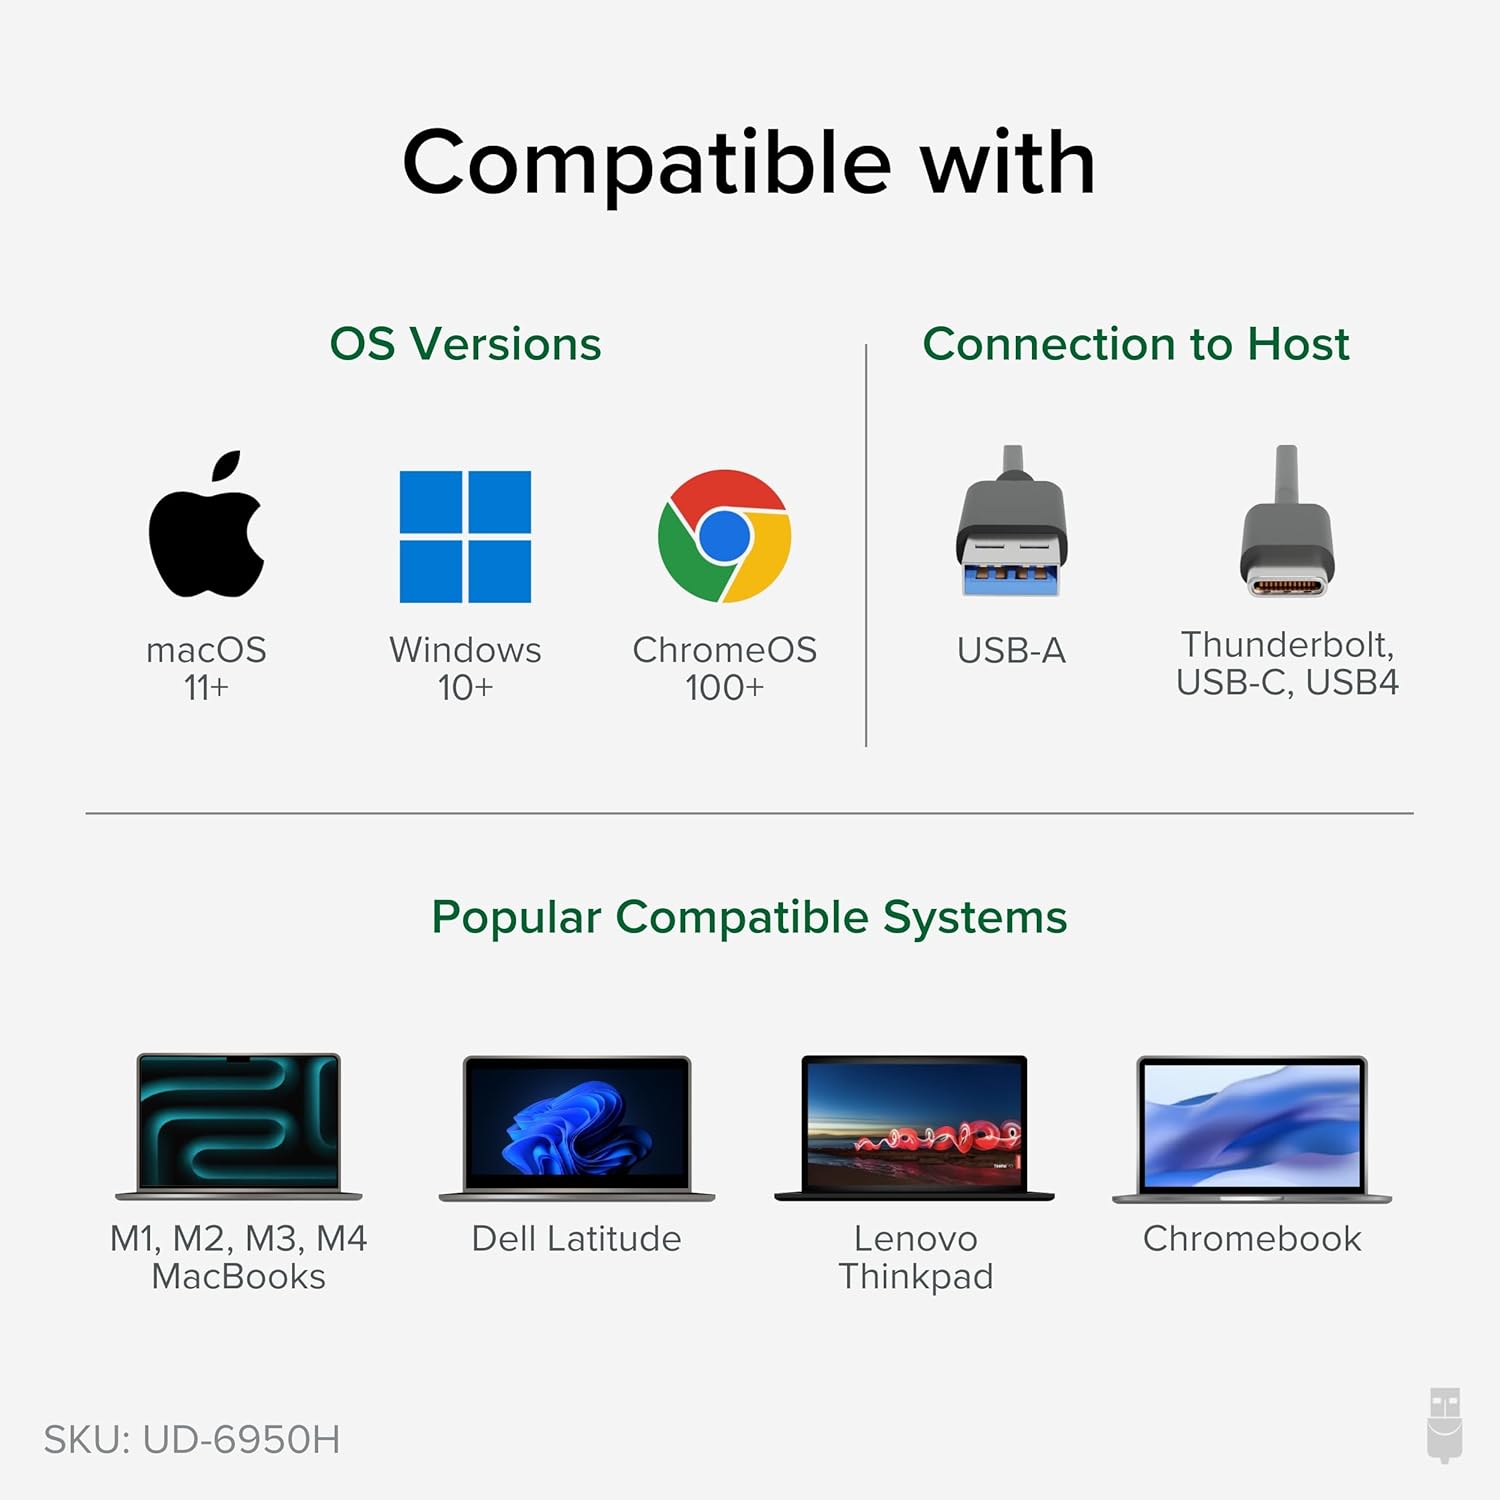
Figure 4: Operating system and host connection compatibility.

Figure 5: The docking station requires its own power adapter and does not charge the connected laptop.
5. Setup Instructions
Follow these steps to set up your Plugable UD-6950H docking station:
- Connect Power: Plug the included power adapter into the DC 20V power input on the rear of the docking station, then plug the adapter into a wall outlet. Turn on the power switch.
- Connect to Laptop: Use the provided USB-C to USB-C cable (or USB-C to USB-A cable if your laptop has a USB-A port) to connect the 'TO HOST' port on the docking station to an available USB 3.0 port on your laptop.
- Install DisplayLink Drivers (macOS): For macOS, you will need to manually install the DisplayLink Manager application. Refer to Section 6 for detailed instructions. For Windows, drivers are typically installed automatically.
- Connect Displays: Connect your monitors to the HDMI or DisplayPort outputs on the rear of the docking station. The dock supports dual 4K displays.
- Connect Peripherals: Plug your USB devices (keyboard, mouse, external drives) into the USB 3.0 ports on the front or rear of the docking station. Connect your Ethernet cable to the LAN port for wired network access. Connect headphones/speakers and a microphone to the respective audio jacks on the front.
Video 1: Overview of the Plugable USB 3.0 Dual 4K Display Horizontal Docking Station and its connections.

Figure 6: Example setup with a laptop connected to dual 4K displays.
6. Driver Installation (macOS)
For macOS users, manual installation of the DisplayLink Manager application is required for the display functionality to work correctly. Follow these steps:
- Download Driver: Navigate to the Plugable DisplayLink drivers page (plugable.com/displaylink) and download the latest DisplayLink Manager App version compatible with your macOS version.
- Install Software: Open the downloaded package and follow the on-screen instructions to install the DisplayLink Manager. You will need to accept the software license agreement and enter your user password.
- Enable Screen Recording: During or after installation, you will be prompted to grant DisplayLink Manager access to screen recording in Privacy & Security settings. This is essential for DisplayLink to function; no data is actually recorded or stored. Click 'Open System Settings' and enable the toggle next to 'DisplayLink Manager' under 'Screen & System Audio Recording'.
- Restart Application: If prompted, click 'Quit & Reopen' to restart the DisplayLink Manager application.
- Allow USB Accessory: When connecting your docking station, you may be prompted to 'Allow accessory to connect'. Click 'Allow'.
Video 2: Step-by-step guide on installing the DisplayLink Manager application on macOS.
7. Operating Instructions
Once the docking station is set up and drivers are installed, your connected displays and peripherals should function automatically. You can configure display settings through your operating system's display preferences.
- Dual Displays: Extend or mirror your laptop's display across two external monitors. The dock supports resolutions up to 4K (3840x2160) at 60Hz on both displays simultaneously.
- USB Peripherals: All six USB 3.0 ports provide high-speed data transfer for your devices.
- Ethernet: Enjoy stable and fast wired network connectivity.
- Audio: Use the front audio jacks for convenient connection of headphones, speakers, and microphones.
8. Maintenance
To ensure optimal performance and longevity of your docking station:
- Keep the device in a well-ventilated area to prevent overheating.
- Clean the exterior with a soft, dry cloth. Avoid liquid cleaners.
- Ensure all cable connections are secure.
- Keep drivers updated for best compatibility and performance.
9. Troubleshooting
If you encounter issues, try the following:
- No Display: Ensure the docking station is powered on, connected securely to your laptop, and DisplayLink drivers are correctly installed (especially for macOS). Try restarting your laptop and the docking station.
- Flickering Display/Incorrect Resolution: Update your DisplayLink drivers. Check your display cables and ensure they are properly seated. Verify your monitors support the desired resolution.
- USB Devices Not Working: Try connecting the device to a different USB port on the dock or directly to your laptop to isolate the issue. Ensure the docking station has power.
- No Network Connection: Check the Ethernet cable connection to both the dock and your router/modem. Verify network settings on your computer.
- No Audio: Ensure headphones/speakers are correctly plugged into the audio output jack. Check your computer's audio output settings to ensure the docking station's audio device is selected.
10. Specifications
| Brand | Plugable |
| Model Number | UD-6950H |
| Connectivity | USB-C or USB 3.0 (Type-A) to Host |
| Display Outputs | 2x HDMI 2.0, 2x DisplayPort 1.2 (supports dual 4K@60Hz displays) |
| USB Ports | 6x USB 3.0 Type-A (4 front, 2 rear) |
| Ethernet | Gigabit Ethernet (RJ45) |
| Audio | 3.5mm Headphone Jack, 3.5mm Microphone Jack |
| Power Input | DC 20V (Power Adapter Included) |
| Dimensions (LxWxH) | 9.5" x 3.25" x 1.25" |
| Weight | 11.7 ounces |
11. Warranty and Support
Every Plugable product, including this universal laptop docking station, is covered against defects for 2 years from the date of purchase. Additionally, Plugable provides lifetime technical support. For any questions or assistance, please contact our North American-based support team.
For further information or to contact support, visit plugable.com.


