Introduction
Thank you for purchasing the MAJORITY Histon Portable DAB/DAB+ Digital Radio. This manual provides essential information for setting up, operating, and maintaining your radio. Please read it thoroughly before use to ensure optimal performance and longevity of your device.
What's in the Box
- MAJORITY Histon Radio
- Mains Power Cable
- Owner's Manual (this document)

Image: The contents of the product packaging, including the Histon radio, its mains power cable, and the user manual.
Product Overview
The MAJORITY Histon radio is designed for portable and mains-powered listening, offering both DAB/DAB+ and FM radio reception. It features a clear LED display, dual alarm functionality, and a sleep timer.
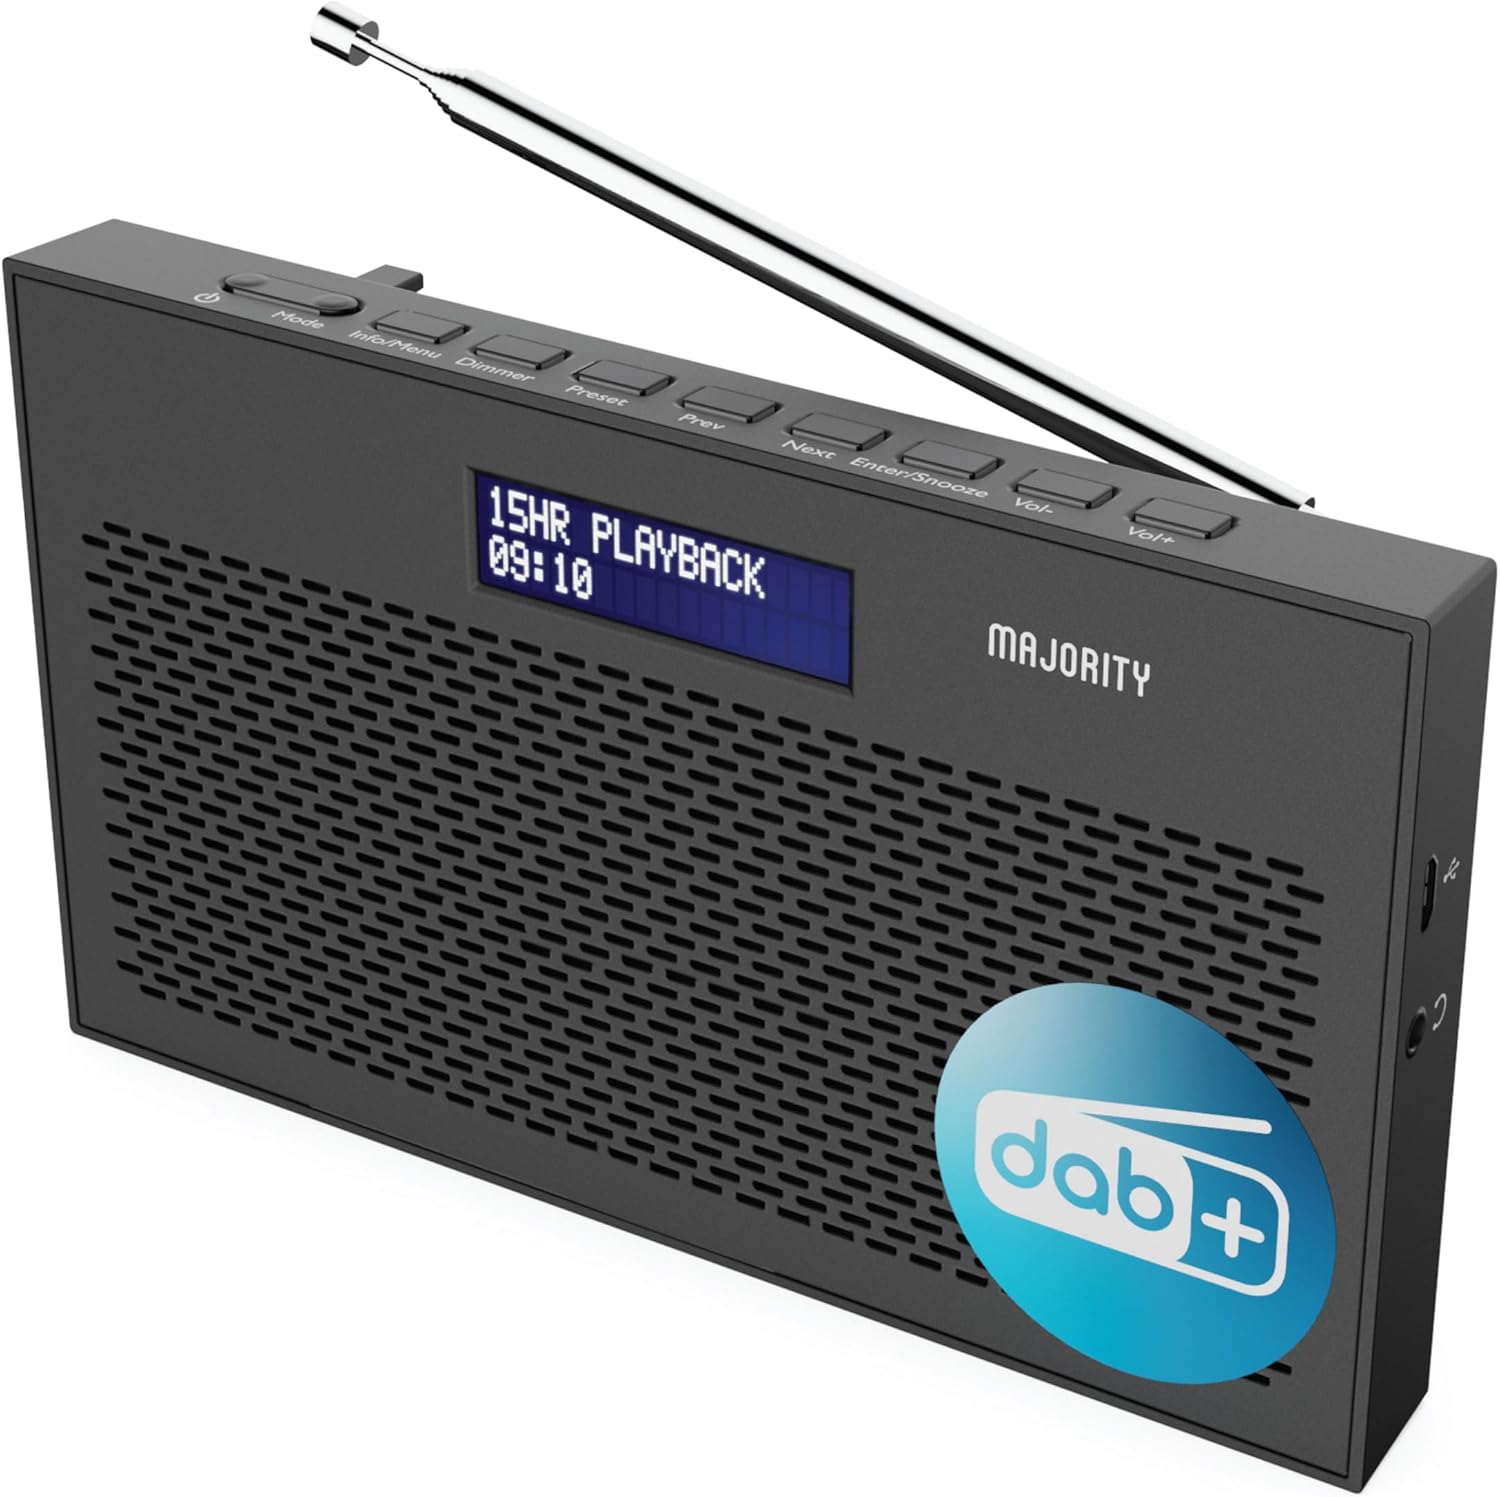
Image: A detailed view of the Majority Histon radio, highlighting its compact design and front speaker.
Controls and Display
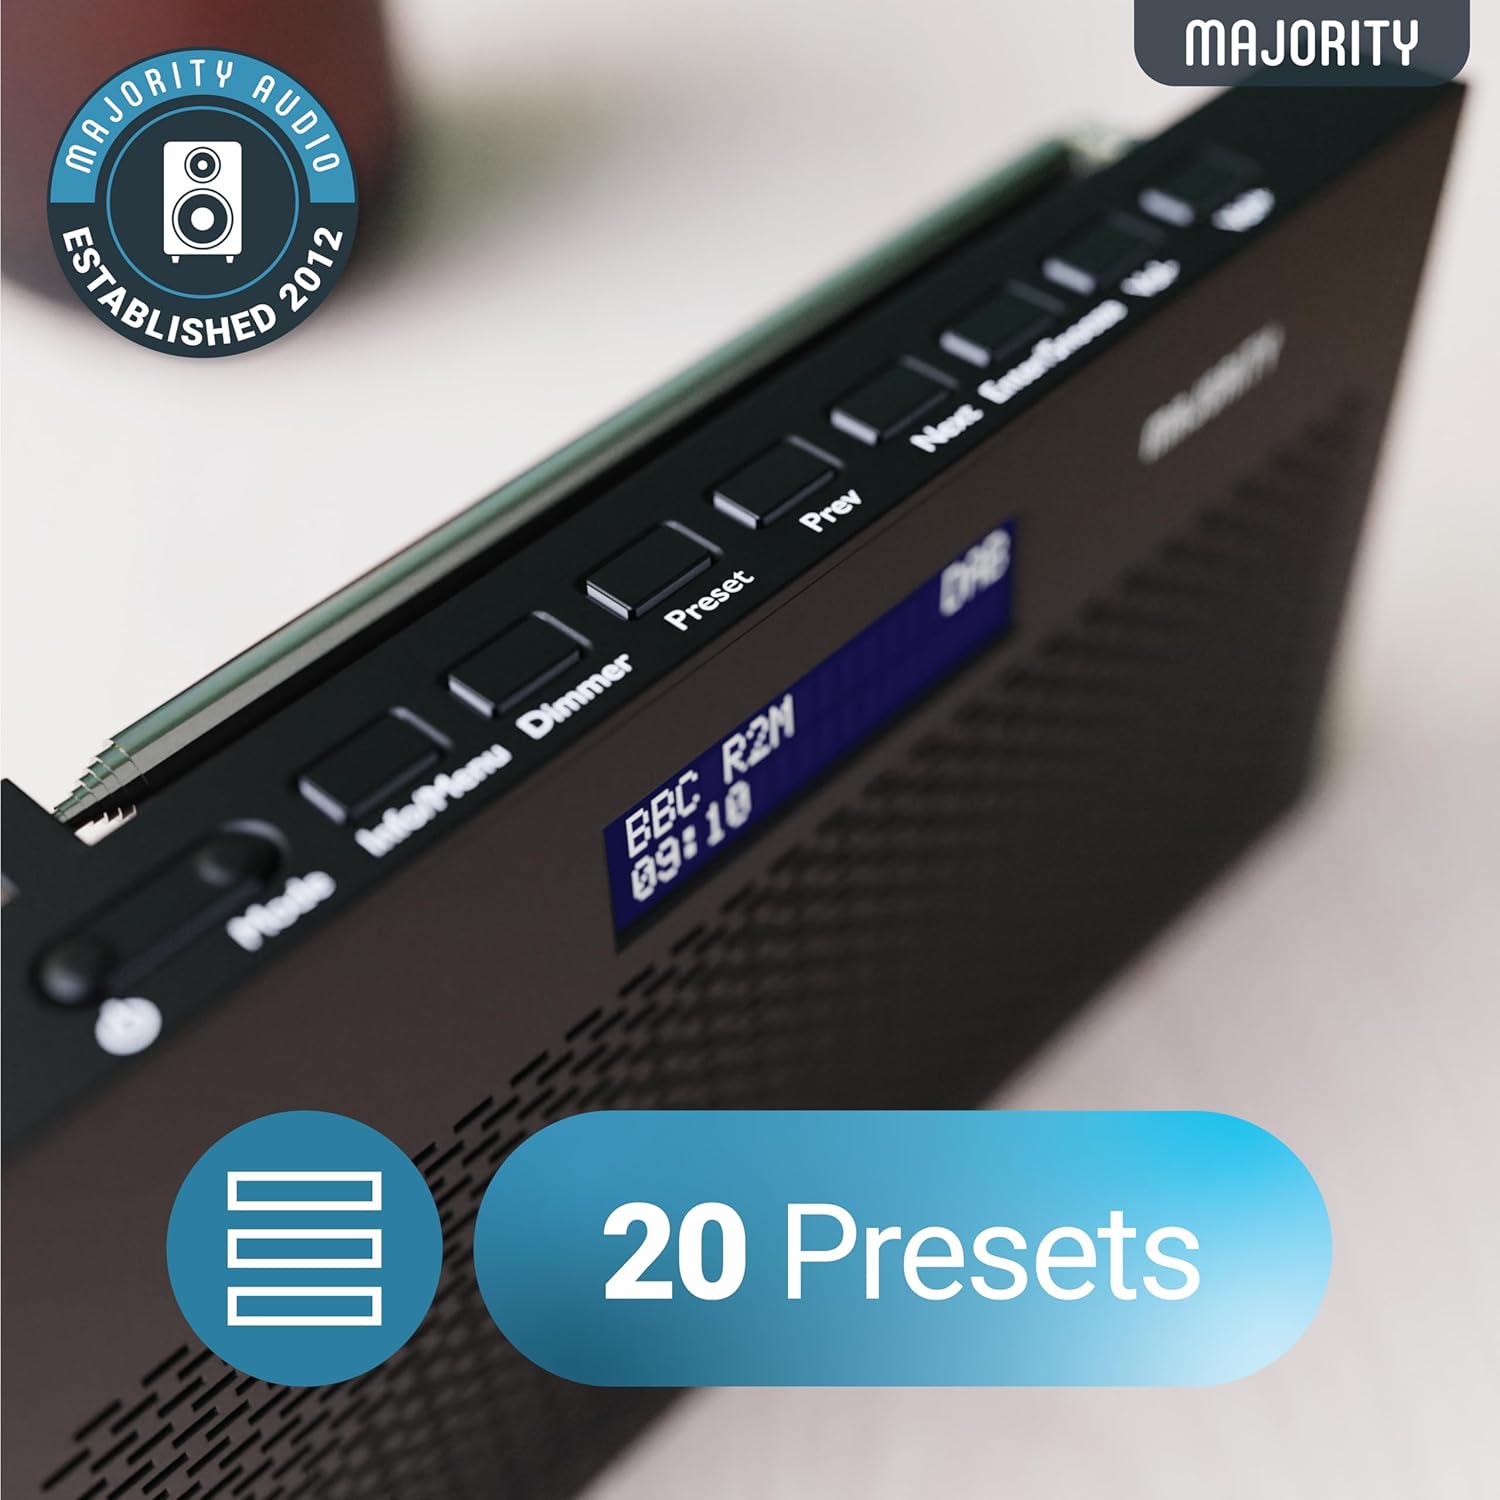
Image: A close-up of the radio's top panel, illustrating the various control buttons and the LED display showing station information.
- Mode: Switches between DAB, FM, and other modes.
- Info/Menu: Displays station information or accesses menu settings.
- Dimmer: Adjusts display brightness.
- Preset: Accesses or saves preset stations.
- Prev/Next: Navigates through stations or menu options.
- Enter/Snooze: Confirms selections or activates snooze during an alarm.
- Vol-/Vol+: Adjusts volume.
Ports and Connections
- DC IN Port: For connecting the mains power cable.
- 3.5mm Headphone Jack: For private listening.
- Battery Compartment: Located on the rear for 4 AA batteries (not included).
- Telescopic Antenna: Extendable for optimal signal reception.
Setup
Powering On
The Histon radio can be powered by either the included mains power cable or 4 x AA batteries (not supplied).
- Mains Power: Connect the mains power cable to the DC IN port on the radio and plug the adapter into a wall socket.
- Battery Power: Open the battery compartment on the rear of the radio and insert 4 x AA batteries, ensuring correct polarity.

Image: The radio in a portable setting, emphasizing its 15-hour battery life capability.
Antenna Adjustment
Extend the telescopic antenna fully for the best possible signal reception, especially for DAB/DAB+ and FM broadcasts.
Initial Scan (DAB/DAB+)
Upon first power-on, the radio will automatically perform a full scan for DAB/DAB+ stations. This process may take a few minutes. Once complete, the radio will tune to the first available station.
- If no stations are found, ensure the antenna is fully extended and reposition the radio, then perform a manual scan (see Operating Instructions).
Operating Instructions
DAB/DAB+ Radio Operation
- Selecting DAB Mode: Press the Mode button until "DAB" is displayed.
- Station Selection: Use the Prev or Next buttons to scroll through available DAB stations. Press Enter to select a station.
- Full Scan: To perform a full scan for new stations, press and hold the Info/Menu button to enter the menu, then navigate to "Full Scan" and press Enter.
- Preset Stations:
- Saving a Preset: While listening to a station, press and hold the Preset button. Use Prev/Next to select a preset number (1-20), then press Enter to save.
- Recalling a Preset: Briefly press the Preset button. Use Prev/Next to scroll through saved presets, then press Enter to tune.
Image: The radio's control panel, highlighting the capability to store up to 20 preset radio stations.
FM Radio Operation
- Selecting FM Mode: Press the Mode button until "FM" is displayed.
- Auto Scan: Press and hold Enter to automatically scan for the next available FM station.
- Manual Tuning: Briefly press Prev or Next to fine-tune the frequency in 0.05 MHz steps.
- Preset Stations: Saving and recalling FM presets follows the same procedure as DAB presets.
Setting Alarms
The Histon radio features a dual alarm function.

Image: The radio displaying "DUAL ALARM" on its screen, illustrating its dual alarm capability.
- Press and hold Info/Menu to enter the menu.
- Use Prev/Next to navigate to "System Settings" and press Enter.
- Navigate to "Alarm" and press Enter.
- Select "Alarm 1" or "Alarm 2" and press Enter.
- Configure the alarm time, duration, source (Buzzer, DAB, FM), frequency (Daily, Once, Weekends, Weekdays), and volume using Prev/Next and Enter.
- To activate/deactivate an alarm, select "On" or "Off" for the chosen alarm.
- When an alarm sounds, press Enter/Snooze to snooze for 9 minutes, or press the Power button to turn off the alarm.
Sleep Timer
The sleep timer allows the radio to turn off automatically after a set period.
- Press and hold Info/Menu to enter the menu.
- Navigate to "System Settings" and press Enter.
- Navigate to "Sleep" and press Enter.
- Use Prev/Next to select the desired sleep duration (e.g., 15, 30, 45, 60, 90, 120 minutes) or "Off". Press Enter to confirm.
Display Brightness
Adjust the brightness of the LED display.
- Briefly press the Dimmer button to cycle through brightness levels.
Headphone Use
For private listening, connect standard 3.5mm headphones to the headphone jack on the side of the radio. The internal speaker will automatically mute when headphones are connected.
Troubleshooting
| Problem | Possible Cause / Solution |
|---|---|
| No power / Radio does not turn on. |
|
| Poor DAB/FM reception or no stations found. |
|
| Sound is distorted or intermittent. |
|
| Alarm does not sound. |
|
| Display is blank or unreadable. |
|
Specifications
- Model: Histon 2
- Product Dimensions: 18 x 4.5 x 11 cm (L x W x H)
- Weight: 249 grams
- Power Source: Mains (via included adapter) or 4 x AA Batteries (not included)
- Radio Bands Supported: DAB/DAB+, FM
- Presets: 20 (DAB) / 20 (FM)
- Connectivity: 3.5mm Headphone Jack, DC IN Port
- Special Features: Portable, Lightweight, Automatic and Manual Tuning, Dual Alarm Clock, Sleep Timer, LED Display, Mono/Auto Switching in FM Mode

Image: A visual representation of the radio's dimensions for reference.
Maintenance
- Cleaning: Use a soft, dry cloth to clean the radio's surface. Do not use abrasive cleaners or solvents.
- Storage: If storing the radio for an extended period, remove the batteries to prevent leakage. Store in a cool, dry place.
- Water Exposure: This radio is not waterproof. Avoid exposure to water or high humidity.
- Antenna Care: Handle the telescopic antenna gently to prevent bending or breaking.
Warranty and Support
The MAJORITY Histon radio comes with a 3-year warranty. To activate your warranty and for further support, please refer to the registration instructions provided with your purchase or visit the official MAJORITY website.
For technical assistance or warranty claims, please contact MAJORITY customer support through their official channels. Keep your proof of purchase for warranty validation.

Image: A graphic highlighting the 3-year warranty provided with Majority audio products.


