1. Introduction
The ViewSonic PX706HD is a 1080p short throw projector designed for versatile entertainment and gaming. It delivers large, immersive images in various environments, including smaller rooms, thanks to its short throw lens. This manual provides essential information for setting up, operating, and maintaining your projector.
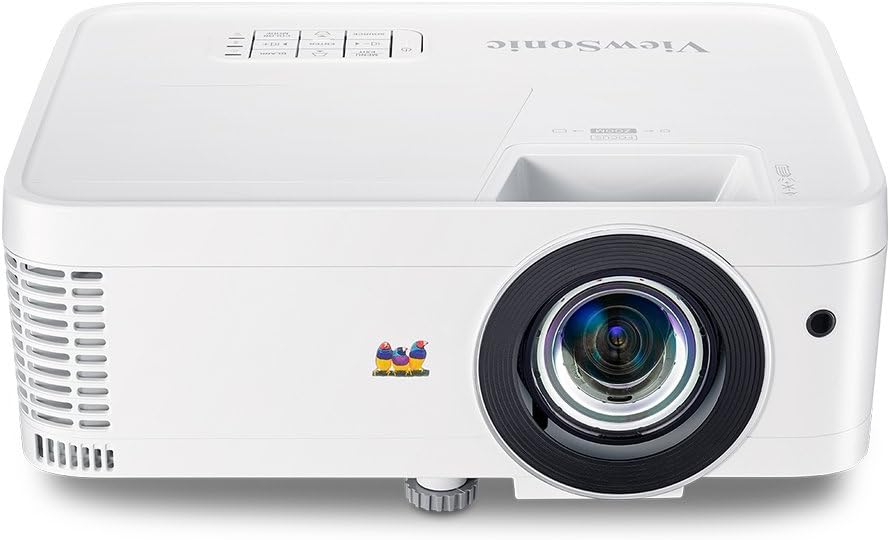
Figure 1.1: Front view of the ViewSonic PX706HD Projector.
2. Package Contents
Verify that all items listed below are included in your product package:
- PX706HD projector
- Power Cord
- USB Type C Cable
- Remote Control
- User Manual (this document)

Figure 2.1: Items included in the PX706HD package.
3. Product Overview
The ViewSonic PX706HD projector offers a range of features for an enhanced viewing and gaming experience:
- High Brightness & Resolution: 3000 Lumens and Full HD 1920x1080 resolution for vivid, ultra-sharp images.
- Short Throw Lens: Project large images (up to 100 inches) from a short distance, ideal for smaller rooms.
- Low Input Latency: 16ms input latency ensures faster frame-by-frame action for smooth gameplay without delay.
- Cinematic Colors: Exclusive Color technology provides a wide color gamut for accurate and vibrant image production.
- Flexible Connectivity: Supports various devices via Dual HDMI, USB-C, and other inputs.
- Full HD 3D Compatibility: Enjoy 3D movies and games.
- Internal Speaker: Delivers room-filling sound for an immersive audiovisual experience.

Figure 3.1: High brightness and 1080p resolution for clear images.

Figure 3.2: Low input latency for responsive gaming.
4. Setup
4.1 Projector Placement
The PX706HD features a short throw lens, allowing for large images from a close distance. Refer to the diagram below for typical projection distances and screen sizes.
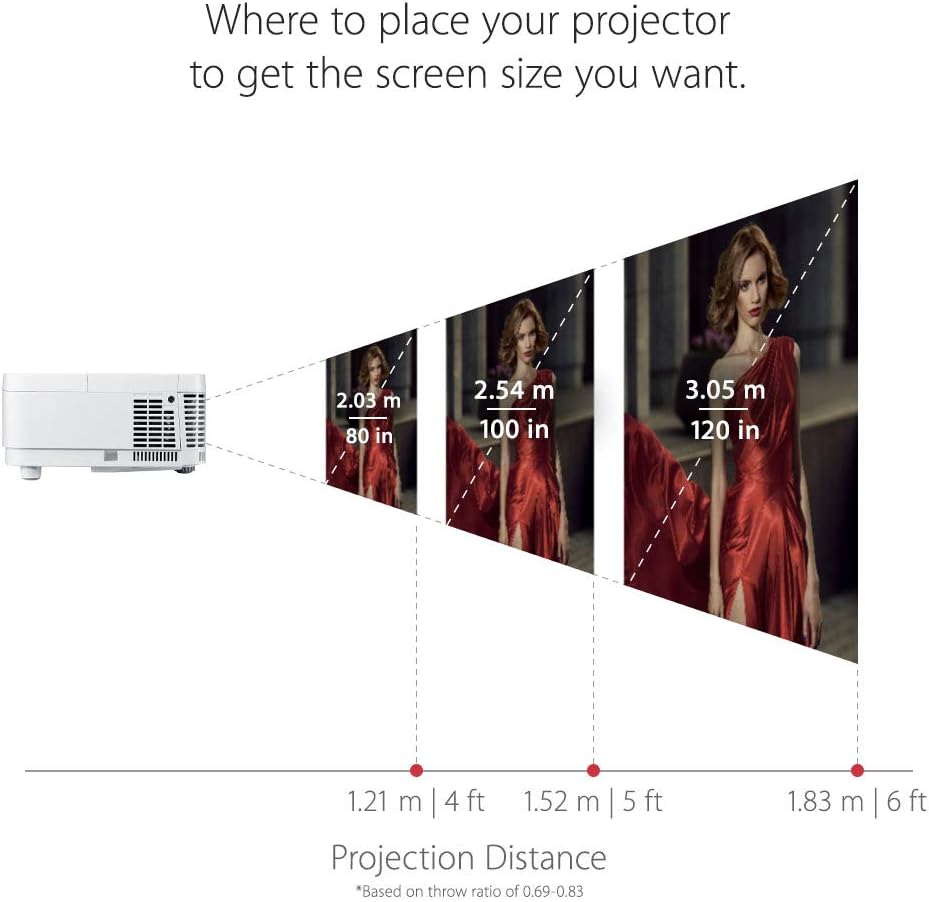
Figure 4.1: Recommended projection distances for various screen sizes.
4.2 Connecting Devices
The projector offers multiple connectivity options. Identify the appropriate port for your device:
- HDMI: Connect media players, gaming consoles, PCs, and Macs.
- USB-C: Connect compatible mobile devices for video streaming and gaming.
- VGA: For older computer connections.
- Audio In/Out: For external audio systems.

Figure 4.2: Rear panel connectivity ports.
4.3 Initial Power On
- Connect the power cord to the projector and a power outlet.
- Press the power button on the projector or remote control to turn it on.
- Adjust the focus and zoom using the rings on the projector lens.
- Use the menu to adjust keystone correction if the image is distorted.
5. Operating the Projector
5.1 Power On/Off
Press the Power button once to turn the projector on. Press it twice to turn it off. The projector will go through a cool-down cycle before completely shutting down.
5.2 Source Selection
Use the Source button on the remote control or the projector's control panel to cycle through available input sources (HDMI 1, HDMI 2, USB-C, VGA, etc.).
5.3 Image Adjustment
Access the On-Screen Display (OSD) menu by pressing the Menu/Exit button. Navigate using the arrow keys and confirm selections with the Enter button. Adjust settings such as:
- Brightness/Contrast: Fine-tune image luminance and distinction.
- Color Mode: Select pre-set modes (e.g., Movie, Game, Standard) or customize.
- Keystone: Correct trapezoidal image distortion.
- Aspect Ratio: Adjust the image display ratio.
6. Gaming Features
The PX706HD is optimized for gaming with features designed to enhance your experience:
- Ultra-Low Input Latency: A 16ms input latency minimizes delay between your input and the on-screen action, crucial for fast-paced games.
- Gaming Mode: Activates enhanced colors and contrast specifically tuned for gaming visuals.
- USB-C Connectivity: Directly connect compatible mobile devices for large-screen gaming.
Video 6.1: Overview of the ViewSonic PX706HD's gaming capabilities, highlighting low input lag and immersive experience.
Video 6.2: Demonstrates an ultimate gaming setup using the PX706HD projector with an Xbox 360.
7. Maintenance
Regular maintenance ensures optimal performance and longevity of your projector:
- Lamp Life: The projector lamp has a life of up to 15,000 hours in SuperEco Mode. Replace the lamp when its brightness significantly diminishes.
- Cleaning: Regularly clean the projector lens with a soft, lint-free cloth. Ensure air vents are clear of dust and obstructions to prevent overheating.
- Storage: When not in use for extended periods, store the projector in a cool, dry place, protected from dust.
8. Troubleshooting
If you encounter issues with your projector, try the following basic troubleshooting steps:
- No Power: Ensure the power cord is securely connected and the power outlet is functional.
- No Image: Verify the input source is correctly selected and the connected device is powered on and outputting a signal. Check all cable connections.
- Blurred Image: Adjust the focus ring on the projector lens. Ensure the projection surface is flat.
- Image Distortion: Use the keystone correction feature in the OSD menu to correct trapezoidal images.
- Overheating: Ensure the projector's air vents are not blocked and there is adequate ventilation around the unit.
For more detailed troubleshooting or persistent issues, please refer to the comprehensive user manual provided with your product or contact ViewSonic customer support.
9. Specifications
| Feature | Specification |
|---|---|
| Product Dimensions | 8.66 x 4.53 x 11.53 inches |
| Item Weight | 5.94 pounds |
| Item model number | PX706HD |
| Batteries | 2 AAA batteries required (for remote) |
| Date First Available | April 9, 2018 |
| Manufacturer | ViewSonic |
| Brand | ViewSonic |
| Recommended Uses For Product | Gaming |
| Special Feature | Built-In 3D |
| Connectivity Technology | USB, HDMI, VGA |
| Display resolution | 1920 x 1080 (Full HD) |

Figure 9.1: Projector dimensions.
10. Warranty and Support
For warranty information and technical support, please refer to the warranty card included in your product packaging or visit the official ViewSonic website. Keep your purchase receipt for warranty claims.


