
1. Product Overview
This manual provides essential information for the safe and effective use of your CAAT TOOLS Drill Chuck, designed for compatibility with HILTI TE17 and TE22 SDS type hammer drills. This accessory allows for quick and secure attachment of SDS-plus drill bits, enhancing the versatility of your power tool.

Figure 1: Angled view of the CAAT TOOLS Drill Chuck, showing the SDS shank and chuck body.
2. Safety Information
Always prioritize safety when working with power tools and their accessories. Failure to follow these safety guidelines may result in serious injury or damage to the equipment.
- Read All Instructions: Before installation or operation, read and understand all instructions in this manual and your HILTI hammer drill's manual.
- Wear Personal Protective Equipment (PPE): Always wear safety glasses, hearing protection, and appropriate gloves when operating power tools.
- Disconnect Power: Ensure the hammer drill is unplugged from the power source before installing, removing, or performing any maintenance on the drill chuck.
- Inspect Before Use: Before each use, inspect the drill chuck for any signs of damage, cracks, or excessive wear. Do not use a damaged chuck.
- Secure Workpiece: Always secure the workpiece firmly to prevent movement during drilling operations.
- Use Correct Bits: Only use SDS-plus drill bits that are appropriate for the task and compatible with this chuck.
- Maintain Good Grip: Always maintain a firm grip on the hammer drill during operation.
- Keep Work Area Clear: Ensure your work area is well-lit and free from clutter.
3. Package Contents
Verify that all items are present and undamaged upon opening the package.
- 1 x CAAT TOOLS Drill Chuck (for HILTI TE17 TE22 SDS Type)
4. Setup and Installation
Installing the CAAT TOOLS Drill Chuck onto your HILTI TE17 or TE22 hammer drill is a straightforward process that requires no additional tools.
- Ensure Power is Disconnected: Before beginning, confirm that your HILTI hammer drill is unplugged from the power outlet.
- Remove Existing Chuck (if applicable): If an existing chuck is installed, follow the instructions in your HILTI hammer drill manual to safely remove it.
- Align and Insert: Align the SDS shank of the CAAT TOOLS Drill Chuck with the chuck receiver on your HILTI TE17 or TE22 hammer drill. Push the chuck firmly into the receiver until it clicks into place. You may need to rotate it slightly to engage the locking mechanism.
- Verify Secure Attachment: Gently pull on the installed chuck to ensure it is securely locked into the hammer drill. It should not pull out easily.
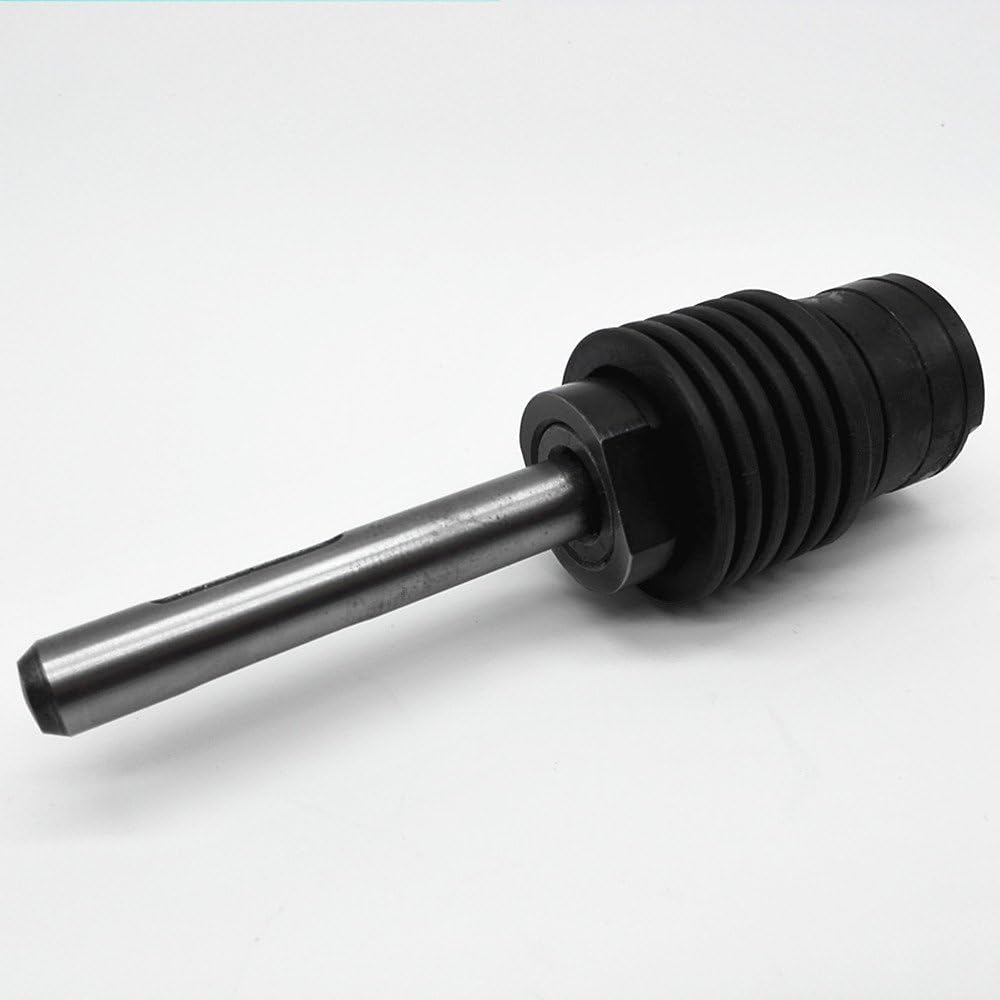
Figure 2: Side view of the drill chuck, highlighting the SDS shank for proper alignment during installation.

Figure 3: Another side view of the drill chuck, illustrating the main body and connection point.
5. Operation
Once the CAAT TOOLS Drill Chuck is securely installed on your HILTI TE17 or TE22 hammer drill, you can proceed with inserting SDS-plus drill bits.
- Insert SDS-plus Bit: Push the SDS-plus drill bit into the chuck opening until it locks into place. A slight resistance and then a click will indicate proper seating. The bit should have a small amount of axial play, which is normal for SDS-plus systems.
- Verify Bit Security: Gently pull on the drill bit to ensure it is firmly held by the chuck.
- Connect Power: Plug in your HILTI hammer drill to the power source.
- Begin Drilling: Operate the hammer drill according to its own instruction manual, ensuring all safety precautions are observed.

Figure 4: Front view of the drill chuck, showing the opening where SDS-plus bits are inserted.
6. Maintenance
Regular maintenance ensures the longevity and optimal performance of your drill chuck.
- Cleaning: After each use, wipe down the chuck with a clean, dry cloth to remove dust and debris. For stubborn grime, a slightly damp cloth can be used, followed by thorough drying.
- Lubrication: Periodically apply a small amount of appropriate grease or oil to the SDS shank of the chuck and the internal locking mechanism to ensure smooth operation and prevent corrosion. Refer to your hammer drill's manual for specific lubrication recommendations for the chuck receiver.
- Inspection: Regularly inspect the chuck for signs of wear, damage, or deformation. Pay close attention to the locking mechanism and the SDS shank. Replace the chuck if any significant damage is observed.
- Storage: Store the drill chuck in a clean, dry place, away from direct sunlight and extreme temperatures.
7. Troubleshooting
If you encounter issues with your CAAT TOOLS Drill Chuck, consider the following common solutions:
- Chuck Not Attaching Securely:
- Ensure the hammer drill's chuck receiver is clean and free of debris.
- Verify that the chuck's SDS shank is not damaged or excessively worn.
- Confirm you are pushing the chuck firmly enough and rotating it slightly to engage the locking mechanism.
- Drill Bit Not Locking in Chuck:
- Ensure you are using an SDS-plus type drill bit.
- Check the drill bit's shank for damage or excessive wear.
- Clean the inside of the chuck to remove any debris that might obstruct the locking mechanism.
- Excessive Wobble or Vibration:
- Verify that both the chuck and the drill bit are securely installed.
- Inspect the chuck and drill bit for any signs of bending or damage.
- Ensure the hammer drill itself is functioning correctly.
If problems persist, contact the retailer or manufacturer for further assistance.
8. Specifications
| Feature | Specification |
|---|---|
| Brand | CAAT TOOLS |
| Model Number | TE17 TE22 |
| Compatible Devices | HILTI TE17, HILTI TE22 Hammer Drills (SDS Type) |
| Material | Iron, Plastic |
| Item Weight | 1.1 pounds (0.5 Kilograms) |
| Product Dimensions | 6.18 x 1.97 x 1.97 inches |
| Thread Size | M10x3 |
| UPC | 761330525198 |

Figure 5: Full length view of the CAAT TOOLS Drill Chuck, illustrating its compact design.
9. Warranty and Support
For information regarding warranty coverage, returns, or technical support, please refer to the purchase documentation or contact the retailer from whom you purchased this product. Keep your proof of purchase for any warranty claims.