Introduction
The Wolf-Guard JP-08 Handy Wireless Display Keypad is designed as an accessory for your Wolf-Guard alarm panel, providing a convenient and secure way to control your home security system. This keypad allows for active control of the alarm panel and receives commands, enhancing the usability of your security setup.
Safety Information
Ensure the keypad is installed in a dry environment, away from direct sunlight and extreme temperatures.
Do not attempt to disassemble or repair the device yourself. Refer to qualified personnel for service.
Keep out of reach of children to prevent accidental tampering.
Use only the specified power supply (DC 5V) for charging.
Package Contents

The package for your Wolf-Guard JP-08 Wireless Keypad includes the following items:
1 x Wireless Keyboard (with built-in battery)
1 x English Instruction Manual
3 x Screws (for wall mounting)
1 x Power Adapter (DC 5V)
Product Overview

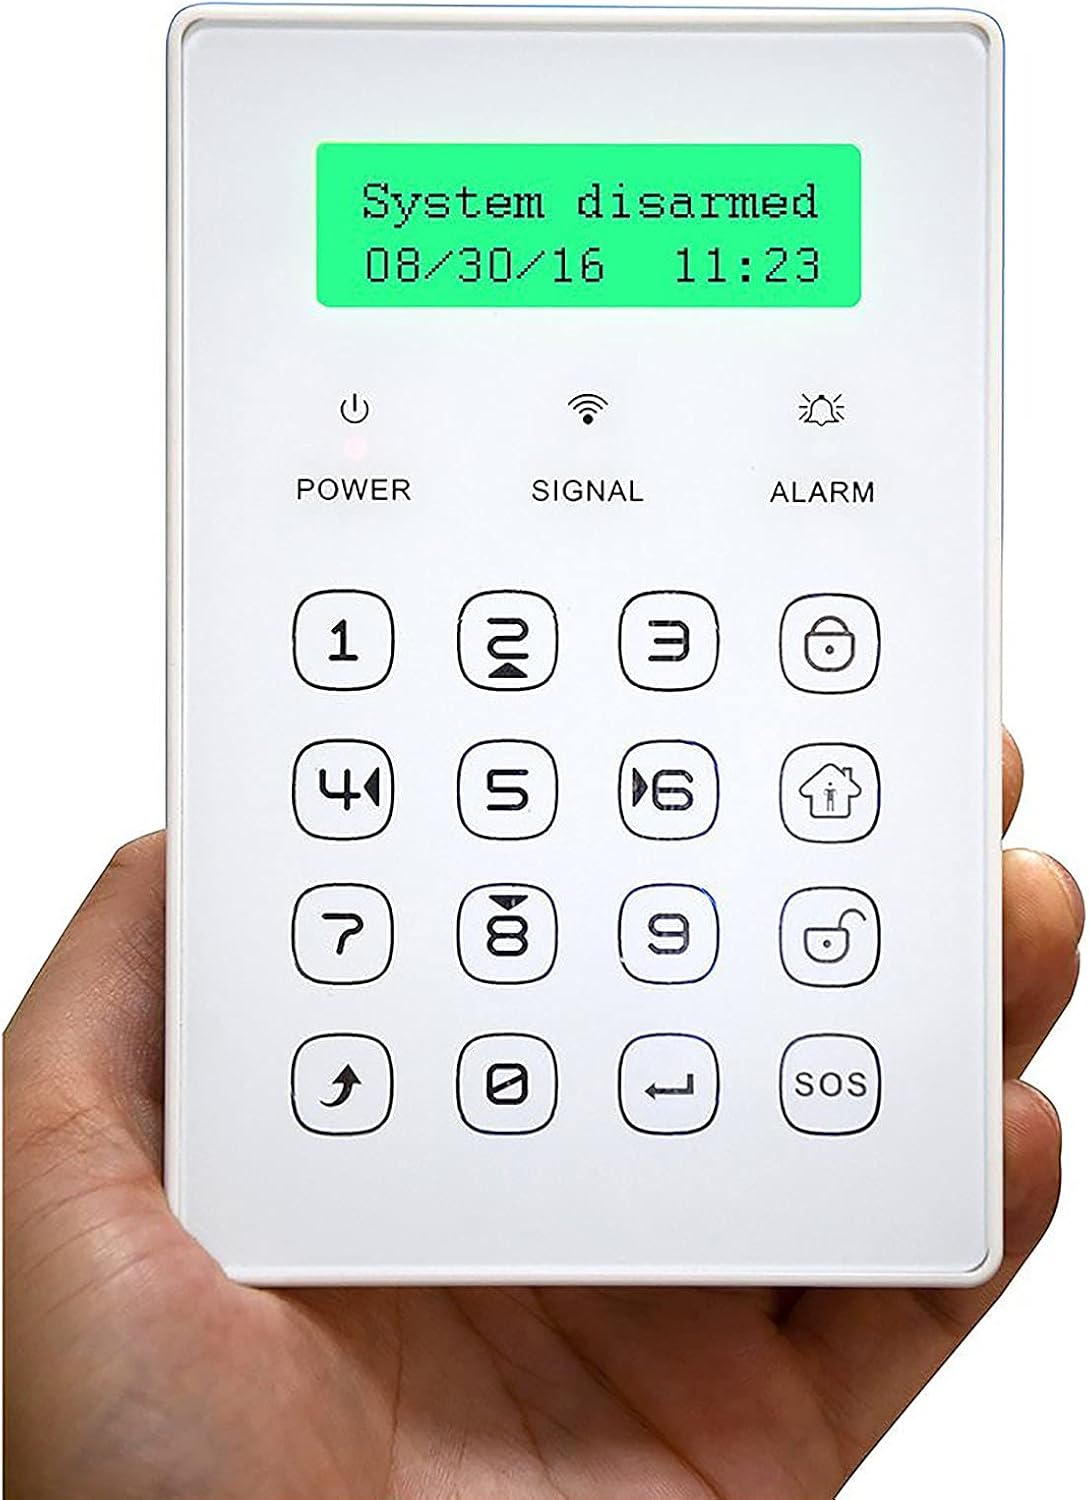
The JP-08 keypad features a touch-sensitive interface with a dot-matrix LCD screen for clear status display. It includes a numeric keypad (0-9), function buttons for arming/disarming, and an SOS button. Indicators for Power, Signal, and Alarm are located above the keypad.
Its compact and portable design allows for flexible placement within your home, whether wall-mounted or used as a standalone unit.
Setup
1. Initial Power-Up and Charging
The keypad comes with a built-in 3.7V, 500mA LI battery. Before first use, fully charge the device using the provided DC 5V power adapter.
2. Locating the Power Switch
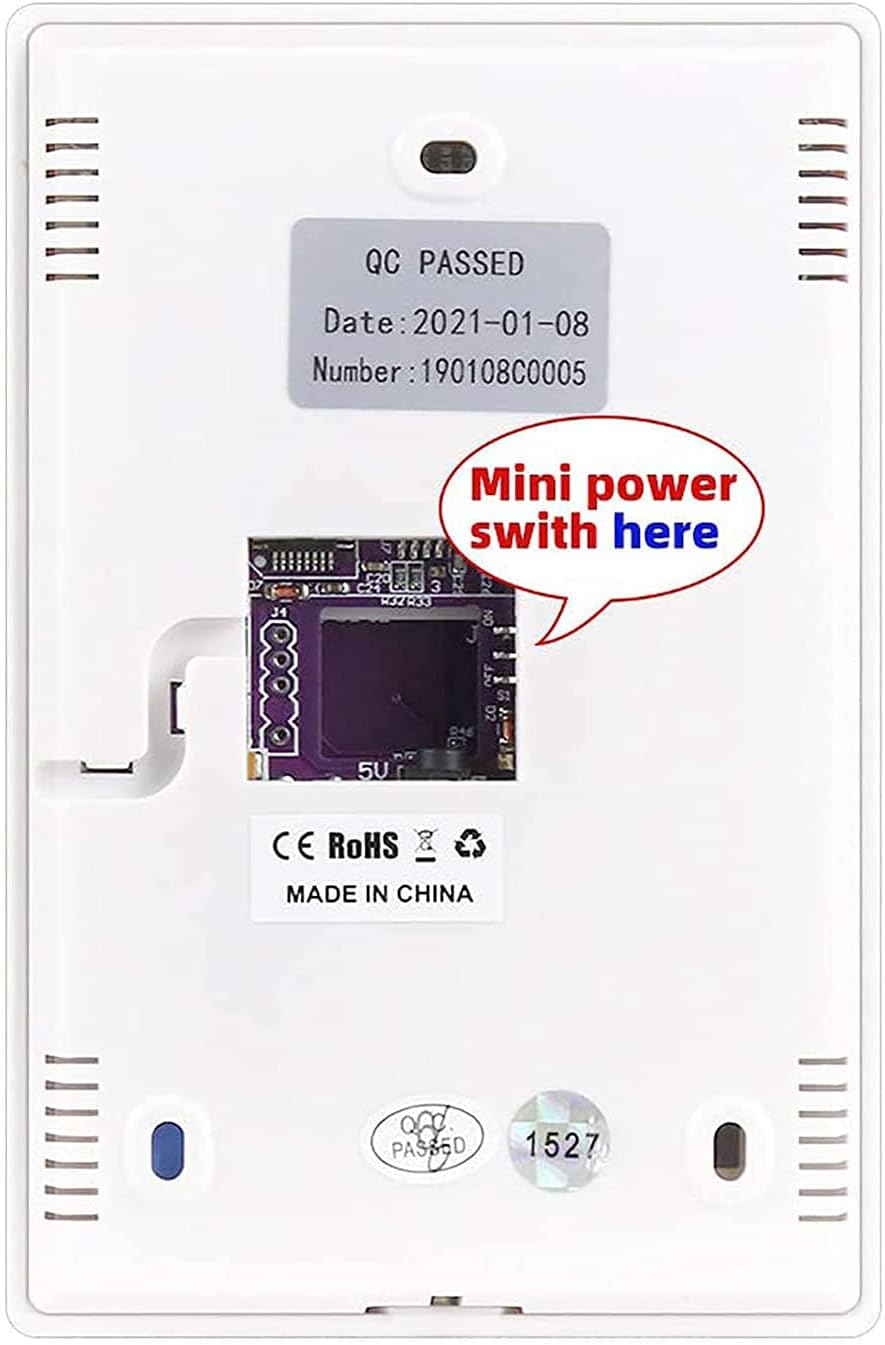
To power on the keypad, locate the small power switch on the internal circuit board. You may need to open the back cover to access this switch. Ensure it is in the 'ON' position.
3. Pairing with Alarm Panel
The JP-08 keypad functions as an accessory to your main Wolf-Guard alarm panel. It must be paired with the panel before use. Refer to your main alarm panel's instruction manual for specific pairing procedures. Generally, this involves putting the alarm panel into a learning or pairing mode and then activating the keypad to send its signal.
4. Installation (Optional Wall Mounting)
The keypad can be wall-mounted for fixed placement or used portably. If wall-mounting, use the provided screws to secure the keypad in a convenient location near an entry point or frequently accessed area. Ensure the location allows for good wireless signal reception from the main alarm panel.
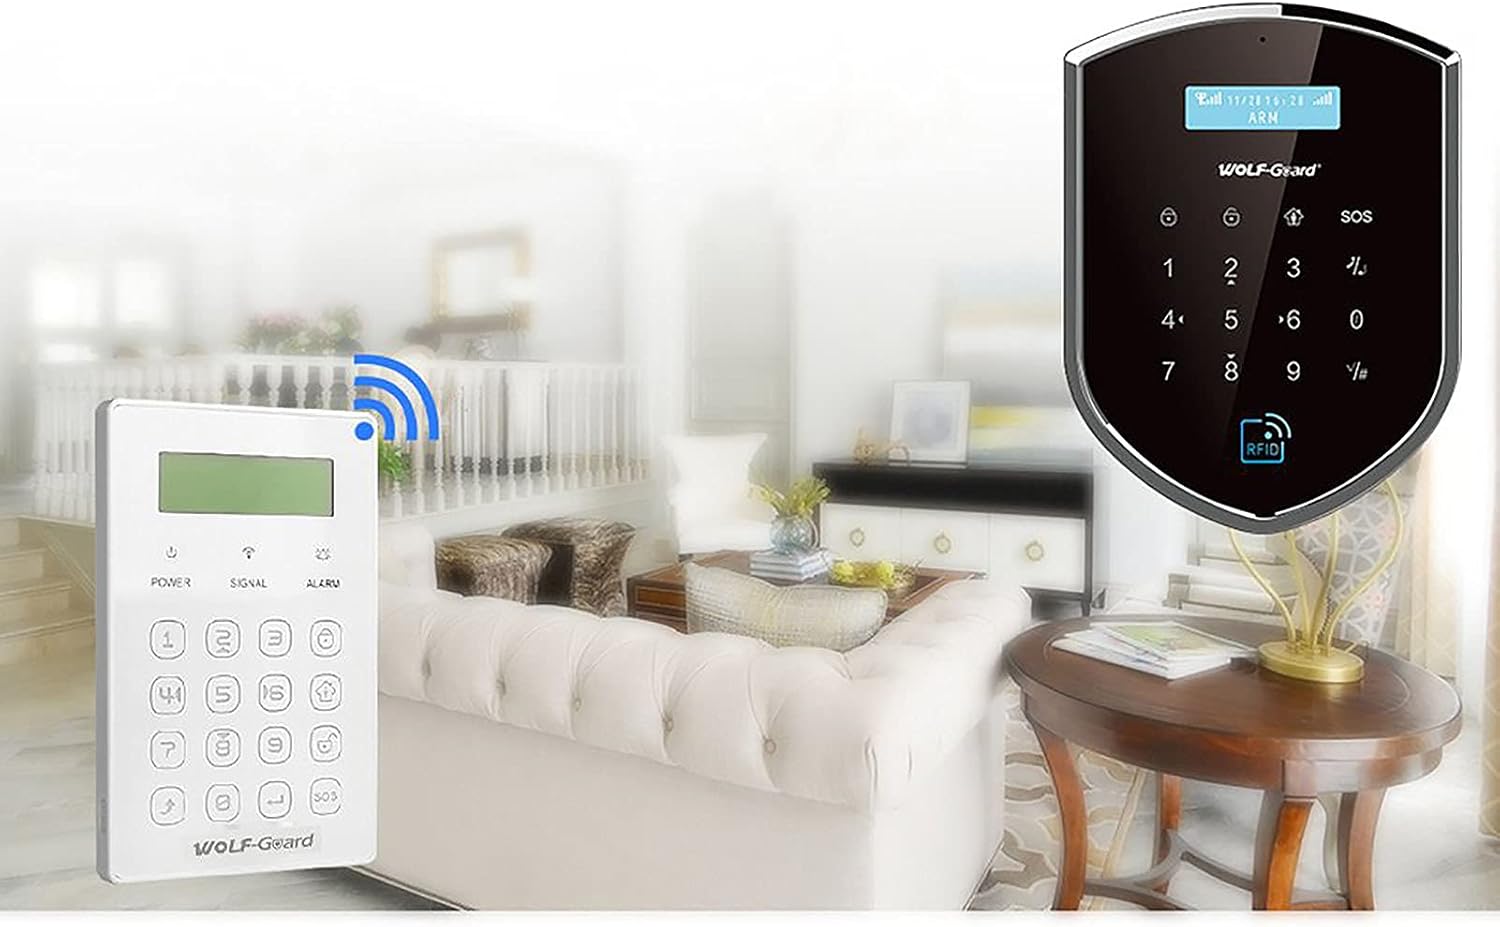
The keypad offers wireless communication with the main control panel, allowing flexible placement throughout your home.
Operating Instructions
1. Display Screen
The dot-matrix LCD screen displays the current system status (e.g., "System disarmed"), date, and time. It also provides feedback on operations.
The LCD screen provides real-time status updates for your alarm system.
2. Arming and Disarming
To arm or disarm the alarm system, enter your 4-digit PIN code followed by the appropriate arm/disarm button. The specific buttons for arming (e.g., Home Arm, Away Arm) and disarming will be indicated on the keypad and in the main alarm panel's manual.
3. SOS Function
Press the SOS button in case of an emergency to trigger an immediate alarm. This function is designed for urgent situations.
4. Password Operation
The keypad requires a password for operation, ensuring secure control of your alarm system. Change the default password immediately after initial setup. Refer to your main alarm panel's manual for instructions on changing user passwords.
Maintenance
1. Battery Management
The keypad has a built-in rechargeable LI battery. When the battery level is low, the keypad will indicate this on the display. Recharge the battery using the provided DC 5V power adapter. A full charge provides over 12 hours of standby time.
2. Cleaning
Clean the keypad surface with a soft, dry cloth. Do not use abrasive cleaners or solvents, as these can damage the display or keypad surface.
Troubleshooting
Keypad not responding: Ensure the keypad is powered on and fully charged. Check the power switch on the internal circuit board. Verify it is properly paired with the main alarm panel.
Poor wireless signal: Relocate the keypad closer to the main alarm panel or ensure there are no major obstructions (e.g., thick walls, large metal objects) between the keypad and the panel. The wireless distance is typically over 50m in open areas.
Incorrect password: Double-check the entered password. If forgotten, refer to your main alarm panel's manual for password reset procedures.
Tamper alarm: If the keypad detects unauthorized opening or removal from its mounting, it may trigger a tamper alarm. Ensure the keypad is securely closed and mounted.
Specifications
| Parameter | Value |
|---|---|
| Power Supply | DC 5V |
| Battery Type | 3.7V, 500mA LI battery (built-in) |
| Battery Standby Time | >12 hours |
| Charging Current | 200mA |
| Standby Current | 11mA |
| Transmission Current | 16.5mA |
| Transmission Frequency | 433MHz |
| Wireless Distance (no obstacle) | >50m |
| Product Dimensions (L x W x H) | 135mm x 87mm x 15mm |
| Item Weight | 250g |

Detailed dimensions of the keypad are provided for installation planning.
Warranty and Support
For warranty information and technical support, please refer to the official Wolf-Guard website or contact your local distributor. Keep your purchase receipt as proof of purchase for warranty claims.
For further assistance, you may visit the WOLF-GUARD Store on Amazon.


