
1. Introduction to Your Brother PE800 Embroidery Machine
The Brother PE800 is a dedicated embroidery machine designed for creating intricate and dazzling embroidery designs. It features a generous 5" x 7" embroidery field, allowing for larger projects. The machine comes equipped with 138 built-in embroidery designs, including scrollwork, floral, quilt patterns, 10 frame designs, and 11 built-in font styles (7 English, 3 Japanese, and 1 Cyrillic) perfect for monogramming and lettering.
Key features include a large 3.2" LCD color touchscreen for design preview and editing, a USB port for importing custom designs, and an automatic needle threader for ease of use. The machine is engineered with design editing capabilities such as rotating, mirroring, increasing, and decreasing design sizes directly on the touchscreen.

Image 1.1: The Brother PE800 Embroidery Machine, a dedicated embroidery unit.
2. Setup and Initial Use
Before beginning your first embroidery project, ensure the machine is properly set up. This involves unpacking all components, attaching the embroidery arm, and threading the machine according to the numbered diagrams.
2.1 Unboxing and Component Identification
Carefully remove the machine and all accessories from the packaging. Verify that all included components are present, such as the 5" x 7" embroidery hoop, embroidery foot, bobbin, needle set, cleaning brush, seam ripper, bobbin cover, spool caps, spool net, scissors, embroidery bobbin thread, accessory bag, dust cover, and user manual.

Image 2.1: Brother PE800 Embroidery Machine with its dimensions: 10.48"D x 18.48"W x 12.81"H.
2.2 Attaching the Embroidery Arm and Hooping Fabric
Attach the embroidery arm to the machine as instructed in the user manual. The 5" x 7" embroidery hoop is designed to securely hold your fabric during the embroidery process. For best results, use a stabilizer appropriate for your fabric type.

Image 2.2: The Brother PE800 Embroidery Machine with the 5" x 7" embroidery hoop in place, ready for fabric.
2.3 Threading the Machine
Follow the numbered threading diagram printed on the machine for correct upper thread placement. The automatic needle threader simplifies the process of threading the needle.
2.4 Setup Video Tutorial
Video 2.1: This video demonstrates the best way to set up your Brother PE800 Embroidery Machine, including threading and initial preparations.
3. Operating Your Brother PE800
The PE800 offers intuitive operation through its color LCD touchscreen and USB connectivity.
3.1 Selecting and Editing Designs
Use the 3.2" LCD touchscreen to browse the 138 built-in designs and 11 font styles. The touchscreen allows for flexible design editing, including rotation, mirroring, and resizing, enabling you to customize your projects before stitching.
3.2 Importing Custom Designs
The integrated USB port allows you to import your own embroidery designs into the machine's built-in memory, expanding your creative possibilities beyond the pre-loaded options.
3.3 Using the Magnetic Hoop
For efficient hooping, especially with thicker fabrics or for floating projects, a magnetic hoop can be used. This simplifies the process of securing your material for embroidery.
Video 3.1: This video demonstrates how to set up a 5" x 7" magnetic hoop for the Brother PE800 machine, providing guidance on securing fabric.
3.4 Thread Selection and Management
Choosing the right embroidery thread is crucial for vibrant and durable designs. Consider using high-quality polyester embroidery thread for optimal results.
Video 3.2: This video explains the benefits of using Madeira thread in 5,500-yard spools for embroidery machines, highlighting thread quality.
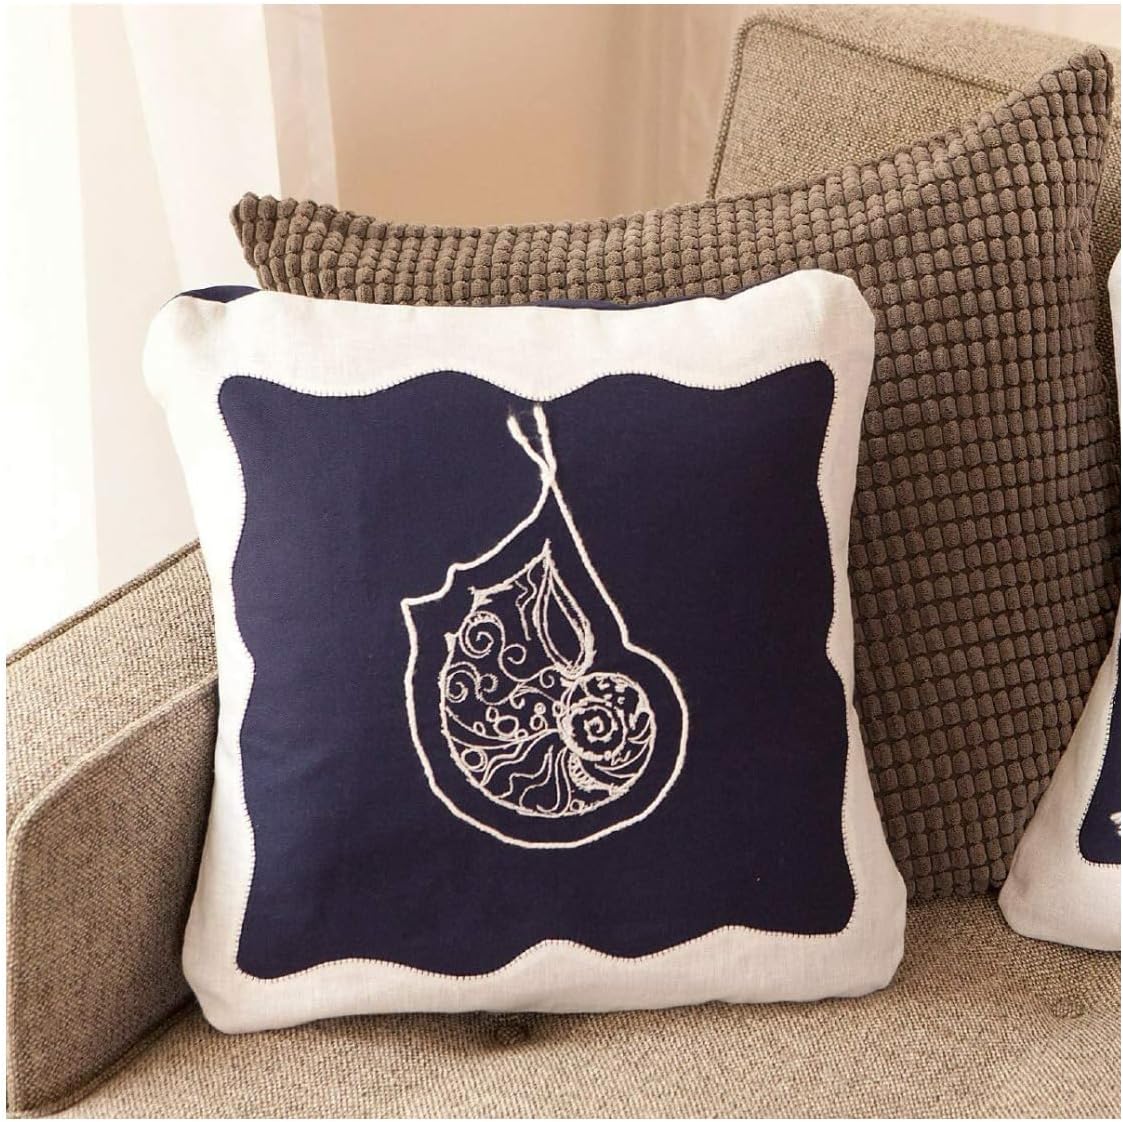
Image 3.1: An example of a detailed embroidery design created with the Brother PE800 machine on a pillow.
4. Maintenance
Regular maintenance ensures the longevity and optimal performance of your embroidery machine.
- Cleaning: Use the provided cleaning brush to remove lint and dust from the bobbin area and other accessible parts.
- Needle Replacement: Replace needles regularly, especially if they become dull or bent, to prevent skipped stitches and fabric damage. The machine includes a needle set.
- General Care: Keep the machine covered with the dust cover when not in use to protect it from environmental elements.
5. Troubleshooting
Encountering issues during embroidery can often be resolved with simple troubleshooting steps.
- Bobbin Thread Issues: If the bobbin thread runs out unexpectedly or causes stitching problems, refer to the machine's tutorials or the user manual for guidance on re-threading or adjusting bobbin tension.
- Skipped Stitches: This can often be resolved by replacing the needle, re-threading the machine, or adjusting thread tension.
- Machine Adjustments: Use the provided mini screwdriver for minor adjustments as needed.
Video 5.1: This video provides an easy fix for situations where the bobbin runs out during embroidery, helping users resume their projects smoothly.
6. Specifications
| Feature | Detail |
|---|---|
| Product Dimensions | 10.48 x 18.48 x 12.81 inches |
| Item Weight | 17.64 pounds |
| Manufacturer | Brother |
| Item model number | PE800 |
| Brand | Brother |
| Material | Metal, Plastic |
| Power Source | Electric |
| Included Components | 5" x 7" Embroidery hoop, Embroidery foot, Bobbin, Needle set, Cleaning brush, Seam ripper, Bobbin Cover, Spool Caps, Spool net, Scissors, Embroidery bobbin thread, Accessory Bag, Dust Cover, Manual in English/Spanish |
7. Warranty and Support
The Brother PE800 Embroidery Machine comes with a 25-year limited warranty. Technical support is available for the life of the product. For detailed information, please refer to the bilingual user manual included with your machine or visit the official Brother support website.