Introduction
This manual provides essential instructions for the safe and efficient operation, setup, and maintenance of your Endura EC6M+TWP-MT3 6-Unit Charger. Please read this manual thoroughly before using the charger to ensure proper functionality and to prevent damage to the unit or connected devices. This charger is specifically designed for use with Motorola CP150, CP200, CP250, EP450, and PR400 series two-way radios.
Product Overview
The Endura EC6M+TWP-MT3 is a multi-unit charger capable of simultaneously charging up to six batteries or radios. It features individual charging bays with LED indicators to display charging status.
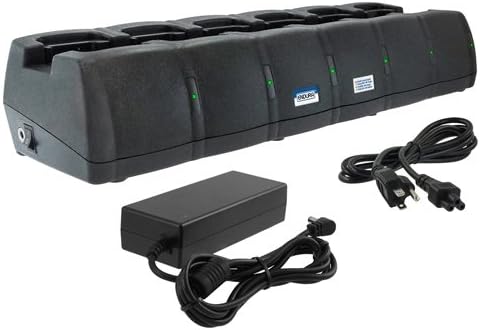
This image displays the Endura EC6M+TWP-MT3 6-Unit Charger, a black multi-bay charging unit designed for multiple two-way radio batteries. It is shown with its external power supply unit and two power cords, one for the power supply and one for the wall outlet.
Setup
- Unpacking: Carefully remove all components from the packaging. Verify that the 6-unit charger, external power supply, and power cords are present.
- Placement: Place the charger on a stable, flat surface in a well-ventilated area, away from direct sunlight, heat sources, and moisture. Ensure adequate space around the unit for air circulation.
- Connect Power Supply: Connect the DC output cable from the external power supply to the DC input jack on the back of the 6-unit charger.
- Connect to Power Outlet: Connect the AC power cord to the external power supply, then plug the other end into a standard electrical outlet (240 Volts).
- Power On: The charger is now ready for use.
Operating Instructions
- Inserting Radios/Batteries: Gently insert a Motorola CP150, CP200, CP250, EP450, or PR400 series radio (with battery attached) or a compatible battery into an available charging bay. Ensure the radio/battery is seated correctly and makes full contact with the charging terminals.
- Charging Indicator: Each charging bay has an LED indicator.
- Solid Red: Indicates the battery is charging.
- Solid Green: Indicates the battery is fully charged.
- Flashing Red: Indicates a charging error (e.g., battery fault, incorrect battery type, or temperature issue). Remove the battery and re-insert. If the error persists, consult the troubleshooting section.
- Charging Process: The charger automatically detects the battery type and initiates the appropriate charging cycle. Once fully charged, the LED will turn solid green, and the charger will switch to a maintenance charge to prevent overcharging.
- Removing Radios/Batteries: To remove a radio or battery, simply lift it out of the charging bay.
Maintenance
- Cleaning: Disconnect the charger from the power outlet before cleaning. Use a soft, dry cloth to wipe the exterior of the charger. Do not use liquid cleaners or solvents. Ensure charging contacts are free of dust and debris.
- Storage: When not in use for extended periods, store the charger in a cool, dry place.
- Safety: Do not attempt to disassemble or modify the charger. Refer all servicing to qualified personnel. Avoid exposing the charger to extreme temperatures or humidity.
Troubleshooting
| Problem | Possible Cause | Solution |
|---|---|---|
| No LED indicator when radio/battery is inserted. |
|
|
| LED flashes red. |
|
|
| Battery does not charge fully. |
|
|
Specifications
- Model Number: EC6M+TWP-MT3
- Brand: Endura
- Manufacturer: Power Products
- Compatible Devices: Motorola CP150, CP200, CP250, EP450, PR400 Series
- Input Voltage: 240 Volts
- Output Voltage: 12 Volts
- Number of Charging Bays: 6
- Total USB Ports: 1 (for auxiliary charging, if applicable)
- Power Source: DC
- Main Power Connector Type: 2 Pin
- Item Weight: 6.29 pounds
- Package Dimensions: 23.2 x 10.5 x 5.6 inches
Warranty and Support
For warranty information or technical support, please refer to the documentation provided with your purchase or contact the manufacturer, Power Products, directly. Keep your purchase receipt as proof of purchase for any warranty claims.


