Introduction
This manual provides essential information for the proper installation, operation, and maintenance of your MTX Audio Dual 12" Vented Subwoofer Enclosure (Model TNE212DV). Please read thoroughly before use to ensure optimal performance and longevity of your product.

Figure 1: MTX Audio Dual 12" Vented Subwoofer Enclosure
Key Features
- Vented Design: Purpose-driven vented enclosure meticulously tuned for powerful and impactful bass, ensuring harder-hitting lows.
- High Power Output: Robust output of 2,000 watts maximum power and 1,000 watts RMS power for an immersive audio experience with optimal clarity and depth.
- Dual 12-inch Subwoofers: Two powerful 12-inch subwoofers designed to elevate auditory experience with deep bass.
- Durable Construction: Features polypropylene dust caps for durability, lightweight design, and minimized power consumption.
- Sleek Aesthetic: Incorporates the MTX audio logo on the dust cap and elegant embroidery of the Terminator logo on rich black carpeting.
Setup and Installation
Proper setup is crucial for achieving the best performance from your subwoofer enclosure. Follow these guidelines for installation.
1. Unpacking and Inspection
Carefully remove all components from the packaging. Verify that all included items are present:
- Dual 12" Vented Subwoofer Enclosure
Inspect the enclosure and subwoofers for any signs of damage during shipping. If any damage is found, contact your dealer immediately.
2. Placement
The MTX Audio TNE212DV is designed for floor standing mounting within your vehicle. Consider the following for optimal placement:
- Ensure the enclosure is securely placed to prevent movement during vehicle operation.
- Allow adequate space around the enclosure for proper air circulation, especially around the vented ports.
- The enclosure dimensions are 13.5"D x 29.5"W x 14"H.

Figure 2: Enclosure Dimensions
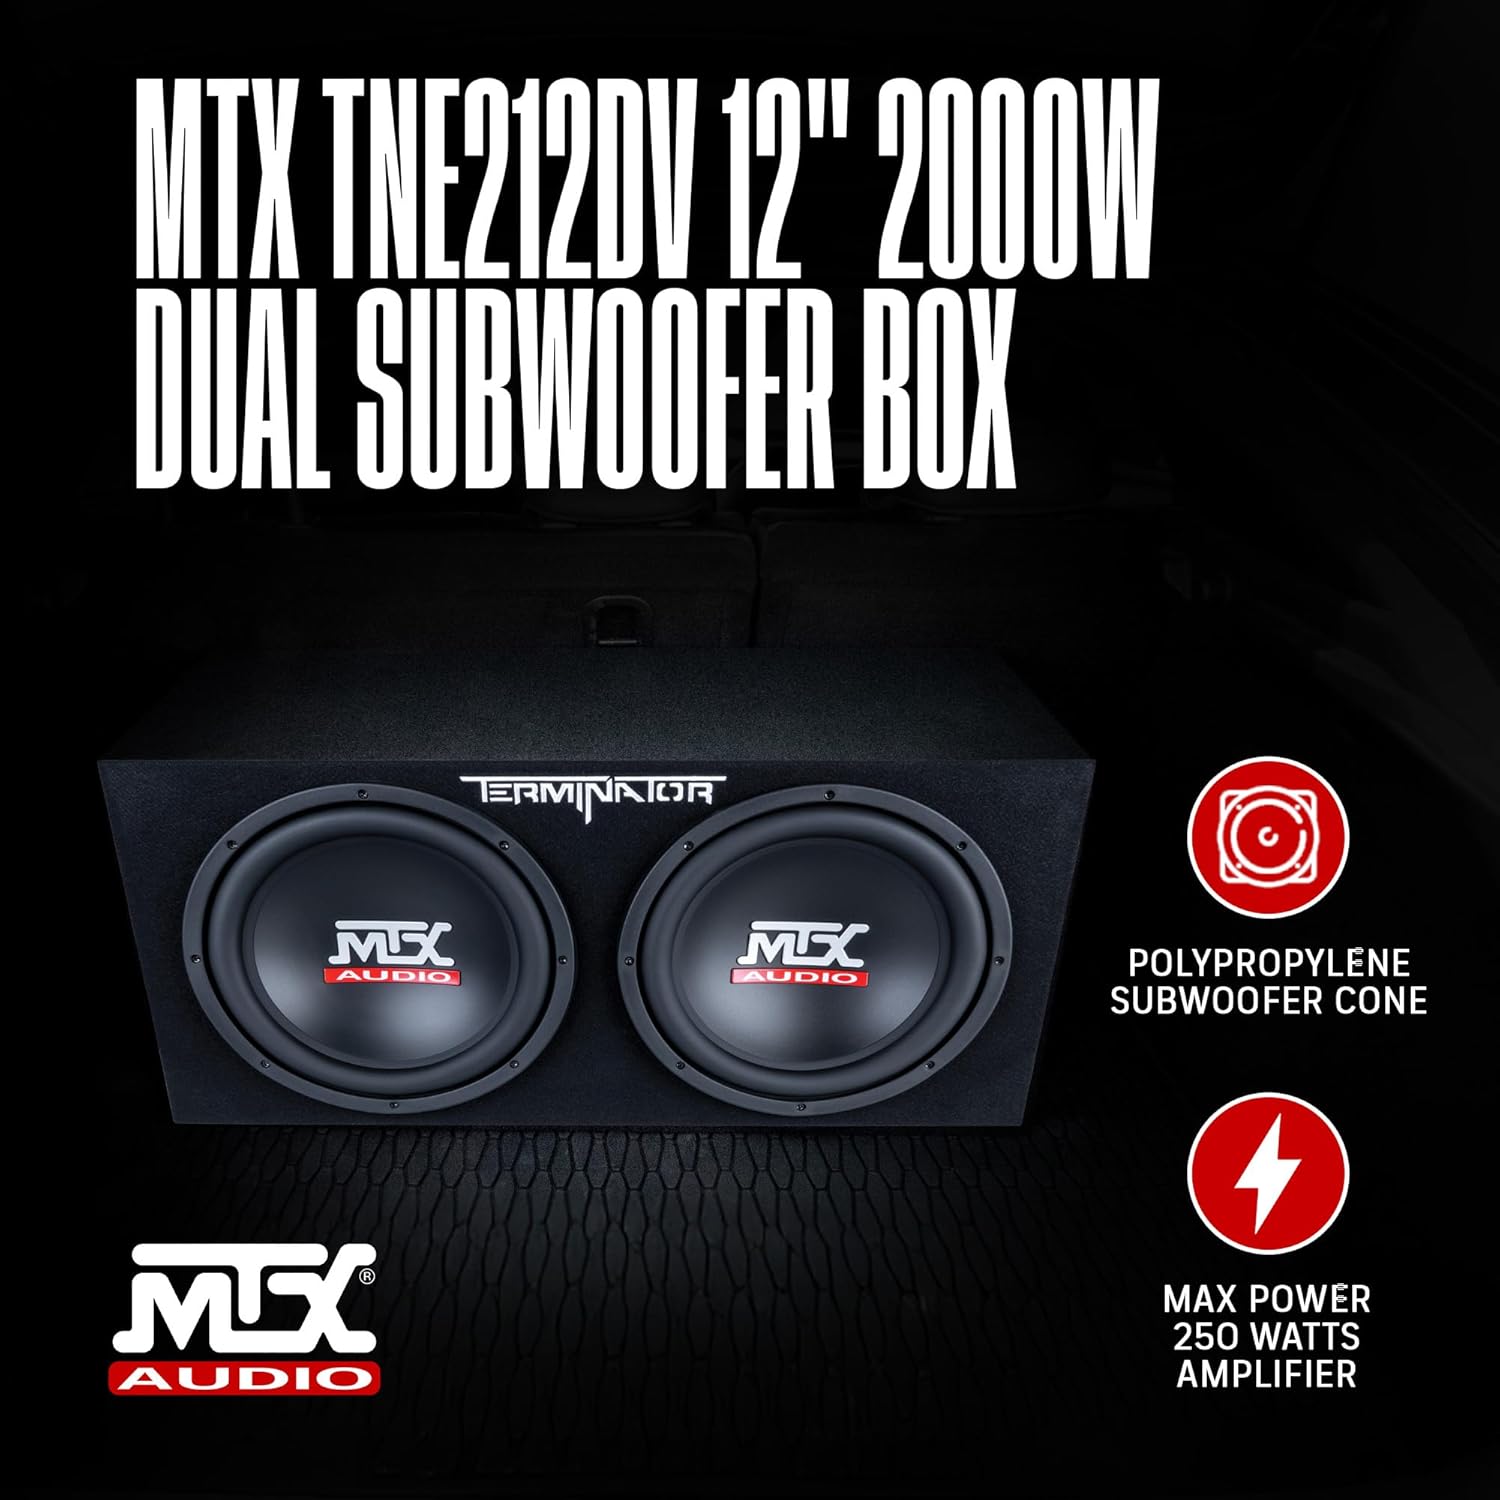
Figure 3: Subwoofer Enclosure in Vehicle Trunk
3. Amplifier Matching
This dual subwoofer enclosure has an impedance of 2 Ohms and handles 1000 Watts RMS power (2000 Watts Max). It is crucial to match your amplifier's output to these specifications for optimal performance and to prevent damage.
- Select an amplifier capable of delivering approximately 1000 Watts RMS at a 2 Ohm load.
- Using an amplifier with significantly lower or higher RMS output than the subwoofer's rating can lead to poor sound quality or damage.
4. Wiring Connections
The enclosure features gold-plated push-style speaker wire terminals for easy connection. Ensure proper polarity (+ to + and - to -) when connecting to your amplifier.
- Use appropriate gauge speaker wire for the power levels and distance to the amplifier.
- Press down on the terminal lever, insert the stripped end of the speaker wire, and release the lever to secure the connection.
- Verify that no stray wire strands are touching, which could cause a short circuit.

Figure 4: Speaker Wire Terminals
5. Amplifier Setup (General Guidance)
Once connected, refer to your amplifier's manual for specific setup instructions. General settings include:
- Gain Control: Adjust the amplifier's gain to match the output voltage of your head unit. Start low and gradually increase until distortion is heard, then back off slightly.
- Low-Pass Filter (LPF): Set the LPF to filter out high frequencies, allowing only bass frequencies to pass to the subwoofer. A common starting point is 80-100 Hz.
- Subsonic Filter: If available, set the subsonic filter to protect the subwoofer from playing frequencies below its resonant frequency, which can cause damage.
- Bass Boost: Use sparingly, if at all, to avoid excessive distortion and potential damage.
Setup Videos
Video 1: General Subwoofer Setup and Demo (RV1212P)
This video provides a general overview of subwoofer setup and demonstration, applicable for understanding basic principles.
Video 2: RV Series Overview
An overview of the RV series, offering insights into the product line's features and design.
Video 3: How to Set Up Enclosures (DV12K6)
This video demonstrates the setup process for similar enclosures, providing valuable general installation guidance.
Video 4: MTX Speakers Subwoofer Demonstration
A demonstration of MTX subwoofers, showcasing their performance.
Operating Instructions
As a passive subwoofer enclosure, the MTX Audio TNE212DV does not have direct operating controls. Its performance is managed entirely by the connected amplifier and your head unit.
- Volume Control: Adjust the overall system volume via your head unit.
- Bass Level: Fine-tune the bass output using the bass level control on your head unit or a remote bass knob connected to your amplifier.
- Break-in Period: Allow a break-in period of approximately 10-20 hours of moderate listening before operating at high volumes. This allows the subwoofer's suspension to loosen up and perform optimally.
Maintenance
Regular maintenance ensures the longevity and consistent performance of your subwoofer enclosure.
- Cleaning: Use a soft, dry cloth or a vacuum cleaner with a brush attachment to clean the carpeted exterior. Avoid using harsh chemicals or abrasive cleaners.
- Connection Check: Periodically inspect all wiring connections to ensure they are secure and free from corrosion. Loose connections can lead to signal loss or damage.
- Environmental Care: Protect the enclosure from extreme temperatures, direct sunlight, and moisture.
Troubleshooting
If you experience issues with your subwoofer enclosure, refer to the following common troubleshooting steps:
| Problem | Possible Cause | Solution |
|---|---|---|
| No Sound | Loose or incorrect wiring connections Amplifier not powered on Head unit not sending signal | Check all speaker wire connections at the enclosure and amplifier. Verify amplifier power and remote turn-on. Ensure head unit is sending an audio signal. |
| Distorted Sound | Amplifier gain set too high Incorrect amplifier settings (LPF, bass boost) Damaged subwoofer | Reduce amplifier gain until distortion disappears. Adjust LPF and bass boost settings according to amplifier manual. Inspect subwoofer cones for physical damage. |
| Weak Bass Output | Amplifier gain set too low Incorrect LPF setting Phase issues | Increase amplifier gain gradually. Adjust LPF to a suitable frequency (e.g., 80-100 Hz). Check amplifier's phase switch (0° or 180°). |
Specifications
| Feature | Specification |
|---|---|
| Brand | MTX |
| Model Name | TERMINATOR |
| Item Model Number | TNE212DV |
| Speaker Type | Subwoofer |
| Subwoofer Diameter | 12 Inches (x2) |
| Speaker Maximum Output Power | 2000 Watts |
| RMS Power | 1000 Watts |
| Impedance | 2 Ohms |
| Product Dimensions | 13.5"D x 29.5"W x 14"H |
| Item Weight | 53 Pounds |
| Material | Plastic, Nylon/Polyester |
| Mounting Type | Floor Standing |
| Connectivity Technology | Wired |
| Special Feature | Hi Res Audio |
| UPC | 715442550135 |
Warranty Information
This MTX Audio product comes with a Limited Warranty. For detailed information regarding warranty coverage, terms, and conditions, please refer to the official warranty documentation provided with your product or visit the MTX Audio website.
Customer Support
For any questions, technical assistance, or support regarding your MTX Audio Dual 12" Vented Subwoofer Enclosure, please contact MTX Audio customer service. Refer to the official MTX Audio website or product packaging for current contact information.


