
1. Introduction
This manual provides detailed instructions for the installation, operation, and maintenance of your ANNKE 4-Channel 960P Wireless NVR Surveillance Kit. Please read this manual thoroughly before using the product to ensure proper setup and functionality.

Image 1.1: ANNKE 4-Channel 960P Wireless NVR Surveillance Kit components and mobile monitoring.
2. Package Contents
Verify that all items listed below are included in your package. If any items are missing or damaged, please contact ANNKE support.
- 1x NVR (Network Video Recorder)
- 4x IP Cameras
- 1x Cat5e Ethernet Cable (3.3ft / 1m)
- 1x USB Mouse
- 1x 4-in-1 USB HUB
- 5x Power Adapters (1 for NVR, 4 for cameras)
- 1x CD (Software/Drivers)
- 6x Antennas (2 for NVR, 4 for cameras)
- 4x Mounting Brackets
- 4x Mounting Screw Bags
- 1x User Manual for NVR

Image 2.1: All components included in the ANNKE 4-Channel 960P Wireless NVR Surveillance Kit package.
3. Product Overview
3.1 NVR (Network Video Recorder)
The NVR is the central unit for recording and managing video footage from your cameras. It features multiple ports for connectivity and control.

Image 3.1: NVR rear panel connections and dimensions.
- Antenna: For wireless signal reception.
- Restart Button: To restart the NVR.
- Reset Button: To reset the NVR to factory defaults (use with caution).
- AV Out Port: For analog video output.
- USB Ports: For mouse, USB drive, or 4-in-1 USB HUB.
- HDMI Port: For high-definition video output to a monitor.
- Power Supply Port: Connect the DC5V power adapter.
- Network Cable Port: For wired network connection.
- Hard Disk Tray: For installing a 2.5-inch SATA HDD (up to 4TB, not included).
3.2 IP Camera
The IP cameras capture video footage and transmit it wirelessly to the NVR. They are designed for both indoor and outdoor use.

Image 3.2: IP Camera components and features.
- Wi-Fi Antenna: For stable wireless signal.
- Megapixel HD Lens: 3.6mm lens for wider and clearer 960P view.
- 36 IR LEDs: Provide up to 100ft/30m night vision.
- IR-CUT Filter: Ensures accurate color reproduction during the day and clear night vision.
- IP66 Aluminum Alloy Housing: Durable and weatherproof for outdoor installation.
- 3-Axis Mounting Bracket: Allows flexible positioning and vandal-proof wire protection.
- Network Port: For wired connection if wireless is not preferred or available.
- Power Port: Connect the DC12V power adapter.
4. Setup
4.1 Hard Drive Installation (Optional)
The NVR does not include a hard drive. To record video, you must install a 2.5-inch SATA HDD (up to 4TB). Ensure the NVR is powered off before installation.
- Unscrew the NVR casing to access the internal hard disk tray.
- Connect the SATA data and power cables from the NVR to the HDD.
- Secure the HDD in the tray with screws.
- Reattach the NVR casing.
4.2 Initial NVR Connection
- Connect the NVR to a monitor using an HDMI cable.
- Connect the USB mouse to a USB port on the NVR.
- Attach the Wi-Fi antennas to the NVR.
- Connect the NVR to a power outlet using the DC5V power adapter. The NVR will power on automatically.
- Follow the on-screen prompts for initial setup, including language, date/time, and network settings.
4.3 Camera Installation and Pairing
The cameras are pre-paired with the NVR. Simply power them on, and they should connect automatically.
- Attach the Wi-Fi antennas to each camera.
- Mount the cameras in desired locations using the provided brackets and screws. Ensure the locations provide optimal coverage and a stable Wi-Fi signal.
- Connect each camera to a power outlet using its DC12V power adapter.
- Verify that the cameras are displaying video on the NVR monitor. If a camera does not connect, ensure it is within range of the NVR's Wi-Fi signal.

Image 4.1: Example of a wireless HD surveillance solution setup in a home environment.
For optimal wireless performance, consider the placement of the NVR and cameras to minimize obstructions. The system supports a cascade Wi-Fi connection for extended range.
5. Operating Instructions
5.1 Live View
After successful setup, the NVR will display live video feeds from all connected cameras on the monitor.
- Use the USB mouse to navigate the NVR interface.
- Double-click a camera feed to view it in full screen.
- Right-click to access the main menu.
5.2 Recording
The NVR supports continuous recording and motion-triggered recording.
- Continuous Recording: Configure recording schedules via the NVR menu (Main Menu > Record > Schedule).
- Motion Detection Recording: Enable motion detection for each camera (Main Menu > Alarm > Motion Detect). Adjust sensitivity and define activity zones to minimize false alarms.
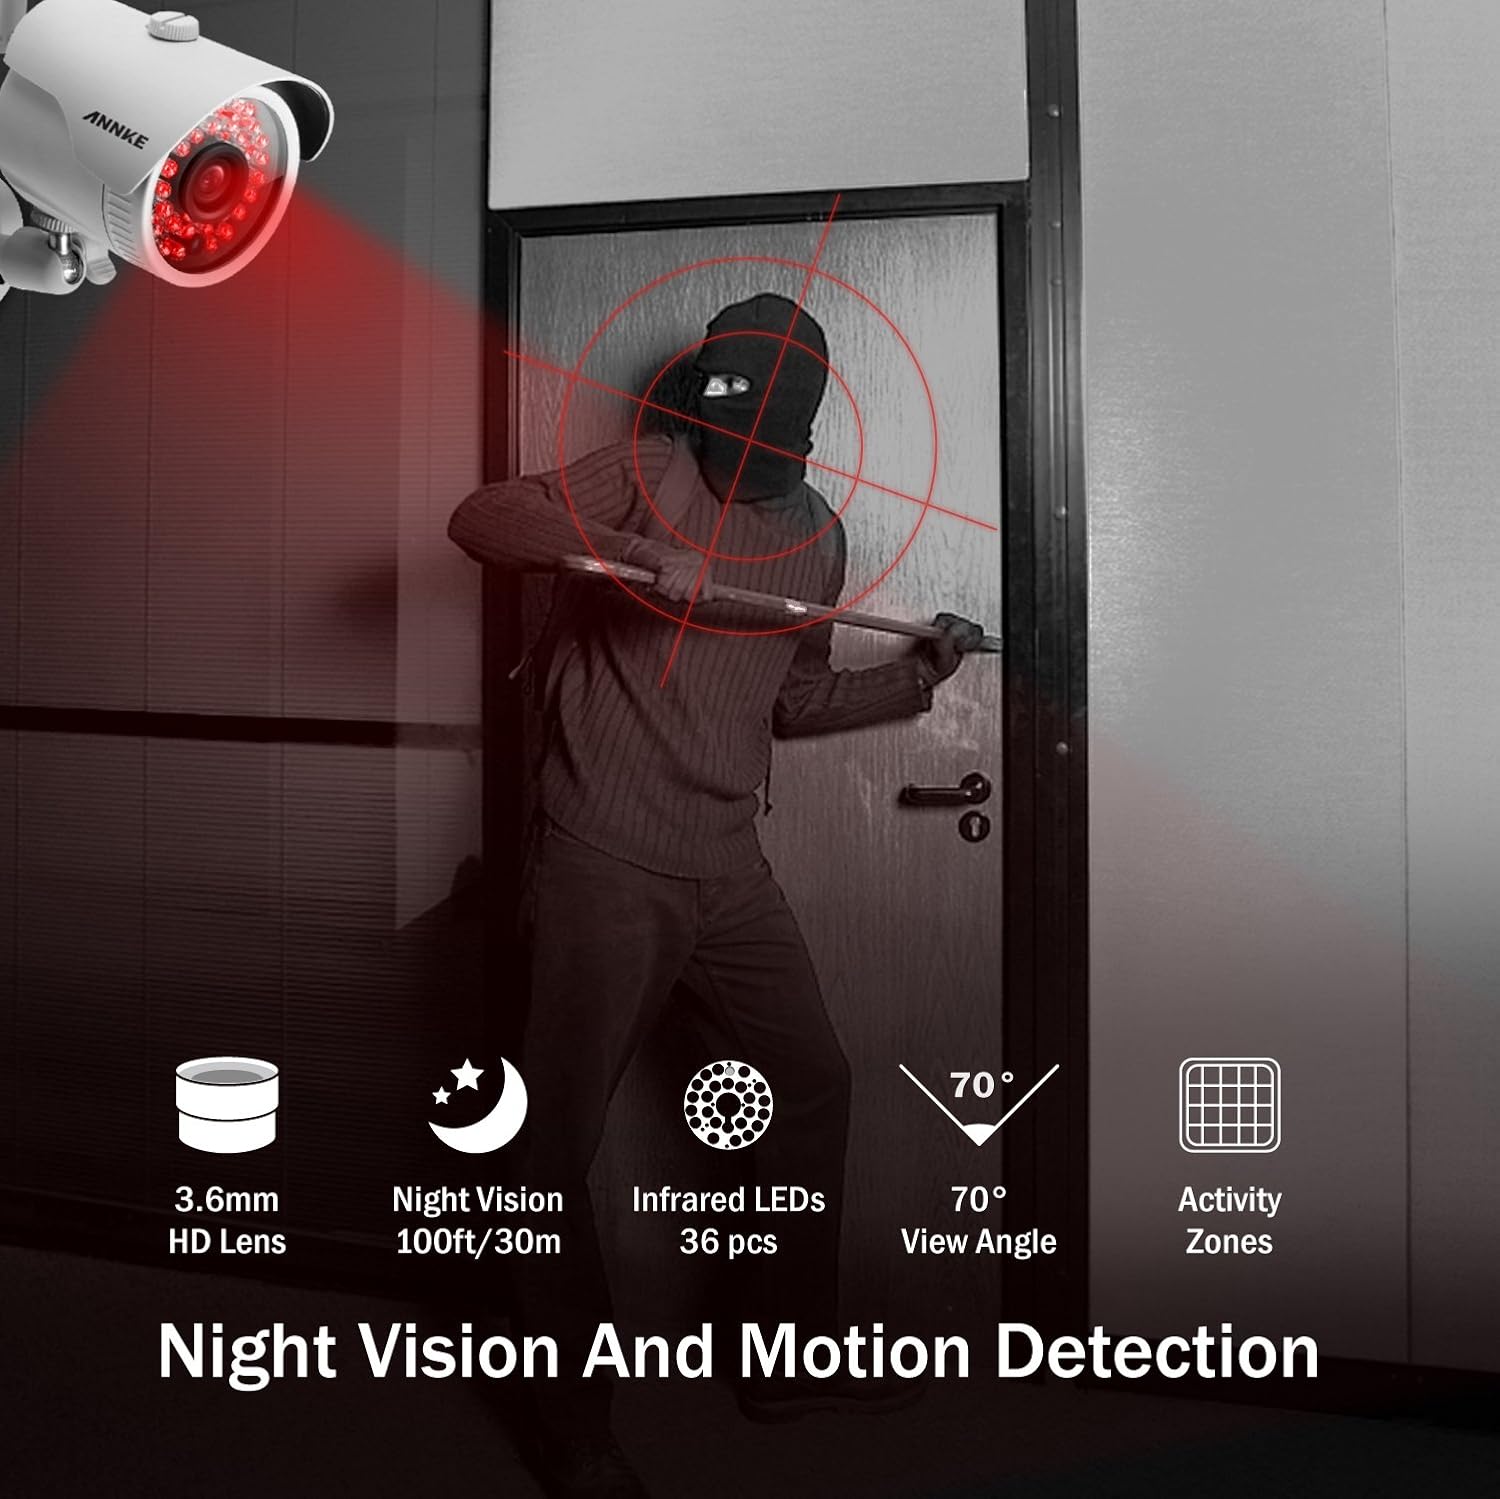
Image 5.1: Night vision and motion detection capabilities of the cameras.
5.3 Playback
To review recorded footage:
- From the main menu, select Playback.
- Choose the desired camera and date/time range.
- Use the playback controls (play, pause, fast forward, rewind) to review footage.
5.4 Remote Access and Alerts
Access your surveillance system remotely and receive alerts on your smartphone, tablet, or computer.
- Download the App: Search for the official ANNKE app on your device's app store.
- Add Camera/NVR: Open the app and follow the instructions to add your NVR by scanning the QR code or entering the device ID.
- Live Viewing: Once added, you can view live feeds and recorded footage from anywhere with an internet connection.
- Email/App Alerts: Configure email and app push notifications for motion detection events via the NVR settings (Main Menu > Alarm > Email/APP Alert).

Image 5.2: Real-time monitoring and email alerts on a smartphone.

Image 5.3: Remote access across multiple devices.
6. Maintenance
6.1 Cleaning
- Regularly clean the camera lenses with a soft, dry cloth to ensure clear image quality.
- Wipe the NVR and camera housings with a damp cloth. Avoid harsh chemicals.
6.2 Firmware Updates
Periodically check the ANNKE official website for firmware updates for your NVR and cameras. Firmware updates can improve performance, add new features, and enhance security.
- Download the latest firmware from the ANNKE support website.
- Follow the specific instructions provided with the firmware update package for installation.
6.3 Hard Drive Management
If you have installed a hard drive, ensure it is functioning correctly. The NVR will automatically overwrite older footage when the disk is full. You can configure this setting in the NVR menu.
- Regularly back up important footage to an external storage device if needed.
- Format the hard drive periodically (Main Menu > HDD > Format) to maintain optimal performance. This will erase all recorded data.
7. Troubleshooting
7.1 No Image Displayed on Monitor
- Check if the NVR is powered on and the power adapter is securely connected.
- Ensure the HDMI cable is properly connected between the NVR and the monitor.
- Verify the monitor input source is set to HDMI.
7.2 Cameras Not Connecting to NVR
- Ensure all cameras are powered on and their power adapters are securely connected.
- Check if the cameras are within the NVR's Wi-Fi range. Relocate cameras or NVR if necessary.
- If cameras were previously connected and lost connection, try restarting both the NVR and the cameras.
- If the issue persists, you may need to re-pair the cameras manually via the NVR interface (refer to the NVR's on-screen manual for specific steps).
7.3 Poor Image Quality / Night Vision Issues
- Clean the camera lenses to remove dirt or smudges.
- Ensure there are no obstructions directly in front of the camera lens, especially at night, as this can cause IR reflection.
- Check the camera's power supply; insufficient power can affect IR performance.
7.4 Remote Access Not Working
- Ensure the NVR is connected to the internet (either via Wi-Fi or Ethernet cable).
- Verify your smartphone/tablet has a stable internet connection.
- Check if the ANNKE app is updated to the latest version.
- Confirm that the NVR is correctly added to your app and its status is online.
8. Specifications
| Feature | Specification |
|---|---|
| NVR Video Compression | H.264 |
| NVR Video Input | 4-Channel Wireless IP |
| NVR HDMI Output | Up to 1080P |
| NVR Max Recording Resolution | 1.3M (1280x960) |
| NVR Max Playback Resolution | 1.3M (1280x960) |
| NVR Max Playback Channel | 4CH 960P |
| Onvif Version | 2.4 |
| HDD Interface | 1x SATA (2.5 inch) |
| HDD Capacity | Up to 4TB (HDD not included) |
| NVR Power Supply | DC5V |
| NVR Operating Temperature | 0°C ~ 50°C (32°F ~ 122°F) |
| Camera Video Resolution | 1.3MP (1280x960) |
| Camera Image Sensor | 1/4" Progressive Scan CMOS |
| Camera Video Compression | H.264 |
| Camera Lens | 3.6mm |
| Camera View Angle | 70° |
| Camera IR LEDs | 36 |
| Camera Night Vision Distance | Up to 100ft / 30m |
| Camera Weather Resistance | IP66 |
| Camera Power Supply | DC12V |
| Camera Operating Temperature | -20°C ~ 60°C (-4°F ~ 140°F) |

Image 8.1: Camera durability features for various environmental conditions.
9. Warranty and Support
ANNKE products come with a standard warranty. For detailed warranty information, product support, or technical assistance, please visit the official ANNKE website or contact their customer service.
You can find more information and support resources on the ANNKE Brand Store.