
1. Introduction
This manual provides detailed instructions for the installation, operation, maintenance, and troubleshooting of the Fan-Tastic Vent K6010-81 17 RPM Lift Motor Assembly. Please read this manual thoroughly before attempting any installation or operation to ensure proper function and safety.
2. Product Overview
The Fan-Tastic Vent K6010-81 is a 12VDC 17 RPM lift motor assembly designed for use with Fan-Tastic Vent systems, primarily in RVs and similar applications. It is responsible for the automatic raising and lowering of the fan lid.
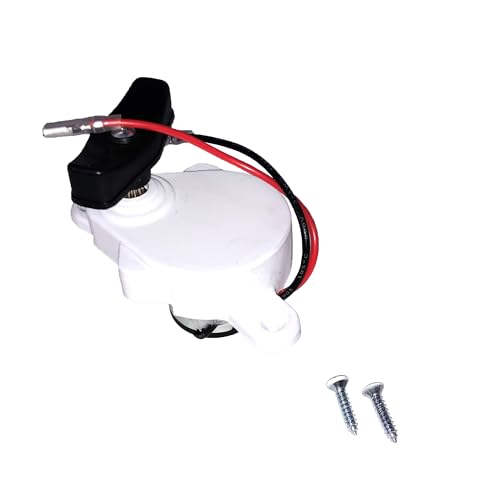
Image 2.1: Fan-Tastic Vent K6010-81 Lift Motor Assembly. This image displays the complete motor assembly, including the white main body, black knob, red and black wire leads, and two mounting screws.
Key components include the 12VDC motor, a white cap housing, a black knob for manual operation or connection to a control arm, and two wire leads with a connector for electrical hookup. Two screws are provided for mounting the assembly.
3. Safety Information
- Always disconnect power to the fan unit before attempting any installation, maintenance, or repair. Failure to do so can result in electrical shock or injury.
- Ensure all electrical connections are secure and properly insulated to prevent short circuits.
- Wear appropriate personal protective equipment (PPE) such as gloves and eye protection during installation.
- If you are unsure about any step, consult a qualified technician.
4. Package Contents
Verify that all items are present in the package before beginning installation:
- 1x Fan-Tastic Vent K6010-81 17 RPM Lift Motor Assembly (with white cap, black knob, and wire leads)
- 2x Mounting Screws
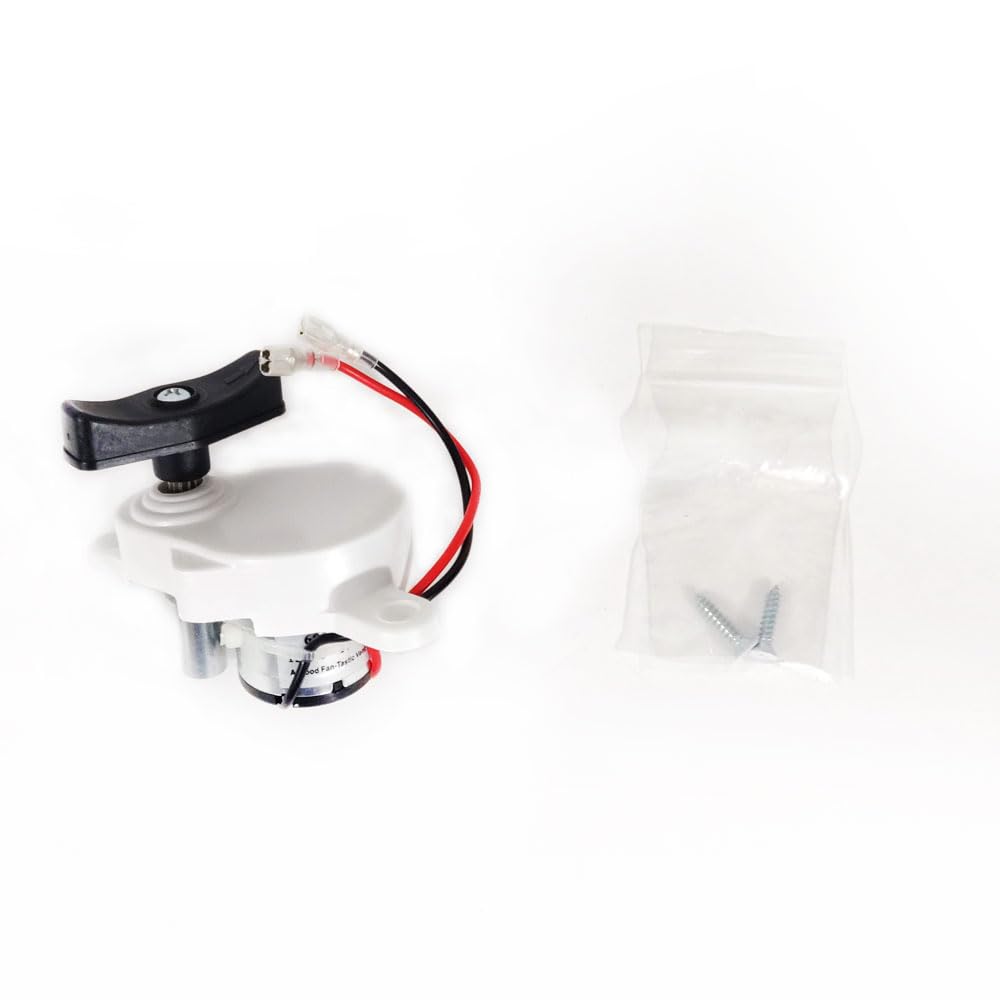
Image 4.1: Package Contents. This image shows the motor assembly alongside a small plastic bag containing the two mounting screws, illustrating the typical contents of the product package.
5. Setup and Installation
This section outlines the steps for replacing an existing lift motor assembly. Installation is generally straightforward and requires basic tools.
Tools Required:
- Screwdriver (Phillips head recommended)
- Wire strippers/crimpers (if replacing connectors)
- Multimeter (optional, for checking voltage/polarity)
Installation Steps:
- Disconnect Power: Locate the fuse or circuit breaker for your RV's fan system and turn off the power. Verify power is off using a multimeter if available.
- Access the Motor: Depending on your fan model, you may need to remove the interior trim or screen to access the existing lift motor assembly.
- Remove Old Motor: Using a screwdriver, remove the two screws securing the old motor assembly in place. Carefully disconnect the wire leads from the fan's electrical system. Note the existing wiring configuration.
- Connect New Motor: Connect the wire leads of the new K6010-81 motor assembly to the fan's electrical system. The motor operates on 12VDC. Important Note: Some users have reported that reversing the red and black wire connections (connecting red to black and black to red) was necessary for correct operation in their specific fan models. If the motor does not operate as expected after initial connection, try reversing the polarity of the wires.
- Secure New Motor: Position the new motor assembly and secure it with the two provided mounting screws. Ensure it is firmly in place and does not obstruct any moving parts.
- Test Operation: Restore power to the fan system. Test the fan's lid lift function using the fan's controls. Observe if the lid raises and lowers smoothly and completely.
- Reassemble: Reinstall any removed trim or screens.
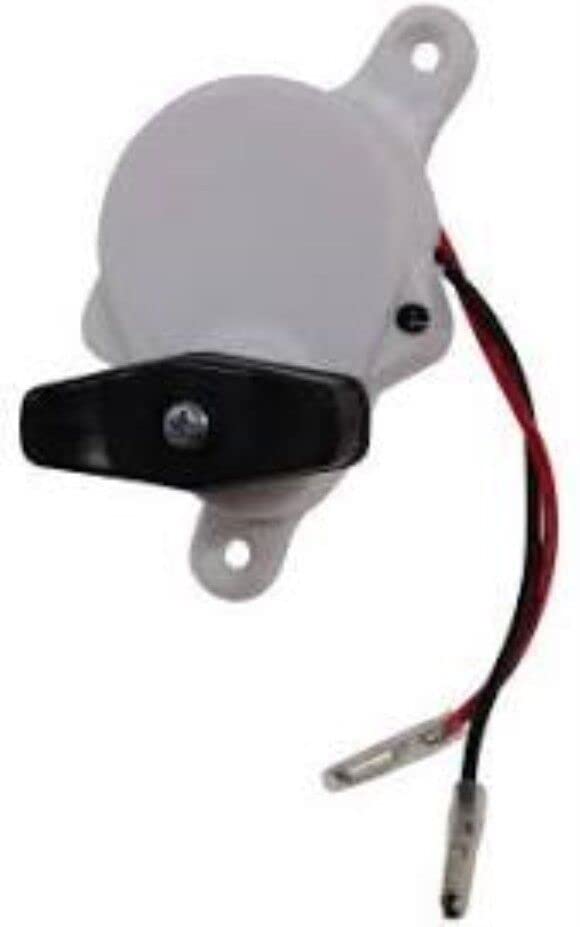
Image 5.1: Top-down view of the motor assembly, showing the white cap and black knob. This view is helpful for understanding the orientation during installation.
6. Operation
Once installed, the K6010-81 lift motor assembly operates in conjunction with your Fan-Tastic Vent's control system. When the fan is activated, the motor will automatically raise the fan lid to allow for ventilation. When the fan is turned off, the motor will lower the lid, sealing the vent opening.
The black knob on the motor assembly may also allow for manual manipulation of the lid in some fan models, or it may serve as the attachment point for the lid's lifting arm.
7. Maintenance
The Fan-Tastic Vent K6010-81 lift motor assembly is designed for long-term, low-maintenance operation. However, periodic checks can help ensure its longevity:
- Cleanliness: Keep the area around the motor free from dust, debris, and obstructions that could impede the lid's movement.
- Connections: Periodically inspect the wire connections to ensure they remain secure and free from corrosion.
- Lid Movement: Observe the fan lid's movement. If it appears sluggish or binds, check for obstructions or issues with the lid's hinges before assuming a motor problem.
8. Troubleshooting
If your Fan-Tastic Vent lid lift motor is not functioning correctly, consider the following troubleshooting steps:
| Problem | Possible Cause | Solution |
|---|---|---|
| Motor does not operate (no movement) | No power to the fan; Loose wire connection; Faulty motor. | Check fan fuse/breaker; Ensure power is restored; Verify wire connections are secure; If power is present and connections are good, the motor may need replacement. |
| Motor operates but lid does not move or moves erratically | Incorrect wire polarity; Obstruction in lid mechanism; Damaged lid arm/hinges. | Try reversing the red and black wire connections. Check for any physical obstructions preventing lid movement. Inspect the lid's lifting arm and hinges for damage. |
| Motor makes noise but lid does not move | Motor gear stripped; Lid mechanism jammed. | Disconnect power and manually check if the lid can be moved. If the motor spins freely but the knob/arm does not engage, the internal gears may be damaged, requiring motor replacement. |
9. Specifications
| Feature | Detail |
|---|---|
| Model Number | K6010-81 |
| Operating Voltage | 12 Volts (DC) |
| RPM | 17 RPM |
| Product Dimensions (L x W x H) | 2.75 x 4 x 2.25 inches |
| Item Weight | 6.24 ounces |
| Operation Mode | Manual (via fan controls) |
| Connector Type | Wire Leads |
| Manufacturer | Fan-Tastic Vent |
10. Warranty and Support
For specific warranty information regarding your Fan-Tastic Vent K6010-81 Lift Motor Assembly, please refer to the documentation provided with your original purchase or contact Fan-Tastic Vent directly. Warranty terms typically cover manufacturing defects.
For technical support or further assistance, please contact the manufacturer or the retailer from whom you purchased the product. Provide your model number (K6010-81) and a detailed description of the issue when seeking support.
You can often find contact information for Fan-Tastic Vent on their official website or through your product's original packaging.