1. Introduction
Thank you for choosing the Pic Solution Veo Premium Digital Thermometer. This device is designed for accurate and rapid measurement of human body temperature. Its flexible probe and clear, color-coded display make it easy and comfortable to use for all ages. Please read this manual carefully before use and keep it for future reference.
2. Safety Information
- This thermometer is intended for measuring human body temperature only. Do not use it for other purposes.
- Do not attempt to disassemble or repair the device.
- Keep the thermometer out of reach of children and pets.
- Avoid exposing the thermometer to direct sunlight, high temperatures, or extreme humidity.
- Clean the thermometer before and after each use as described in the 'Maintenance and Cleaning' section.
- Do not bite the probe.
- If the device malfunctions or displays an error, refer to the 'Troubleshooting' section or contact customer support.
3. Product Overview
The Pic Solution Veo Premium Digital Thermometer features a user-friendly design with a flexible probe for comfort and a large, easy-to-read display.

Image 3.1: Front view of the Pic Solution Veo Premium Digital Thermometer, showing the display, power button, and flexible probe.

Image 3.2: Illustration highlighting the flexible probe of the thermometer, designed for comfortable use.
Components:
- Flexible Probe: The part that comes into contact with the body for temperature measurement.
- Display Screen: Shows temperature readings and indicators. Features color-coded backlighting (green for normal, red for fever).
- Power Button: Used to turn the thermometer on and off.
- Battery Compartment: Located at the end opposite the probe, houses the battery.
4. Setup
4.1. Battery Installation
The thermometer comes with a battery pre-installed. If the battery needs replacement, follow these steps:
- Gently slide open the battery compartment cover located at the end of the thermometer.
- Remove the old battery (type CR1632 3V).
- Insert a new CR1632 3V lithium-ion battery with the positive (+) side facing up.
- Close the battery compartment cover securely.
4.2. Initial Cleaning
Before first use, and after each subsequent use, clean the thermometer as described in the 'Maintenance and Cleaning' section.
5. Operating Instructions
5.1. Turning On/Off
- To Turn On: Press the power button. The display will briefly show all segments, then the last measured temperature, and finally 'Lo' with a flashing '°C' or '°F' indicating it's ready for measurement.
- To Turn Off: Press and hold the power button until the display turns off, or the device will automatically shut off after approximately 10 minutes of inactivity to conserve battery life.
5.2. Taking a Temperature Measurement
- Ensure the thermometer is clean and disinfected.
- Press the power button to turn on the thermometer.
- Place the flexible probe in the desired measurement location:
- Oral Use: Place the probe tip under the tongue, as close as possible to the heat pocket. Keep the mouth closed.
- Axillary (Underarm) Use: Place the probe tip in the center of the armpit. Ensure the arm is pressed firmly against the body to hold the probe in place.
- Hold the thermometer steady until a series of beeps indicates the measurement is complete. The display will show the peak temperature.
- Read the temperature displayed on the screen.
- Turn off the thermometer and clean it after use.
5.3. Understanding the Display
The Veo Premium Digital Thermometer features a color-coded display for quick interpretation of temperature readings:

Image 5.1: Display showing a normal temperature (e.g., 36.5°C) with a green backlight, indicating no fever.
- Green Backlight: Indicates a normal body temperature (typically below 37.5°C / 99.5°F).

Image 5.2: Display showing an elevated temperature (e.g., 38.0°C) with a red backlight, indicating a fever.
- Red Backlight: Indicates an elevated body temperature or fever (typically 37.5°C / 99.5°F or higher). The thermometer will also emit a distinct alarm sound when a fever is detected.
5.4. Memory Function
The thermometer automatically stores the last temperature measurement. To recall the last reading, press the power button briefly when the device is off. The last reading will be displayed for a few seconds before the thermometer enters measurement mode.
6. Maintenance and Cleaning
Proper maintenance and cleaning ensure the accuracy and longevity of your thermometer.
- Cleaning: After each use, wipe the probe with a soft cloth moistened with 70% isopropyl alcohol or cold soapy water. Do not immerse the entire thermometer in water.
- Disinfection: For thorough disinfection, wipe the probe with an alcohol swab.
- Storage: Store the thermometer in its transparent case in a cool, dry place, away from direct sunlight and extreme temperatures.
- Battery Replacement: Replace the battery when the low battery indicator appears on the display. Refer to section 4.1 for instructions.
7. Troubleshooting
| Problem | Possible Cause | Solution |
|---|---|---|
| Display shows 'Lo' but does not measure. | Temperature is below the measurable range (e.g., room temperature). | This is normal. Place the probe on the body to begin measurement. |
| Display shows 'Err'. | Measurement error or device malfunction. | Turn the thermometer off and then on again. If the error persists, contact customer support. |
| Low battery indicator appears. | Battery power is low. | Replace the battery as described in section 4.1. |
| Thermometer does not turn on. | Dead battery or incorrect battery insertion. | Check battery insertion or replace the battery. |
8. Specifications
| Feature | Detail |
|---|---|
| Model Number | 02023006000000 |
| Product Dimensions | 1.97 x 0.91 x 7.09 inches; 1.06 ounces |
| Batteries | 1 Lithium Ion battery (CR1632 3V) required (included) |
| Special Features | Alarm, Waterproof, Flexible Probe, Color-coded Display |
| Display Type | Digital |
| Product Care Instructions | Wipe Clean |
| Power Source | Battery Powered |
| Outer Material | Plastic |
| Included Components | Digital thermometer, transparent case, instructions for use |
9. Warranty and Support
For warranty information or technical support, please contact the manufacturer:
Manufacturer: PROMEDICA S.p.A.
Address: Via Artigiani, 10, 24060 Telgate (BG), Italy
Website: www.picsolution.com
Please have your model number (02023006000000) and purchase details available when contacting support.
10. Disposal
This product contains a battery and electronic components. Do not dispose of the device or its battery with general household waste. Please follow local regulations for the disposal of electronic waste and batteries to protect the environment.
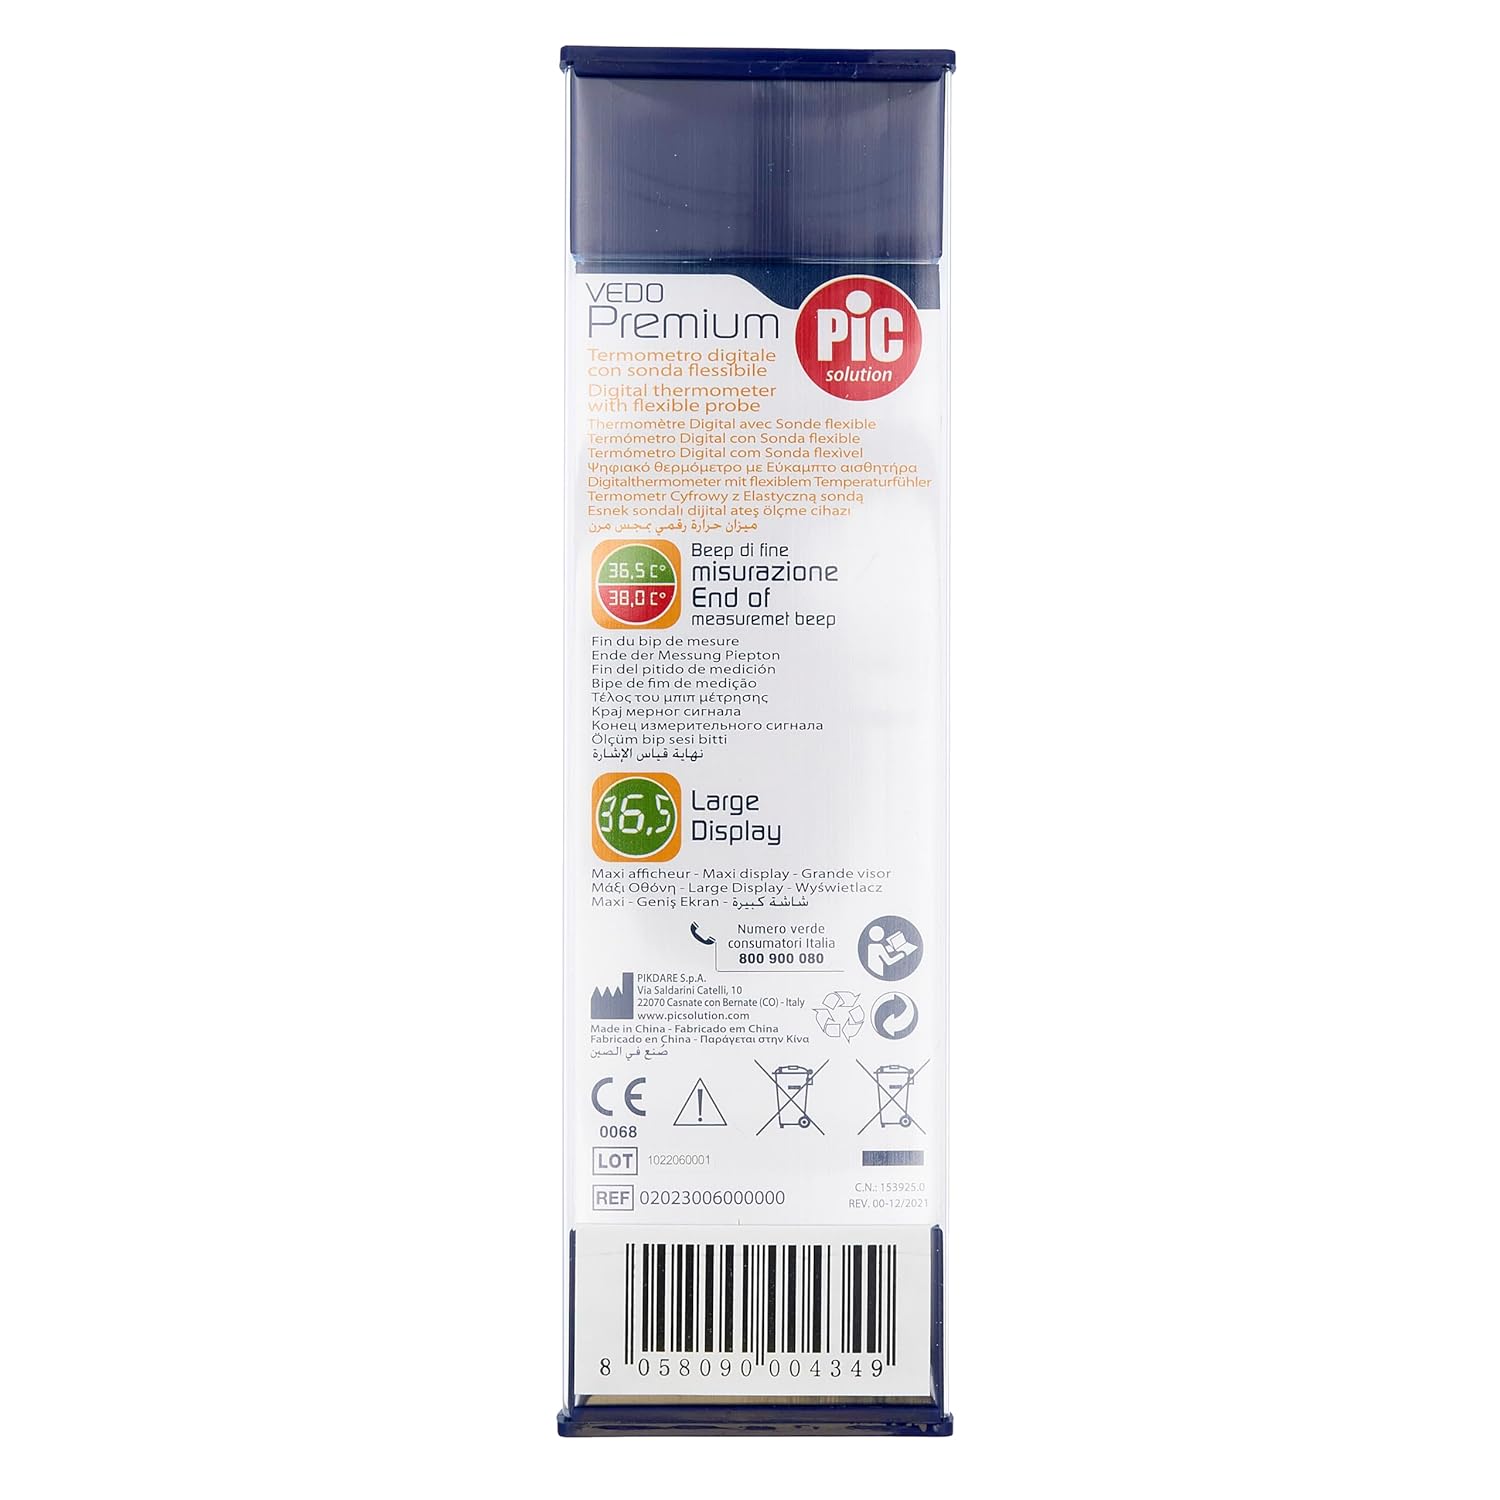
Image 10.1: Back of the product packaging, displaying environmental disposal symbols and manufacturer details. The barcode 8058090004349 is visible.


