
1. Introduction
Welcome to the user manual for your Braeburn 7205 Digital Programmable Wi-Fi Thermostat. This device is designed to provide efficient and convenient control over your home's heating and cooling system. Featuring Wi-Fi connectivity, you can manage your climate settings remotely using the Braeburn BlueLink app on your smartphone or tablet. The thermostat supports 7-day programming and is compatible with conventional HVAC equipment, often without requiring a common wire.

Figure 1.1: Contents of the Braeburn 7205 thermostat package, including the thermostat unit, batteries, and mounting hardware.
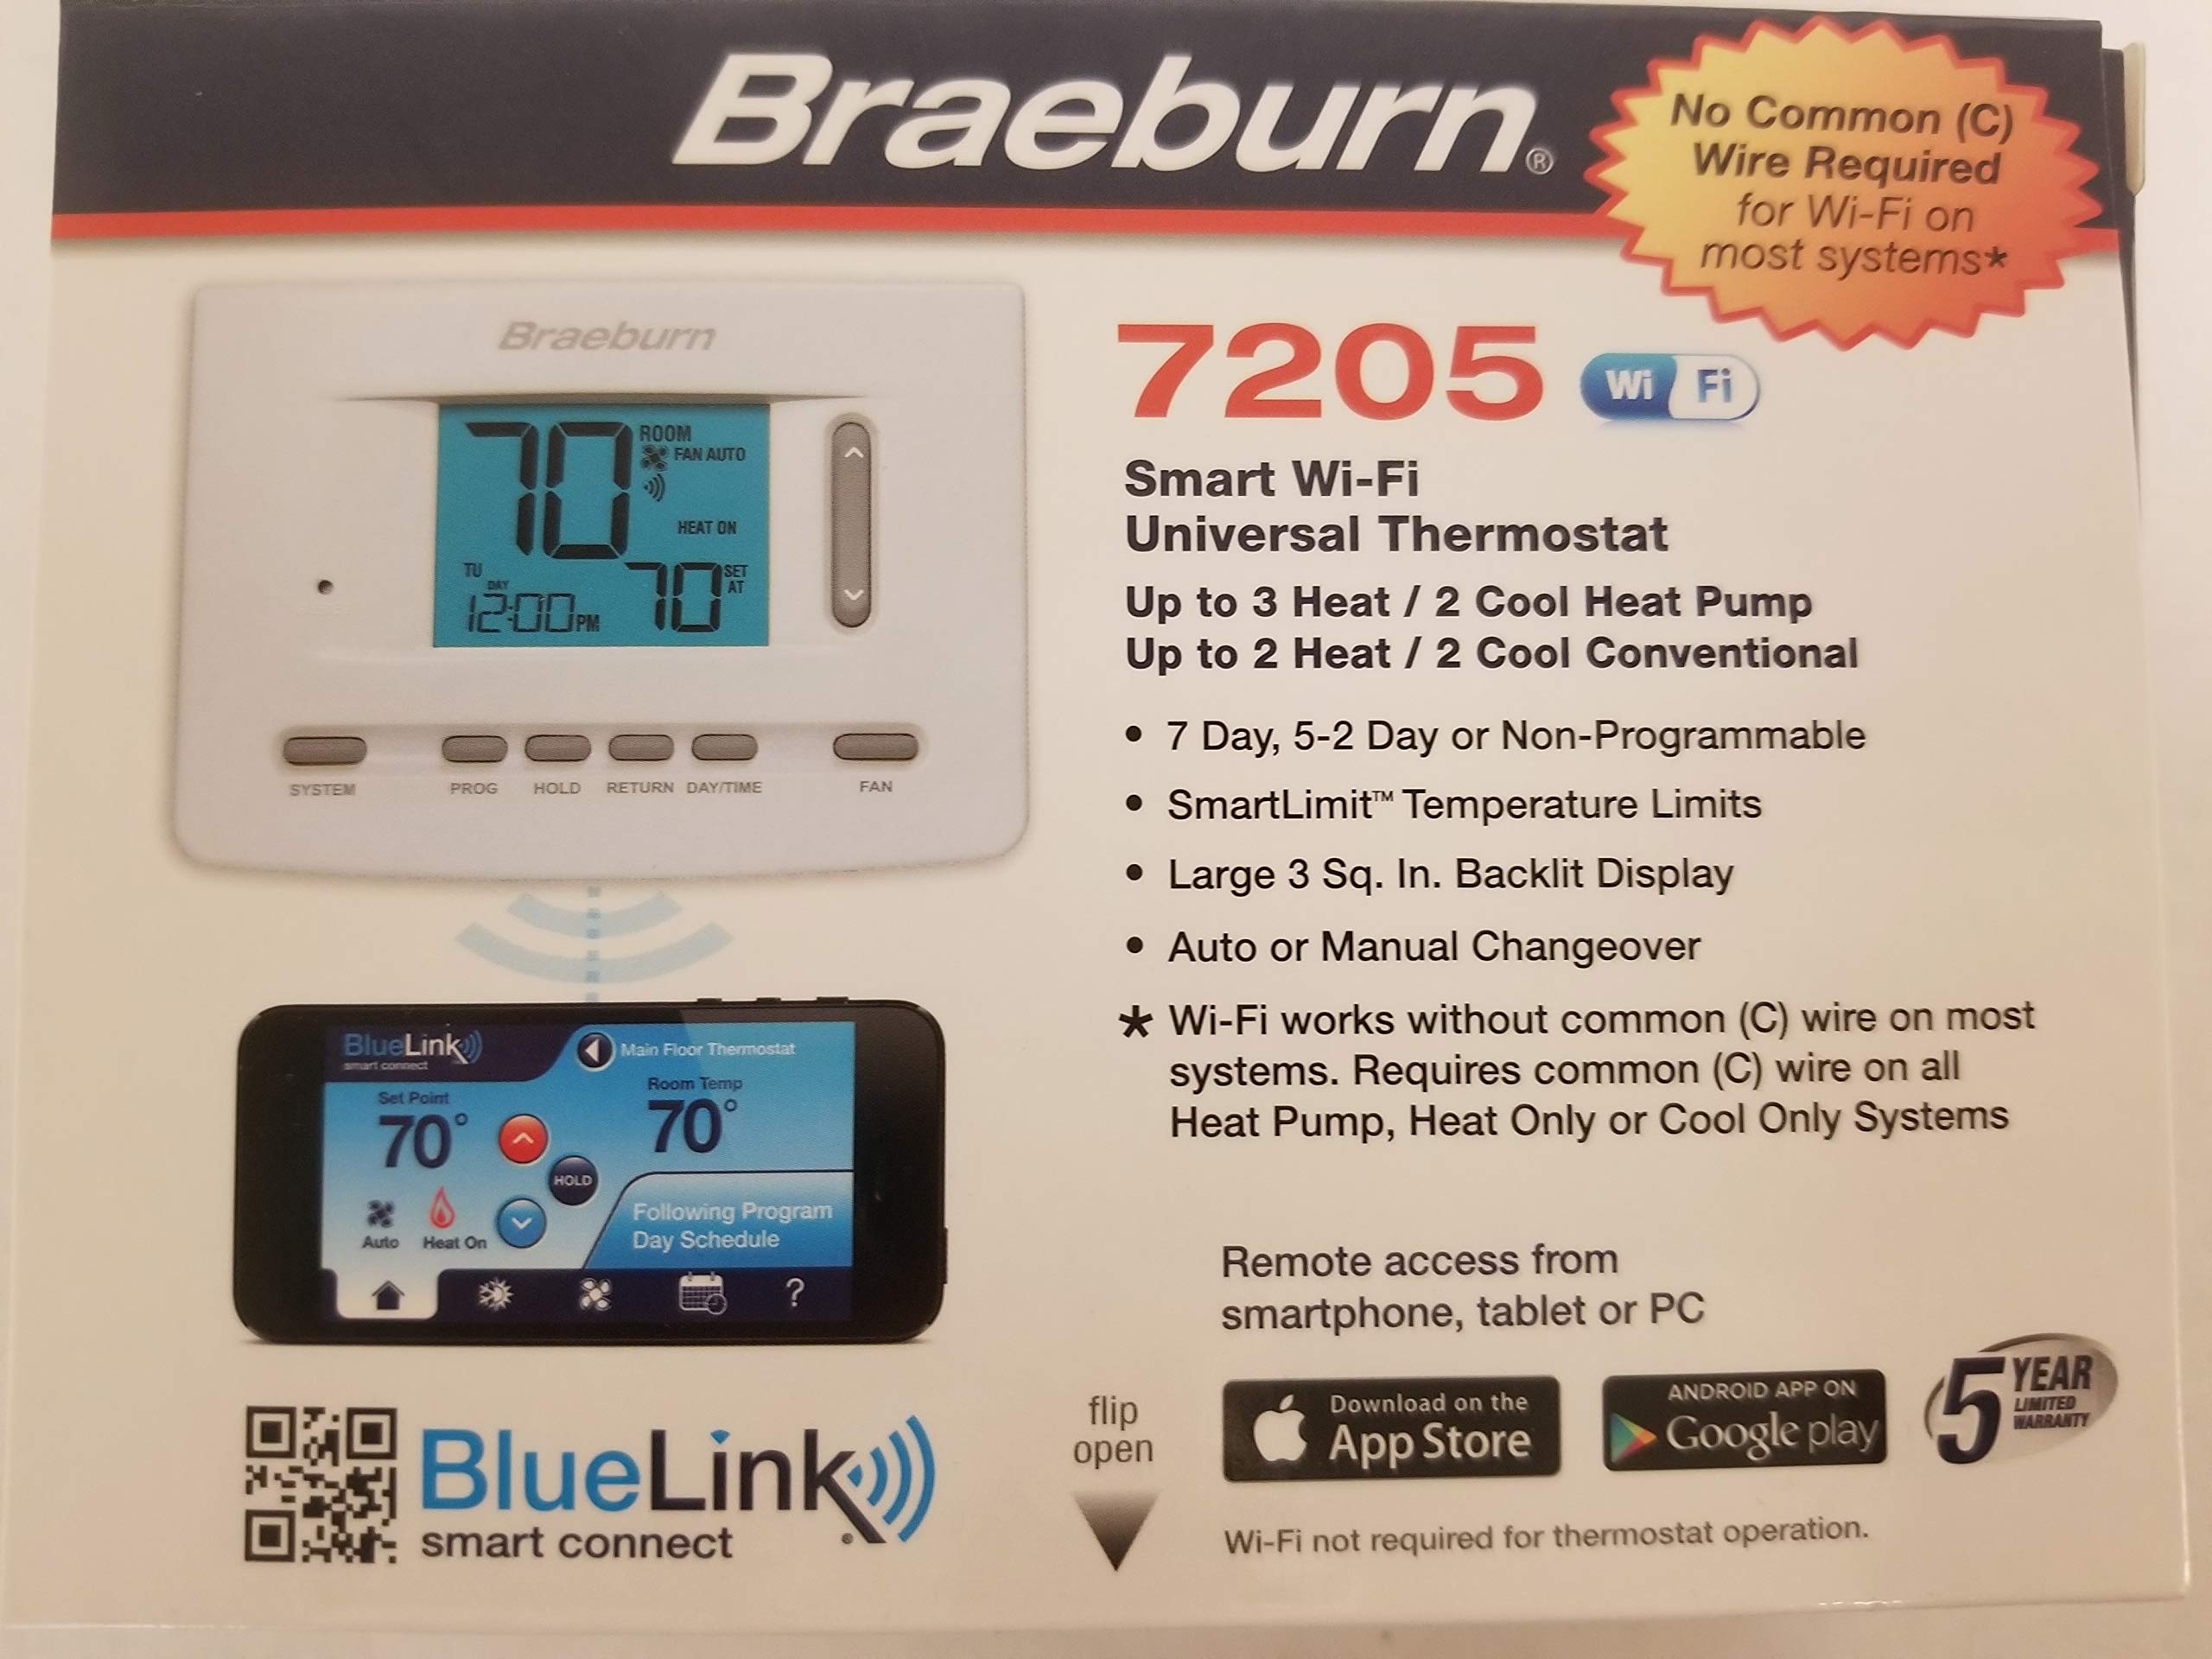
Figure 1.2: Overview of Braeburn BlueLink app features for smart control and scheduling. Download the app from goo.gl/9jhYnT.
2. Setup and Installation
2.1 Package Contents
Before beginning installation, ensure all components are present:
- Braeburn 7205 Thermostat Unit
- Mounting Hardware (screws and wall anchors)
- AA Batteries (2)
- Installation and Operating Instructions
2.2 Installation Steps
Follow these general steps for installation. Refer to the detailed wiring diagrams included with your product for specific connections.
- Power Off: Turn off the power to your heating and cooling system at the main circuit breaker.
- Remove Old Thermostat: Carefully remove your old thermostat from the wall. Take a picture of the wiring connections for reference.
- Mount Thermostat Base: Install the new Braeburn 7205 thermostat base plate to the wall using the provided mounting hardware.
- Wire Connections: Connect the HVAC system wires to the appropriate terminals on the new thermostat base. The Braeburn 7205 can operate without a common (C) wire on most conventional systems, but a C-wire is recommended for consistent Wi-Fi operation.
- Install Thermostat: Attach the thermostat unit to its base plate.
- Insert Batteries: Install the two AA batteries into the designated compartment.
- Power On: Restore power to your heating and cooling system at the circuit breaker.

Figure 2.1: Front view of the Braeburn 7205 thermostat, showing the digital display and control buttons.

Figure 2.2: Rear view of the Braeburn 7205 thermostat, displaying wiring terminals and FCC information.
2.3 Wi-Fi Connection
To enable Wi-Fi features and remote control:
- Download the Braeburn BlueLink app from the Apple App Store or Google Play Store.
- Create an account or log in if you already have one.
- Follow the in-app instructions to add your new Braeburn 7205 thermostat to your account and connect it to your home Wi-Fi network.
3. Operating Instructions
3.1 Basic Controls
The Braeburn 7205 features several buttons for direct control:
- SYSTEM: Cycles through system modes: OFF, HEAT, COOL, AUTO, EM HEAT (if applicable).
- PROG: Accesses programming settings for scheduling.
- HOLD: Initiates or cancels a temporary temperature hold.
- RETURN: Navigates back through menus or confirms selections.
- DAY/TIME: Sets the current day and time.
- FAN: Cycles through fan modes: AUTO (fan runs only when heating/cooling) or ON (fan runs continuously).
- Up/Down Arrows: Adjusts temperature setpoints or navigates menu options.
3.2 Programming Schedule
The thermostat allows for 7-day programmable scheduling to optimize energy usage and comfort. To set a program:
- Press the PROG button.
- Use the Up/Down Arrows to select the day or group of days you wish to program.
- Follow the on-screen prompts to set desired temperatures for different time periods (e.g., Wake, Leave, Return, Sleep).
- Use the RETURN button to confirm settings and exit programming mode.
3.3 Hold Function
The HOLD function allows you to temporarily override the programmed schedule. This is useful if you are home during a time you would normally be away, or vice versa.
- To initiate a hold: Adjust the temperature using the Up/Down Arrows. The thermostat will automatically enter a temporary hold. Press HOLD to make it a permanent hold until cancelled.
- To cancel a hold: Press the HOLD button again. The thermostat will revert to its programmed schedule.
4. Maintenance
4.1 Battery Replacement
The Braeburn 7205 uses two AA alkaline batteries for backup power and can also operate on hardwired 24V power. When the battery indicator appears on the display, replace the batteries promptly.
- Gently pull the thermostat unit away from its wall plate.
- Remove the old AA batteries from the compartment.
- Insert two new AA alkaline batteries, ensuring correct polarity.
- Snap the thermostat unit back onto its wall plate.
4.2 Cleaning
To clean your thermostat, gently wipe the exterior with a soft, damp cloth. Do not use abrasive cleaners or solvents, as these can damage the display or casing.
5. Troubleshooting
If you experience issues with your Braeburn 7205 thermostat, refer to the following common problems and solutions:
| Problem | Possible Cause | Solution |
|---|---|---|
| Thermostat display is blank | No power (batteries dead or 24V power off) | Replace batteries. Check circuit breaker for HVAC system. Ensure 24V wiring is secure. |
| System not responding to thermostat settings | Incorrect wiring, system mode incorrect, safety lockout | Verify wiring connections. Ensure SYSTEM mode is set to HEAT or COOL. Wait 5 minutes for system lockout to reset. |
| Wi-Fi connection issues | Weak signal, incorrect password, router issues | Ensure thermostat is within Wi-Fi range. Re-enter Wi-Fi password in the BlueLink app. Restart your home router. Ensure a C-wire is connected for stable Wi-Fi. |
| Temperature reading seems inaccurate | Thermostat exposed to drafts or direct sunlight | Ensure thermostat is not in direct sunlight or near heat sources/drafts. |
| Cannot program schedule | In HOLD mode, or incorrect button sequence | Cancel HOLD mode. Refer to Section 3.2 for programming steps. |
If problems persist, you may need to reset the thermostat. A small RESET button is located on the front of the unit (refer to Figure 2.1). Use a small pointed object to press it.
6. Specifications
| Feature | Detail |
|---|---|
| Brand | Braeburn |
| Model Number | 7205 |
| Connectivity Technology | Wi-Fi |
| Power Source | Dual Powered (Battery/Hardwire) |
| Voltage | 24 Volts |
| Display Type | Digital |
| Screen Size | 3 Inches |
| Control Type | Push Button, Remote (via app) |
| Mounting Type | Wall Mount |
| Backlight | Yes |
| Batteries | 2 AA batteries (included) |
| Item Weight | 15.2 ounces |
| Special Feature | Programmable (7-day) |
| Specific Uses For Product | Heat Pump, Conventional HVAC |
| UPC | 833732001799 |
| FCC ID | 2ADX6-7205 |
7. Warranty and Support
Your Braeburn 7205 Digital Programmable Wi-Fi Thermostat is backed by a manufacturer's warranty. Please refer to the warranty card included in your product packaging for specific terms and conditions. For technical support, troubleshooting assistance, or to learn more about your thermostat's features, please visit the official Braeburn website or contact their customer service department. The BlueLink Smart Connect app also provides additional support resources.


