
1. Product Overview
This manual provides essential information for the installation, maintenance, and troubleshooting of your KOHLER GENUINE PART 1240562 Diverter Kit. This kit is designed as a direct replacement part to ensure the proper function and longevity of your Kohler faucet system.
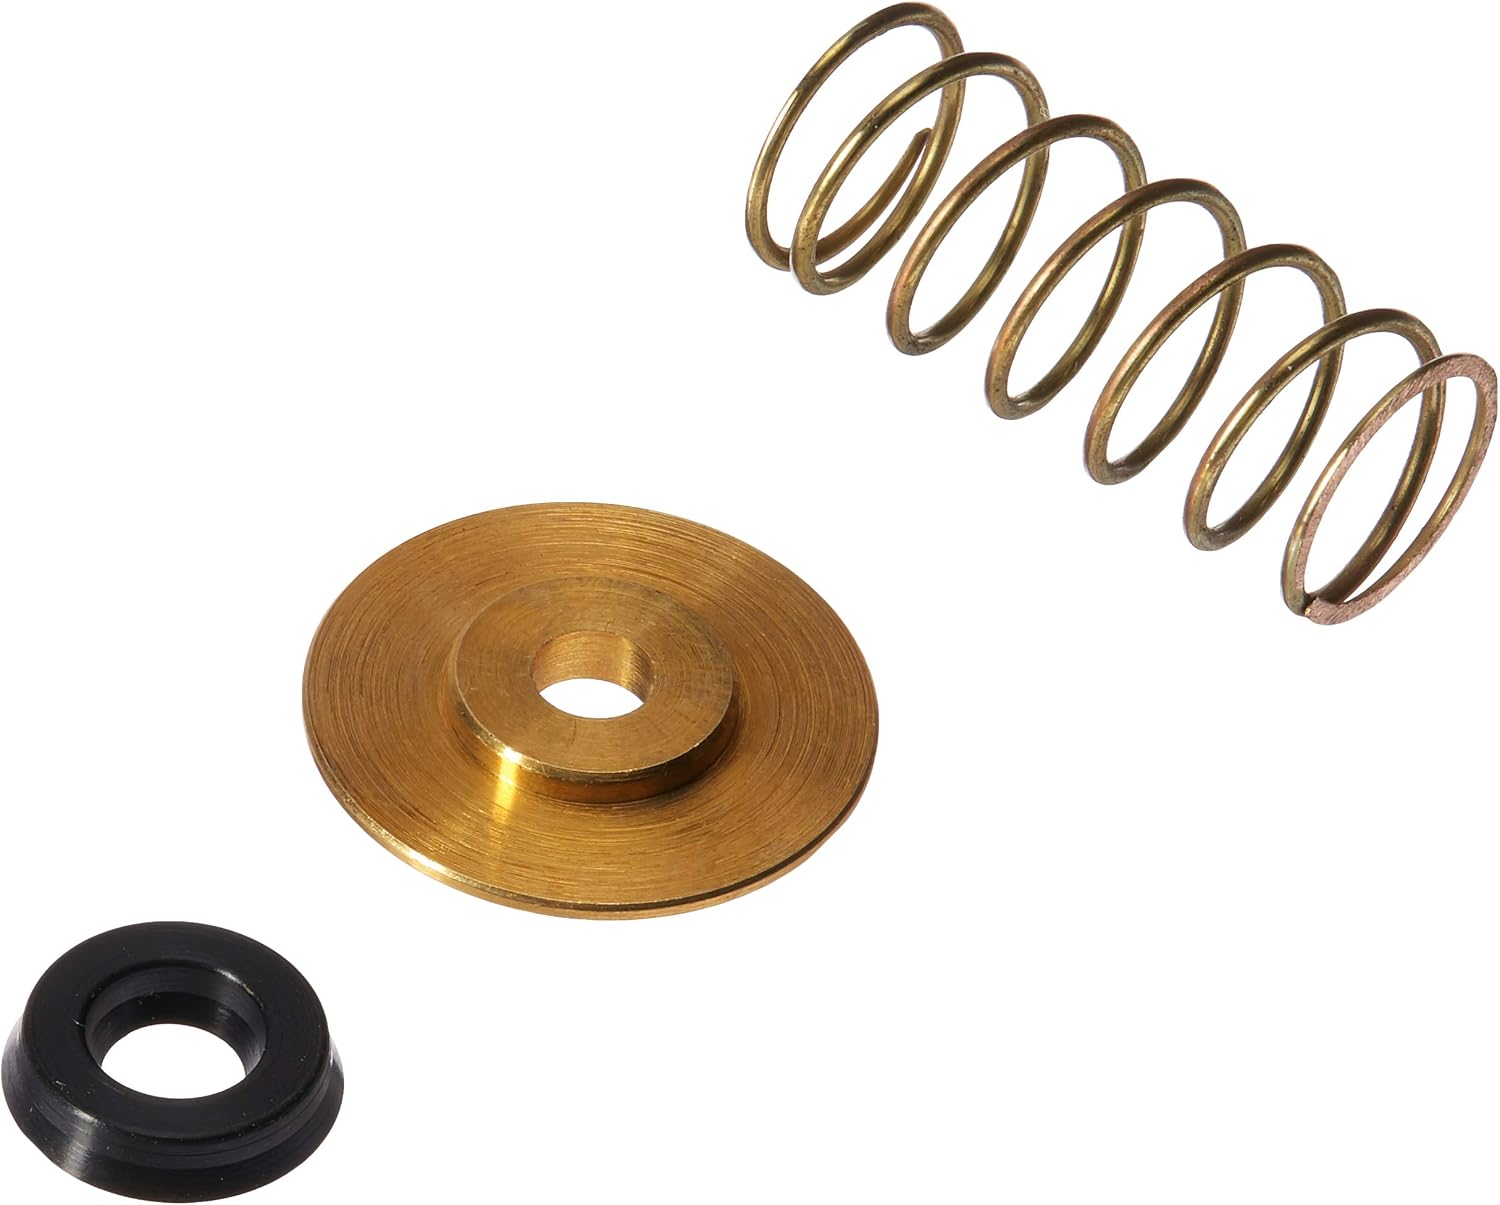
Image 1.1: The KOHLER GENUINE PART 1240562 Diverter Kit. This image shows the complete diverter kit, typically consisting of a valve body and associated seals or components.
Key Features:
- Genuine Kohler Part: Ensures compatibility and performance with Kohler fixtures.
- Diverter Kit: Essential component for directing water flow in multi-function faucets (e.g., between spout and sprayer).
- Engineered for Longevity: Designed to promote extended product life.
- Premium Materials: Constructed with high-quality materials for enhanced durability.
2. Safety Information
- Always turn off the main water supply to the fixture before beginning any installation or repair.
- Wear appropriate personal protective equipment (PPE), such as safety glasses and gloves.
- If you are unsure about any step, consult a qualified plumber.
- Keep small parts away from children.
3. Installation (Setup)
This diverter kit is a replacement part for specific Kohler faucet models. Refer to your faucet's original installation guide for detailed instructions specific to your model. The following are general steps for diverter replacement.
Tools You May Need:
- Adjustable wrench or pliers
- Screwdriver (Phillips or flathead, as needed)
- Plumber's tape (PTFE tape)
- Clean cloth
Installation Steps:
- Turn Off Water Supply: Locate the shut-off valves for the faucet (usually under the sink) and turn them off completely. Open the faucet handles to relieve any remaining water pressure.
- Disassemble Faucet Components: Depending on your faucet model, you may need to remove the faucet handle, spout, or other decorative components to access the diverter valve. Refer to your faucet's specific manual.
- Remove Old Diverter: Carefully unscrew or unclip the old diverter assembly. Note its orientation for correct installation of the new part. Be prepared for residual water to drain.
- Clean Area: Clean any debris or mineral deposits from the diverter housing area using a clean cloth.
- Install New Diverter: Insert the new KOHLER GENUINE PART 1240562 Diverter Kit into position. Ensure any O-rings or gaskets are properly seated. Hand-tighten first, then use a wrench for a snug fit, being careful not to overtighten.
- Reassemble Faucet: Reattach all faucet components in reverse order of disassembly.
- Restore Water Supply: Slowly turn on the hot and cold water supply valves. Check for leaks around the newly installed diverter and all connections.
- Test Functionality: Operate the faucet and test the diverter function (e.g., switch between spout and sprayer) to ensure proper water flow and no leaks.

Image 3.1: A closer view of the diverter kit, showing individual components like seals or springs. This detail is crucial for understanding how the parts fit together during installation.
4. Operating the Diverter Kit
The diverter kit itself does not have user-operable controls. Its function is internal to the faucet. Once installed, it works in conjunction with your faucet's diverter handle or button to direct water flow to the desired outlet (e.g., main spout, hand shower, or sprayer).
Ensure the diverter mechanism on your faucet operates smoothly after installation. If you experience stiffness or incomplete water diversion, re-check the installation and ensure no debris is obstructing the mechanism.
5. Maintenance
Proper maintenance can extend the life of your diverter kit and faucet.
- Regular Inspection: Periodically check for any signs of leaks around the diverter area.
- Cleaning: If you notice reduced water flow or issues with diversion, mineral deposits may be accumulating. Consult your faucet's manual for instructions on how to clean internal components, which may involve disassembling the diverter area.
- Avoid Harsh Chemicals: Do not use abrasive cleaners or harsh chemicals on your faucet or its internal components, as these can damage finishes and seals.
6. Troubleshooting
| Problem | Possible Cause | Solution |
|---|---|---|
| Water Leaks from Diverter Area |
|
|
| Incomplete Water Diversion (e.g., water still flows from spout when sprayer is on) |
|
|
| Stiff or Difficult Diverter Operation |
|
|
If problems persist after attempting these solutions, it is recommended to contact Kohler Customer Service or a qualified plumber.
7. Specifications
- Part Number: 1240562
- Manufacturer: KOHLER
- Item Weight: 0.32 ounces
- Product Dimensions: 1.5 x 0.5 x 0.5 inches
- Model Number: 1240562
- Color: Unfinished
- Finish: No Finish
- Included Components: Repair part
8. Warranty and Support
As a genuine Kohler part, this diverter kit is covered by Kohler's standard warranty for replacement parts. Please refer to the official Kohler website or your original product documentation for specific warranty terms and conditions.
For technical assistance, replacement parts, or warranty claims, please contact Kohler Customer Service:
- Kohler Official Website: www.kohler.com/support
- Refer to the website for contact numbers and service hours specific to your region.


