1. Safety Information
Please read these instructions carefully before installation and retain them for future reference. Failure to follow these instructions could result in electric shock or fire, which could cause property damage, serious injury, or death.
- Always turn off power at the circuit breaker or fuse box before beginning installation or performing any maintenance.
- All electrical connections must be in accordance with local and National Electrical Code (NEC) standards. If you are unfamiliar with proper electrical wiring connections, obtain the services of a qualified electrician.
- Do not install this fixture in wet locations or where it will be directly exposed to water. This product is rated for indoor use only.
- Ensure all connections are secure and properly insulated.
- Do not modify the fixture in any way. Any modifications may void the warranty and create a safety hazard.
2. Product Overview
The Maxlite 6 inch J-Box Downlight is a modern, recessed LED lighting fixture designed for easy installation directly into a junction box. It provides efficient and consistent illumination for various indoor spaces.
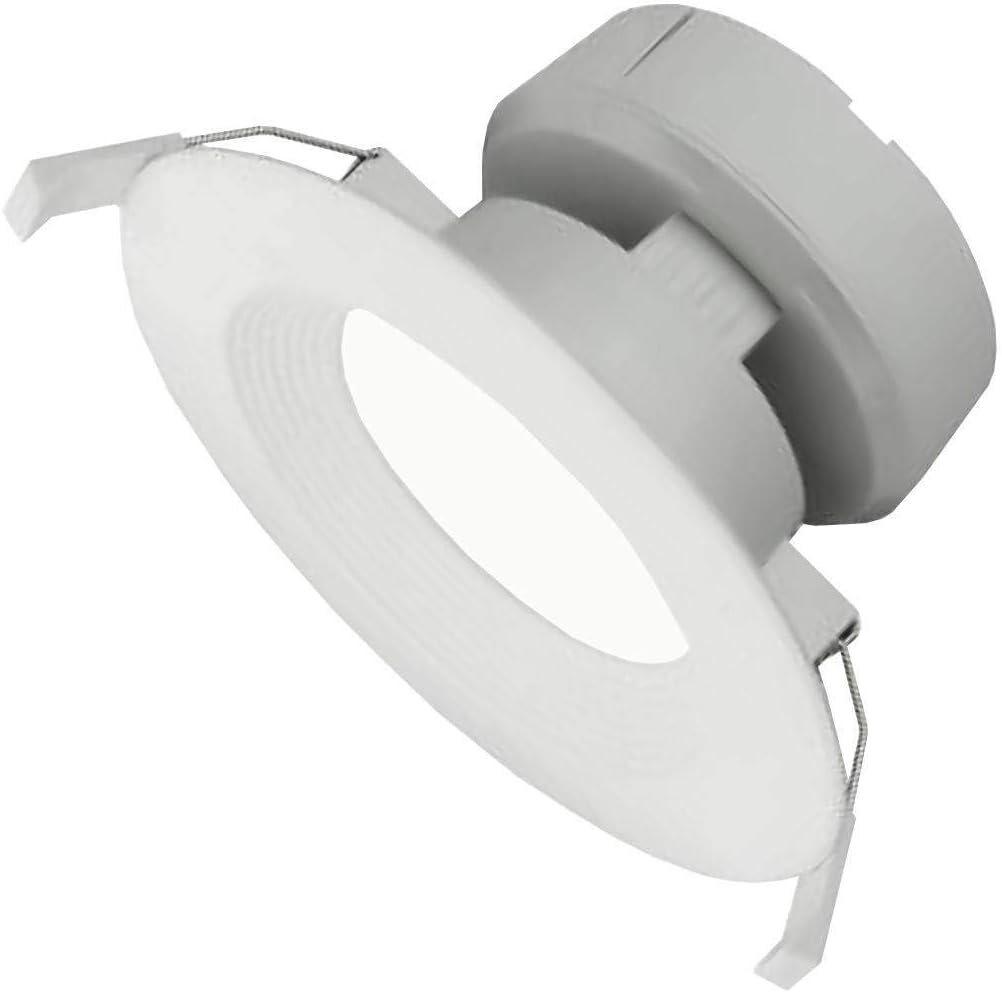
Image: Maxlite 6 inch J-Box Downlight, showing its white finish and integrated junction box connection.
Included Components:
- 6 inch J-Box Downlight Fixture
- Junction Box (integrated or separate, depending on model variant)
- Mounting Hardware
3. Setup and Installation
This downlight is designed for direct installation into a standard electrical junction box in the ceiling. Ensure the power is OFF at the circuit breaker before proceeding.
- Prepare the Installation Area: Turn off power to the circuit at the main electrical panel. Use a voltage tester to confirm the power is off.
- Access Junction Box: If installing in a new location, ensure a suitable junction box is securely mounted in the ceiling. If replacing an existing fixture, remove the old fixture and ensure the junction box is accessible and in good condition.
- Make Electrical Connections: Open the wiring compartment of the downlight's integrated junction box. Connect the house wiring to the fixture's wires:
- Connect the black (hot) wire from the ceiling to the black wire of the fixture.
- Connect the white (neutral) wire from the ceiling to the white wire of the fixture.
- Connect the green or bare copper (ground) wire from the ceiling to the green wire of the fixture.
- Secure Wiring: Carefully tuck all wires and wire nuts into the junction box, ensuring they are not pinched. Close the junction box cover.
- Mount the Fixture: Align the downlight fixture with the junction box opening. Use the provided mounting hardware to secure the fixture firmly to the junction box or ceiling structure. Ensure the fixture is flush with the ceiling surface.
- Restore Power: Once the fixture is securely installed, turn the power back on at the circuit breaker. Test the light to ensure proper operation.
4. Operating Instructions
The Maxlite 6 inch J-Box Downlight operates like any standard hardwired lighting fixture. It is controlled by a wall switch connected to the circuit.
- Turning On/Off: Use the wall switch connected to the fixture's circuit to turn the light on or off.
- Dimming (if applicable): If connected to a compatible dimmer switch, the light output can be adjusted by operating the dimmer control. Ensure any dimmer used is rated for LED lighting.
5. Maintenance
The Maxlite 6 inch J-Box Downlight is designed for long-lasting, maintenance-free operation. As it uses integrated LED technology, there are no bulbs to replace.
- Cleaning: To clean the fixture, ensure the power is off at the circuit breaker. Use a soft, dry, or slightly damp cloth. Do not use abrasive cleaners, solvents, or cleaners containing alcohol, as these may damage the finish or electrical components.
- Inspection: Periodically inspect the fixture for any signs of damage or loose connections. If any issues are found, turn off power immediately and consult a qualified electrician.
6. Troubleshooting
If you experience issues with your Maxlite 6 inch J-Box Downlight, refer to the following common troubleshooting steps:
| Problem | Possible Cause | Solution |
|---|---|---|
| Light does not turn on. | No power to the fixture. Loose wiring connection. Faulty wall switch. |
Check circuit breaker and ensure it is ON. Turn off power and check all wire connections. Test or replace the wall switch. |
| Light flickers or dims unexpectedly. | Incompatible dimmer switch. Loose wiring connection. Voltage fluctuations. |
Ensure dimmer is LED compatible. Replace if necessary. Turn off power and check all wire connections. Consult an electrician to check household voltage. |
| Light is not as bright as expected. | Dimmer setting too low. Incorrect fixture for application. |
Adjust dimmer to maximum brightness. Verify fixture specifications meet lighting requirements. |
If these steps do not resolve the issue, contact a qualified electrician or Maxlite customer support.
7. Specifications
| Attribute | Value |
|---|---|
| Brand | Maxlite |
| Model Number | RF6101CAT40W (767627905926) |
| Fixture Form | Recessed |
| Light Source Type | LED |
| Voltage | 120 Volts |
| Wattage | 9 watts |
| Color | White |
| Material | Metal, Plastic |
| Item Weight | 1.25 Pounds |
| Mounting Type | Ceiling Mount |
| Indoor/Outdoor Usage | Indoor |
8. Warranty and Support
Maxlite products are manufactured to the highest quality standards. For information regarding warranty coverage, technical support, or replacement parts, please visit the official Maxlite website or contact their customer service department.
Please have your model number (RF6101CAT40W) and date of purchase available when contacting support.


