1. Introduction and Overview
The CDX Blocks Little Dipper is a gravity-powered roller coaster building brick set designed for enthusiasts aged 14 and above. This model allows you to construct a functional miniature roller coaster that utilizes a mechanical lift system and gravity to propel the coaster car along its track. It serves as an engaging tool for STEM learning, demonstrating principles of physics such such as gravity, acceleration, momentum, potential, and kinetic energy.
Key features of the Little Dipper include:
- Realistic Mechanical Operation: Features an ingenious gear system for the initial hill climb.
- Gravity-Powered Ride: Once the car reaches the top, gravity takes over for a smooth descent.
- Building Block Compatibility: All CDX Blocks components are compatible with leading building block systems.
- Interactive Play: Operate the ride using the included hand crank.

Figure 1.1: The CDX Blocks Little Dipper Roller Coaster, fully assembled and ready for operation.
2. Setup and Assembly
Careful assembly is crucial for the optimal performance of your Little Dipper roller coaster. Follow the included pictorial instructions step-by-step. Ensure all connections are secure and components are correctly oriented.
2.1 Unpacking and Part Identification
Before beginning assembly, carefully unpack all components and verify that all parts are present against the parts list provided in your packaging. Organize parts by type to streamline the building process.
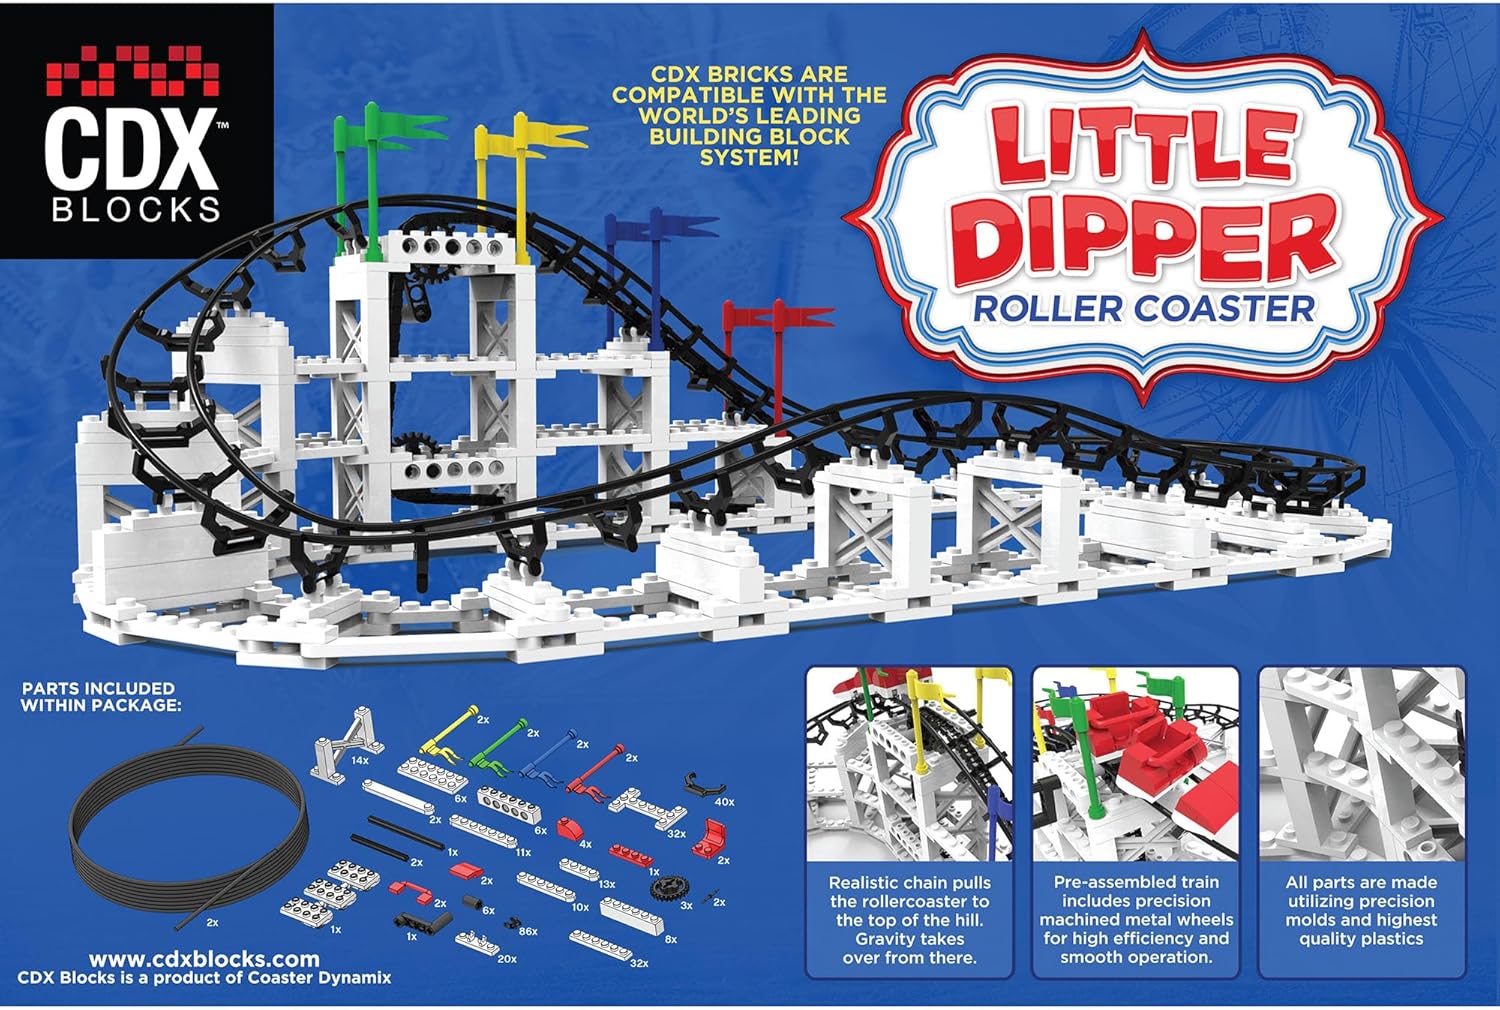
Figure 2.1: An illustration of the various building blocks and specialized parts included in the Little Dipper kit.
2.2 Constructing the Base and Supports
Begin by assembling the base structure and the vertical supports. Ensure all blocks are firmly connected. The stability of these foundational elements directly impacts the overall integrity and functionality of the roller coaster.

Figure 2.2: Detail of the white support structures, which provide the elevation and stability for the track.
2.3 Installing the Chain and Gear Mechanism
Assemble the gear system and install the chain that lifts the coaster car to the top of the initial hill. Ensure the chain is taut and moves freely around the gears. Proper chain tension is vital for reliable operation.

Figure 2.3: The chain and gear mechanism, responsible for pulling the coaster car up the lift hill.
2.4 Attaching the Track Sections
Carefully attach the track sections to the support structures. Ensure each track piece is securely snapped into its mounts and aligned correctly. Misaligned tracks can cause the coaster car to derail or stop. Utilize all provided track braces (often Y-shaped black pieces) to maintain proper track alignment and stability.
3. Operating Instructions
Once assembled, the CDX Blocks Little Dipper is ready for operation. The coaster operates through a combination of mechanical lift and gravitational force.
3.1 Manual Operation
- Place the coaster car at the base of the lift hill.
- Locate the hand crank on the side of the lift hill structure.
- Turn the hand crank clockwise to engage the chain, which will pull the coaster car up the lift hill.
- Once the coaster car reaches the peak of the lift hill, gravity will take over, propelling the car along the track.
- Observe the coaster car as it traverses the track and returns to the starting point.
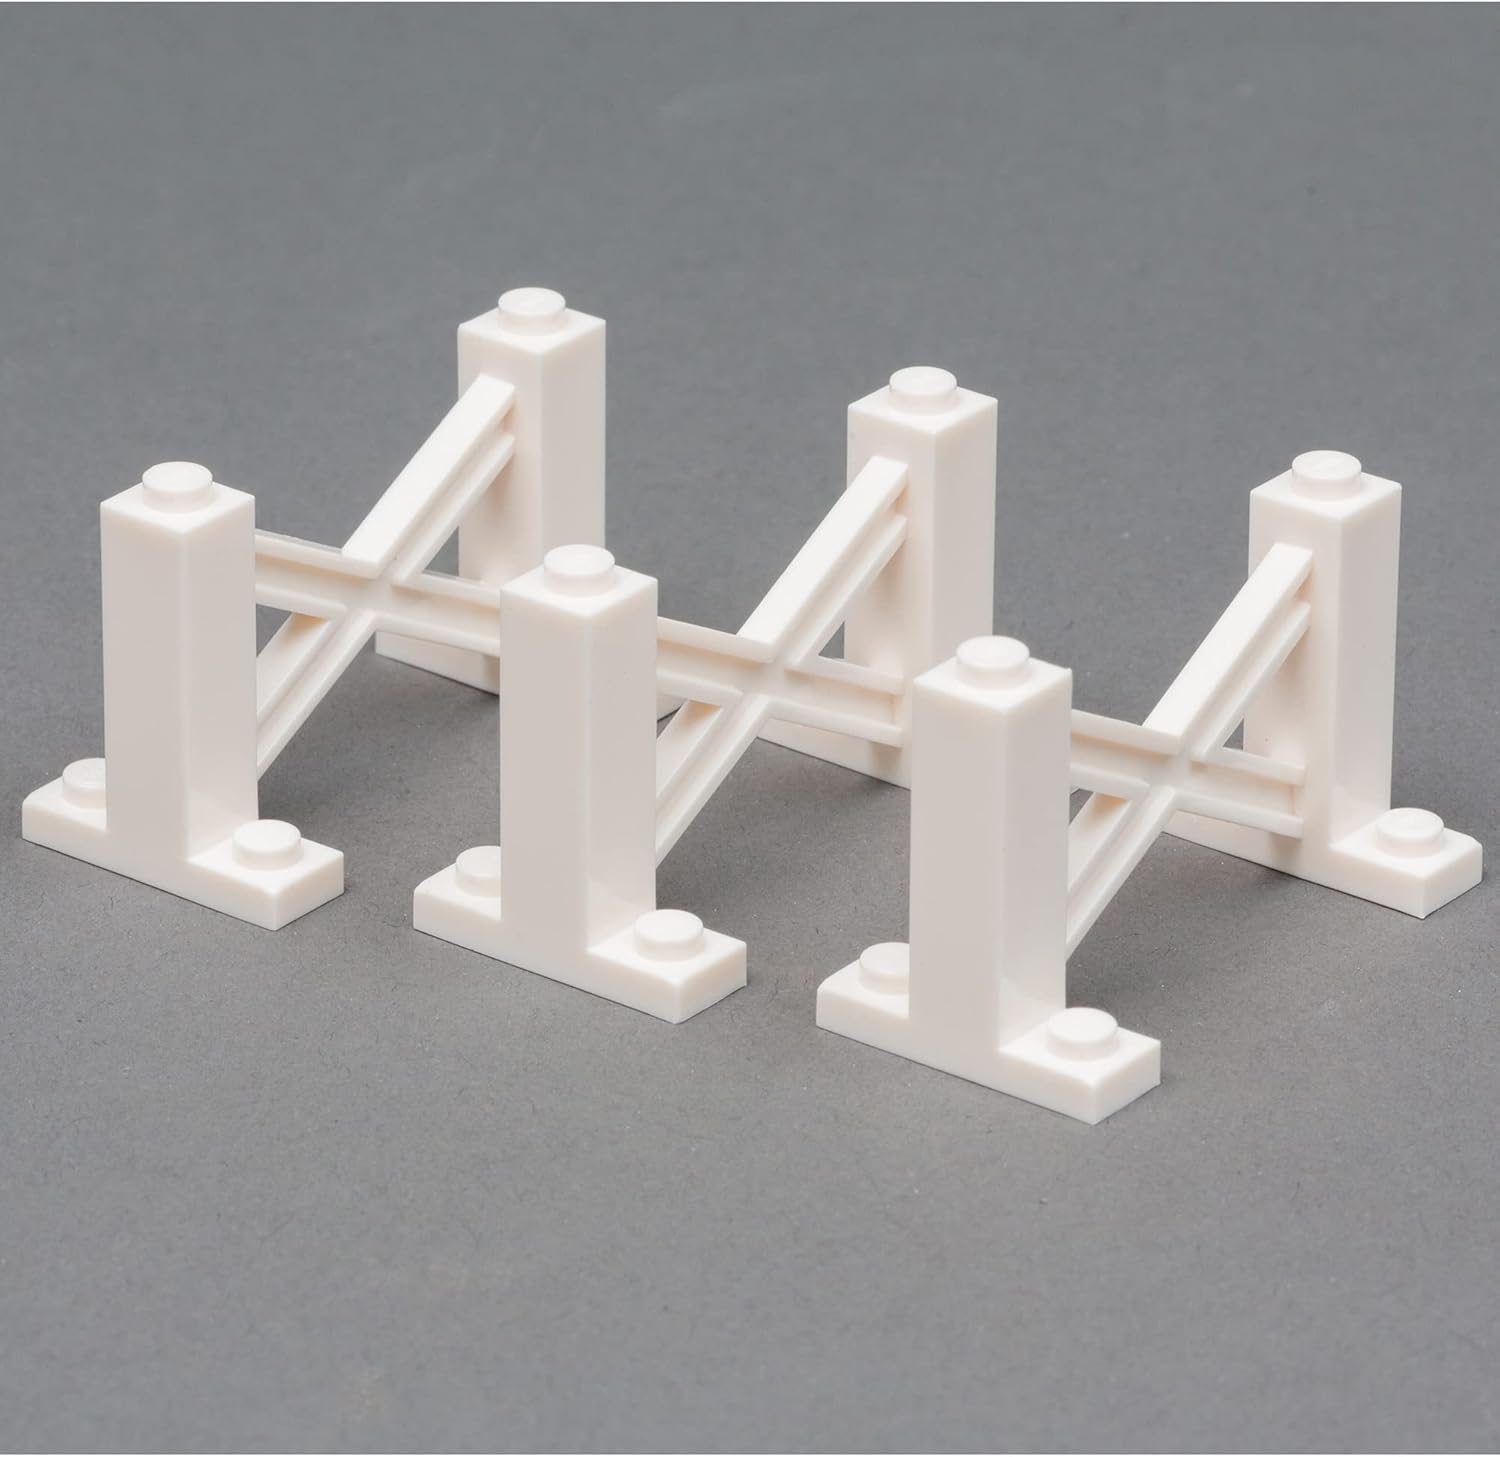
Figure 3.1: The Little Dipper Roller Coaster in operation, demonstrating the gravity-powered ride.
3.2 Automated Operation (Optional)
For continuous operation, an optional custom motor (sold separately) can be integrated with the gear system to automate the lift hill process. Refer to the motor's specific instructions for installation and use.
4. Maintenance
To ensure the longevity and smooth operation of your CDX Blocks Little Dipper, follow these maintenance guidelines:
- Cleaning: Dust the model regularly with a soft, dry cloth. For deeper cleaning, use a slightly damp cloth and mild soap, then wipe dry. Avoid harsh chemicals.
- Track Inspection: Periodically check all track connections to ensure they are secure and properly aligned. Loose connections can lead to performance issues.
- Chain Tension: Ensure the lift chain remains taut. If it becomes loose, adjust it according to the assembly instructions to prevent the coaster car from slipping.
- Storage: When not in use, store the model in a clean, dry place away from direct sunlight and extreme temperatures to prevent material degradation.
5. Troubleshooting
If you encounter issues with your Little Dipper roller coaster, consult the following troubleshooting guide:
- Coaster Car Stops on Track:
- Cause: Misaligned track sections or loose connections.
- Solution: Carefully inspect all track joints. Ensure each piece is fully seated and that all track braces are in place and secure.
- Cause: Obstruction on the track.
- Solution: Remove any debris or foreign objects from the track path.
- Coaster Car Does Not Reach Top of Lift Hill:
- Cause: Loose or improperly installed lift chain.
- Solution: Verify the chain is correctly installed around the gears and is sufficiently taut. Refer to assembly instructions for proper chain installation.
- Cause: Gear mechanism is stiff or obstructed.
- Solution: Check the gears for any obstructions or misalignments. Ensure the hand crank turns smoothly.
- Missing or Damaged Parts:
- Cause: Parts were not included or were damaged during shipping.
- Solution: Contact CDX Blocks customer support with your product model number (CDXLD01) and details of the missing/damaged parts.
6. Specifications
| Specification | Detail |
|---|---|
| Model Number | CDXLD01 |
| Product Dimensions | 15 x 10 x 2.5 inches |
| Item Weight | 1.21 pounds |
| Manufacturer Recommended Age | 14 - 15 years |
| ASIN | B07BF3F6M2 |
| Release Date | March 25, 2018 |
| Manufacturer | CDX Blocks |
7. Warranty and Support
For information regarding product warranty, returns, or additional support, please refer to the official CDX Blocks website or contact their customer service department directly. Contact details can typically be found on the product packaging or the manufacturer's official online presence.
You can visit the CDX Blocks store page for more information: CDX Blocks Store


