
Halo Z1000
Halo Z1000 Laser Rangefinder User Manual
Model: Z1000
Brand: Halo
Introduction
The Halo Z1000 Laser Rangefinder is designed to provide accurate distance measurements for various outdoor activities, including hunting and target practice. It features 6x magnification, Angle Intelligence technology, and an auto-acquisition mode for quick and precise readings. This manual will guide you through the proper setup, operation, and maintenance of your device to ensure optimal performance and longevity.
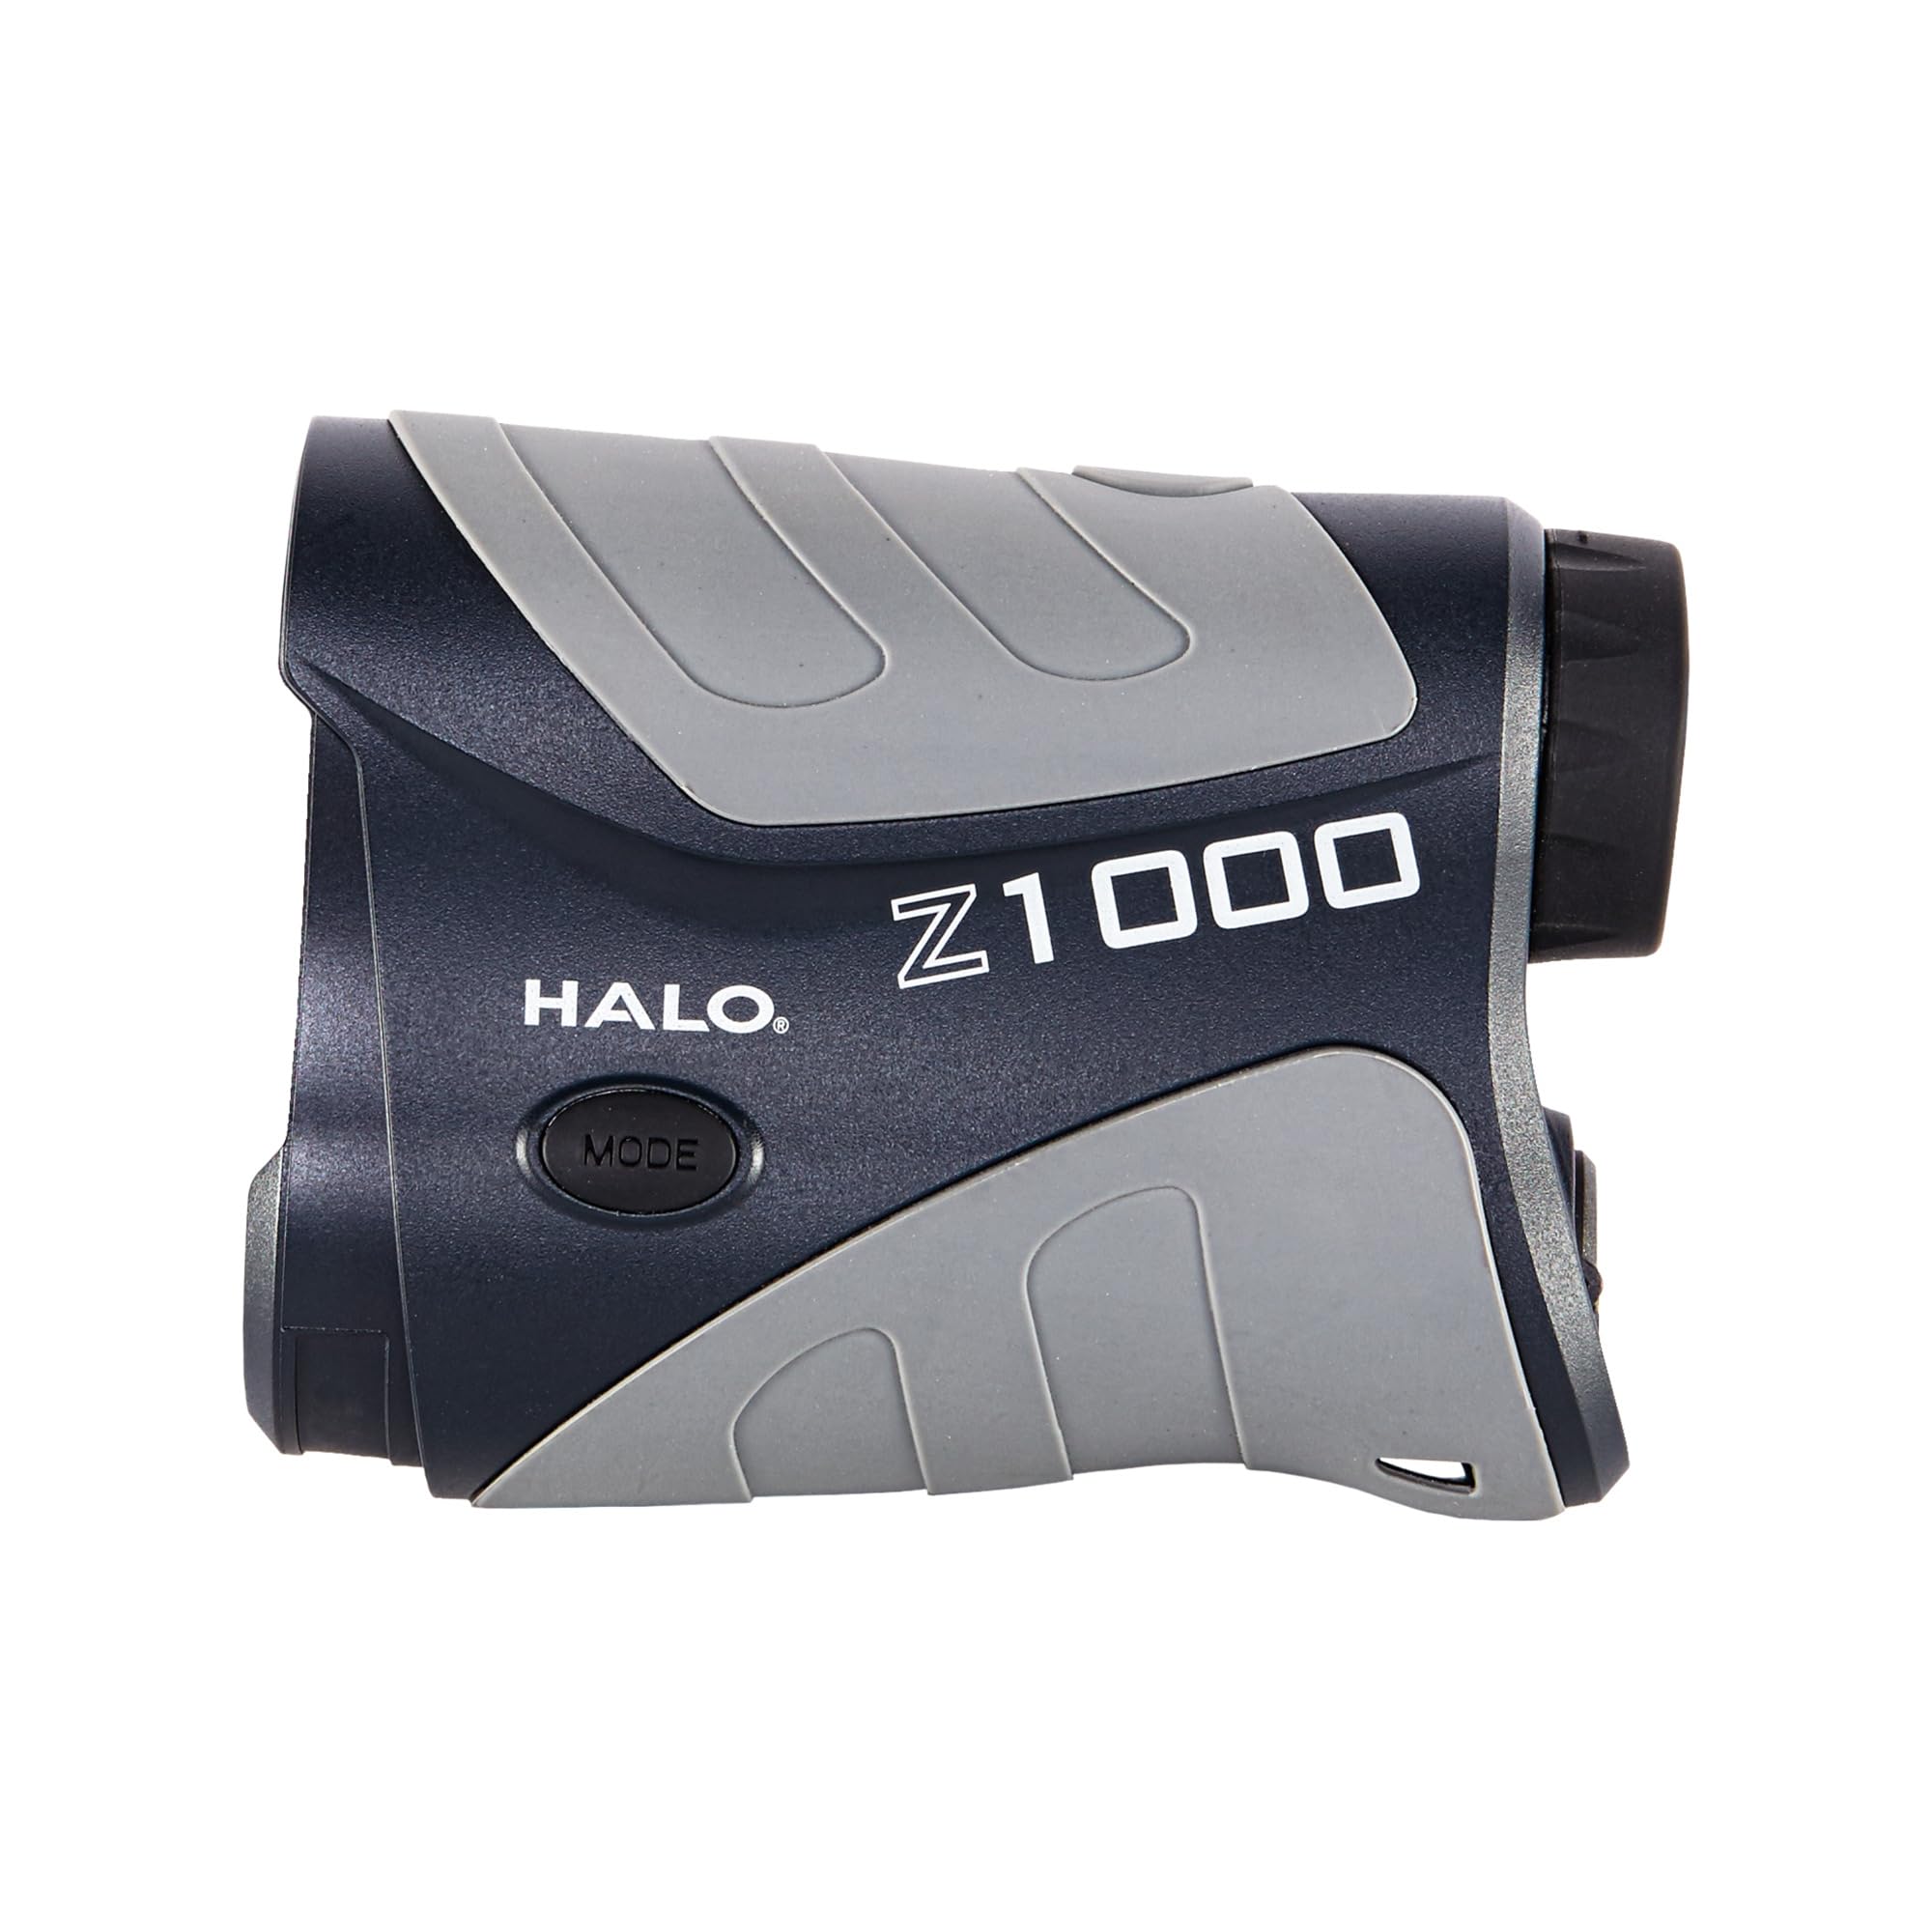
Figure 1: Front view of the Halo Z1000 Laser Rangefinder.
Product Features
- Angle Intelligence: This feature accounts for terrain slope to calculate the angle-compensated distance, crucial for accurate shots from elevated positions.
- Auto Acquisition: Provides immediate and fast range readings, significantly reducing acquisition times compared to previous models.
- Scan Mode: Allows for quick acquisition of multiple targets at varying distances, delivering up to four readings per second.
- Glass Lenses: Equipped with high-quality glass lenses that are 20% more efficient than standard lenses, enhancing maximum range and acquisition speed.
- Ergonomic Design: The device is designed for comfortable handling and enhanced performance, considering natural grip and finger pressure points.
Setup
1. Battery Installation
The Halo Z1000 requires one CR2 battery (included). To install:
- Locate the battery compartment on the device.
- Open the battery cover.
- Insert the CR2 battery, ensuring correct polarity (+/-).
- Close the battery cover securely.
2. Attaching the Wrist Strap and Carabiner Clip
For secure handling and portability, attach the included wrist strap and carabiner clip:
- Thread the wrist strap through the designated loop on the rangefinder.
- Attach the carabiner clip to the wrist strap or directly to a belt loop for easy access.
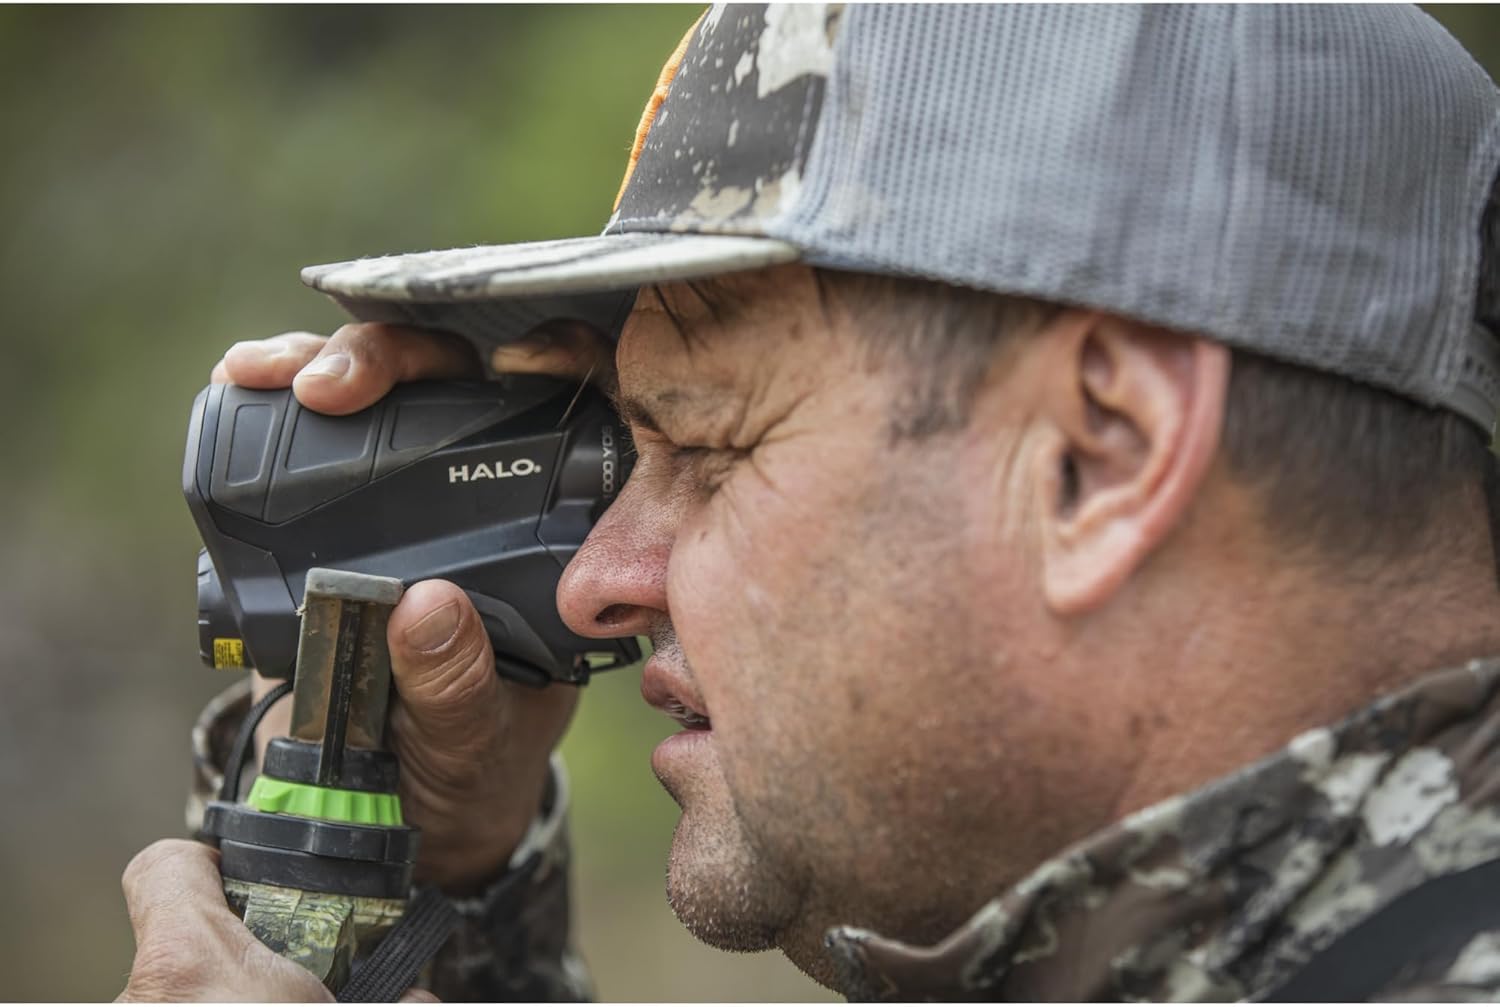
Figure 2: Proper handling of the Halo Z1000 Laser Rangefinder during use.
Operating Instructions
1. Power On/Off
- To power on the device, short press the power button (usually marked with a power symbol).
- The device will automatically shut off after 15 seconds of inactivity to conserve battery life.
2. Taking a Measurement (Range Mode)
To measure distance to a stationary target:
- Look through the eyepiece and align the crosshairs with your target.
- Short press the power button. The distance reading will appear in the display.
- The device will also display angle-compensated distance (Angle Intelligence) if applicable.
3. Scan Mode
For continuous measurement of multiple targets or moving objects:
- Press and hold the power button for approximately 3 seconds to activate Scan Mode.
- While holding the button, pan the rangefinder across different targets. The display will continuously update with distance readings.
- Release the power button to exit Scan Mode.
4. Unit Switch (Yards/Meters)
To switch between yards and meters:
- With the device powered on, short press the 'M' (Mode) button.
- The unit of measurement (Y or M) displayed will change accordingly.
Maintenance
Cleaning
- Use a soft, lint-free cloth (like the included cleaning cloth) to gently wipe the lenses and exterior of the device.
- Avoid using abrasive materials or harsh chemicals, which can damage the optics and finish.
- For stubborn smudges on lenses, use a small amount of lens cleaning fluid specifically designed for optics.
Storage
- Store the rangefinder in its protective travel case when not in use.
- Keep the device in a cool, dry place, away from direct sunlight and extreme temperatures.
- Remove the battery if storing the device for extended periods to prevent leakage.
Troubleshooting
- No Reading/Inaccurate Reading: Ensure the target is within the device's range (up to 1000 yards reflective, 300 yards to a tree). Check for obstructions between the rangefinder and the target. Ensure the battery is properly installed and charged.
- Display Not Visible: Check battery level. In very low light conditions, the black LCD display may be difficult to see.
- Device Not Powering On: Verify battery installation and charge. Replace battery if necessary.
Specifications
| Feature | Specification |
|---|---|
| Product Dimensions | 2.54 x 2.54 x 2.54 cm |
| Item Weight | 227 g (0.5 Pounds) |
| Batteries Required | 1 CR2 battery (included) |
| Magnification | 6x |
| Measuring Range (Reflective) | Up to 1000 yards |
| Measuring Range (Tree) | Up to 300 yards |
| Water Resistance Level | Water Resistant |
| Material | Plastic |
| Color | Multi (Black/Gray) |
Warranty and Support
For warranty information and customer support, please refer to the documentation included with your purchase or visit the official Halo Optics website. Keep your proof of purchase for any warranty claims.
Related documentsZ1000


Ask a question about this manual
Ask about setup, troubleshooting, compatibility, parts, safety, or missing instructions. Manuals+ will review the question and use this page’s manual context to help answer it.