Introduction
This manual provides detailed instructions for the setup, operation, maintenance, and troubleshooting of your Panasonic DECT 6.0 Expandable Cordless Phone System, model KX-TGD393CB. Please read these instructions carefully to ensure proper use and to maximize the features of your new phone system.

Figure 1: Panasonic DECT 6.0 Cordless Phone System with base unit and three handsets. This image displays the complete Panasonic DECT 6.0 Cordless Phone System, including the main base unit with one handset docked, and two additional handsets each on their respective charging cradles. All units are black.
1. Setup
1.1 Unpacking and Component Check
Before you begin, ensure all components are present:
- Base Unit
- Cordless Handsets (3 included)
- Handset Chargers (2 included for additional handsets)
- AC Power Adapter for Base Unit
- Telephone Line Cord
- Rechargeable Batteries for Handsets (3 sets included)
- Belt Clips (3 included)
1.2 Base Unit Connection
- Connect the AC power adapter to the base unit and plug it into a standard electrical outlet.
- Connect the telephone line cord to the base unit and to your telephone wall jack.
1.3 Handset Battery Installation and Initial Charge
- Open the battery compartment cover on the back of each handset.
- Insert the provided rechargeable batteries, ensuring correct polarity (+/-).
- Close the battery compartment cover.
- Place each handset on its respective base unit or charger. The charge indicator should illuminate. Allow at least 7 hours for the initial charge.
1.4 Handset Registration
Your handsets are pre-registered to the base unit. If a handset displays "Unregistered" or you are adding new handsets, follow these steps:
- On the base unit, press and hold the LOCATOR button for approximately 5 seconds until the registration tone sounds.
- On the handset, press MENU, then scroll to "Initial setting" and press SELECT.
- Scroll to "Registration" and press SELECT.
- Follow the on-screen prompts to complete registration.
1.5 Setting Date and Time
It is recommended to set the date and time for accurate call logs and answering machine timestamps.
- Press MENU on a handset.
- Scroll to "Initial setting" and press SELECT.
- Scroll to "Date & time" and press SELECT.
- Enter the current month, day, year, hour, and minute using the dial pad.
- Press SELECT to save.
2. Operating Instructions
2.1 Making and Receiving Calls
- To Make a Call: Press TALK, then dial the phone number.
- To Receive a Call: Press TALK or any dial key (0-9, *, #).
- To End a Call: Press OFF.
2.2 Adjusting Volume
During a call, press VOL (up/down) on the handset to adjust the earpiece or speaker volume. On the base unit, use the VOLUME +/- buttons to adjust the speaker volume for answering machine playback.
2.3 Speakerphone
To use the speakerphone function during a call, press the SP-PHONE button on the handset. Press it again to switch back to the earpiece.
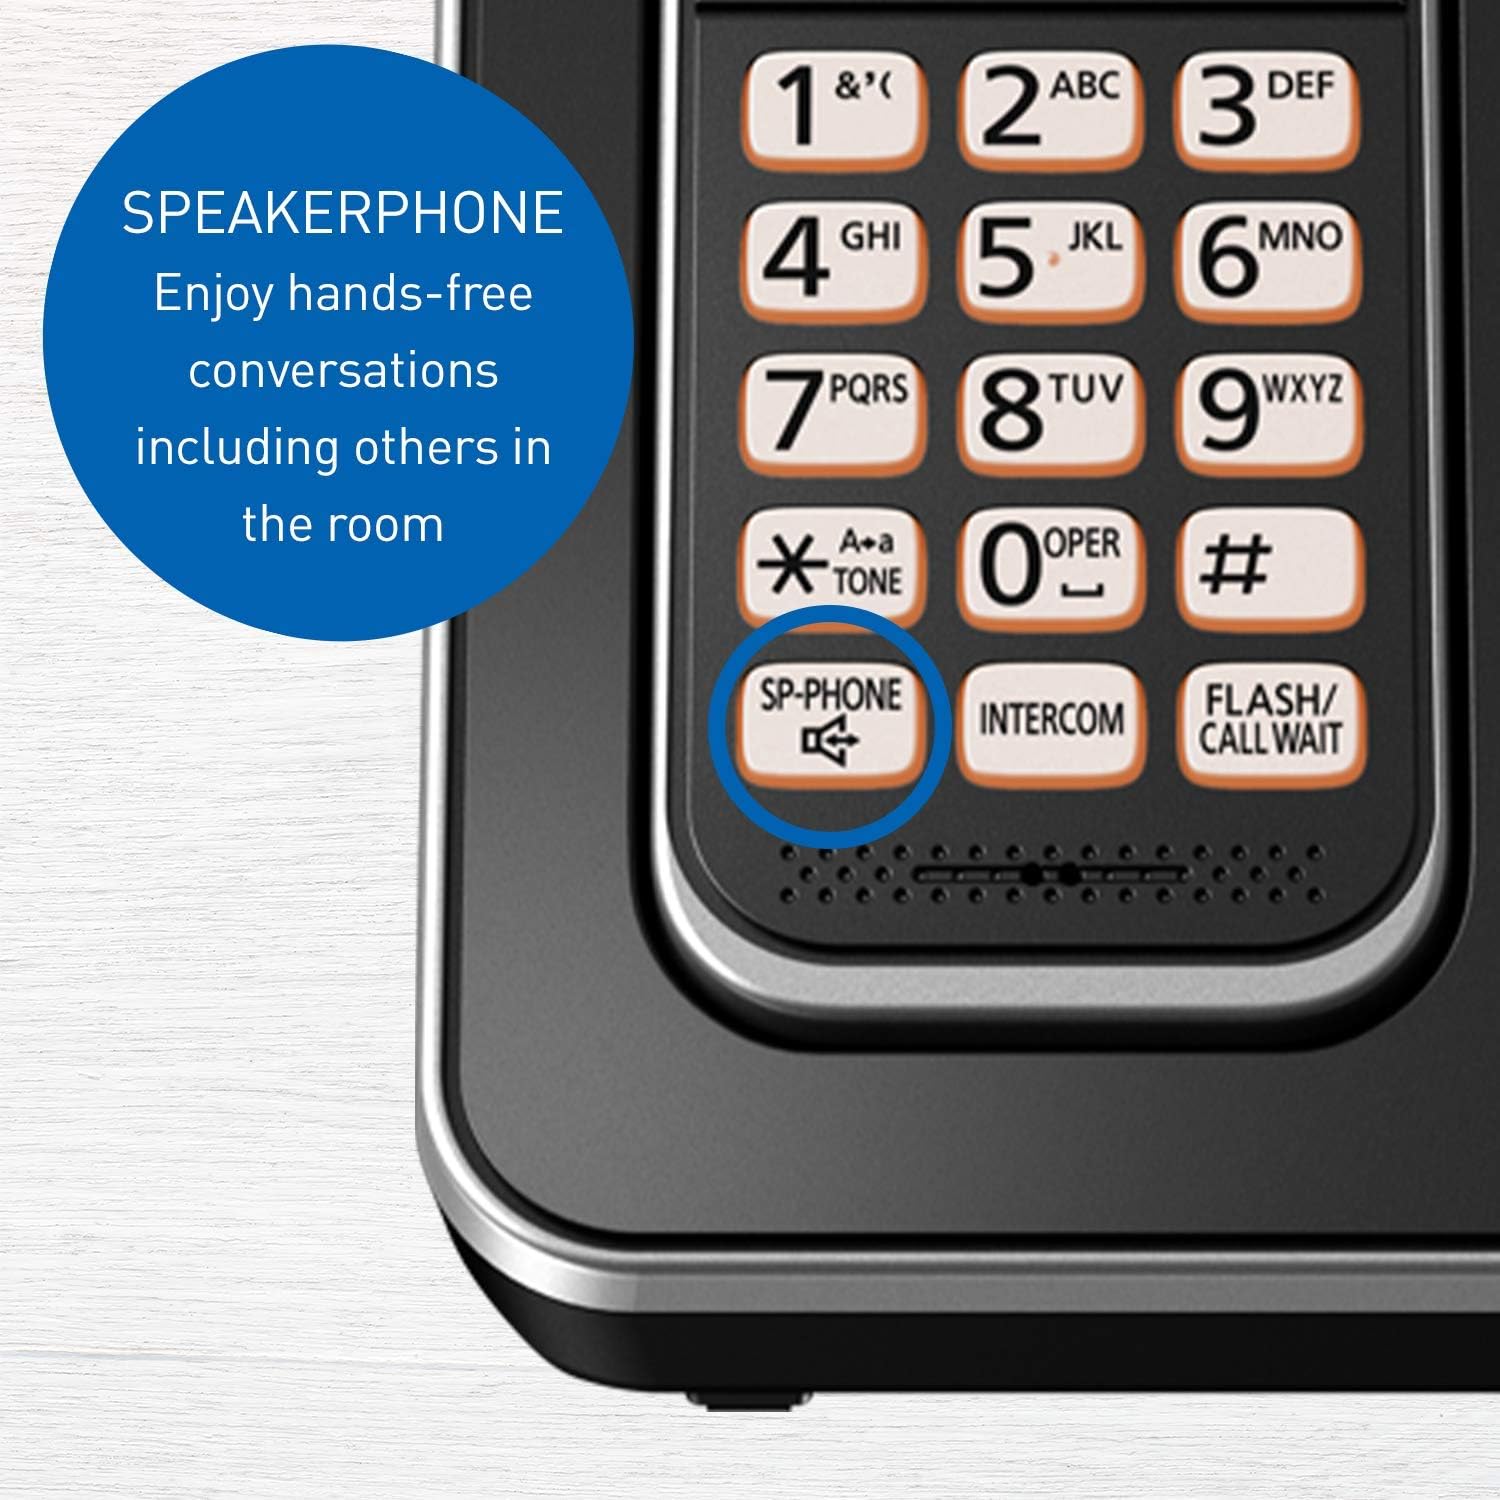
Figure 2: Close-up of the Panasonic Cordless Phone handset highlighting the 'SP-PHONE' button. This button activates the speakerphone for hands-free conversations, allowing others in the room to participate.
2.4 Talking Caller ID
When an incoming call is received, the handset will announce the caller's name or number between rings. This feature requires a subscription to Caller ID service from your telephone provider.

Figure 3: The handset display showing an incoming call with the Talking Caller ID feature. This feature announces the caller's name between rings, provided you have a Caller ID service subscription.
2.5 Call Blocking
You can block up to 60 unwanted numbers. To block a number:
- During a call from an unwanted number, press CALL BLOCK (or MENU then navigate to Call Block).
- Follow the on-screen prompts to add the number to the block list.

Figure 4: A close-up of the base unit and handset, illustrating the Call Block feature. This allows registration of up to 60 unwanted numbers, requiring a Caller ID service subscription.
2.6 Answering System
The digital answering system can record up to 15 minutes of messages.
- To Turn On/Off: Press ANSWER ON/OFF on the base unit.
- To Play Messages: Press PLAY/STOP on the base unit. You can also access messages from a handset via the MENU.

Figure 5: A detailed view of the base unit's answering machine controls. The 'ANSWER ON/OFF' and 'PLAY/STOP' buttons are visible, indicating the system's capacity to record up to 15 minutes of messages.
2.7 Intercom
Make calls between handsets within your home or office.
- Press INTERCOM on a handset.
- Dial the number of the desired handset (e.g., 2 for handset 2).
- The other handset will ring. To answer, press TALK.

Figure 6: An illustrative diagram showing how multiple handsets can be used for intercom calls, facilitating communication between different rooms within a home or office.
2.8 Handset Locator
If you misplace a handset, press the LOCATOR button on the base unit. All registered handsets will ring, helping you find them.
2.9 Night Mode
Night Mode allows you to silence the ringer for a set period, ensuring undisturbed sleep. This can be configured through the handset's menu settings under "Initial setting" > "Night mode".

Figure 7: The phone system depicted in a nighttime setting, demonstrating the 'Night Mode' feature which allows users to silence the ringer for a specified period.
2.10 Intelligent ECO Mode
This feature automatically reduces power consumption when the handset is close to the base unit, extending talk time and battery life. An "ECO" indicator will appear on the handset display when active.

Figure 8: A close-up of the handset display with the 'ECO' indicator visible, signifying the Intelligent ECO Mode is active. This mode automatically reduces power consumption when the handset is near the base unit.
3. Maintenance
3.1 Cleaning the Units
Wipe the phone units with a soft, damp cloth. Do not use abrasive cleaners, benzene, thinner, or any other harsh chemicals, as these can damage the surface.
3.2 Battery Replacement and Care
- Use only the specified rechargeable batteries. Using non-rechargeable batteries or incorrect types can cause damage or injury.
- If the handset battery life significantly decreases, it may be time to replace the batteries. Refer to section 1.3 for installation instructions.
- Avoid exposing batteries to extreme temperatures.
4. Troubleshooting
| Problem | Solution |
|---|---|
| No dial tone. | Ensure the telephone line cord is securely connected to both the base unit and the wall jack. Check if the AC power adapter is properly connected. |
| Cannot make or receive calls. | Check all connections. Ensure handsets are charged and registered. If using a DSL service, a DSL filter may be required. |
| Handset not charging or beeping. | Ensure the handset is correctly seated in the charger. Clean the charging contacts on both the handset and charger with a dry cloth. Verify the charger is plugged into a working outlet. |
| Display shows incorrect date/time. | Re-set the date and time manually (refer to section 1.5). If the issue persists, a power cycle of the base unit might be necessary. |
| Caller ID not working. | Confirm you have subscribed to Caller ID service from your telephone provider. |
| Poor sound quality or static. | Move closer to the base unit. Avoid placing the base unit near other electronic devices (e.g., microwaves, computers) that may cause interference. |
4.1 General Reset
If you experience persistent issues, try resetting the base unit:
- Unplug the AC power adapter from the base unit.
- Wait for approximately 5 minutes.
- Plug the AC power adapter back into the base unit.
5. Specifications
| Feature | Detail |
|---|---|
| Model Number | KX-TGD393CB |
| Technology | DECT 6.0 |
| Number of Handsets | 3 (Expandable up to 6) |
| Answering System | Digital, up to 15 minutes recording time |
| Display | 1.8" Clear white backlit LCD |
| Call Block Capacity | Up to 60 numbers |
| Battery Type | Rechargeable Ni-MH (Product Specific, included) |
| Handset Dimensions (H x W x D) | 165 mm x 48 mm x 32 mm (approx.) |
| Base Unit Dimensions (H x W x D) | 108 mm x 109 mm x 89 mm (approx.) |
| Handset Weight (with battery) | 130 g (approx.) |
| Base Unit Weight | 150 g (approx.) |
| Charger Unit Weight | 100 g (approx.) |
| Hearing Aid Compatibility | Yes |

Figure 9: This image provides detailed measurements for the handset, base unit, and charger unit, including screen size (1.8 inches) and weight specifications for each component.
6. Warranty and Support
6.1 Product Warranty
Panasonic products are manufactured to high quality standards and are covered by a limited warranty. Please refer to the warranty card included with your product for specific terms and conditions, or visit the official Panasonic website for detailed warranty information.
6.2 Customer Support
For technical assistance, troubleshooting beyond this manual, or warranty service, please contact Panasonic Customer Support. You can find contact information, including phone numbers and online support resources, on the official Panasonic website (www.panasonic.com).
7. Official Product Videos
No official product videos from the seller are available for embedding at this time.