1. Introduction
The Lutron HT-305 is a precision pocket-sized humidity meter designed for accurate measurement of relative humidity, temperature, and dew point. This device is ideal for various applications requiring environmental monitoring. This manual provides detailed instructions for the proper setup, operation, and maintenance of your HT-305 meter to ensure optimal performance and longevity.

Figure 1: Lutron HT-305 Pocket Humidity Meter and Probe. This image displays the main unit of the HT-305 meter alongside its detachable humidity/temperature probe.
2. Key Features
- Simultaneous display of Humidity, Temperature, and Dew Point.
- High accuracy and fast response time for humidity measurements.
- 0.1%RH resolution for humidity and 0.1° resolution for temperature.
- Pocket size with a separate humidity and temperature probe for easy operation and remote measurement.
- Data Hold function to freeze the displayed value.
- Records Maximum and Minimum readings with Recall function.
- Built-in low battery indicator.
- Automatic power off to conserve battery life.
- Wide humidity and temperature measuring range.
- Microprocessor circuit ensures maximum possible accuracy.
- Heavy duty and compact housing design.
3. Components and Controls
Familiarize yourself with the main components and controls of your HT-305 meter:

Figure 2: HT-305 Meter and Accessories. This image shows the HT-305 meter, its detachable probe, a carrying case, and the instruction manual.
- Main Unit: The handheld device housing the display and control buttons.
- Humidity/Temperature Probe: Detachable probe for sensing environmental conditions.
- LCD Display: Shows humidity, temperature, and dew point readings.
- POWER Button: Turns the unit on or off.
- HOLD Button: Freezes the current display reading.
- REC Button: Activates/deactivates Max/Min recording mode.
- FUNCTION Button: Cycles through display modes or units.
- Probe Input Jack: Connector for the humidity/temperature probe.
- Battery Compartment: Located at the rear of the unit.

Figure 3: HT-305 Display. The LCD shows humidity (4.9%RH), temperature (-40.3°C), and dew point. The "HOLD" indicator is also visible.
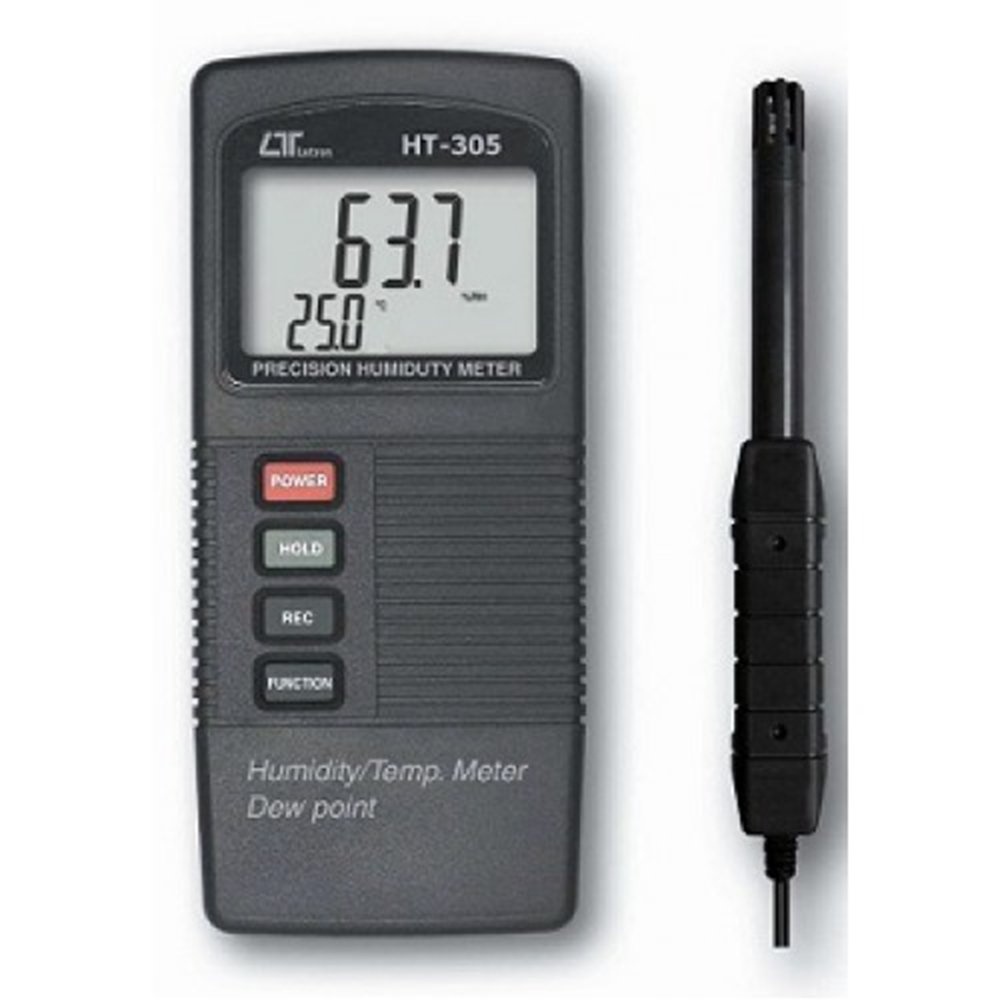
Figure 4: HT-305 Buttons and Probe Input. Close-up of the POWER, HOLD, REC, and FUNCTION buttons, along with the probe input jack.
4. Setup and Initial Use
4.1. Battery Installation
- Locate the battery compartment cover on the rear of the meter.
- Slide or unscrew the cover to open.
- Insert a new 9V alkaline battery, observing the correct polarity (+/-).
- Replace the battery compartment cover securely.
4.2. Connecting the Probe
- Align the connector of the humidity/temperature probe with the probe input jack on the top of the main unit.
- Gently push the connector into the jack until it is firmly seated. Do not force the connection.
5. Operation
5.1. Power On/Off
- To turn the meter ON, press the POWER button.
- To turn the meter OFF, press and hold the POWER button for approximately 2 seconds until the display turns off.
5.2. Taking Measurements
- Ensure the probe is connected and the meter is powered on.
- Position the probe in the environment where you wish to take measurements. Allow sufficient time (typically 10-30 seconds) for the readings to stabilize.
- The LCD will simultaneously display the Relative Humidity (%RH), Temperature (°C or °F), and Dew Point (°C or °F).
5.3. Data Hold Function
- Press the HOLD button to freeze the current readings on the display. The "HOLD" indicator will appear on the LCD.
- Press the HOLD button again to release the data hold and resume live measurements.
5.4. Maximum/Minimum Record
- Press the REC button once to enter Maximum/Minimum recording mode. The "REC" indicator will appear.
- Press the REC button again to display the Maximum recorded values.
- Press the REC button a third time to display the Minimum recorded values.
- Press and hold the REC button for approximately 2 seconds to exit recording mode and clear the recorded values.
5.5. Unit Selection (Temperature)
- Press the FUNCTION button to toggle between Celsius (°C) and Fahrenheit (°F) for temperature and dew point readings.
5.6. Auto Power Off
The meter features an automatic power-off function to conserve battery life. If no buttons are pressed for approximately 10 minutes, the meter will automatically shut down. This feature can typically be disabled by holding a specific button during power-on (refer to the original manual for specific instructions if this feature needs to be disabled).
6. Maintenance
6.1. Battery Replacement
When the low battery indicator appears on the display, replace the 9V battery as described in the "Battery Installation" section (4.1). Prompt battery replacement ensures accurate readings and prevents potential damage from battery leakage.
6.2. Cleaning
- Wipe the meter's casing with a soft, damp cloth. Do not use abrasive cleaners or solvents.
- Keep the humidity sensor on the probe clean and free from dust or debris. Avoid touching the sensor directly.
6.3. Storage
When not in use for extended periods, remove the battery to prevent leakage. Store the meter and probe in a cool, dry place, preferably in its protective carrying case.
7. Troubleshooting
| Problem | Possible Cause | Solution |
|---|---|---|
| Meter does not power on. | Dead or incorrectly installed battery. | Replace the 9V battery, ensuring correct polarity. |
| Readings are unstable or inaccurate. | Probe not fully connected; sensor dirty; environment not stable. | Ensure probe is securely connected. Clean the sensor carefully. Allow more time for readings to stabilize in the measurement area. |
| "LO BAT" indicator displayed. | Low battery voltage. | Replace the 9V battery immediately. |
| No Dew Point reading. | Dew Point calculation requires both humidity and temperature. | Ensure both humidity and temperature sensors are functioning correctly and providing valid data. |
8. Specifications
General Specifications:
- Circuit: Custom one-chip of microprocessor LSI circuit.
- Display: LCD size 44 mm x 29 mm, dual function LCD display.
- Measurement Unit: Humidity: %RH (Relative Humidity), Temperature: °C or °F, Dew Point: °C or °F.
- Response Time: 10 to 30 seconds typically.
- Temperature Compensation: Automatic, for humidity function.
- Data Hold: Freeze the display reading.
- Memory Recall: Maximum & Minimum value.
- Sampling Time: Approx. 0.8 second.
- Power Off: Auto shut off saves battery life.
- Operating Temperature: Main instrument: 0 to 50 °C.
- Operating Humidity: Probe: 0 to 95% RH. Main instrument: Less than 85% R.H.
- Power Supply: 006P DC 9V battery (Alkaline or Heavy duty type).
- Power Current: Approx. DC 6 mA.
- Weight: 264 g / 0.67 LB (Battery is included).
- Dimensions: Main instrument: 135 x 60 x 33 mm (5.3 x 2.4 x 1.3 inch). Humidity Sensor Probe: 197 mm (7.8 inch) in length.
- Accessories Included: Instruction manual, Humidity probe, Hard carrying case (CA-06), Soft carrying case (CA-05A).
Electrical Specifications (23 ± 5 °C):
| Measurement | Range | Resolution | Accuracy |
|---|---|---|---|
| Humidity | 10% to 95% R.H. | 0.1% R.H. | ≤ 70% RH: ± 3% RH. |
| > 70% RH: ± (3% reading + 1% RH). | |||
| Temperature | -20 to 60 °C | 0.1 degree | ± 0.8 °C |
| ± 1.5 °F | |||
| Dew Point | -25.3 to 48.9 °C | 0.1 °C | |
| -13.5 to 120.1 °F | 0.1 °F |
Remark: Dew Point display value is calculated from the Humidity/Temp. measurement automatically. The Dew Point accuracy is sum accuracy value of Humidity & Temperature measurement.
9. Warranty and Support
For warranty information and technical support, please refer to the documentation included with your product or contact Lutron customer service directly. Keep your purchase receipt as proof of purchase for warranty claims.


