1. Introduction
This user manual provides comprehensive instructions for the safe and effective operation of the Yato YT-73080 Digital Multimeter. The YT-73080 is a versatile electrical testing instrument designed for measuring various electrical parameters, including DC voltage, AC voltage, direct current, resistance, and for performing diode and transistor tests, as well as circuit continuity checks. Its robust design, including a protective rubber casing, ensures durability for various applications.
Please read this manual thoroughly before using the device to ensure proper function and to prevent damage or injury.
2. Safety Information
Always observe basic safety precautions when using electrical testing equipment to reduce the risk of fire, electric shock, or personal injury.
- Do not exceed the maximum input limits for any measurement range.
- Ensure the test leads are properly connected and the function switch is set to the correct range before making any measurements.
- Do not use the multimeter if it or the test leads appear damaged.
- Exercise extreme caution when working with voltages above 60V DC or 30V AC RMS.
- Always disconnect power to the circuit under test before measuring resistance, continuity, or diodes.
- Replace the battery when the low battery indicator appears to ensure accurate readings.
3. Product Overview
The Yato YT-73080 Digital Multimeter features a clear LCD display and a rotary switch for selecting measurement functions. It comes with a protective rubber casing (holster) and test leads.

Figure 3.1: Yato YT-73080 Digital Multimeter and its included test leads. The multimeter features a large LCD display and a central rotary dial for function selection.

Figure 3.2: Key measurement function icons found on the Yato YT-73080 multimeter, including DC Voltage, AC Voltage, Current, Resistance, Diode, Transistor (hFE), Pulse Output, Continuity, and CE certification.
4. Setup
4.1 Battery Installation
The YT-73080 multimeter is powered by a 9V battery. To install or replace the battery:
- Ensure the multimeter is turned OFF.
- Locate the battery compartment cover on the back of the unit.
- Remove the screw(s) securing the cover and gently lift it off.
- Connect a new 9V battery to the battery clip, observing correct polarity.
- Place the battery into the compartment and replace the cover, securing it with the screw(s).
4.2 Connecting Test Leads
Connect the test leads to the appropriate input jacks on the multimeter:
- Insert the black test lead into the COM (Common) jack.
- For most voltage, resistance, diode, and continuity measurements, insert the red test lead into the VΩmA jack.
- For current measurements up to 5A, insert the red test lead into the 5A MAX jack.
5. Operating Instructions
The YT-73080 allows for various electrical measurements. Always select the correct function and range before connecting the test leads to the circuit.
5.1 DC Voltage Measurement (V–)
- Connect the red lead to the VΩmA jack and the black lead to the COM jack.
- Set the rotary switch to the desired DC Voltage range (e.g., 200m, 2000m, 20, 200, 500V).
- Connect the test leads in parallel to the DC voltage source or component to be measured.
- Read the voltage value on the LCD display.
5.2 AC Voltage Measurement (V∼)
- Connect the red lead to the VΩmA jack and the black lead to the COM jack.
- Set the rotary switch to the desired AC Voltage range (e.g., 200, 500V).
- Connect the test leads in parallel to the AC voltage source or component to be measured.
- Read the voltage value on the LCD display.
5.3 DC Current Measurement (A–)
- For currents up to 200mA, connect the red lead to the VΩmA jack. For currents up to 5A, connect the red lead to the 5A MAX jack. Connect the black lead to the COM jack.
- Set the rotary switch to the desired DC Current range (e.g., 2000u, 20m, 200m, 5A).
- Important: Disconnect power to the circuit. Open the circuit and connect the multimeter in series with the load.
- Apply power to the circuit and read the current value on the LCD display.
5.4 Resistance Measurement (Ω)
- Connect the red lead to the VΩmA jack and the black lead to the COM jack.
- Set the rotary switch to the desired Resistance range (e.g., 200, 2K, 20K, 200K, 2000KΩ).
- Important: Ensure the circuit under test is completely de-energized before measuring resistance.
- Connect the test leads across the component to be measured.
- Read the resistance value on the LCD display.
5.5 Diode Test (→|•)
- Connect the red lead to the VΩmA jack and the black lead to the COM jack.
- Set the rotary switch to the Diode Test position.
- Important: Ensure the diode is disconnected from the circuit or the circuit is de-energized.
- Connect the red lead to the anode and the black lead to the cathode of the diode. A forward voltage drop will be displayed.
- Reverse the leads. An open circuit (OL) reading indicates a good diode.
5.6 Transistor Test (hFE)
- Set the rotary switch to the hFE position.
- Identify if the transistor is NPN or PNP.
- Insert the transistor leads (Emitter, Base, Collector) into the corresponding holes in the hFE socket on the multimeter.
- Read the hFE (DC current gain) value on the LCD display.
5.7 Continuity Test (♫)
- Connect the red lead to the VΩmA jack and the black lead to the COM jack.
- Set the rotary switch to the Continuity Test position.
- Important: Ensure the circuit under test is completely de-energized.
- Touch the test leads across the circuit or component. An audible beep indicates continuity (low resistance).
6. Maintenance
6.1 Cleaning
To clean the multimeter, use a soft, damp cloth. Do not use abrasive cleaners or solvents. Ensure the device is turned off and disconnected from any circuits before cleaning.
6.2 Battery Replacement
Refer to Section 4.1 for instructions on replacing the 9V battery. Replace the battery promptly when the low battery indicator appears on the display to maintain measurement accuracy.
6.3 Fuse Replacement
The multimeter is equipped with an overload protection fuse. If the current measurement function stops working, the fuse may need replacement. This typically requires opening the casing. Refer to the specifications for the correct fuse type (e.g., 5A/250V fast-blow fuse).
Warning: Fuse replacement should only be performed by qualified personnel to avoid electric shock or damage to the device.
7. Troubleshooting
| Problem | Possible Cause | Solution |
|---|---|---|
| No display or dim display | Dead or low battery | Replace the 9V battery (refer to Section 4.1). |
| "OL" (Overload) displayed | Measurement exceeds selected range or open circuit | Select a higher range or check for an open circuit in the component/leads. |
| Incorrect readings | Incorrect function/range selected, poor lead connection, or low battery | Verify function/range, ensure leads are firmly connected, replace battery. |
| Current measurement not working | Blown fuse | Replace the internal fuse (refer to Section 6.3). |
8. Specifications
The following are the technical specifications for the Yato YT-73080 Digital Multimeter:
- Display: 3½ digits LCD (Max. display 1999)
- Low Battery Indication: Yes
- Overload Protection: Yes
- Audible Continuity: Yes
- DC Voltage (V–): 200mV, 2000mV, 20V, 200V, 500V (Max Operating Voltage: 600V)
- AC Voltage (V∼): 200V, 500V
- DC Current (A–): 2000µA, 20mA, 200mA, 5A
- Resistance (Ω): 200Ω, 2KΩ, 20KΩ, 200KΩ, 2000KΩ (2MΩ)
- Diode Check: Yes
- Transistor Test (hFE): Yes (NPN/PNP)
- Power Source: 9V Battery
- Dimensions: 126 x 70 x 24 mm
- Weight: 270 g
- Safety Standard: CE

Figure 8.1: Key features and specifications of the Yato YT-73080, including display type, protection, measurement ranges, power source, and dimensions.
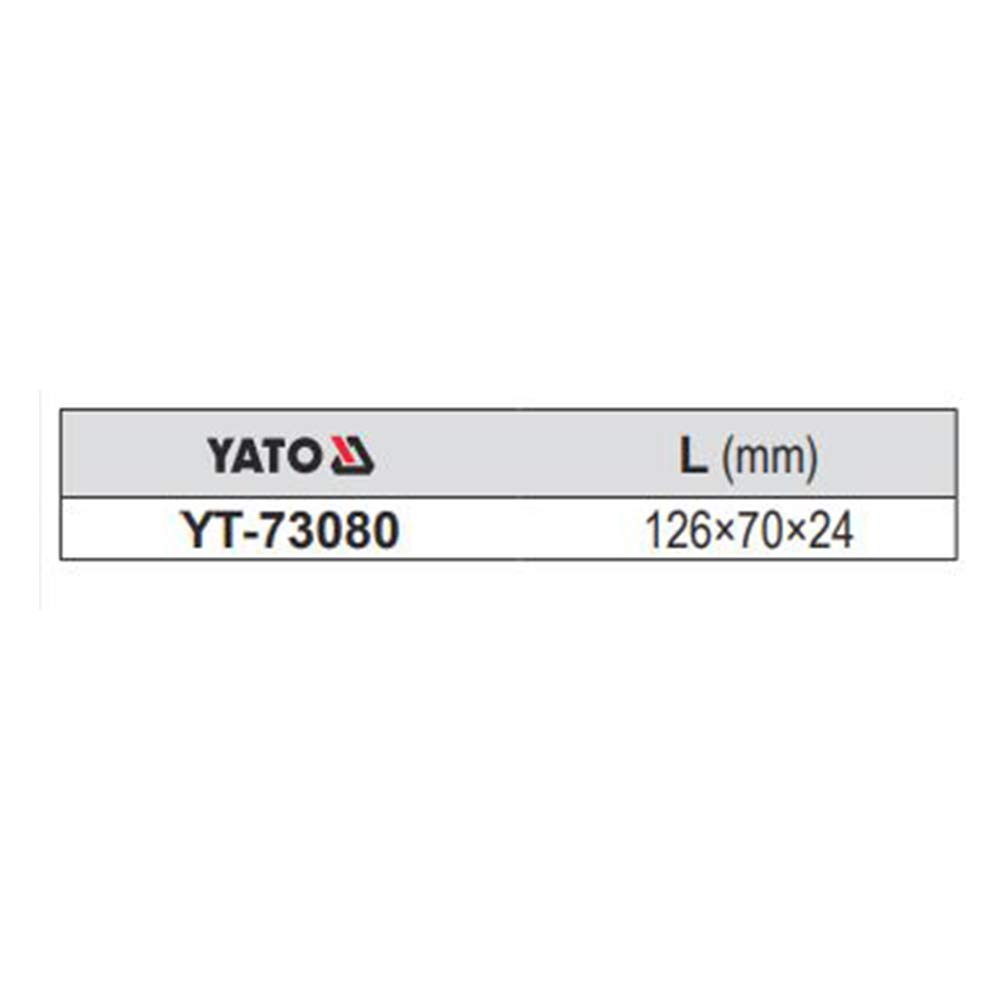
Figure 8.2: Physical dimensions (length, width, thickness) of the Yato YT-73080 multimeter.
9. Warranty and Support
The Yato YT-73080 Digital Multimeter comes with a standard warranty as per the manufacturer's terms. Please refer to the warranty card included in the product packaging for specific details regarding coverage and duration.
For technical support, service, or warranty claims, please contact your authorized Yato dealer or the manufacturer's customer service. Ensure you have your product model number (YT-73080) and proof of purchase available when seeking support.
Manufacturer: Yato Tools(Shanghai) Co.Ltd
Country of Origin: China
Imported By: Toolex International


