Introduction
This manual provides comprehensive instructions for the installation, operation, and maintenance of your Schlage Connect Camelot Satin Nickel Touchscreen Deadbolt with Alarm. This smart lock combines advanced security features with the convenience of keyless entry and smart home integration. Please read this manual thoroughly before installation and use to ensure proper functionality and security.
Product Overview
The Schlage Connect Touchscreen Deadbolt offers a secure and convenient way to manage access to your home. Key features include:
- Durable resistive touchscreen for code entry.
- Anti-pick shield for enhanced security against tampering.
- Built-in alarm to alert you to potential security threats.
- Z-Wave compatibility for integration with compatible home automation or security systems, enabling remote access and control.
- BHMA Grade 1 certification for best-in-class security, durability, and finish.

Image: Front and back views of the Schlage Connect Camelot Touchscreen Deadbolt. The front features a keypad and keyhole, while the back shows the battery cover and thumb turn.
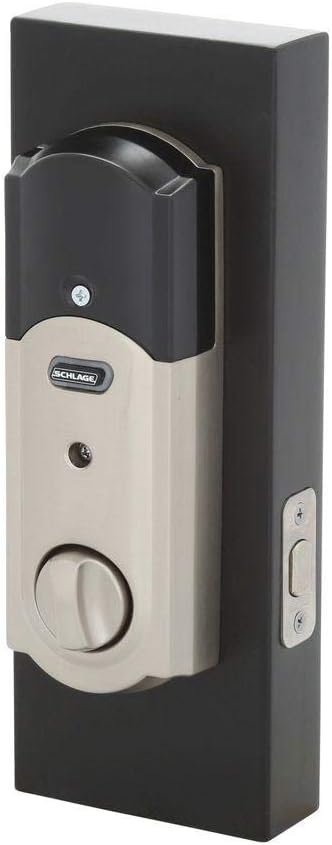
Image: A close-up view of the Schlage Connect Camelot Touchscreen Deadbolt's keypad and keyhole, highlighting the satin nickel finish.
Setup & Installation
Pre-Installation Checklist:
- Ensure your door thickness is between 1-3/8 inches and 1-3/4 inches.
- Verify the universal deadbolt fits a 2-3/8 inch or 2-3/4 inch backset.
- Gather necessary tools (screwdriver, measuring tape).
- Obtain 4 AA batteries (not included).
Installation Steps:
- Prepare the Door: If replacing an existing deadbolt, remove it. Ensure the door bore holes and backset are correctly sized.
- Install the Latch: Insert the deadbolt latch into the door edge. Ensure the "TOP" indicator is facing upwards. Secure with screws.
- Install the Exterior Assembly: Place the exterior keypad assembly onto the door, aligning the tailpiece through the latch mechanism.
- Install the Interior Assembly: Attach the interior assembly, ensuring the cable connects properly and the thumb turn aligns with the tailpiece. Secure with mounting screws.
- Insert Batteries: Open the battery cover on the interior assembly and insert 4 AA batteries. Close the cover.
- Test Operation: Manually test the deadbolt with the thumb turn and the key.
- Program User Codes: Follow the programming instructions in the "Operating Instructions" section to set up your initial user codes.
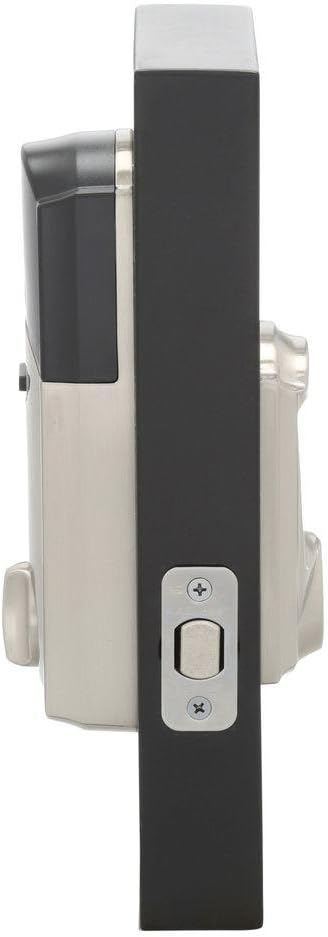
Image: Side view of the Schlage Connect Camelot Touchscreen Deadbolt, showing the depth of the lock mechanism when installed on a door.

Image: Interior view of the Schlage Connect Camelot Touchscreen Deadbolt, showing the thumb turn and battery compartment cover.
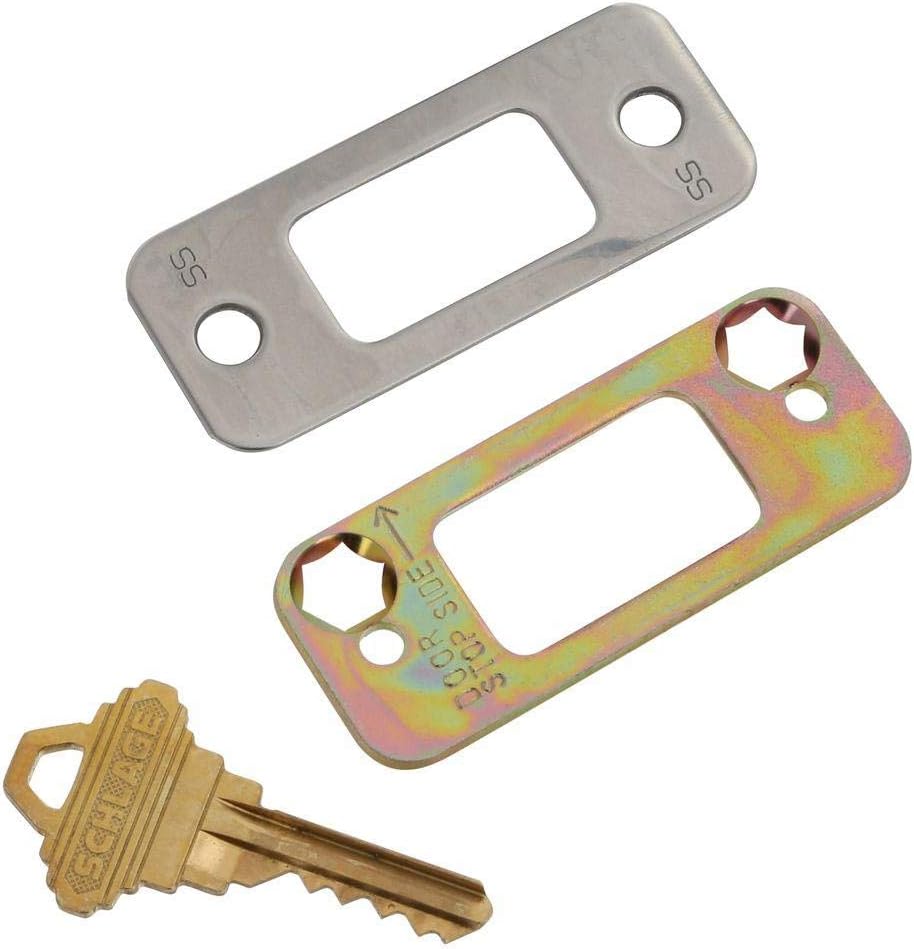
Image: The physical key and two different strike plates included with the Schlage deadbolt, used for installation.
Operating Instructions
Locking the Door:
- Manual Lock: Turn the interior thumb turn to the locked position.
- Keypad Lock: Press the Schlage button on the exterior keypad. The deadbolt will extend.
- Auto-Lock Feature: If enabled, the deadbolt will automatically lock after a set period (e.g., 30 seconds) after being unlocked.
Unlocking the Door:
- Manual Unlock: Turn the interior thumb turn to the unlocked position.
- Keypad Unlock: Enter a valid 4-8 digit user code on the touchscreen keypad, then press the Schlage button. The deadbolt will retract.
- Key Override: Insert the physical key into the keyhole and turn to unlock.
Programming User Codes:
- Open the battery cover on the interior assembly.
- Press the Schlage button on the interior assembly.
- Enter the 6-digit programming code (found on the back of the interior assembly or in your original documentation).
- Press the Schlage button.
- Enter a new 4-8 digit user code.
- Press the Schlage button.
- Repeat steps 5-6 for additional user codes.
Important: Keep your programming code secure and do not share it. It is required to add or delete user codes.
Z-Wave Connectivity:
The Schlage Connect deadbolt is compatible with Z-Wave enabled home automation and security systems. To connect:
- Ensure your Z-Wave hub or controller is in inclusion (pairing) mode. Refer to your hub's instructions for this step.
- On the deadbolt, enter your 6-digit programming code, then press the Schlage button.
- Press the "0" button on the keypad.
- The lock will attempt to connect to the Z-Wave network. A successful connection will be indicated by a green checkmark on the keypad and/or a confirmation from your Z-Wave hub.
Note: Remote access and advanced features require a compatible home automation or security system and may depend on your platform provider. Z-Wave functionality may be disabled by default and require activation. Consult your Z-Wave hub's documentation and Schlage support if you encounter issues.
Built-in Alarm:
The deadbolt features a built-in alarm that alerts you to potential security threats, such as forced entry attempts. The alarm sensitivity and settings can typically be adjusted through your connected Z-Wave system or directly on the lock using specific programming sequences (refer to the full product guide for advanced settings).
Maintenance
Battery Replacement:
The deadbolt requires 4 AA alkaline batteries (not included). Battery life is approximately 1 year under normal use. The lock will provide a low battery warning when replacement is needed.
- Open the battery cover on the interior assembly.
- Remove the old batteries.
- Insert 4 new AA alkaline batteries, ensuring correct polarity.
- Replace the battery cover.
Note: Using non-alkaline batteries may result in reduced performance and battery life.
Cleaning:
Clean the touchscreen and lock body with a soft, damp cloth. Avoid abrasive cleaners or solvents, as these can damage the finish and electronic components.
Troubleshooting
| Problem | Possible Cause | Solution |
|---|---|---|
| Lock does not respond to keypad entry. | Low batteries; incorrect code entered; keypad malfunction. | Replace batteries. Ensure correct user code is entered. If issue persists, contact support. |
| Cannot connect to Z-Wave hub. | Z-Wave disabled; hub not in inclusion mode; interference. | Ensure Z-Wave is enabled on the lock. Put hub in inclusion mode. Try moving hub closer or reducing interference. Consult Schlage support or Z-Wave hub manual. |
| Deadbolt does not extend/retract fully. | Misalignment; obstruction in door frame; low batteries. | Check door alignment and strike plate. Clear any obstructions. Replace batteries. |
| Alarm triggers unexpectedly. | High sensitivity setting; physical impact. | Adjust alarm sensitivity via Z-Wave system or lock programming. Ensure lock is not subject to accidental impacts. |
Specifications
- Brand: SCHLAGE
- Model Number: BE469WK V CAM 619
- Lock Type: Keypad Deadbolt
- Material: Nickel
- Color: Satin Nickel
- Dimensions (L x W x H): 4.5 x 5.13 x 9.25 inches
- Item Weight: 3.8 Pounds
- Door Thickness Compatibility: 1-3/8 in. to 1-3/4 in.
- Backset Compatibility: 2-3/8 in. or 2-3/4 in.
- Power Source: 4 AA batteries (approximately 1 year life)
- Connectivity Protocol: Z-Wave
- Controller Compatibility: Amazon Alexa, Nexia, SmartThings, Wink (requires compatible Z-Wave hub)
- Security Grade: BHMA Grade 1 (Best in Security, Durability, and Finish)
- Special Features: Durable resistive touchscreen, Anti-pick shield, Built-in alarm
- UPC: 043156443482
Warranty & Support
Schlage products are designed for durability and reliability. For specific warranty details, please refer to the warranty card included with your product packaging or visit the official Schlage website. For technical assistance, troubleshooting, or to inquire about replacement parts, please contact Schlage customer support.
Schlage Customer Support: Refer to the contact information provided in your product packaging or on the official Schlage website.


