Important Safety Instructions
WARNING: This product can expose you to chemicals including lead, which is known to the State of California to cause cancer and birth defects or other reproductive harm. For more information go to www.P65Warnings.ca.gov.
Always turn off the main power supply at the circuit breaker before beginning any electrical installation. Consult a qualified electrician if you are unsure about wiring procedures. Ensure all connections are secure and comply with local electrical codes. This fixture is authorized for use in dry interior locations.
Package Contents
Verify that all components are present before beginning installation.
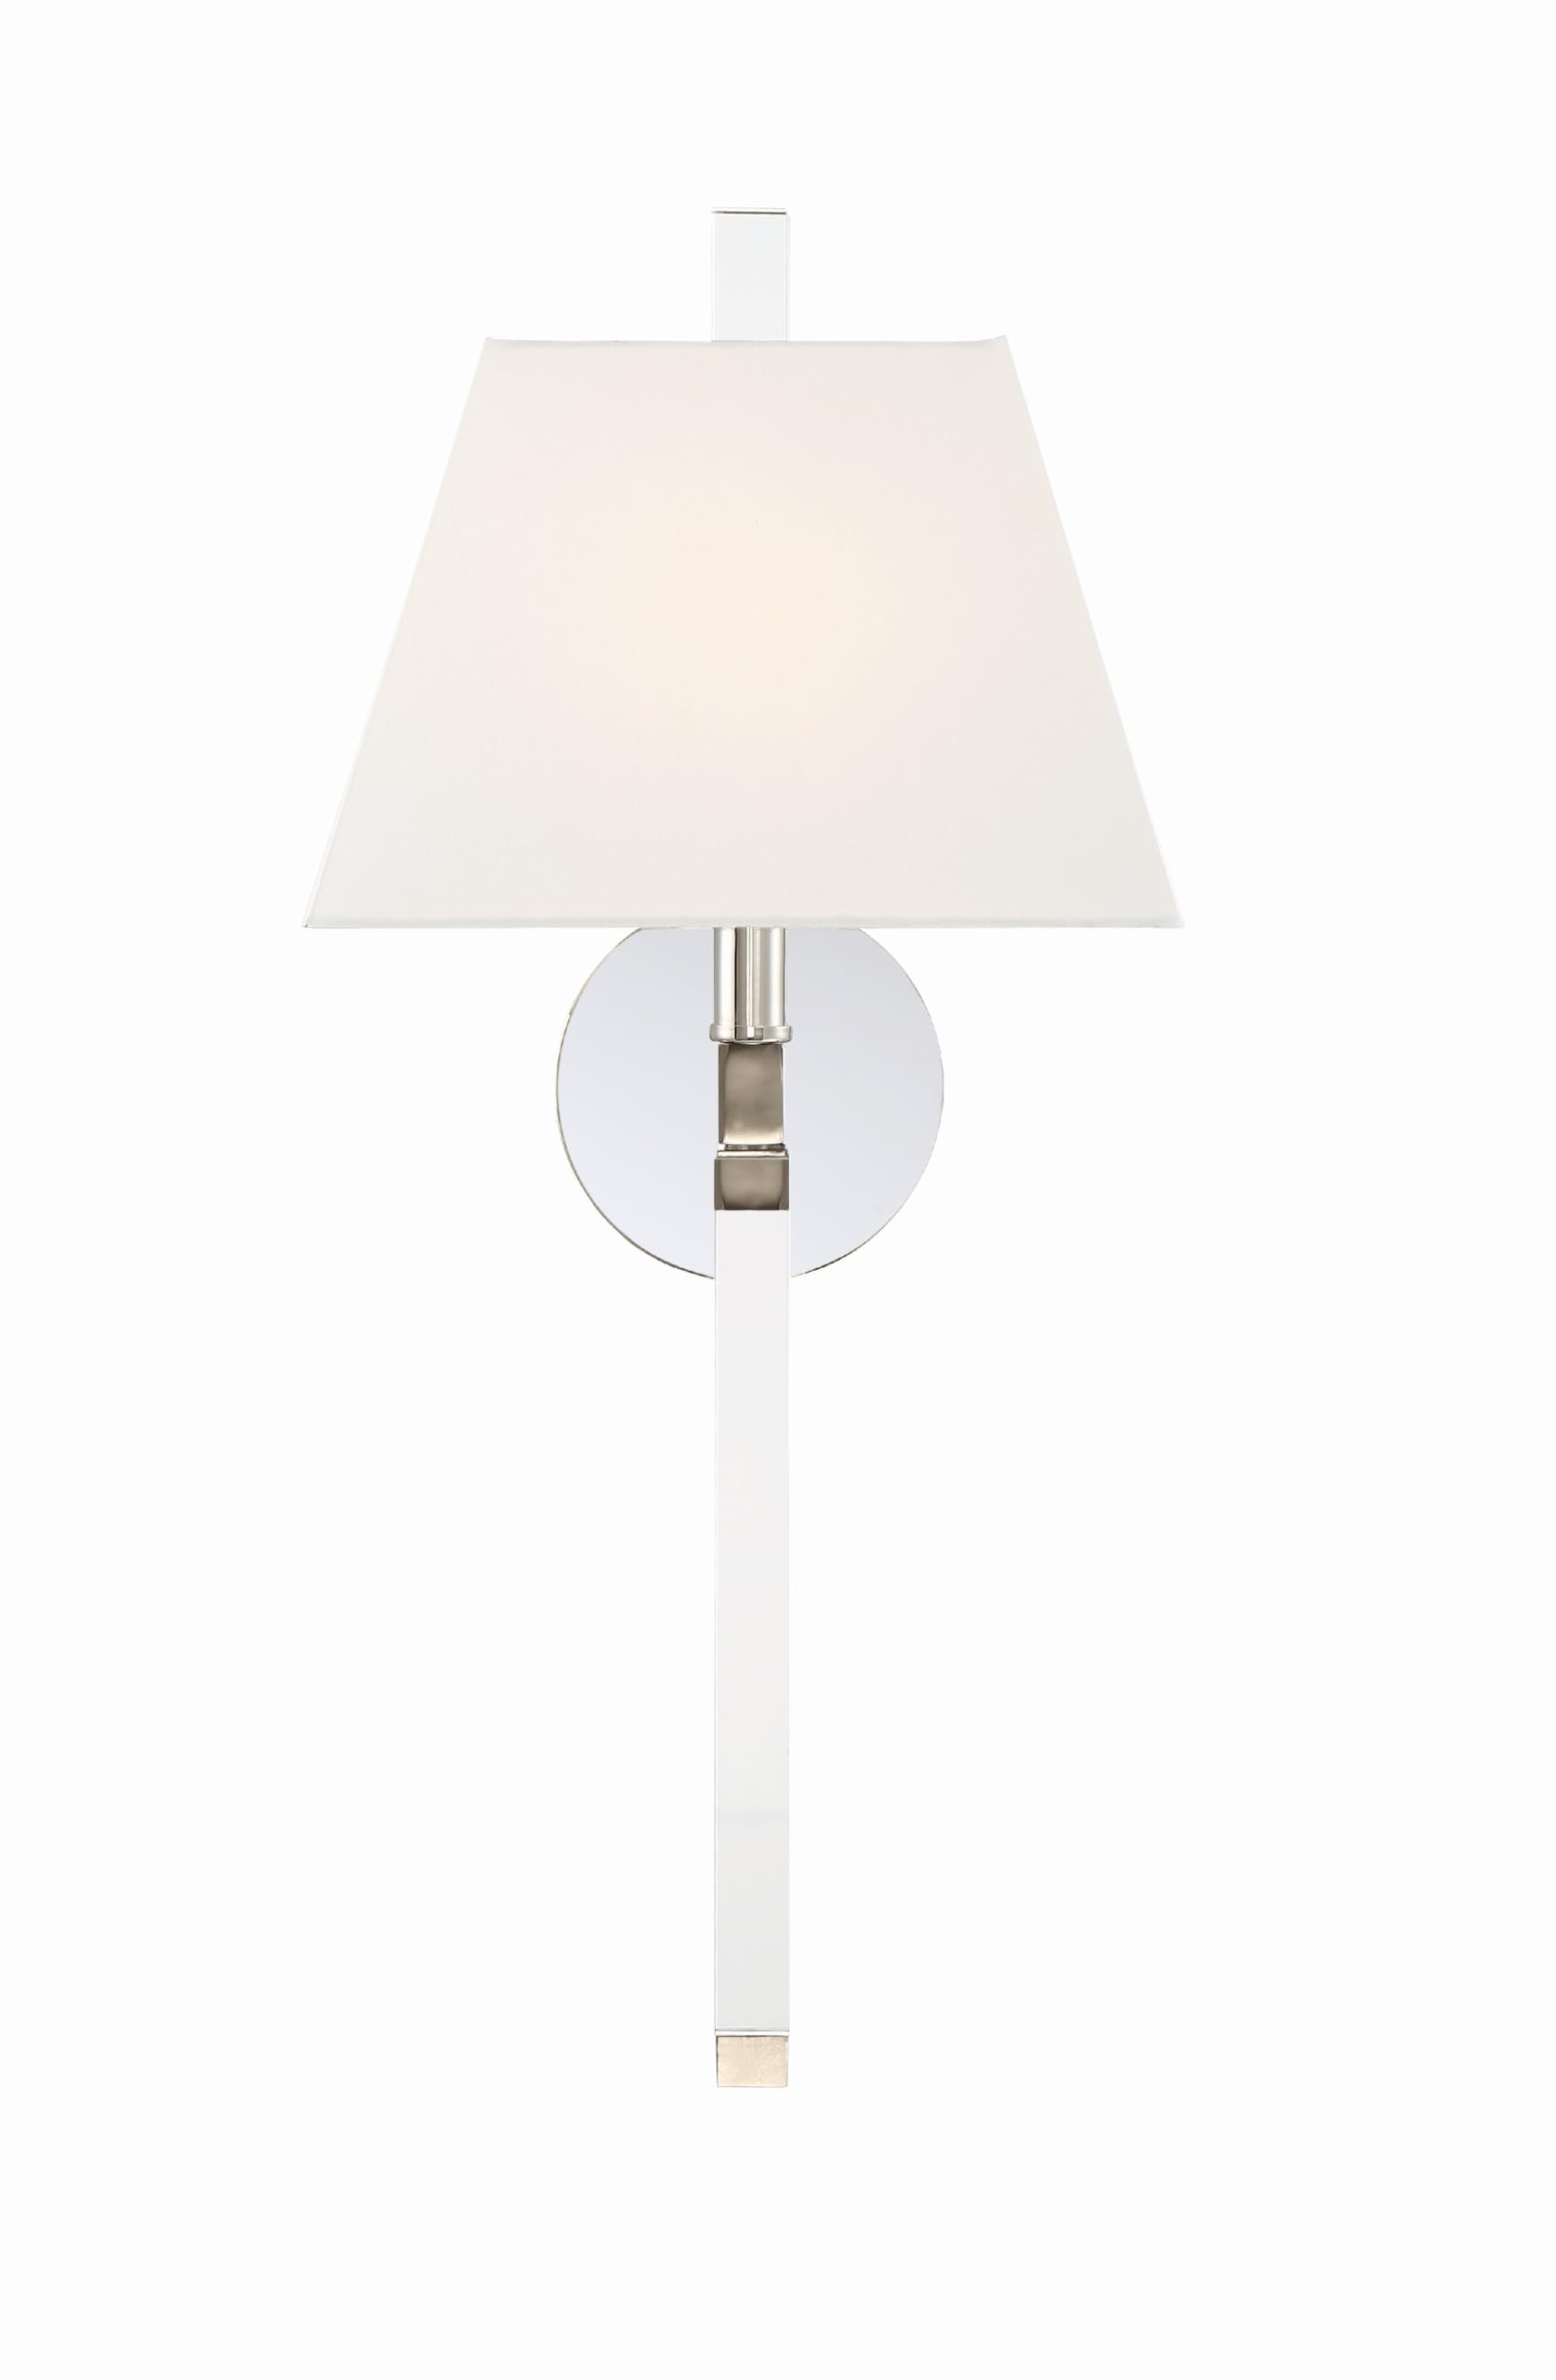
- Sconce Fixture (Polished Nickel)
- White Silk Shade
- Mounting Hardware (screws, wire nuts, mounting plate)
- Instruction Manual
Note: Bulbs are not included. This fixture requires one (1) E12 Candelabra base bulb, maximum 60 watts.
Specifications
| Brand | Crystorama |
| Model Number | REN-261-PN |
| Finish | Polished Nickel |
| Dimensions (W x H x D) | 10 Inch W x 21.75 Inch H x 7 Inch D (Overall depth including shade) |
| Light Source Type | E12 Candelabra |
| Number of Lights | 1 |
| Maximum Wattage | 60 Watts |
| Voltage | 120 Volts |
| Shade Material | Silk |
| Material | Alloy Steel |
| Installation Type | Wall Mount |
| Indoor/Outdoor Usage | Indoor (Dry Locations) |
| Certification | UL Listed |
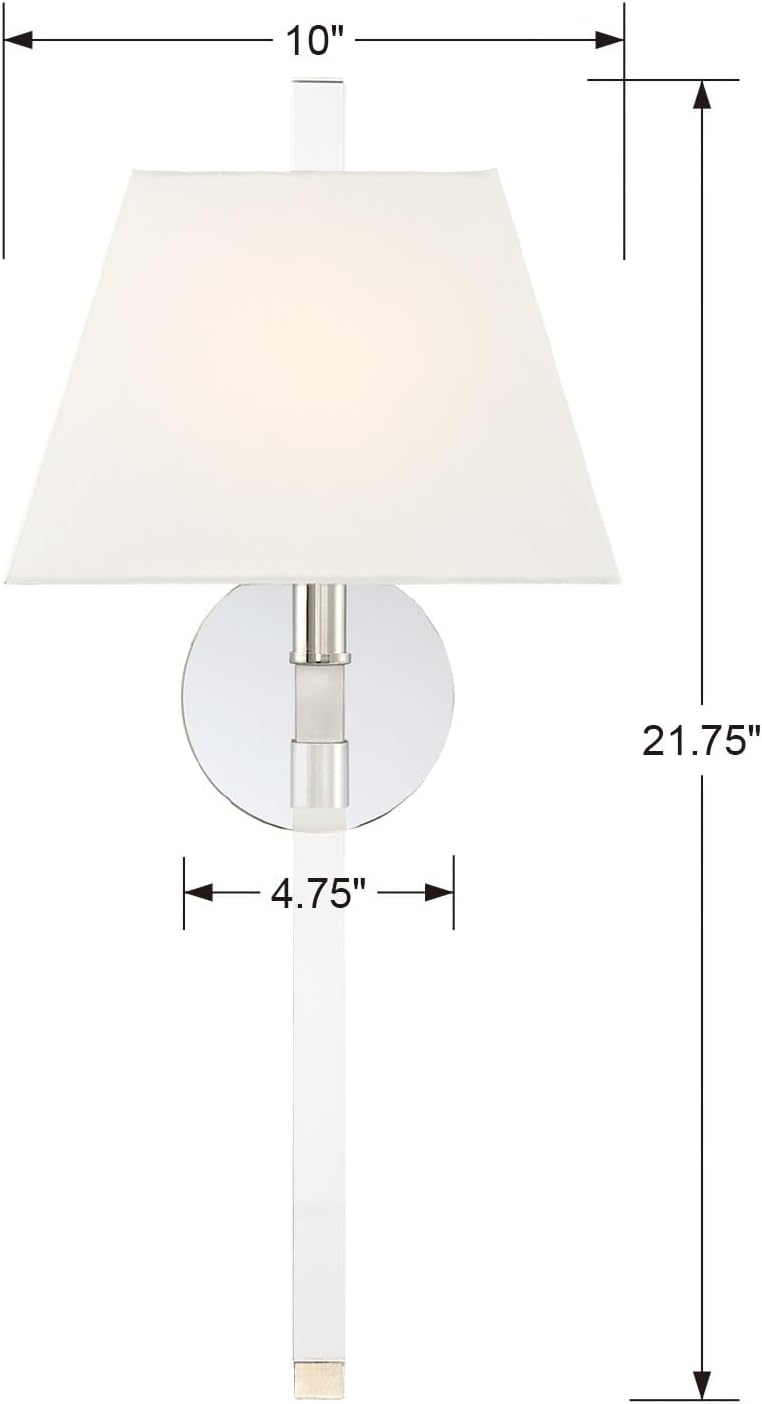
Figure 2: Product Dimensions Diagram
Setup & Installation
Tools Required (Not Included):
- Screwdriver (Phillips and Flathead)
- Wire Strippers
- Electrical Tape
- Pliers
- Safety Glasses
- Ladder (if installing at height)
Pre-Installation Checklist:
- Turn off Power: Locate the circuit breaker controlling the light fixture's location and turn it OFF. Verify power is off using a voltage tester.
- Unpack Contents: Carefully remove all parts from the packaging and inspect for any damage.
- Review Instructions: Read through all steps before beginning installation.
Mounting the Fixture:
- Attach the mounting plate to the junction box using the provided screws. Ensure the plate is securely fastened.
- Connect the fixture's ground wire (usually bare copper or green) to the house ground wire using a wire nut.
- Connect the fixture's neutral wire (usually white) to the house neutral wire (white) using a wire nut.
- Connect the fixture's hot wire (usually black) to the house hot wire (black) using a wire nut.
- Carefully tuck all wires into the junction box.
- Align the fixture base with the mounting plate and secure it with the provided screws.

Figure 3: Sconce Base Detail and Mounting Area
Attaching the Shade and Bulb:
- Insert one (1) E12 Candelabra base bulb (max 60W) into the socket. Do not overtighten.
- Carefully place the white silk shade onto the fixture, ensuring it is level and secure.

Figure 4: White Silk Shade Installation
Operating Instructions
Once installation is complete and verified, restore power at the circuit breaker. Operate the sconce using the wall switch connected to the fixture. This model does not include a remote control or dimming capabilities unless integrated into your home's existing electrical system.
Maintenance
Cleaning:
- Always turn off power to the fixture before cleaning.
- Wipe the metal finish with a soft, dry cloth. Do not use abrasive cleaners or polishes, as they may damage the finish.
- For the silk shade, gently dust with a soft brush or a lint-free cloth. Avoid using water or liquid cleaners on the shade.
Bulb Replacement:
- Ensure power is off at the circuit breaker.
- Allow the bulb to cool completely before touching.
- Carefully unscrew the old bulb from the socket.
- Screw in a new E12 Candelabra base bulb (max 60W).
- Restore power at the circuit breaker.
Troubleshooting
| Problem | Possible Cause | Solution |
|---|---|---|
| Fixture does not light. |
|
|
| Light flickers. |
|
|
If issues persist after attempting these solutions, contact a qualified electrician or Crystorama customer support.
Warranty Information
This Crystorama product is covered by a manufacturer's warranty. For specific details regarding warranty coverage, duration, and claims process, please refer to the warranty card included with your purchase or visit the official Crystorama website. Keep your proof of purchase for warranty validation.
Customer Support
For further assistance, technical support, or inquiries about your Crystorama Renee Sconce, please visit the official Crystorama website or contact their customer service department.
Crystorama Website: www.crystorama.com