
1. Important Safety Instructions
When using electrical appliances, basic safety precautions should be followed, including the following:
- Read all instructions before using the appliance.
- Do not operate any appliance with a damaged cord or plug, or after the appliance malfunctions or has been damaged in any manner.
- Do not use this appliance for commercial purposes. It is intended for household use only.
- Do not heat liquids or other foods in sealed containers as they are liable to explode.
- Do not attempt to tamper with or make any adjustments or repairs to the door, control panel, safety interlock switches, or any other part of the microwave.
- Ensure proper ventilation around the microwave. Do not block any ventilation openings.
- Always use microwave-safe cookware. Metal containers or foil can cause arcing and damage the oven.
- Supervise children closely when the microwave is in use.
- Do not overcook food.
- Do not store anything directly on top of the microwave oven when it is in operation.
2. Product Overview
The Daewoo KOR-760EW is a compact 0.7 cubic feet countertop microwave oven designed for efficient and convenient cooking. It features a sleek design suitable for various kitchen environments.
Key Features:
- Concave Reflex System (C.R.S.) for even cooking.
- Recessed turntable for stable dish placement.
- 10 power cooking levels with 700W output.
- Auto defrost menu for convenient thawing.
- Child-safety lock system for enhanced security.
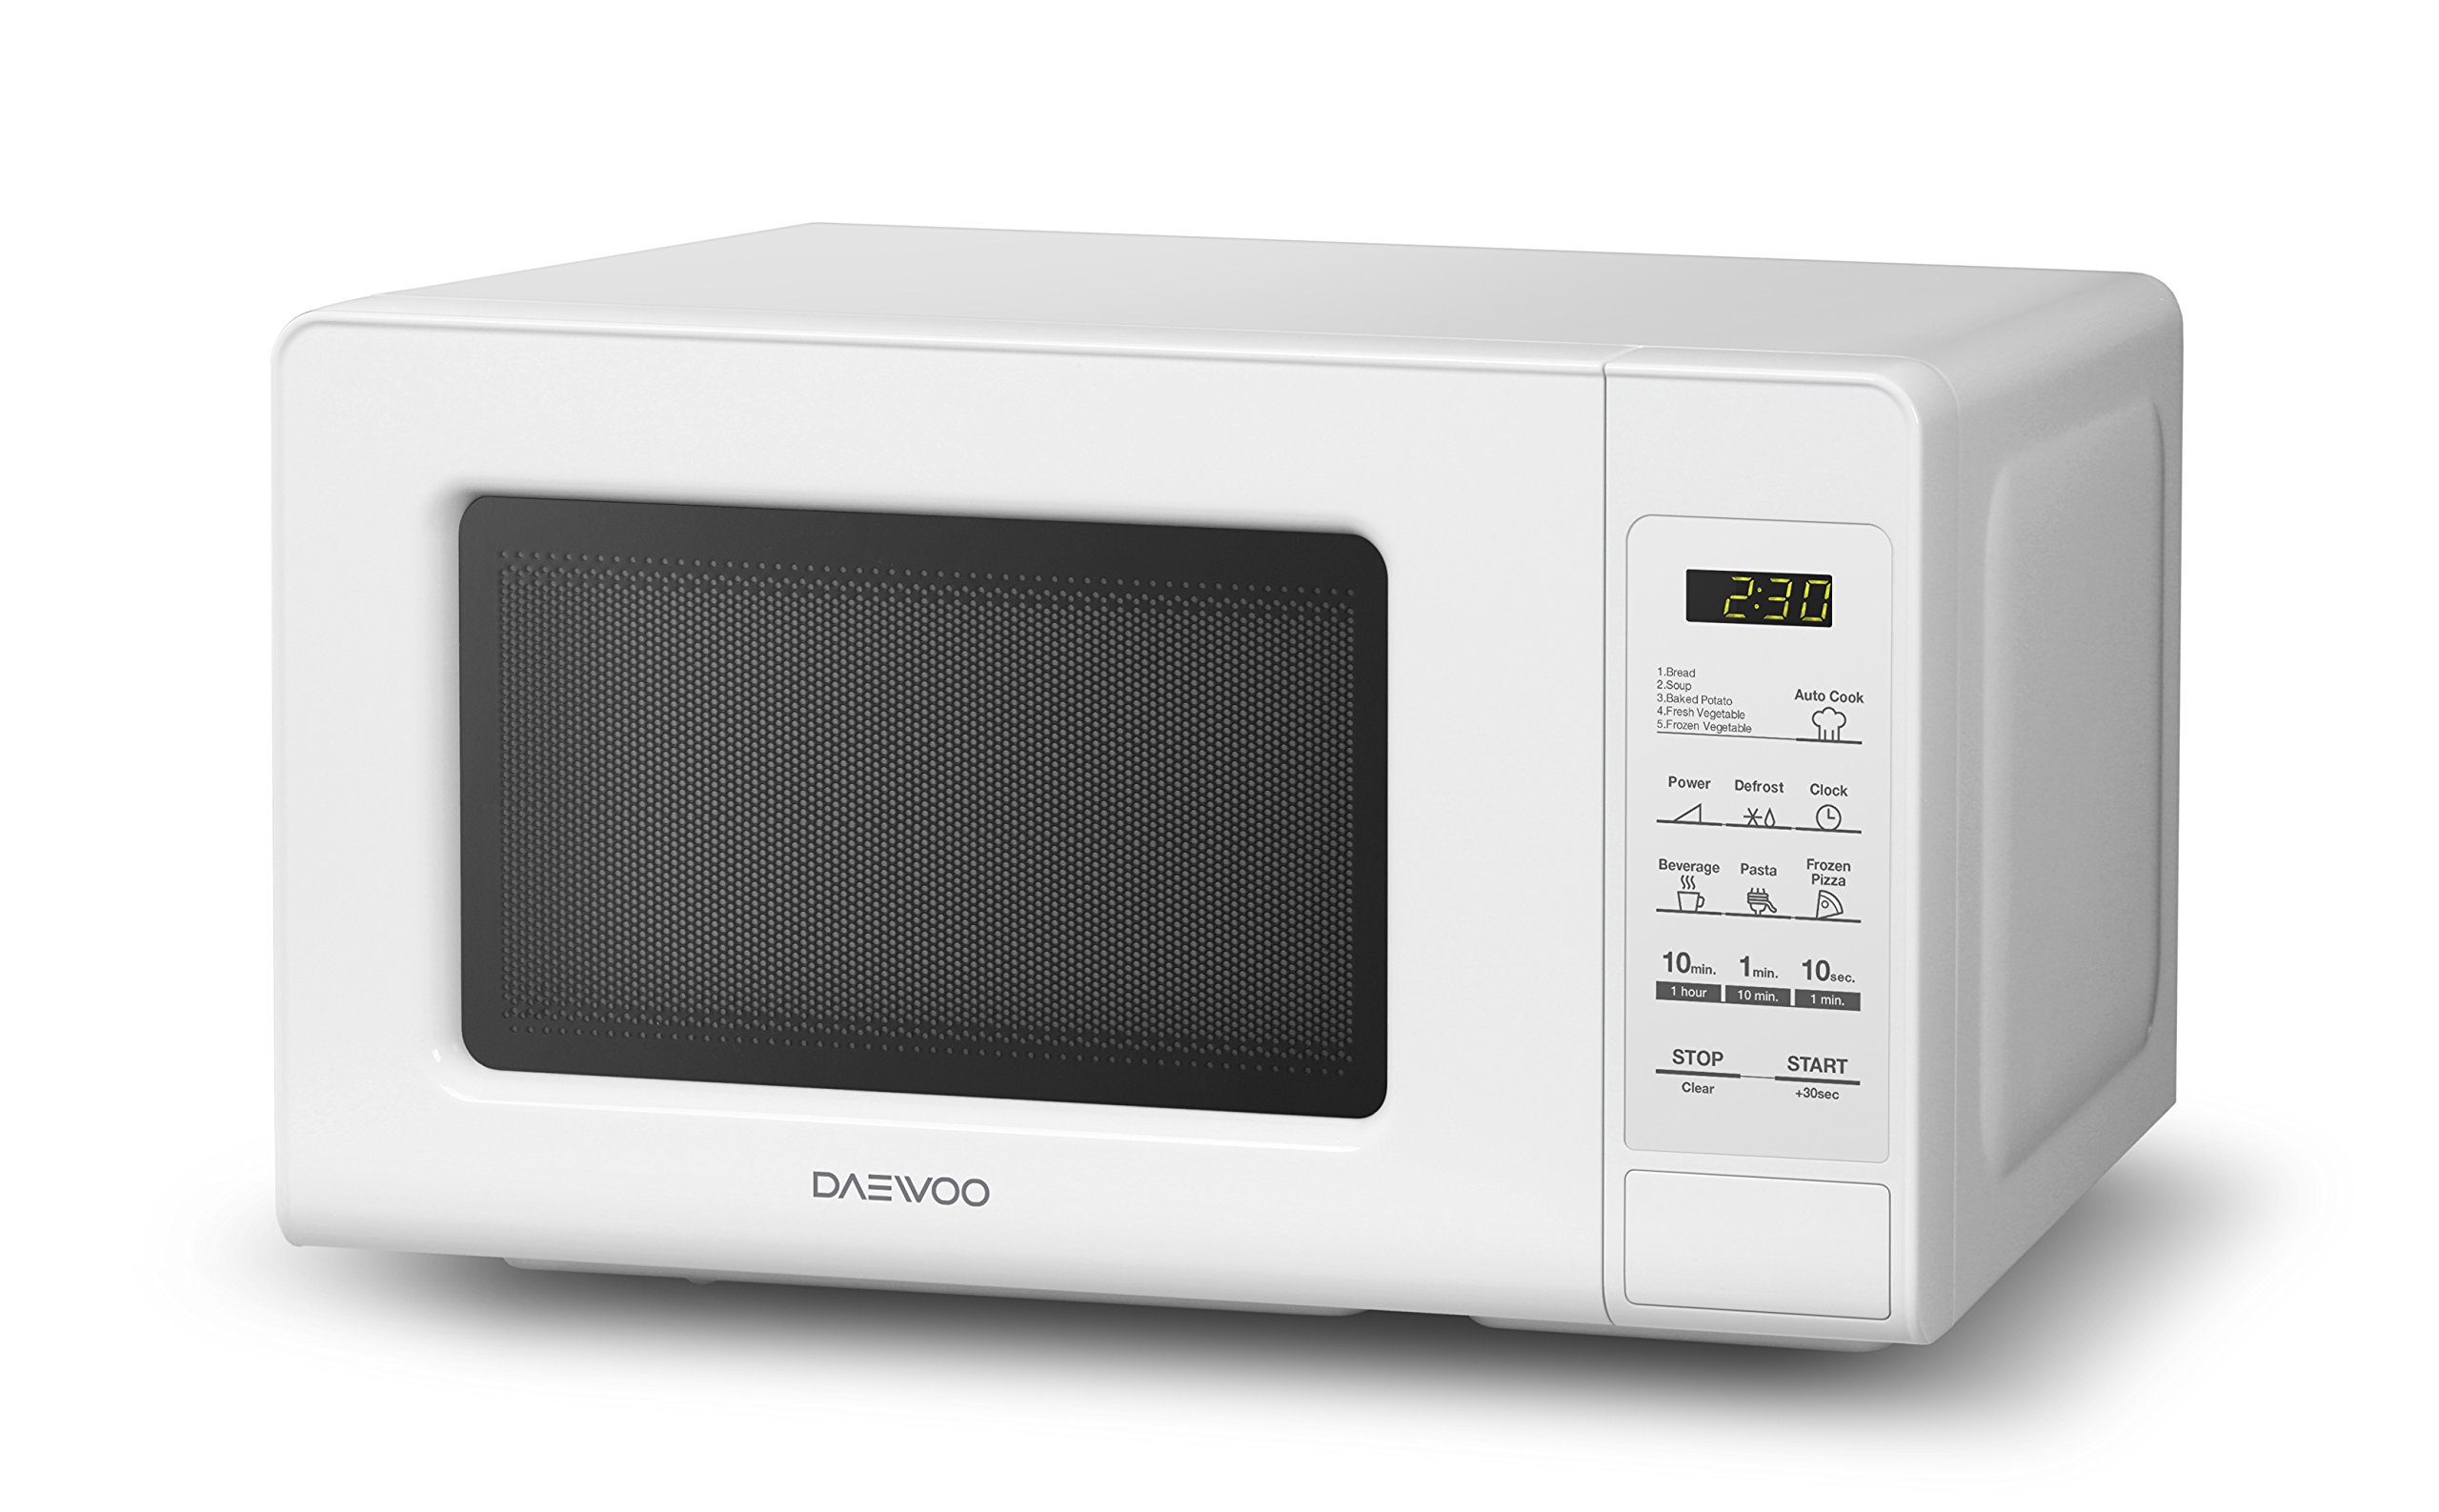
Figure 2.1: Front view of the Daewoo KOR-760EW Countertop Microwave Oven. This image shows the control panel, door handle, and the overall compact design of the appliance.
3. Setup and Installation
3.1 Unpacking
Carefully remove the microwave oven and all packing materials from the carton. Check the oven for any damage, such as dents or a misaligned door. Do not operate the oven if it is damaged. Retain the carton and packing materials for future use or dispose of them responsibly.
3.2 Placement
- Place the microwave oven on a flat, stable surface that can support its weight and the heaviest food item likely to be cooked in it.
- Ensure there is adequate ventilation. Allow at least 4 inches (10 cm) of space on the top, back, and sides of the oven for proper airflow. Do not block any ventilation openings.
- Keep the microwave away from heat sources, steam, or splashing liquids.
- Do not place the microwave in a cabinet or enclosed space.
3.3 Electrical Connection
Plug the power cord into a standard 120V, 60Hz AC outlet. Ensure the outlet is properly grounded. Do not use extension cords or adapters.
3.4 Turntable Installation
The microwave includes a glass turntable plate and a turntable ring. Place the turntable ring inside the oven cavity, ensuring it sits flat. Then, place the glass turntable plate securely on top of the turntable ring, ensuring it sits properly on the center hub. The turntable must be correctly installed for the microwave to operate. (Refer to your physical manual for a diagram of turntable assembly.)
4. Operating Instructions
4.1 Control Panel Overview
The control panel features a digital display and various buttons for setting cooking time, power level, and special functions. Common buttons include "Time Cook", "Power Level", "Auto Defrost", "Start", and "Stop/Cancel". (Refer to your physical manual for a detailed diagram of the control panel and button functions.)
4.2 Basic Microwave Cooking (Time Cook)
- Place food in a microwave-safe container on the turntable.
- Close the oven door securely.
- Press the "Time Cook" or "Cook Time" button.
- Use the number pads to enter the desired cooking time.
- Press the "Start" button to begin cooking.
4.3 Setting Power Levels
Your microwave offers 10 power levels. The default power level is usually 100% (P10). To adjust:
- Enter the desired cooking time (as in 4.2).
- Press the "Power Level" button.
- Use the number pads to select a power level from P1 (lowest) to P10 (highest).
- Press "Start".
4.4 Auto Defrost Menu
The auto defrost function allows for quick and efficient thawing of various foods.
- Place the frozen food in the oven.
- Press the "Auto Defrost" button.
- Select the food type or weight according to the display prompts (e.g., Meat, Poultry, Fish).
- Press "Start". The oven will automatically calculate the defrosting time.
4.5 Child-Safety Lock System
To prevent unintended operation by children, activate the child-safety lock:
- To Activate: Press and hold the "Stop/Cancel" button for approximately 3 seconds until a "LOCK" indicator appears on the display.
- To Deactivate: Press and hold the "Stop/Cancel" button again for approximately 3 seconds until the "LOCK" indicator disappears.
5. Care and Maintenance
5.1 Cleaning the Oven Interior
- Always unplug the microwave before cleaning.
- Wipe the interior cavity with a damp cloth after each use to prevent food splatters from drying and hardening.
- For stubborn stains, place a bowl of water with lemon slices inside and microwave on high for 2-3 minutes. The steam will loosen the stains, making them easier to wipe away.
- Do not use abrasive cleaners, steel wool, or harsh chemicals.
5.2 Cleaning the Oven Exterior
Wipe the exterior surfaces with a soft, damp cloth. Dry thoroughly. Avoid getting water into the ventilation openings.
5.3 Turntable Care
The glass turntable and turntable ring can be removed for cleaning. Wash them in warm, soapy water or in the dishwasher. Ensure they are completely dry before placing them back in the oven.
6. Troubleshooting Guide
Before contacting customer service, please refer to the following table for common issues and their solutions:
| Problem | Possible Cause | Solution |
|---|---|---|
| Oven does not start. | Power cord not plugged in. Door not closed properly. Child lock activated. | Ensure plug is securely in outlet. Close door firmly. Deactivate child lock (see section 4.5). |
| Food not heating. | Incorrect cooking time/power level. Microwave-safe cookware not used. | Adjust cooking time and power level. Use only microwave-safe dishes. |
| Turntable not rotating. | Turntable not properly seated. Debris under turntable. | Ensure turntable and ring are correctly positioned. Clean under the turntable. |
| Unusual noise during operation. | Turntable or food container interfering with oven walls. | Reposition food container or turntable. Ensure proper clearance. |
7. Product Specifications
| Feature | Detail |
|---|---|
| Brand | Daewoo |
| Model Name | KOR-760EW |
| Capacity | 0.7 Cubic Feet |
| Color | White |
| Power Output | 700W |
| Power Levels | 10 |
| Installation Type | Countertop |
| Special Feature | Turntable, Concave Reflex System (C.R.S.), Auto Defrost, Child-Safety Lock |
| Item Weight | 19.2 Pounds |
| Human Interface Input | Buttons |
| UPC | 798753251908, 084157760338 |
8. Warranty and Customer Support
8.1 Warranty Information
This Daewoo KOR-760EW Countertop Microwave Oven comes with a 1-year manufacturer warranty from the date of purchase. This warranty covers defects in materials and workmanship under normal household use. It does not cover damage resulting from misuse, accident, alteration, neglect, or unauthorized repair.
Please retain your proof of purchase for warranty claims.
8.2 Customer Support
For technical assistance, warranty service, or general inquiries, please contact Daewoo customer support. Refer to the contact information provided in your product packaging or visit the official Daewoo website for the most up-to-date support details.
Note: Do not attempt to repair the microwave oven yourself. Unauthorized repairs can be dangerous and will void the warranty.


