
Introduction
The Husky 500-Lumen Dual Beam Unbreakable Aluminum Flashlight (Model 16FL1111) is engineered for durability and versatile illumination. Featuring high-power LED and COB (Chip-on-Board) technology, it provides both focused spot lighting and wide-range flood lighting. This flashlight is designed to withstand drops from up to 30 feet and is waterproof to 1 meter, making it suitable for demanding environments. It offers three distinct operating modes: spot, flood, and a combination of both. An Energizer Alkaline battery is included, providing up to 500 lumens of bright light.

Figure 1: The Husky 500-Lumen Dual Beam Unbreakable Aluminum Flashlight.
Safety Information
- Battery Safety: Always insert batteries with correct polarity (+ and -). Do not mix old and new batteries, or different types of batteries. Remove batteries if the flashlight will not be used for an extended period to prevent leakage. Dispose of used batteries responsibly.
- Eye Protection: Do not shine the flashlight directly into eyes, as the high-intensity light can cause temporary vision impairment or damage.
- Heat Warning: The flashlight head may become warm during prolonged use. Handle with care.
- Waterproof Rating: While waterproof to 1 meter, ensure the battery cap is securely tightened before exposing to water. This rating does not imply suitability for diving or prolonged submersion.
- Children: Keep out of reach of children. This is not a toy.
Package Contents
Verify that all items are present in the package:
- Husky 500-Lumen Dual Beam Unbreakable Aluminum Flashlight (Model 16FL1111)
- Energizer Alkaline Batteries (4 AA batteries required, included)
Setup
Battery Installation
- Unscrew Tail Cap: Locate the tail cap of the flashlight (the end with the power button). Rotate the tail cap counter-clockwise until it detaches from the flashlight body.
- Insert Batteries: Insert four (4) AA Energizer Alkaline batteries into the battery compartment. Ensure the positive (+) and negative (-) ends of the batteries align with the polarity indicators inside the compartment.
- Secure Tail Cap: Carefully screw the tail cap back onto the flashlight body by rotating it clockwise. Tighten firmly to ensure a secure connection and maintain the waterproof seal.

Figure 2: The tail cap with the power button, where batteries are inserted.
Operating Instructions
The Husky 500-Lumen Flashlight features a single power button located on the tail cap to control power and switch between lighting modes.
Power On/Off
- To turn the flashlight ON, press the power button once.
- To turn the flashlight OFF, press and hold the power button for approximately 2 seconds from any mode.
Changing Lighting Modes
Once the flashlight is on, short press the power button repeatedly to cycle through the available lighting modes:
- Spot Beam: Provides a focused, narrow beam for long-distance illumination.
- Flood Beam: Provides a wide, diffused beam for area lighting.
- Dual Beam (Spot + Flood): Combines both beams for maximum illumination and coverage.
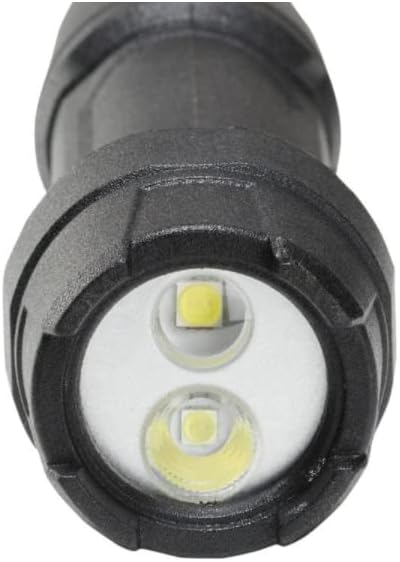
Figure 3: The flashlight head with its dual LED light sources for spot and flood beams.

Figure 4: The flashlight in use, demonstrating its illumination capability on a workbench.
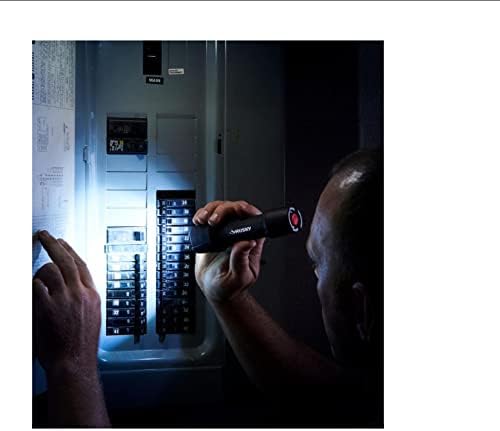
Figure 5: The flashlight providing light for detailed inspection of an electrical panel.
Maintenance
- Cleaning: Wipe the flashlight body with a soft, damp cloth. Do not use abrasive cleaners or solvents.
- Battery Replacement: Replace all four AA batteries when the light dims significantly. Refer to the "Battery Installation" section for proper replacement.
- Storage: Store the flashlight in a cool, dry place away from direct sunlight. If storing for an extended period, remove the batteries to prevent leakage and corrosion.
- O-Rings: Periodically inspect the O-rings on the tail cap for any signs of wear or damage. A thin layer of silicone grease can be applied to maintain the waterproof seal.

Figure 6: The flashlight standing upright on a workbench, ready for use or storage.
Troubleshooting
| Problem | Possible Cause | Solution |
|---|---|---|
| Flashlight does not turn on. |
|
|
| Light is dim or flickers. |
|
|
| Water inside flashlight. |
|
|
Specifications
| Model Number | 16FL1111 |
| Light Source Type | LED |
| Brightness | 500 Lumens |
| Material | Aluminum |
| Power Source | Battery Powered |
| Battery Type | 4 x AA Alkaline (Included) |
| Operating Modes | Spot, Flood, Dual Beam |
| Drop Test Rating | 30 ft. |
| Waterproof Rating | 1 m |
| Product Dimensions | 30.48 x 12.98 x 6.35 cm |
| Item Weight | 408.23 g (0.9 Pounds) |
Warranty and Support
For warranty information or technical support regarding your Husky 500-Lumen Dual Beam Unbreakable Aluminum Flashlight, please refer to the warranty card included with your purchase or visit the official Husky Tools website. Please note that international products may have separate terms and conditions regarding warranty and support.
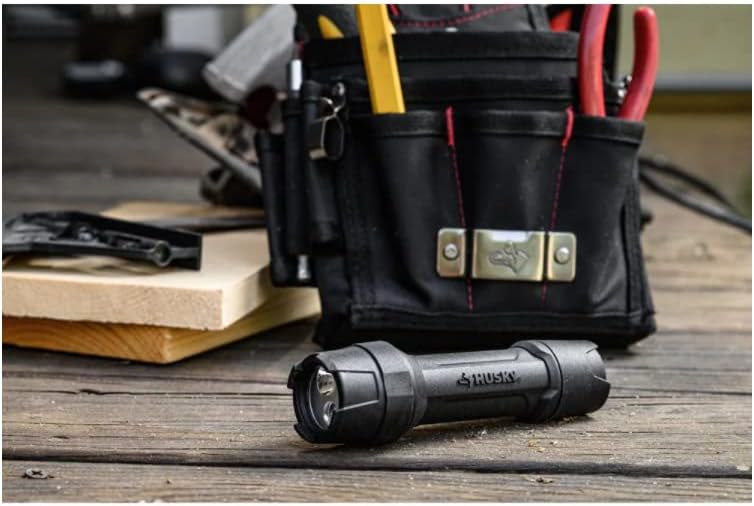
Figure 7: The Husky flashlight positioned near a tool belt, indicating its utility for professionals and DIY enthusiasts.


