1. Introduction
This manual provides essential information for the safe and efficient operation, maintenance, and troubleshooting of your ABAC VENTO B15 Cassieca Coaxial Piston Compressor. Please read this manual thoroughly before operating the compressor to ensure proper use and to prevent injury or damage.
The ABAC VENTO B15 Cassieca is designed for various applications requiring compressed air, offering a compact and portable solution. Its coaxial design ensures direct power transmission for efficiency.
2. Safety Instructions
Always observe the following safety precautions to reduce the risk of injury, electric shock, fire, or damage to the compressor.
- Electrical Safety: Ensure the power supply matches the compressor's voltage (230 Volts). Do not operate in wet conditions.
- Personal Protective Equipment (PPE): Always wear safety glasses or goggles when operating the compressor. Hearing protection is recommended due to the noise level (90 dB).
- Ventilation: Operate the compressor in a well-ventilated area to prevent overheating.
- Pressure Release: Always release air pressure from the tank before performing any maintenance or moving the unit.
- Stability: Place the compressor on a stable, level surface to prevent tipping.
- Children and Bystanders: Keep children and bystanders away from the operating compressor.
3. Product Components
Familiarize yourself with the main parts of your ABAC VENTO B15 Cassieca compressor:
- Air Tank: Stores compressed air (Capacity: 24 litres).
- Motor/Pump Assembly: Generates compressed air.
- Pressure Switch: Automatically turns the motor on/off to maintain tank pressure.
- Pressure Gauges: Displays tank pressure and regulated outlet pressure.
- Regulator: Adjusts the output air pressure.
- Safety Valve: Releases pressure if it exceeds the maximum safe limit.
- Drain Valve: Located at the bottom of the tank for draining condensation.
- Air Outlet: Connection point for air tools.
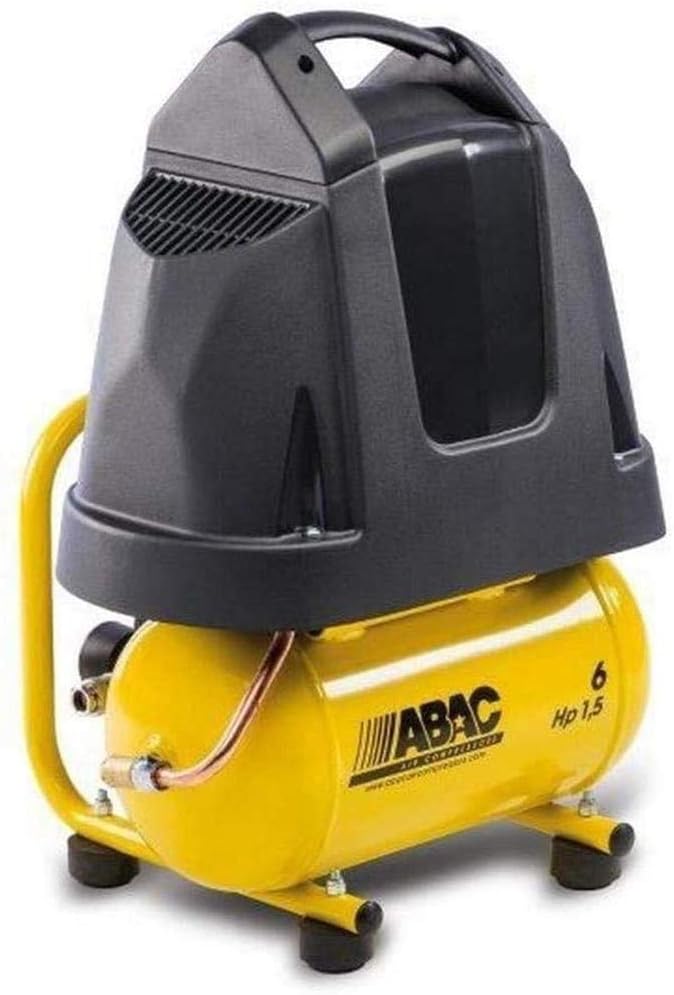
Figure 3.1: Front view of the ABAC VENTO B15 Cassieca compressor, showing the yellow air tank, black motor housing, and pressure gauges.

Figure 3.2: Side view of the compressor, highlighting the pressure gauges and regulator controls.
4. Setup
- Unpacking: Carefully remove the compressor from its packaging. Inspect for any shipping damage.
- Placement: Position the compressor on a firm, level surface in a clean, well-ventilated area. Ensure there is adequate space around the unit for air circulation.
- Electrical Connection: Before plugging in, ensure the power switch is in the "OFF" position. Connect the power cord to a grounded 230 Volt electrical outlet.
- Initial Start-up (Break-in Period):
- Open the drain valve (located at the bottom of the tank) to allow air to escape freely.
- Turn the compressor "ON".
- Allow the compressor to run for 15-20 minutes without building pressure. This helps to properly seat the piston rings.
- Turn the compressor "OFF" and close the drain valve.
5. Operating Instructions
- Pre-Operation Check:
- Ensure the drain valve is closed.
- Check all connections for tightness.
- Starting the Compressor:
- Plug the compressor into a suitable electrical outlet.
- Flip the power switch to the "ON" position. The compressor will begin to build pressure.
- The motor will automatically shut off once the maximum tank pressure is reached.
- Adjusting Output Pressure:
- Connect your air tool to the air outlet.
- Use the pressure regulator knob to adjust the desired working pressure, observing the output pressure gauge.
- Stopping the Compressor:
- Flip the power switch to the "OFF" position.
- Disconnect the air tool.
- Open the drain valve to release all air pressure from the tank. This is crucial for safety and to prevent condensation buildup.
6. Maintenance
Regular maintenance ensures the longevity and optimal performance of your compressor.
Daily Maintenance:
- Drain Condensation: After each use, or daily if used frequently, open the drain valve to remove moisture from the air tank. Failure to do so can lead to tank corrosion and rupture.
Weekly/Monthly Maintenance:
- Clean Air Filter: Inspect and clean the air filter. A clogged filter reduces compressor efficiency. Replace if damaged.
- Inspect for Leaks: Check all hoses, fittings, and connections for air leaks. Tighten or replace components as necessary.
Annual Maintenance:
- Safety Valve Check: Periodically pull the ring on the safety valve to ensure it operates freely.
Important: Always unplug the compressor and release all air pressure before performing any maintenance.
7. Troubleshooting
| Problem | Possible Cause | Solution |
|---|---|---|
| Compressor does not start. | No power; tripped circuit breaker; faulty switch. | Check power cord and outlet; reset circuit breaker; contact service. |
| Compressor runs continuously or cycles too frequently. | Air leak; faulty pressure switch. | Check for leaks and tighten connections; contact service for pressure switch replacement. |
| Low air pressure at outlet. | Regulator set too low; clogged air filter; air leak. | Adjust regulator; clean/replace air filter; check for leaks. |
| Excessive noise or vibration. | Loose components; worn parts. | Inspect and tighten all fasteners; contact service for inspection of internal components. |
| Moisture in air line. | Tank not drained regularly. | Drain tank daily; consider an in-line air dryer for sensitive applications. |
8. Specifications
| Feature | Detail |
|---|---|
| Model Number | 1129100008 |
| Brand | ABAC |
| Type | Coaxial Piston Compressor |
| Voltage | 230 Volts |
| Noise Level | 90 dB |
| Item Weight | 1.75 Kilograms |
| Capacity | 24 litres |
| Max Pressure | 8 bar |
| First Available Date | 19 Aug. 2023 |
9. Warranty and Support
For warranty information and technical support, please refer to the documentation included with your purchase or visit the official ABAC website. Keep your proof of purchase for warranty claims.
For service or parts, contact an authorized ABAC service center. Do not attempt to repair the compressor yourself, as this may void the warranty and pose safety risks.


