
Introduction
Thank you for choosing the Golden Lighting Hines Mini Pendant. This fixture combines transitional style with modern finishes, featuring a black finish and seeded glass shade. Designed for indoor use, this manual provides detailed instructions for safe installation, operation, and maintenance of your new pendant light.
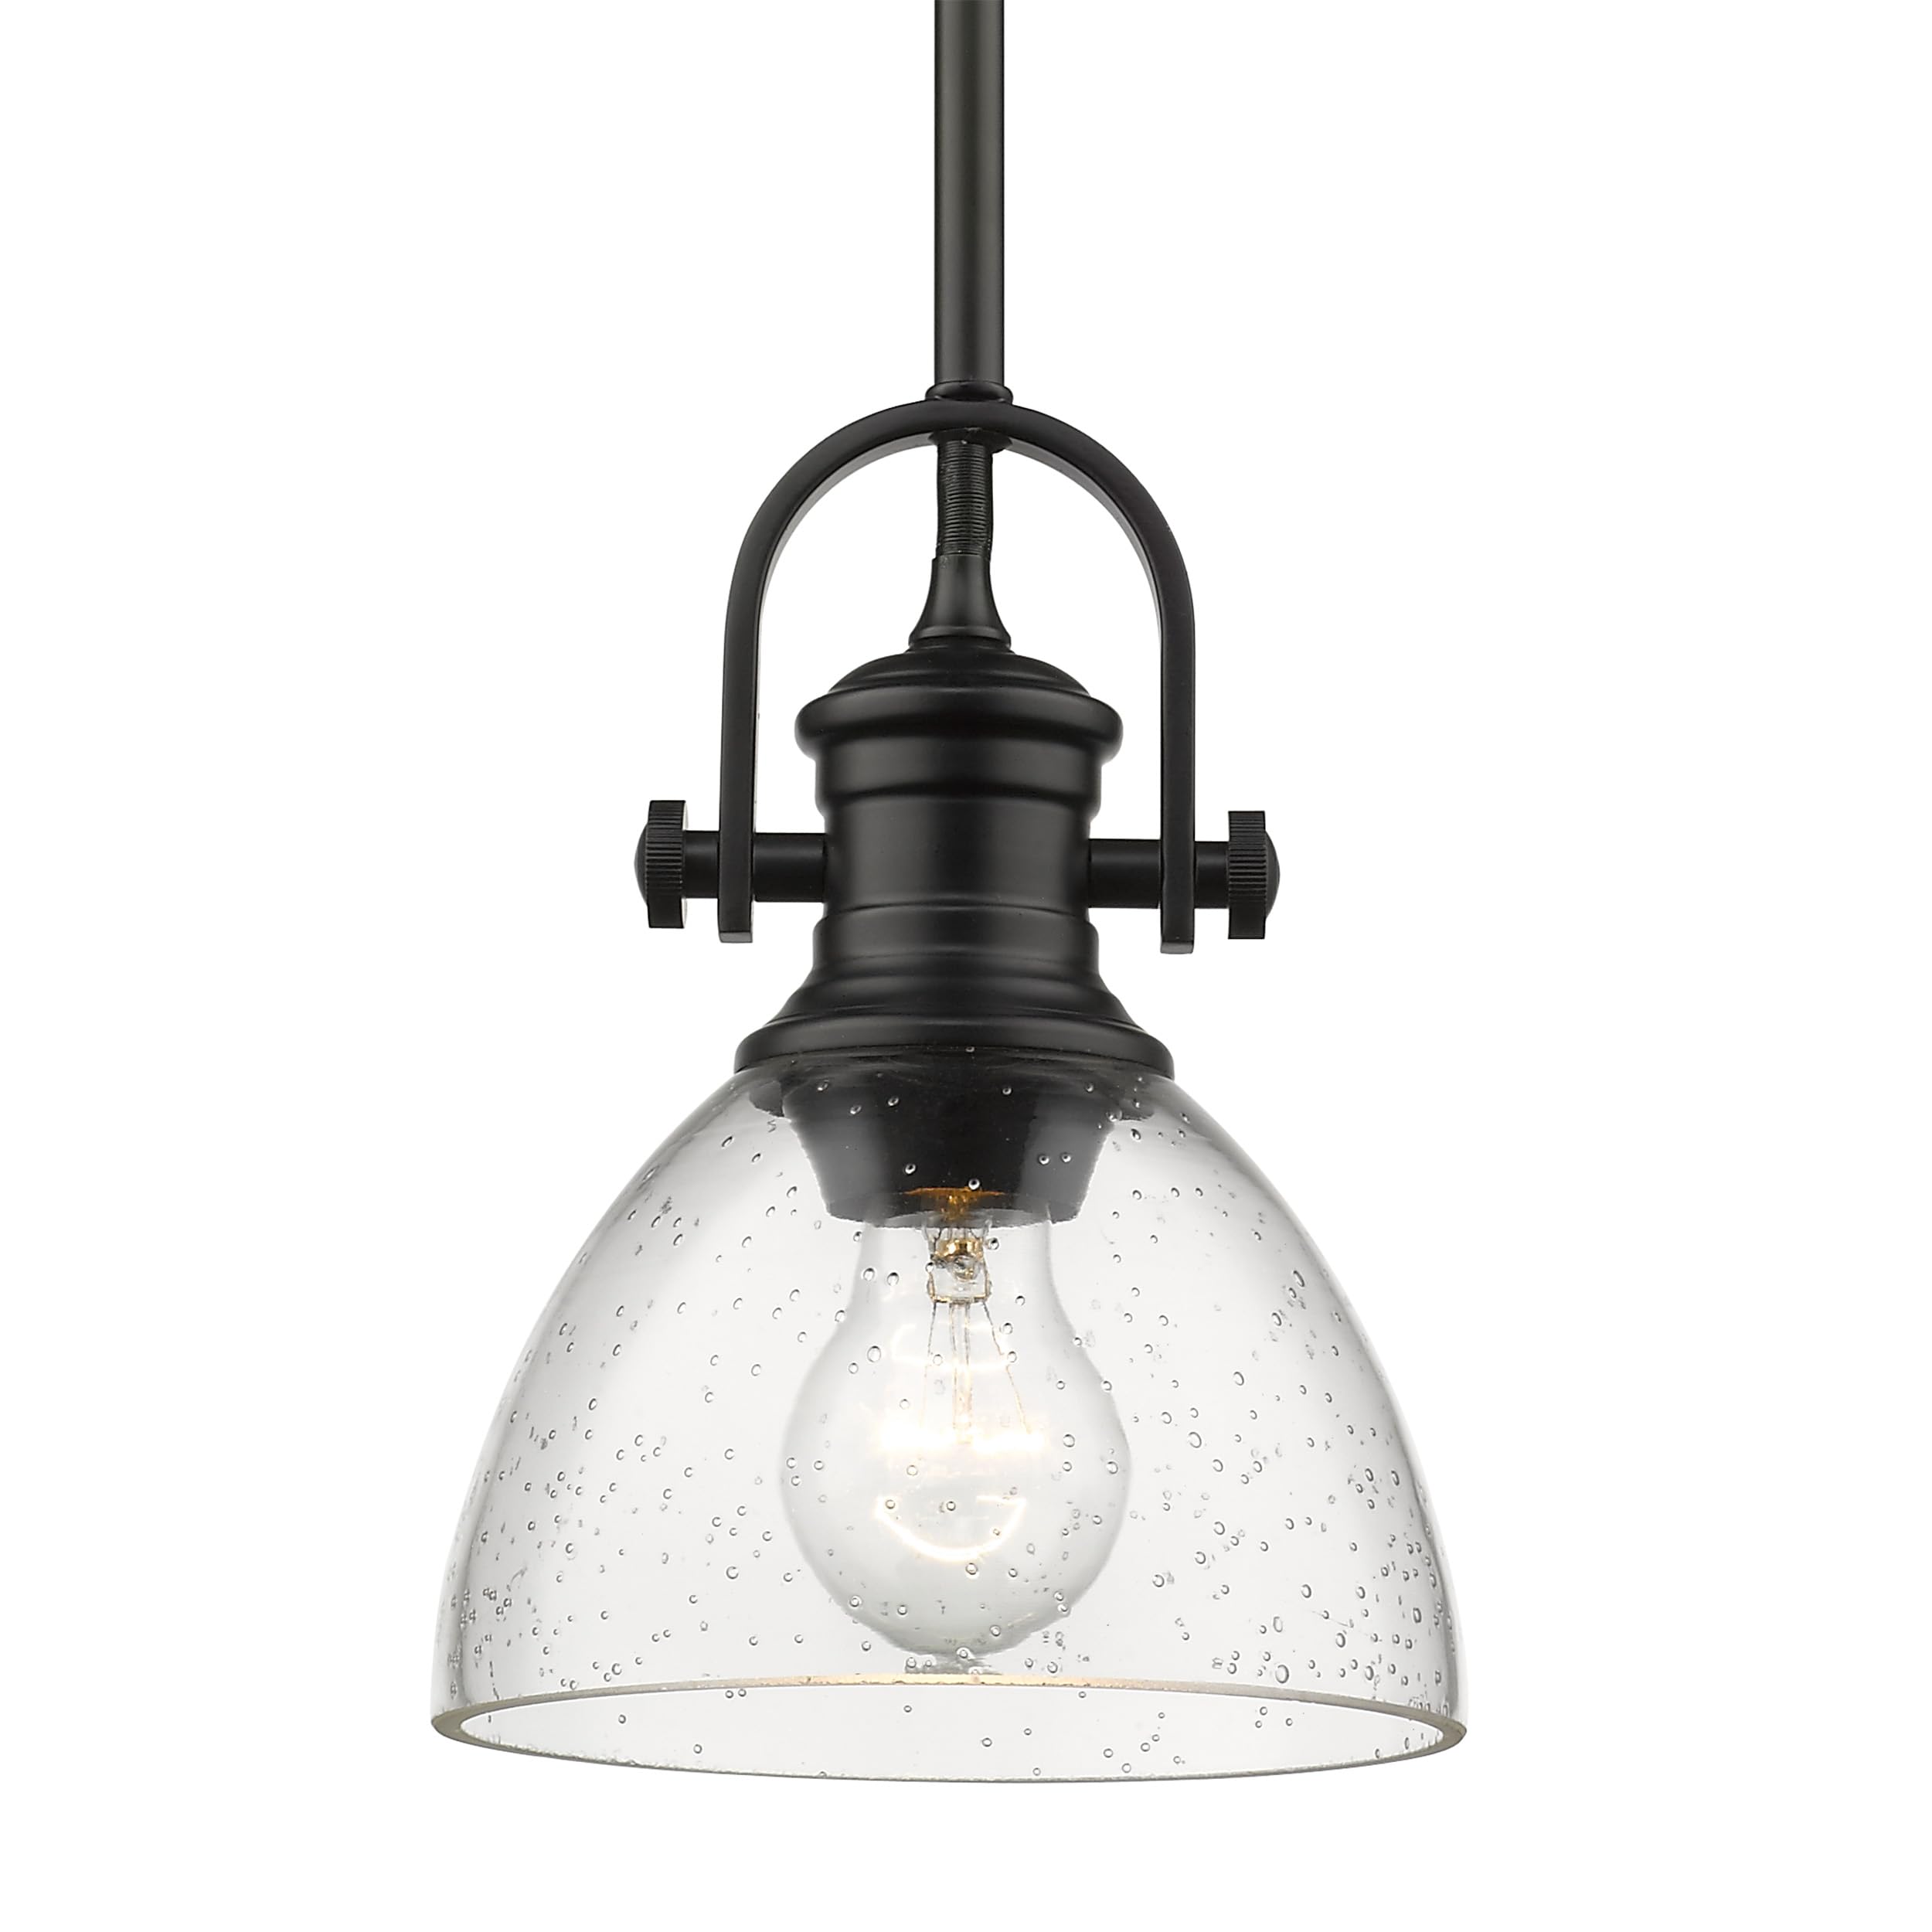
Image: Golden Lighting Hines Mini Pendant (6.88" Black) installed above a kitchen island.
Important Safety Information
Please read and understand all instructions before beginning installation. Failure to do so may result in electric shock, fire, or other injuries that can be fatal or cause serious damage. Installation should be performed by a qualified electrician or a person with sufficient electrical knowledge.
- WARNING: To avoid electric shock, disconnect power at the circuit breaker or fuse box before installation.
- Ensure all electrical connections comply with local codes and ordinances, as well as the National Electric Code (NEC).
- Use only the specified bulb type and wattage to prevent overheating.
- Do not install this fixture in wet or damp locations. It is rated for dry locations only.
- Handle glass components with care to prevent breakage.
Setup and Installation
Package Contents
Verify that all components are present before beginning installation:
- Mounting Plate
- Canopy
- Downrods (various lengths)
- Fixture Body with Wire
- Glass Shade
- Socket Ring
- Hardware Pack (screws, wire nuts)
Tools Required
- Phillips Head Screwdriver
- Flathead Screwdriver
- Wire Strippers
- Pliers
- Electrical Tape
- Ladder
Installation Steps
- Turn off Power: Locate the circuit breaker or fuse box and turn off the power to the junction box where the fixture will be installed.
- Prepare Mounting Plate: Attach the mounting plate to the junction box using the provided screws. Ensure it is securely fastened.
- Assemble Downrods: Determine the desired hanging height. Thread the fixture wire through the chosen downrods and connect them to the fixture body and canopy.
- Make Electrical Connections:
- Connect the fixture's black wire to the house's black (hot) wire using a wire nut.
- Connect the fixture's white wire to the house's white (neutral) wire using a wire nut.
- Connect the fixture's ground wire to the house's ground wire (or ground screw on the mounting plate) using a wire nut.
- Ensure all connections are secure and wrap them with electrical tape if necessary.
- Mount Canopy: Carefully push the wired canopy up to the ceiling, aligning the mounting screws on the mounting plate with the holes in the canopy. Secure the canopy with the decorative nuts or screws.
- Install Glass Shade: Place the glass shade over the socket and secure it with the socket ring. Do not overtighten.
- Install Bulb: Screw in a Type A incandescent bulb (E26 base, maximum 100 watts) into the socket.
- Restore Power: Turn the power back on at the circuit breaker.

Image: Full view of the Golden Lighting Hines Mini Pendant, showing the downrod and fixture body.

Image: Close-up of the pendant's upper hardware, including the connection point to the downrod.

Image: Detailed view of the seeded glass shade, highlighting its texture.
Operating Instructions
The Golden Lighting Hines Mini Pendant operates via a standard wall switch connected to the circuit. Ensure the correct bulb is installed for optimal performance.
- Turning On/Off: Use the wall switch to control the light fixture.
- Bulb Type: This fixture requires one (1) Type A incandescent bulb with an E26 (medium) base. Do not exceed 100 watts.
- Bulb Replacement:
- Turn off power at the circuit breaker before replacing the bulb.
- Allow the old bulb to cool completely before touching.
- Unscrew the old bulb and screw in the new bulb.
- Restore power at the circuit breaker.
Maintenance
Regular cleaning and proper care will help maintain the appearance and functionality of your pendant light.
- Cleaning the Fixture:
- Always disconnect power before cleaning.
- Wipe the metal finish with a soft, dry cloth. Avoid abrasive cleaners or polishes, as they may damage the finish.
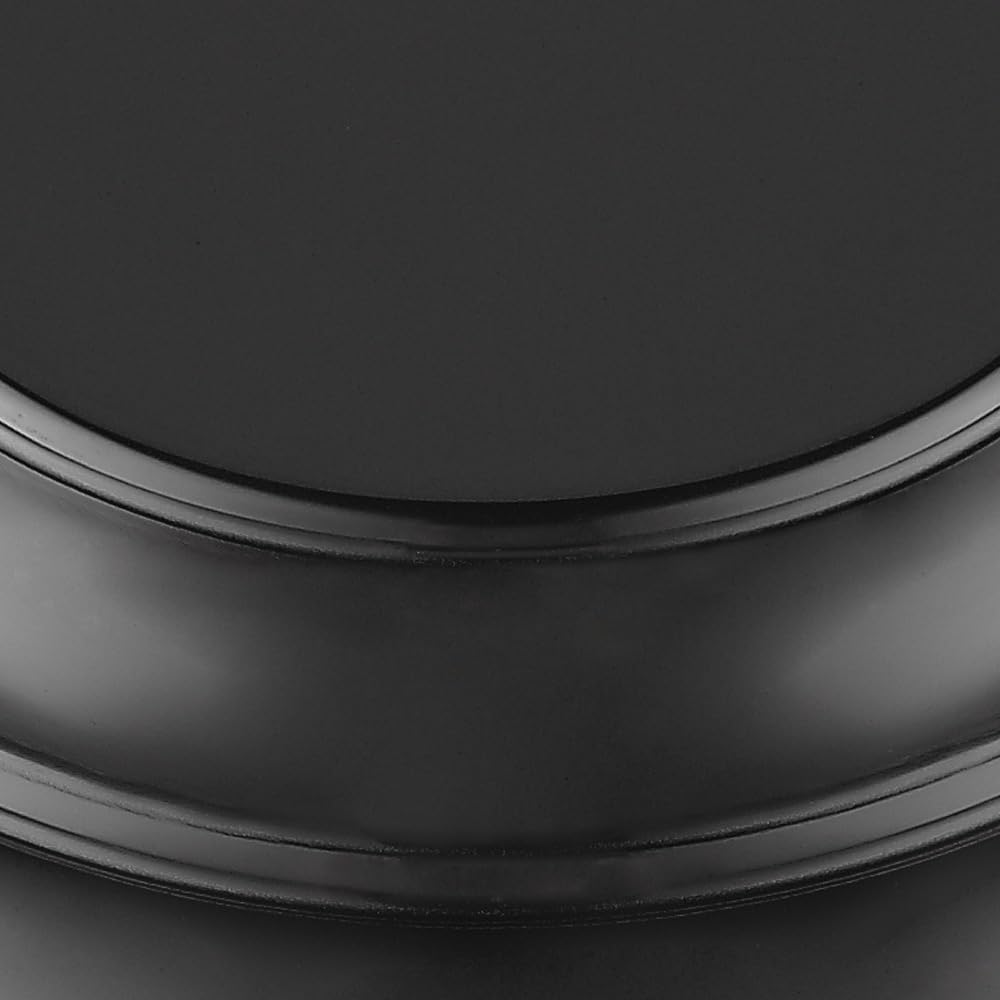
Image: Detailed view of the matte black finish on the pendant's metal components.
- Cleaning the Glass Shade:
- Remove the glass shade carefully.
- Wash with mild soap and water, then rinse thoroughly.
- Dry completely with a soft, lint-free cloth before reattaching.
Troubleshooting
If you experience issues with your pendant light, refer to the following common problems and solutions:
| Problem | Possible Cause | Solution |
|---|---|---|
| Light does not turn on. |
|
|
| Light flickers. |
|
|
| Glass shade is loose. |
|
|
Specifications
| Feature | Detail |
|---|---|
| Brand | Golden Lighting |
| Model Name | Hines |
| Model Number | 3118-M1L BLK-SD |
| Color | Black |
| Material | Alloy Steel, Glass |
| Style | Contemporary, Transitional |
| Fixture Type | Pendant |
| Product Dimensions | 6.88"L x 3.31"W x 9.13"H |
| Indoor/Outdoor Usage | Indoor (Dry Location) |
| Power Source | Hardwired |
| Installation Type | Semi Flush Mount (Pendant) |
| Light Source Type | Incandescent, Type A |
| Finish Type | Matte Black |
| Shade Material | Glass (Seeded Glass) |
| Number of Light Sources | 1 |
| Voltage | 120 Volts |
| Wattage | 100 watts (Max) |
| Bulb Base | E26 |
| Brightness | 1600 lumen (Max) |
| Assembly Required | Yes |
| Certifications | UL, cUL |
| Item Weight | 0.01 Ounces |
| UPC | 844375045705 |
Warranty Information
Golden Lighting provides the following warranty for this product:
- Structural Defects: 1-year warranty from the date of purchase.
- Finish: 6-month warranty from the date of purchase.
This warranty covers defects in materials and workmanship under normal use. It does not cover damage resulting from improper installation, accident, misuse, abuse, or unauthorized modifications. For warranty claims, please retain your proof of purchase.
Customer Support
If you have any questions, require assistance with installation, or need to report a missing part, please contact Golden Lighting customer service:
- Website: www.goldenlighting.com
- Email: Refer to the official website for contact email.
- Phone: Refer to the official website for customer service phone number.
Please have your model number (3118-M1L BLK-SD) and proof of purchase ready when contacting support.

