Introduction
This manual provides detailed instructions for the installation, operation, and maintenance of your Schulte Integral Shower Cabin, model 4060991009877. Please read these instructions carefully before beginning installation or use to ensure proper function and safety. Keep this manual for future reference.

Figure 1: Schulte Integral Shower Cabin, 120x80x204 cm, left opening.
Safety Information
- Always ensure the shower cabin is installed on a level and stable surface.
- Handle glass panels with extreme care to prevent breakage and injury.
- Ensure all water connections are properly sealed to prevent leaks.
- Do not use abrasive cleaners on glass or aluminum profiles, as this can damage the surfaces.
- For installation, it is recommended to have at least two people, especially when handling large panels.
Setup and Installation
The Schulte Integral Shower Cabin is designed for straightforward assembly with a detailed instruction manual provided. It features a clip-on system and does not require silicone for assembly.

Made in Germany

Easy to Assemble
Components Included:
- 1 Shower cabin
- 1 Shower tray with integrated apron
- 1 Drainage system
- 2 Wall panels
- 1 Glass shower column with hand shower, mechanical mixer, and glass shelf
- 1 Mounting kit and accessories
- Assembly instructions
Installation Steps:
- Preparation: Ensure the installation area is clean, level, and has appropriate water supply and drainage connections.
- Shower Tray Placement: Position the shower tray. Ensure it is perfectly level. If the floor is uneven, shims may be required under the tray feet.
- Wall Panel Assembly: Attach the wall panels according to the provided diagram. The clip-on system simplifies this process.
- Glass Panel Installation: Carefully install the fixed glass panels and the sliding door. Refer to the detailed diagrams for correct orientation (left opening).
- Shower Column Installation: Mount the glass shower column, connecting the hand shower, mechanical mixer, and securing the glass shelf.
- Drainage System: Connect the drainage system to the shower tray and your household plumbing. Ensure all connections are watertight.
- Final Checks: Verify all components are securely fastened and that the sliding door operates smoothly. Perform a water test to check for leaks.

Figure 2: Interior view showing shower column and glass shelf.

Figure 3: Schematic diagram illustrating installation space and door opening direction.
Operating Instructions
Your Schulte Integral Shower Cabin is designed for ease of use and comfort.
- Sliding Door: The shower cabin features a smooth-gliding left-opening sliding door. To open, gently slide the door along its track using the ergonomic chrome handle. To close, slide it back until it meets the fixed panel.
- Hand Shower: The hand shower is adjustable on the shower rail. Adjust its height by pressing the release button on the holder and sliding it up or down.
- Mechanical Mixer: Use the mechanical mixer to control water flow and temperature. Turn the handle to adjust the temperature and pull it out to start the water flow.
- Glass Shelf: The integrated glass shelf provides convenient storage for your shower essentials like shampoo and shower gel.
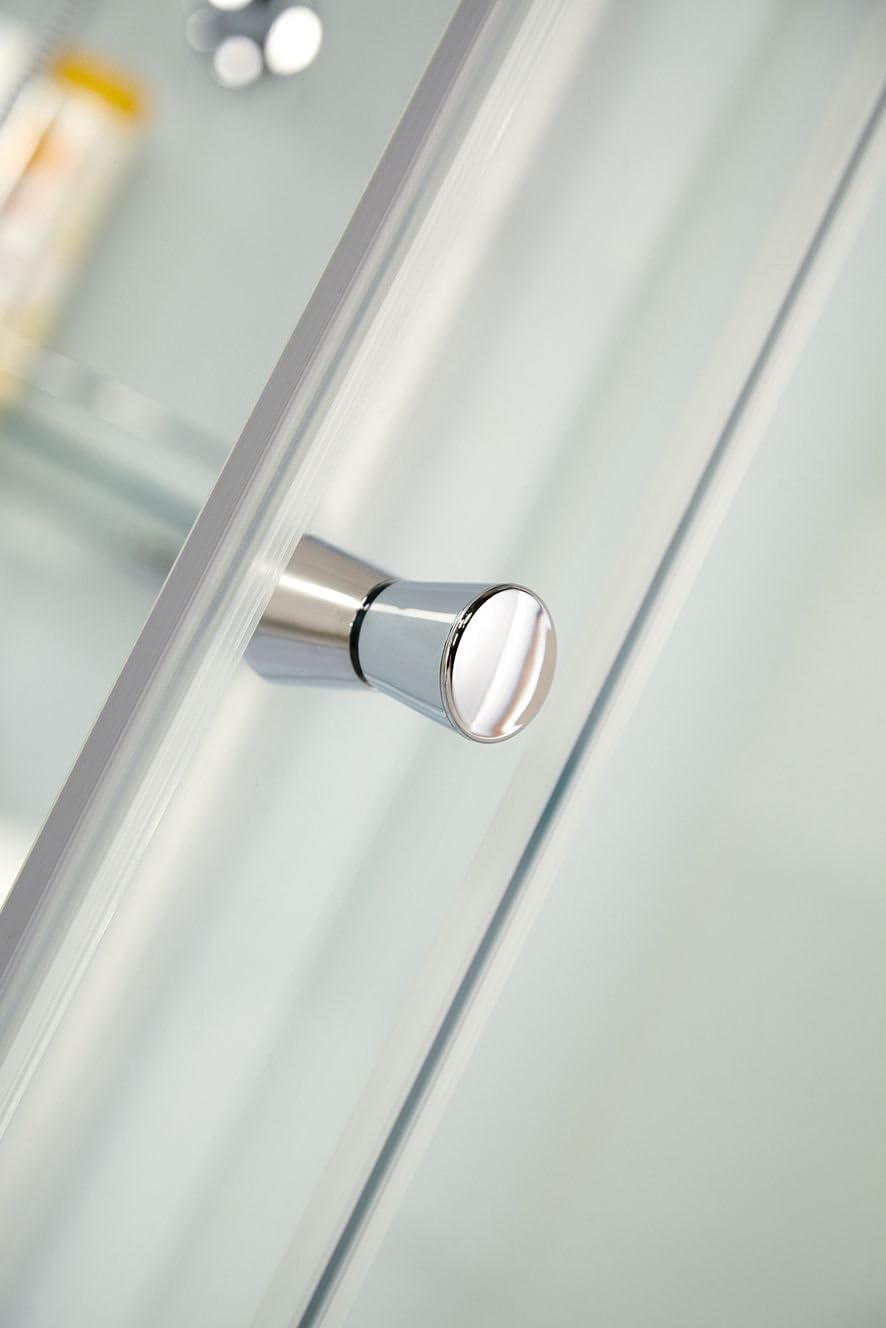
Figure 4: Ergonomic chrome handle for the sliding door.

Figure 5: Adjustable hand shower on its rail.

Figure 6: Integrated glass shelf for shower accessories.
Maintenance
Regular cleaning and maintenance will ensure the longevity and pristine appearance of your shower cabin.
- Daily Cleaning: After each use, rinse the glass panels and profiles with clean water to remove soap residue. Use a squeegee or soft cloth to wipe down the glass to prevent water spots and limescale buildup.
- Weekly Cleaning: For a more thorough clean, use a mild, non-abrasive bathroom cleaner specifically designed for glass and chrome surfaces. Apply with a soft sponge or cloth and rinse thoroughly.
- Avoid Harsh Chemicals: Do not use abrasive cleaners, scouring pads, or strong chemical agents (e.g., bleach, ammonia-based cleaners) as these can damage the glass, aluminum profiles, and other components.
- Drainage: Periodically check the drainage system for any blockages and clear them to ensure efficient water flow.

Figure 7: Schulte products are designed for easy cleaning.
Troubleshooting
| Problem | Possible Cause | Solution |
|---|---|---|
| Difficulty understanding assembly instructions. | Instructions may be concise or in a foreign language. | Carefully review all diagrams and illustrations. If available, search for online video tutorials or contact Schulte customer support for clarification. |
| Shower tray not level or unstable. | Uneven floor surface; tray feet not properly adjusted or insufficient height. | Ensure the floor is perfectly level before installation. Use shims or adjust the tray feet as necessary to achieve a stable, level base. Avoid installing over pipes that prevent proper leveling. |
| Water leakage. | Improperly sealed connections; damaged seals. | Check all water connections and seals for tightness. Replace any damaged seals. Ensure the drainage system is correctly installed. |
| Sliding door does not move smoothly. | Debris in the track; misaligned rollers; damaged track. | Clean the door tracks regularly to remove any dirt or soap residue. Check rollers for proper alignment and ensure they are not damaged. |
Specifications

Figure 8: Dimensions of the Schulte Integral Shower Cabin.
| Feature | Detail |
|---|---|
| Model Number | 4060991009877 |
| Dimensions (L x W x H) | 120 x 80 x 204 cm |
| Item Weight | 108.8 Kilograms |
| Material | Glass (5 mm thickness), Aluminum profiles |
| Color | Water Green (wall panels), Alu-silver (profiles) |
| Door Style | Sliding, Left Opening |
| Number of Panels | 4 |
| Assembly Required | Yes |
| Installation Type | Floor Installation |
| Included Components | Shower cabin, shower tray, drainage system, wall panels, glass shower column with hand shower, mixer, glass shelf, mounting kit, assembly instructions. |
Warranty
The Schulte Integral Shower Cabin comes with a manufacturer's warranty of 5 years. This warranty covers defects in materials and workmanship under normal use and service. Please retain your proof of purchase for any warranty claims.
For detailed terms and conditions of the warranty, please refer to the documentation included with your product or visit the official Schulte website.

Figure 9: Schulte products are built for durability.
Customer Support
Should you encounter any issues during installation or operation, or if you require replacement parts, please contact Schulte customer support. You can find contact information on the official Schulte website or through your retailer.
When contacting support, please have your model number (4060991009877) and proof of purchase readily available.

Figure 10: Schulte official logo.


