
Important Safety Instructions
When using electrical appliances, basic safety precautions should always be followed, including the following:
- Read all instructions before operating the slicer.
- To protect against risk of electrical shock, do not immerse the slicer, cord, or plug in water or other liquid.
- Close supervision is necessary when any appliance is used by or near children.
- Unplug from outlet when not in use, before putting on or taking off parts, and before cleaning.
- Avoid contact with moving parts.
- Do not operate any appliance with a damaged cord or plug, or after the appliance malfunctions or has been dropped or damaged in any manner. Contact customer service for examination, repair, or electrical or mechanical adjustment.
- The use of attachments not recommended or sold by the manufacturer may cause fire, electric shock, or injury.
- Do not use outdoors.
- Do not let cord hang over edge of table or counter or touch hot surfaces.
- Do not place on or near a hot gas or electric burner, or in a heated oven.
- Always attach plug to appliance first, then plug cord into the wall outlet. To disconnect, turn any control to 'off', then remove plug from wall outlet.
- Do not use appliance for other than intended household use.
- The blade is extremely sharp. Handle with extreme care when cleaning.
- Always use the food pusher to guide food. Never use your hand to push food.
- Ensure the food carriage is in the 'lock' position when the slicer is not in use to limit access to the blade.
Components Overview
Familiarize yourself with the various parts of your Chef'sChoice 609A Electric Meat Slicer for safe and efficient operation.

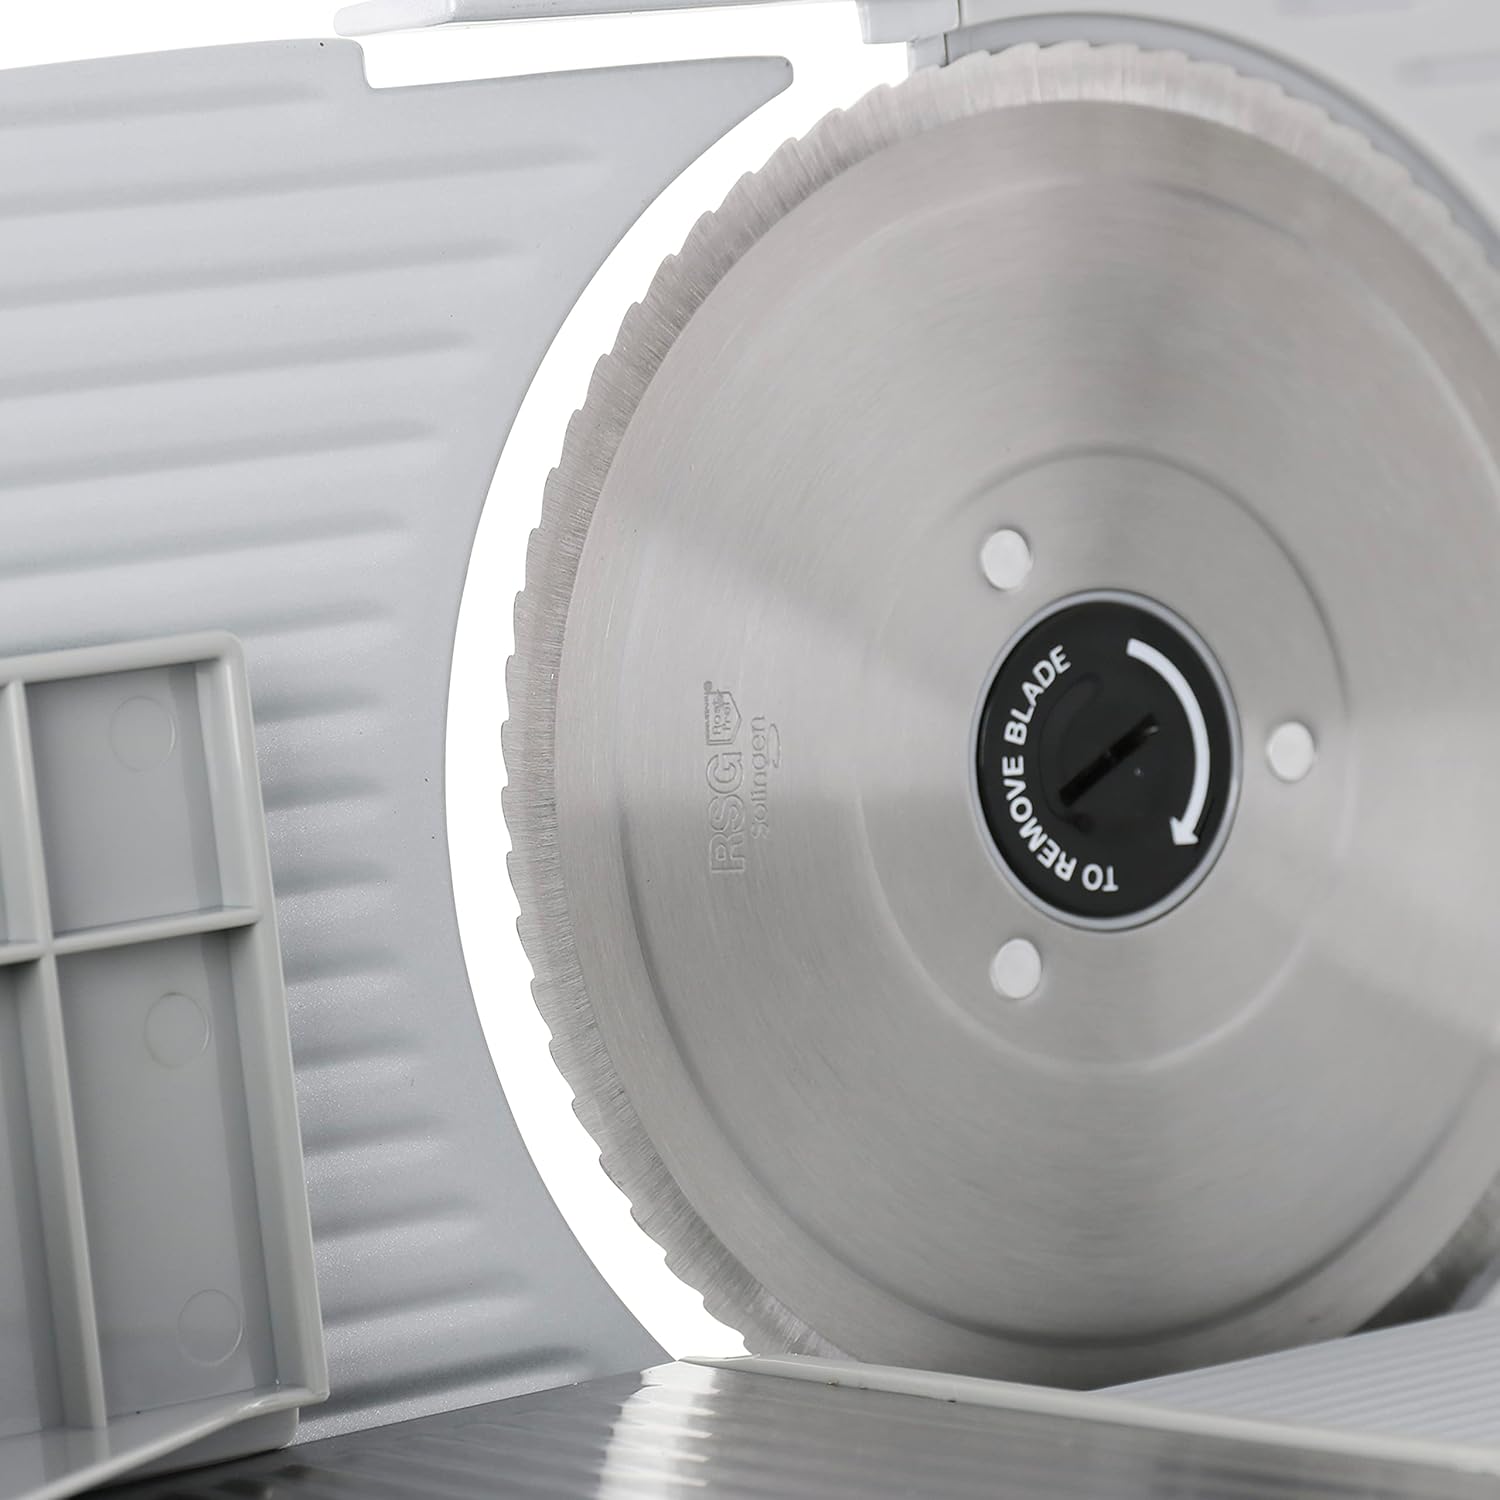
- Stainless Steel Blade: A 7-inch multi-purpose serrated blade designed for various food types.
- Food Carriage: Tilted design for efficient slicing, capable of retracting fully for large items.
- Food Pusher: Used to safely guide food towards the blade.
- Thickness Control Knob: Allows precise adjustment of slice thickness from deli-thin to 3/4-inch.
- Food Deflector: Directs sliced food away from the blade.
- Serving Tray: Included for collecting sliced food.
- Safety Lock: Secures the food carriage in a 'lock' position when not in use.

Setup
- Unpack: Carefully remove all components from the packaging. Retain packaging for future storage or transport.
- Placement: Place the slicer on a clean, dry, and stable surface. Ensure there is adequate space around the unit for safe operation and ventilation. The slicer features rubber suction feet for stability.
- Initial Cleaning: Before first use, clean all removable parts (blade, food carriage, food pusher, food deflector, serving tray) according to the 'Maintenance & Cleaning' section. Wipe the main unit with a damp cloth.
- Assemble: Ensure the blade is securely in place. Attach the food carriage and food pusher. Position the serving tray beneath the blade area.
- Power Connection: Ensure the slicer's power switch is in the 'OFF' position before plugging the cord into a grounded electrical outlet.
Operating Instructions
Follow these steps for safe and effective slicing:
- Prepare Food: For best results, chill meats and cheeses before slicing. This helps maintain their shape and allows for thinner, more uniform slices.
- Adjust Thickness: Turn the thickness control knob to select your desired slice thickness, from deli-thin to approximately 3/4-inch.
- Load Food: Place the food item onto the tilted food carriage. For larger items, the carriage retracts fully to accommodate them.
- Secure Food: Position the food pusher firmly against the food item. Always use the food pusher to protect your hands.
- Power On: Turn the slicer's power switch to the 'ON' position. The blade will begin to rotate.
- Slice: Gently push the food carriage back and forth, guiding the food against the rotating blade with the food pusher. Apply even pressure for consistent slices.
- Collect Slices: Sliced food will fall onto the serving tray.
- Power Off: Once slicing is complete, turn the power switch to 'OFF' and unplug the slicer from the outlet.
- Engage Safety Lock: After use and before cleaning, secure the food carriage in the 'lock' position by pressing the safety button. This limits access to the blade.


Maintenance & Cleaning
Regular cleaning and maintenance ensure the longevity and safe operation of your slicer.
Cleaning Procedure:
- Unplug: Always ensure the slicer is unplugged from the power outlet before cleaning.
- Engage Safety Lock: Secure the food carriage in the 'lock' position.
- Remove Components: The blade, food carriage, food pusher, and food deflector are removable for easy cleaning. Carefully remove these parts. Refer to the blade removal instructions on the blade itself.
- Hand Wash Only: Wash all removable parts by hand using warm, soapy water. Rinse thoroughly and dry immediately to prevent rust. The product care instructions specify 'Hand Wash Only'.
- Clean Main Unit: Wipe the main body of the slicer with a damp cloth. Do not immerse the main unit in water.
- Reassemble: Once all parts are clean and dry, carefully reassemble them. Ensure the blade is securely fastened.
Blade Sharpening:
For optimal slicing performance, the blade may require periodic sharpening. The recommended blade sharpener for this model is the Chef'sChoice Model 601.
Troubleshooting
If you encounter issues with your slicer, refer to the following common problems and solutions:
- Slicer does not turn on:
- Ensure the power cord is securely plugged into a working electrical outlet.
- Check if the power switch is in the 'ON' position.
- Verify the electrical outlet is functional by plugging in another appliance.
- The slicer has a safety fuse at the base for power surge protection. If the motor is unresponsive, the fuse may have blown. Contact customer support for assistance with fuse replacement.
- Uneven slices:
- Ensure the food item is firmly held against the food pusher and the thickness guide.
- Make sure the food item is adequately chilled. Softer foods can be harder to slice evenly.
- Check if the blade is clean and free of debris.
- Slicer blade is dull:
- Refer to the 'Maintenance & Cleaning' section for information on blade sharpening.
Specifications
| Brand | Chef'sChoice |
| Model Number | 609A |
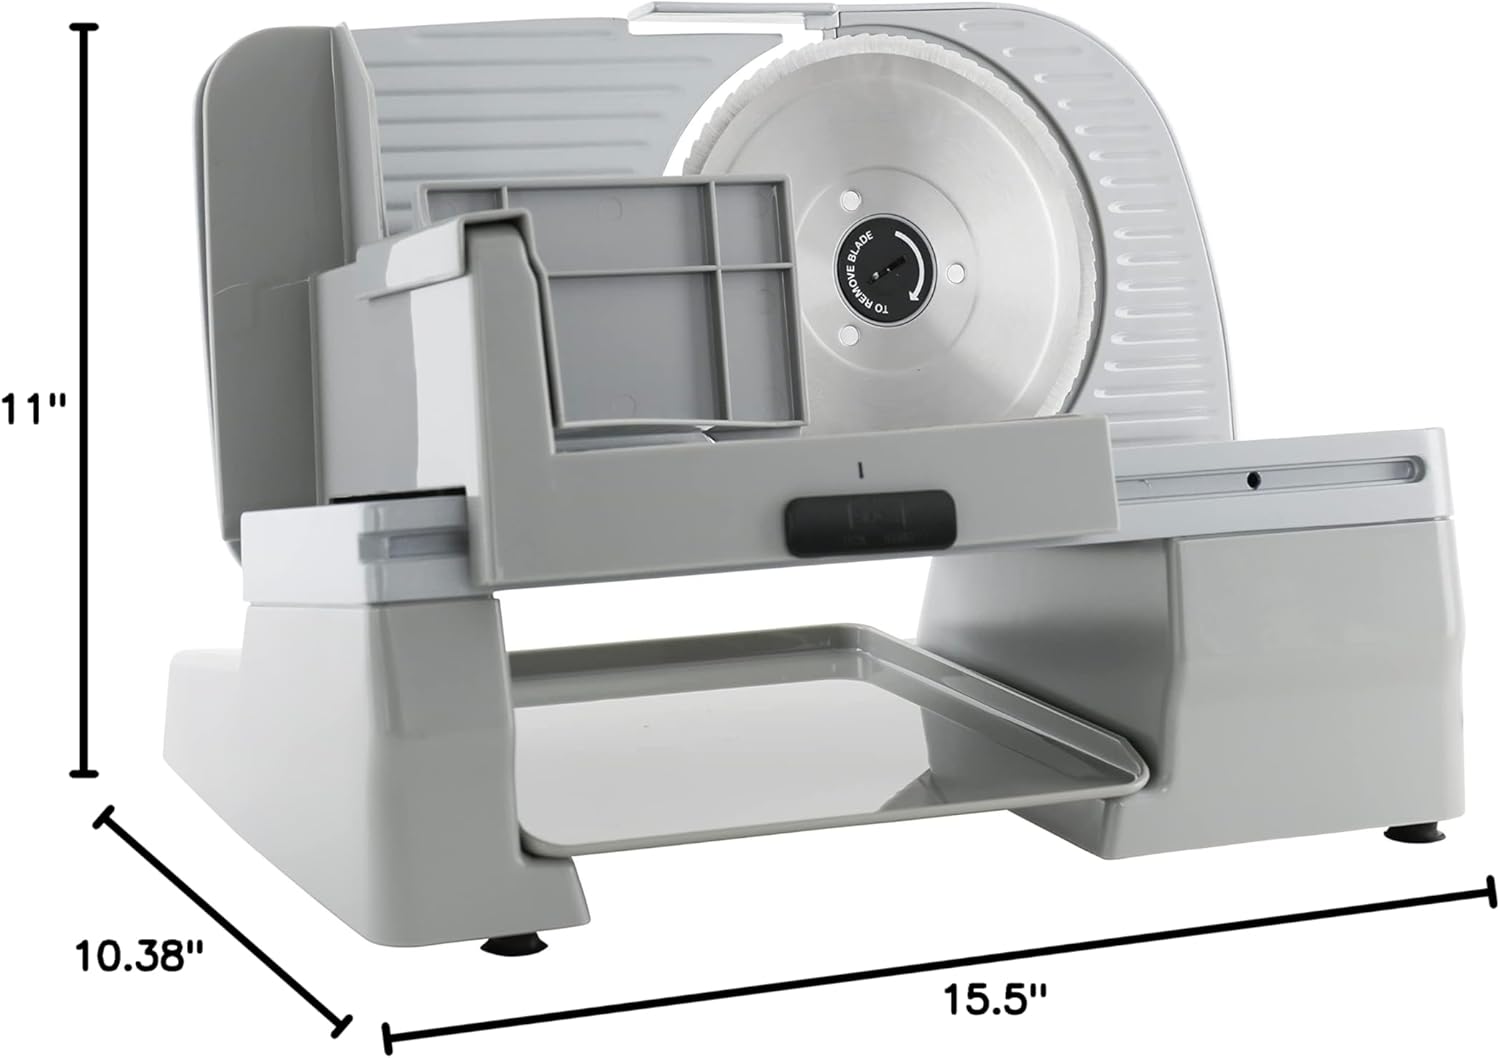
| Product Dimensions (L x W x H) | 15.5" x 10.38" x 11" |
| Item Weight | 8.53 Pounds |
| Material | Cast-aluminum and Stainless Steel |
| Blade Material | Stainless Steel |
| Blade Length | 7 Inches |
| Maximum Slice Thickness | 3/4 Inch |
| Operation Mode | Automatic |
| Wattage | 100 Watts |
| Recommended Blade Sharpener | Chef'sChoice Model 601 |
| UPC | 087877609017, 723548532146, 087877610105 |
Warranty and Support
The Chef'sChoice 609A Electric Meat Slicer comes with a 90-day limited warranty. For warranty claims, technical support, or inquiries regarding replacement parts, please contact Chef'sChoice customer service.
For further assistance, please visit the official Chef'sChoice website or refer to the contact information provided with your product packaging.


