1. Introduction
This manual provides detailed instructions for the setup, operation, and maintenance of your Astromania 9x50 Illuminated Finder Scope. This finder scope is designed to assist in locating celestial objects for astronomical observation, offering 9x magnification and a 50mm objective lens for bright views. It features a double crosshair reticle with adjustable red LED illumination to enhance visibility in low-light conditions.
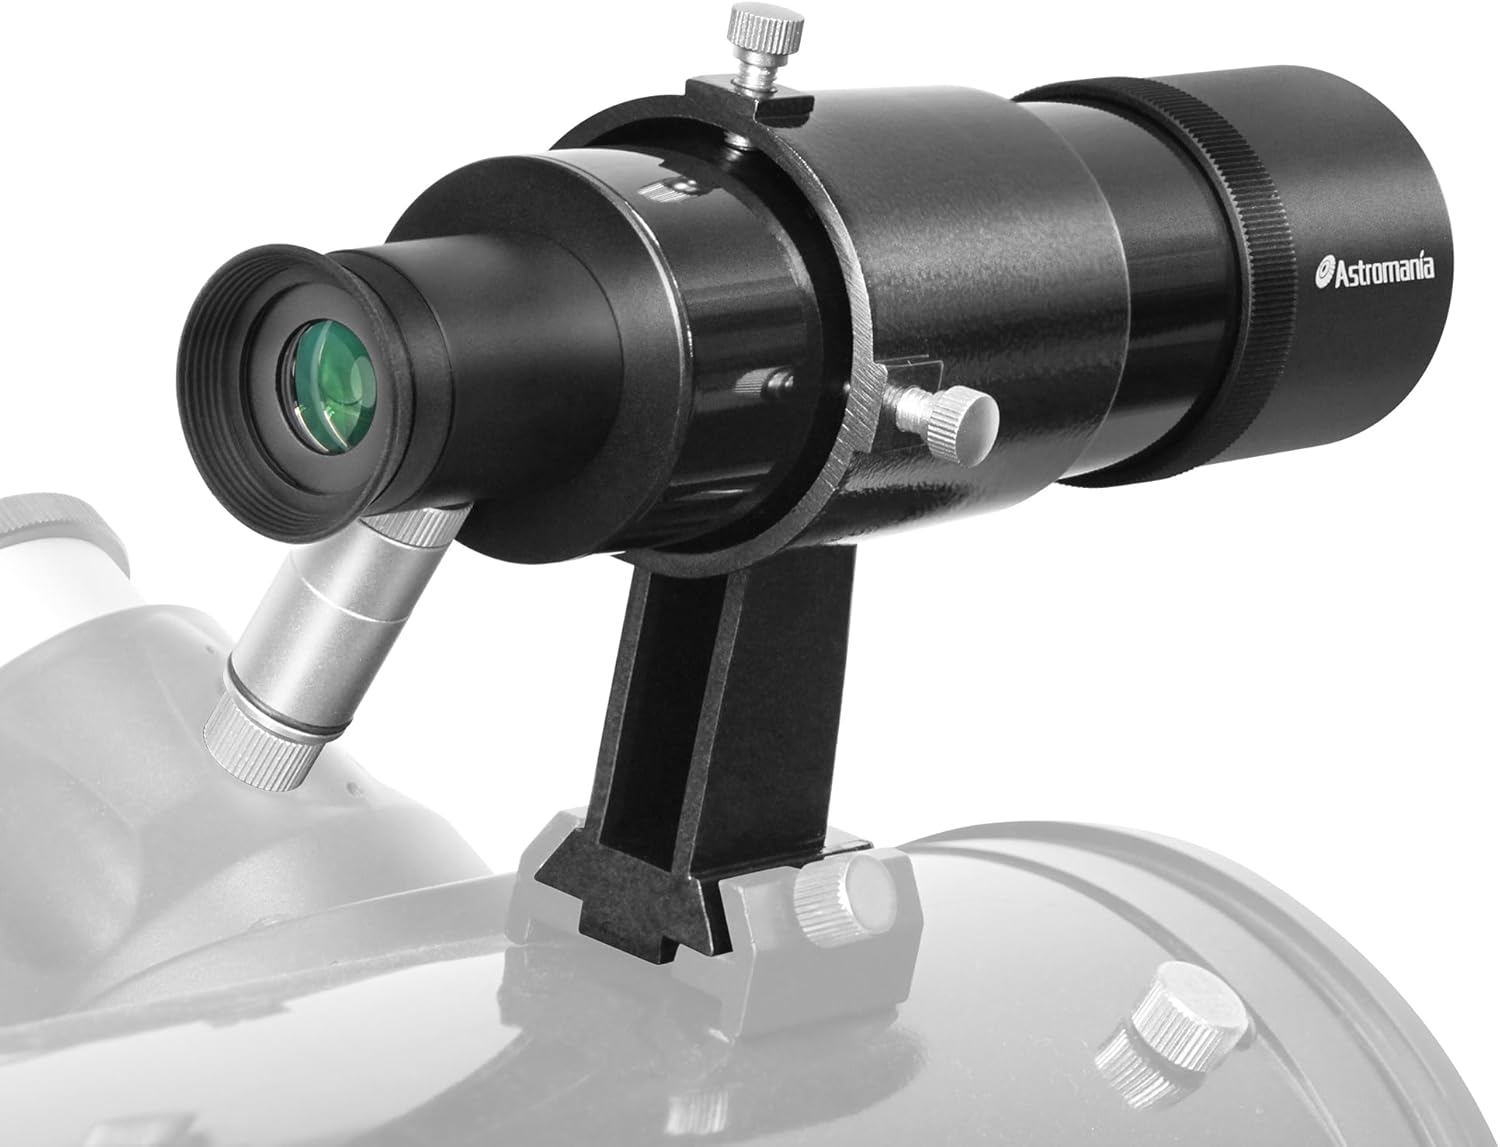
Image 1.1: The Astromania 9x50 Illuminated Finder Scope mounted on a telescope.
2. Setup and Assembly
2.1 Components Overview
Familiarize yourself with the main components of your finder scope:
- Objective Lens: The front lens that gathers light.
- Eyepiece: Where you look through to view objects.
- Finder Scope Tube: The main body of the scope.
- Mounting Bracket: Secures the finder scope to your main telescope.
- Adjustment Screws: Used for aligning the finder scope.
- Compression Spring: Provides tension for alignment screws.
- Red LED Illuminator: Provides illumination for the reticle.

Image 2.1: Key components and design features of the finder scope.
2.2 Mounting the Finder Scope
- Identify the finder scope shoe on your main telescope.
- Slide the finder scope's mounting bracket into the telescope's finder shoe. Ensure it is securely seated.
- Tighten any retaining screws on the finder shoe to prevent movement.

Image 2.2: The robust mounting plate and examples of compatible finder scope shoes.
2.3 Battery Installation for Reticle Illumination
The illuminated reticle requires an L1131F battery (not included).
- Locate the red LED illuminator on the side of the finder scope.
- Unscrew the cap of the illuminator.
- Insert the L1131F battery with the positive (+) side facing the LED end of the illuminator.
- Screw the cap back on securely.

Image 2.3: Battery installation for the red LED illuminator.
3. Operation
3.1 Initial Alignment of Finder Scope
Before observing, the finder scope must be aligned with your main telescope. This procedure is best performed during daylight hours on a distant, stationary object.
- Insert a low-power eyepiece into your main telescope.
- Point the main telescope at a distant object (e.g., a tree top, a distant building) at least a quarter-mile away. Center the object in the main telescope's field of view.
- Look through the finder scope's eyepiece. The object you centered in the main telescope should be visible.
- Use the two adjustment screws on the finder scope bracket to move the finder scope's view until the same object is centered on the crosshairs. One screw adjusts vertical alignment, the other adjusts horizontal alignment.
- Once the object is centered in the finder scope, re-check the main telescope's view to ensure the object is still centered. Repeat adjustments if necessary.

Image 3.1: Double adjustment design for precise alignment.

Image 3.2: Visual guide for centering a target object.
3.2 Focusing the Finder Scope
The finder scope features an adjustable objective lens for focusing.
- Point the finder scope at a distant object.
- Rotate the objective lens (the front part of the scope) clockwise or counter-clockwise until the image appears sharp and clear.
- Once focused, you can use the lens lock ring to secure the objective lens position.

Image 3.3: Quick and easy focusing mechanism.

Image 3.4: Guide for precise focusing.
3.3 Using the Illuminated Reticle
The red LED illumination helps make the crosshairs visible against dark skies.
- To turn on the illumination, rotate the knurled knob on the exposed end of the illuminator clockwise.
- Continue rotating the knob to adjust the brightness of the crosshairs.
- To turn off the illumination, rotate the knob counter-clockwise until it clicks off. Always turn off the illuminator when not in use to conserve battery life.

Image 3.5: Illuminated double crosshair design.
4. Maintenance
4.1 Cleaning Lenses
Proper care of the optical surfaces is essential for maintaining image quality.
- Use a blower or compressed air to remove any loose dust or particles from the lens surfaces. Avoid wiping dry lenses, as this can cause scratches.
- Apply a small amount of professional lens cleaning liquid to a clean cotton swab or lens paper. Do not apply liquid directly to the lens.
- Gently wipe the lens in a circular motion, starting from the center and moving outwards.
- Use a fresh, dry piece of lens paper to wipe off any excess liquid.

Image 4.1: Lens cleaning procedure.
4.2 Storage
When not in use, store the finder scope in a clean, dry environment. Use the provided dust caps to protect the objective and eyepiece lenses from dust and moisture.
5. Troubleshooting
- Issue: Image appears blurry or out of focus.
Solution: Adjust the objective lens by rotating it until the image is sharp. Refer to Section 3.2 for detailed focusing instructions. - Issue: Reticle illumination is not working.
Solution: Check if the L1131F battery is correctly installed with the positive (+) side facing the LED. Ensure the illuminator knob is rotated clockwise to turn it on. If the issue persists, replace the battery. - Issue: Finder scope is not aligned with the main telescope.
Solution: Re-perform the alignment procedure as described in Section 3.1, using a distant, stationary object during daylight. Ensure the adjustment screws are tightened sufficiently after alignment.
6. Specifications
| Feature | Specification |
|---|---|
| Magnification | 9x |
| Objective Lens Diameter | 50 mm |
| Optical Design | Achromatic |
| Reticle | Double Crosshair, Illuminated (Red LED) |
| Illuminator Battery | L1131F (not included) |
| Focus Type | Manual Focus (Objective Lens) |
| Product Dimensions | 10 x 2.59 x 2.75 inches |
| Item Weight | 1.23 pounds (19.7 ounces) |
| Model Number | 51634 |
7. Warranty and Support
For warranty information or technical support, please refer to the documentation provided with your purchase or contact Astromania customer service directly. Contact details can typically be found on the manufacturer's official website or through your retailer.


