
DEWENWILS B078TVTZ3Y
Contents
DEWENWILS Outdoor Digital Timer User Manual
Model: B078TVTZ3Y
Brand: DEWENWILS
1. Introduction
This manual provides comprehensive instructions for the DEWENWILS Outdoor Digital Timer, Model B078TVTZ3Y. This 7-day programmable plug-in timer features three grounded outlets, designed for controlling outdoor lighting, garden decorations, holiday lights, and other electrical appliances. It offers multiple operating modes and robust construction for outdoor use.
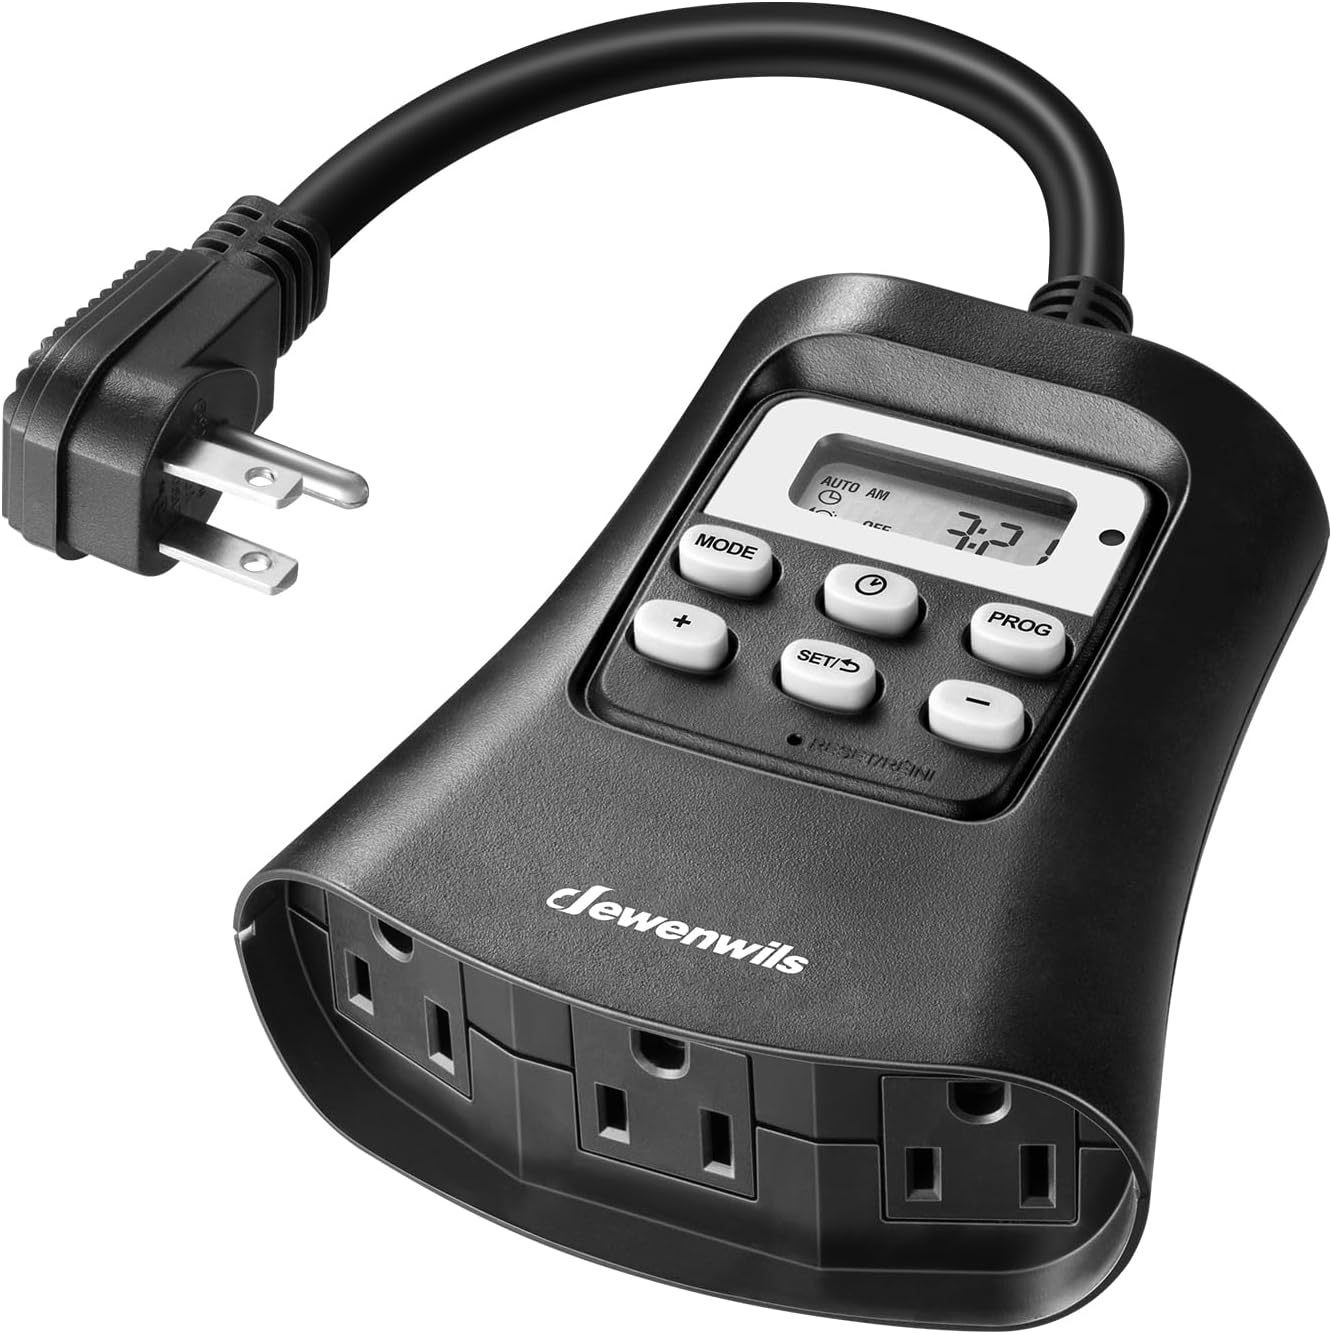
Image: The DEWENWILS Outdoor Digital Timer, showing its compact design, digital display, control buttons, and three grounded outlets.
2. Safety Information
- Ensure the timer is connected to a grounded outlet.
- This device is UL Listed, indicating compliance with safety standards.
- The timer is designed for outdoor use and is waterproof. However, for optimal safety and performance, mount the timer at least 2 feet (approximately 60 cm) off the ground vertically.
- Do not immerse the timer in water.
- Do not exceed the maximum load capacity of 125 Volts, 15 Amps, or 1875 Watts Resistive (1/3 HP).
- Always unplug the timer from the power source before cleaning or performing any maintenance.

Image: Proper mounting of the timer, illustrating the recommended 2-foot vertical clearance from the ground for weather resistance.
3. Product Features
- Multiple Modes: Offers Dusk to Dawn, ON at Dusk and OFF at programmed time, Always ON/OFF, and Random modes.
- Weekly Repeat: Up to 8 programmable ON/OFF events per day, repeating weekly, with 1-minute intervals.
- Random Function: Activates ON at a random time and remains ON for 15 minutes, up to 5 events daily, enhancing home security by simulating occupancy.
- Outdoor Use: Rated for 125 Volts, 15A, 1875W Resistive, 1/3HP, suitable for outdoor string lights, garden decorations, and holiday lights.
- Three Grounded Outlets: Allows simultaneous control of up to three appliances.
- Durable Construction: Made from heavy-duty PPE+PS material with a 6-inch SJTW 14-3 grounded cord.
- Backup Battery: Built-in rechargeable battery preserves programmed settings for up to 3 months during power outages or when unplugged.

Image: The timer showcasing its energy-saving and safety features, including waterproof design, UL listing, and durable construction materials.
4. Setup
- Unpack: Carefully remove the timer from its packaging.
- Initial Charge: Before first use or after a long period of storage, plug the timer into a standard 125V AC outlet for at least 30 minutes to charge the internal backup battery. This ensures the display functions and settings are retained.
- Mounting: For outdoor installation, mount the timer vertically at least 2 feet (approximately 60 cm) off the ground to protect it from excessive moisture and debris.
- Set Current Time:
- Press the CLOCK button.
- Use the + and - buttons to set the current hour.
- Press CLOCK again to set the minutes.
- Press CLOCK a third time to set the day of the week.
- Press SET/R to confirm and exit time setting mode.

Image: The timer's display illustrating how programmed settings are retained by the backup battery, even during power interruptions.
5. Operating Instructions
The DEWENWILS timer offers various operating modes and programming options. Familiarize yourself with the buttons: MODE, CLOCK, PROG, SET/R, +, and -.
5.1. Selecting Operating Modes
Press the MODE button repeatedly to cycle through the available operating modes:
| Display | Mode | Explanation |
|---|---|---|
| ON/OFF | ON/OFF | Always ON or Always OFF. |
| RDM | Random Mode | Security feature: ON at a random time, remains ON for 15 minutes. Up to 5 events daily. |
| AUTO | Auto Mode | ON/OFF at your exact programmed time. |
| AUTO CDS | Auto CDS (Dusk to Dawn) | Turns power ON at dusk and OFF at dawn. |
| AUTO CDS+Timer | Auto CDS + Timer | Turns power ON at dusk and OFF at your exact programmed time. |

Image: A visual guide to the six available time modes and their functions on the timer's display.
5.2. Programming ON/OFF Times (AUTO Mode)
The timer allows up to 8 ON/OFF programs per day, which repeat weekly. This feature is active in AUTO mode.
- Press the PROG button. The display will show "1 ON".
- Use + and - to set the desired ON time for Program 1.
- Press PROG again. The display will show "1 OFF".
- Use + and - to set the desired OFF time for Program 1.
- Repeat steps 2-4 for up to 8 ON/OFF programs.
- To select specific days for a program, press the SET/R button while setting the ON/OFF time. This will cycle through day combinations (e.g., MO TU WE TH FR SA SU, MO WE FR, TU TH SA, SA SU, etc.).
- After setting all desired programs, press CLOCK to return to the current time display. Ensure the timer is set to AUTO mode for programmed settings to take effect.
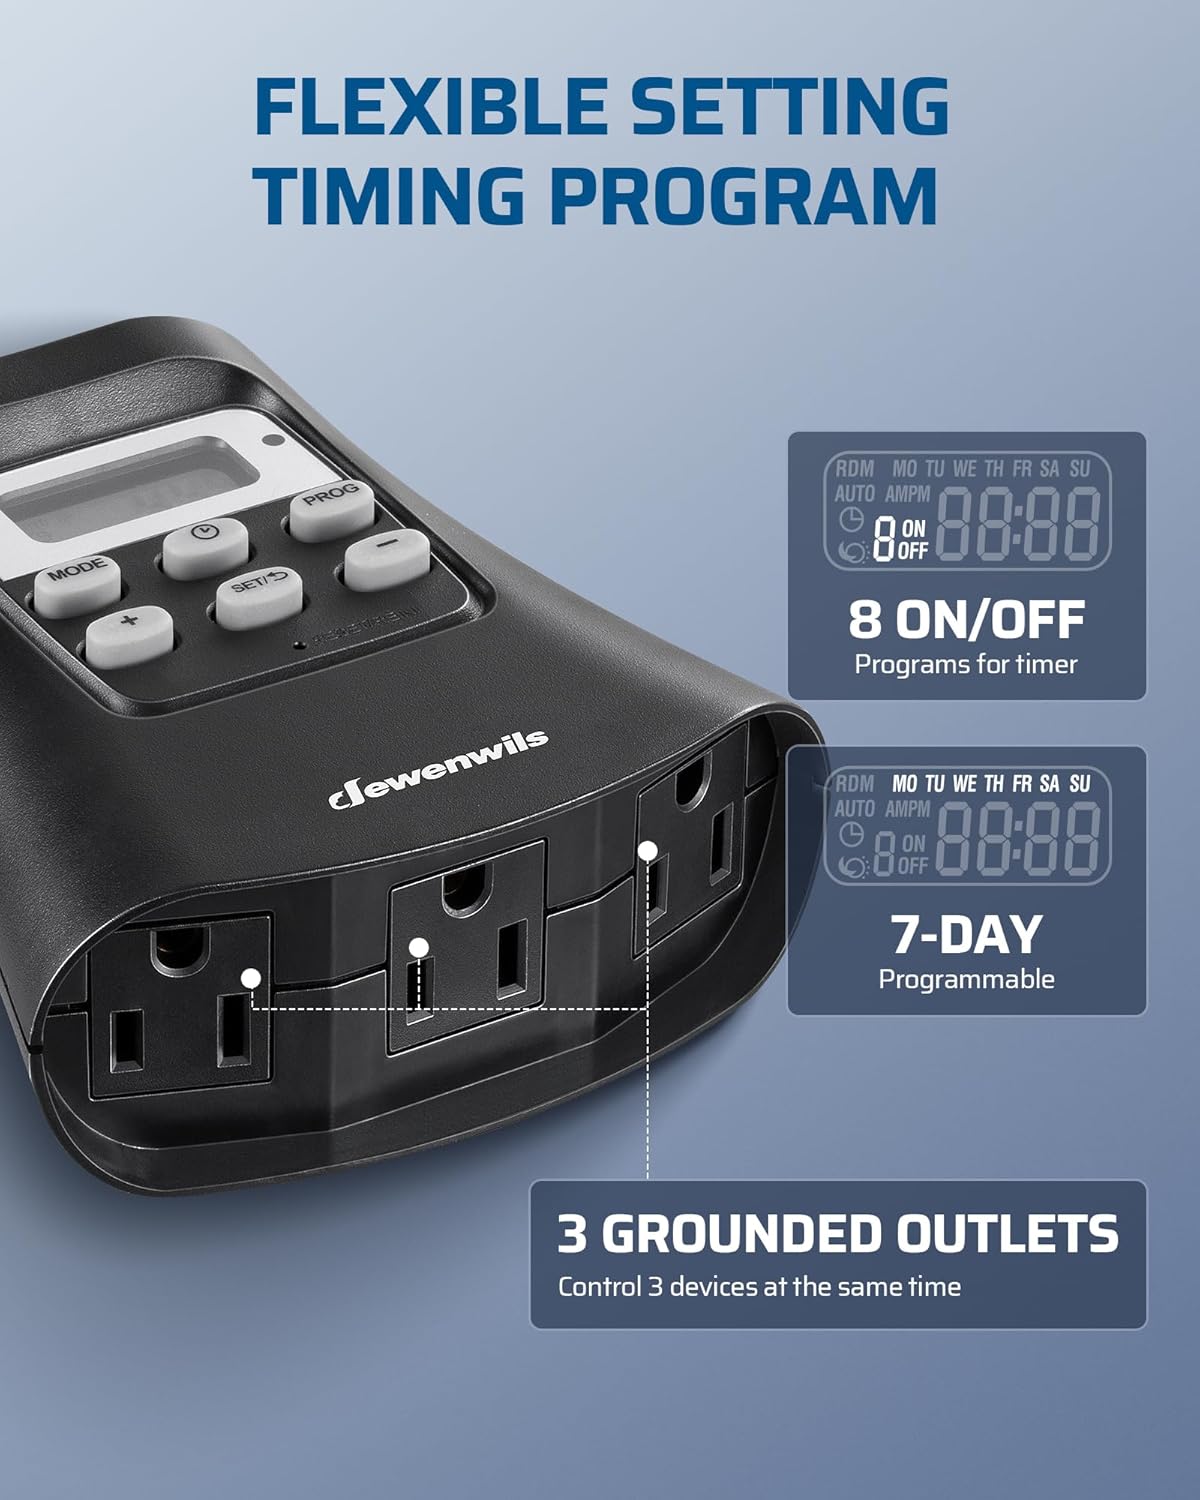
Image: The timer's design highlighting its three grounded outlets and the display indicating its flexible timing program capabilities, including 8 ON/OFF settings and 7-day programmability.
5.3. Random Function (RDM Mode)
The Random Function is a security feature that turns your lights ON at random times for 15-minute intervals, up to 5 times a day, to simulate occupancy when you are away.
- Press the MODE button until "RDM" appears on the display.
- The timer will automatically activate lights randomly within a set window. No further programming is required for this mode.

Image: Illustrates the random function feature, designed to enhance security by making it appear as though someone is home while you are away.
6. Maintenance
- Keep the timer clean by wiping it with a damp cloth. Do not use harsh chemicals or abrasive cleaners.
- Ensure the outlets and plug are free from dirt and debris.
- Regularly inspect the cord for any signs of damage. If the cord is damaged, discontinue use and replace the unit.
- Store the timer in a dry place when not in use for extended periods.
7. Troubleshooting
| Problem | Possible Cause | Solution |
|---|---|---|
| Timer display is blank or unresponsive. | Low or depleted internal battery; no power to the unit. | Plug the timer into a live outlet for at least 30 minutes to charge the internal battery. Ensure the outlet has power. If the issue persists, the battery may need replacement or the unit may be faulty. |
| Programmed settings are not activating. | Incorrect mode selected; programming error. | Ensure the timer is set to AUTO mode for programmed events. Double-check your ON/OFF times and day selections. Refer to Section 5.2 for detailed programming steps. |
| Lights are always ON or OFF, not following schedule. | Timer is in ON/OFF mode. | Press the MODE button until the desired mode (e.g., AUTO, AUTO CDS) is displayed. |
| Difficulty programming the timer. | Complexity of features; unfamiliarity with controls. | Read the operating instructions (Section 5) carefully. Take your time to understand each button's function and the programming sequence. It may take a few attempts to become familiar with the process. |
| Timer does not retain settings after power outage. | Internal backup battery is not charged or is faulty. | Ensure the timer is regularly plugged in to keep the internal battery charged. If the battery is old or faulty, it may no longer hold a charge, and the unit may need to be replaced. |
8. Specifications
- Model: B078TVTZ3Y
- Brand: DEWENWILS
- Voltage: 125 Volts
- Amperage Capacity: 15 Amps
- Wattage: 1875 Watts Resistive
- Horsepower: 1/3 HP
- Operating Temperature: 32 Degrees Fahrenheit (0 Degrees Celsius)
- Material: PPE+PS
- Cord Length: 6 Inches (SJTW 14-3 grounded cord)
- Outlets: 3 Grounded Outlets
- Installation Method: Plug In
- Special Features: Waterproof, UL Listed, Digital Display, 7-Day Programmable, Random Mode, Backup Battery
- Usage: Indoor and Outdoor Use
- Item Weight: 10.2 ounces
- Package Dimensions: 7.01 x 5 x 2.13 inches
- UPC: 611901251912
9. Warranty and Support
For warranty information or technical support, please contact DEWENWILS customer service. Refer to the product packaging or the official DEWENWILS website for the most current contact details.
Manufacturer: Dewenwils
Website: DEWENWILS Amazon Store
Ask a question about this manual
Ask about setup, troubleshooting, compatibility, parts, safety, or missing instructions. Manuals+ will review the question and use this page’s manual context to help answer it.