
Leviton DSL06-3PW
Leviton Decora Universal Rocker Slide Dimmer Instruction Manual
Model: DSL06-3PW
1. Product Overview
The Leviton Decora 600-Watt Single-Pole/3-Way Universal Rocker Slide Dimmer is designed to provide precise control over lighting levels in your home. Its modern design integrates seamlessly with Decora-style wallplates, offering both aesthetic appeal and functional dimming capabilities for various lamp types.
Key Features:
- Aesthetically pleasing design with a rocker switch and a slender dimmer control slide bar.
- Integrated linear full-range slide control for easy and precise operation.
- Compatible with a variety of dimmable LED and CFL lamps.
- Supports both single-pole and 3-way operation (when used with a compatible 3-way switch).
- Also compatible with Incandescent and Halogen lamps.

Figure 1.1: Front view of the Leviton Decora Universal Rocker Slide Dimmer, showing the rocker switch and slide dimmer.
2. Safety Information
WARNING: To avoid fire, shock, or death; turn off power at circuit breaker or fuse and test that power is off before wiring! This device is intended for installation in accordance with the National Electric Code and local regulations. It is recommended that a qualified electrician perform this installation.
- Use only with permanently installed incandescent, halogen, dimmable LED, or dimmable CFL fixtures.
- Do not use with motor-operated appliances, fluorescent lighting (non-dimmable), or low-voltage lighting with non-dimmable transformers.
- Ensure all wiring connections are secure and properly insulated.
- This dimmer is rated for 120V AC, 60Hz.
- Maximum load: 600W Incandescent/Halogen, 300W LED/CFL.
3. Package Contents
- Leviton Decora Universal Rocker Slide Dimmer (Quantity: 3, if purchased as a 3-pack)
- Wire nuts (may be included)
- Instruction sheet
4. Specifications
| Attribute | Value |
|---|---|
| Model Number | DSL06-3PW |
| Operation Mode | Off, Slide Dimmer |
| Current Rating | 1.5 Amps |
| Operating Voltage | 120 Volts |
| Contact Type | Normally Open |
| Connector Type | Clamp |
| Terminal Type | Screw |
| Dimensions (L x W x H) | 1.75 x 1.32 x 4.13 inches |
| Circuit Type | Single-Pole / 3-Way |
| Mounting Type | Panel Mount |
| Actuator Type | Rocker |
| Contact Material | Metal |
| International Protection Rating | IP00 |
| Temperature Rating (Lower) | 32 Degrees Fahrenheit |
| Temperature Rating (Upper) | 104 Degrees Fahrenheit |
| Color | White |
| Item Weight | 6.6 ounces |
5. Installation
Before beginning, ensure you have read and understood the safety information in Section 2. Installation should only be performed after turning off power at the circuit breaker.
Tools Required:
- Screwdriver (Phillips and Flathead)
- Wire Strippers
- Electrical Tape
- Voltage Tester
Wiring Instructions:
- Turn Off Power: Locate the circuit breaker controlling the light fixture and turn it OFF. Verify power is off using a voltage tester.
- Remove Old Switch: Carefully remove the existing wallplate and switch from the electrical box. Disconnect the wires from the old switch, noting their connections.
- Identify Wires:
- LINE (Hot) Wire: This wire brings power from the circuit breaker.
- LOAD Wire: This wire goes to the light fixture.
- GROUND Wire: Typically bare copper or green insulated.
- TRAVELER Wires (for 3-way only): Two wires that connect to another 3-way switch.
- Prepare Wires: Strip approximately 1/2 inch of insulation from each wire end if necessary.
- Connect Dimmer:

Figure 5.1: Back view of the dimmer, illustrating the wiring terminals. Note the green ground screw, black (BK) terminal, and red (RD) terminals.
- Ground Wire: Connect the house ground wire to the green ground screw on the dimmer.
- Single-Pole Application: Connect the LINE (hot) wire to one of the dimmer's screw terminals (typically the black screw). Connect the LOAD wire to the other dimmer screw terminal (typically one of the red screws).
- 3-Way Application: Connect the common wire (usually black, from the power source or to the light fixture) to the dimmer's black screw terminal. Connect the two traveler wires to the two red screw terminals on the dimmer. The other 3-way switch will also have a common and two traveler connections.
- Secure Wiring: Ensure all wire connections are tight and secure. Use electrical tape to cover any exposed wire.
- Mount Dimmer: Carefully push the wired dimmer into the electrical box. Secure it with the mounting screws provided.
- Install Wallplate: Attach the Decora wallplate over the dimmer.
- Restore Power: Turn the power back ON at the circuit breaker.
- Test Operation: Test the dimmer to ensure it functions correctly.
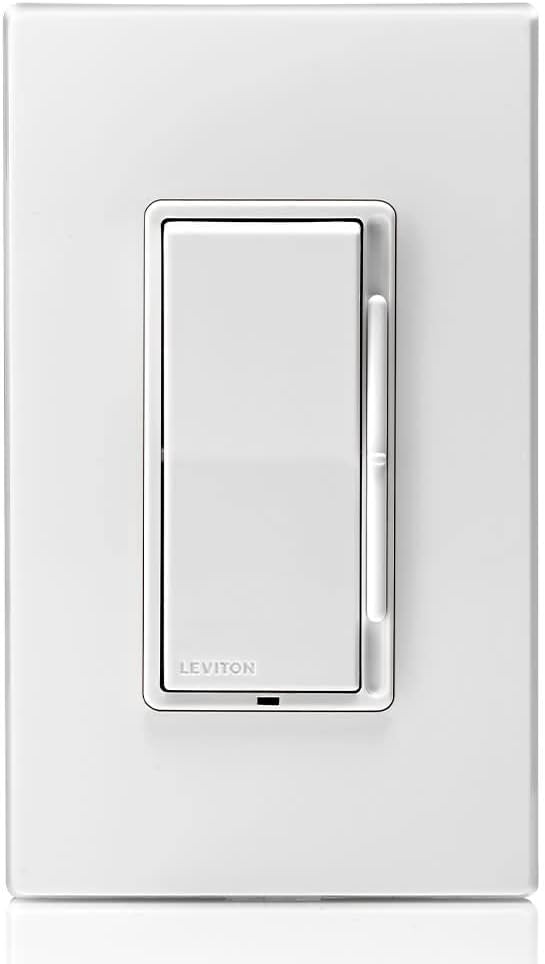
Figure 5.2: The dimmer installed in a standard Decora wall plate.
6. Operating Instructions
The Leviton Decora Universal Rocker Slide Dimmer offers intuitive control over your lighting.
- Turning Lights ON/OFF: Press the top of the large rocker switch to turn lights ON. Press the bottom of the large rocker switch to turn lights OFF.
- Dimming Lights: Use the small slide bar located on the right side of the rocker switch. Slide the bar upwards to increase light intensity and downwards to decrease light intensity.
- Preset Dimming: The dimmer will return to the last set brightness level when turned ON, unless the slide bar is adjusted.

Figure 6.1: The dimmer showing the rocker switch in a pressed position and the slide dimmer control.
7. Maintenance
The Leviton Decora Dimmer requires minimal maintenance.
- Cleaning: To clean the dimmer and wallplate, wipe with a soft, damp cloth. Do not use abrasive cleaners or solvents. Ensure power is off before cleaning.
- Inspection: Periodically inspect the dimmer and wallplate for any signs of damage or loose connections. If any issues are found, turn off power and consult a qualified electrician.
8. Troubleshooting
| Problem | Possible Cause | Solution |
|---|---|---|
| Lights do not turn ON. | No power to the dimmer; loose wiring; bulb burned out; incompatible bulb. | Check circuit breaker. Verify wiring connections. Replace bulb. Ensure bulb is dimmable and compatible. |
| Lights flicker or hum. | Incompatible bulb; minimum load not met; loose wiring. | Ensure bulbs are dimmable LED/CFL or incandescent/halogen. Check total wattage of bulbs. Verify wiring connections. |
| Dimmer does not dim properly. | Incompatible bulb; dimmer overloaded. | Ensure bulbs are dimmable. Check total wattage does not exceed 600W (Incandescent/Halogen) or 300W (LED/CFL). |
| Dimmer is warm to the touch. | Normal operation; dimmer overloaded. | Slight warmth is normal. If excessively hot, check total wattage does not exceed maximum load. |
9. Warranty and Support
Leviton products are backed by a limited warranty. For specific warranty details, product support, or technical assistance, please visit the official Leviton website or contact their customer service department.
Leviton Website: www.leviton.com
Related documentsDSL06-3PW


Ask a question about this manual
Ask about setup, troubleshooting, compatibility, parts, safety, or missing instructions. Manuals+ will review the question and use this page’s manual context to help answer it.