1. Setup
1.1 Unboxing and Components
Your OXO Chef's Precision Digital Leave-In Thermometer package includes:
- Digital Display Unit
- Stainless Steel Probe with Heat-Resistant Cable
- 2 AAA Batteries
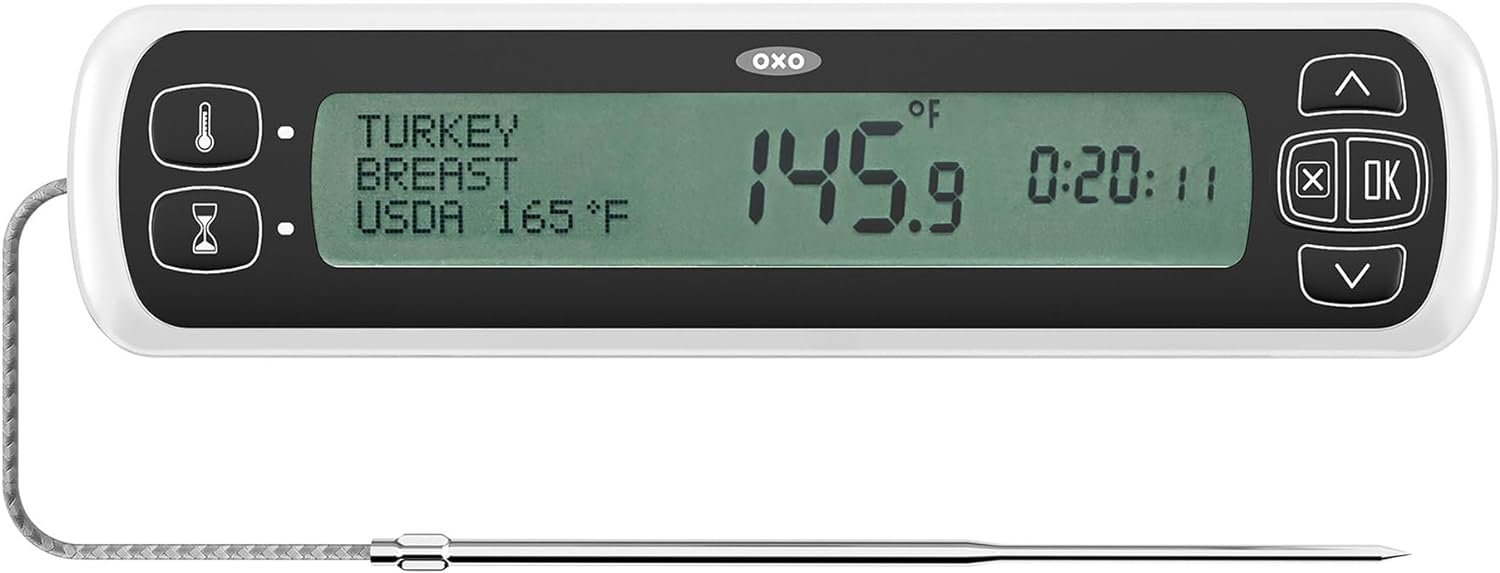
Figure 1: The digital display unit and stainless steel probe.
1.2 Battery Installation
The thermometer requires 2 AAA batteries for operation. To install:
- Locate the battery compartment on the back of the digital display unit.
- Open the battery cover.
- Insert 2 AAA batteries, ensuring correct polarity (+/-).
- Close the battery cover securely.

Figure 2: Rear view of the thermometer, highlighting the battery compartment.
1.3 Probe Connection
Connect the stainless steel probe's jack into the port located on the left side of the digital display unit. Ensure the connection is firm.
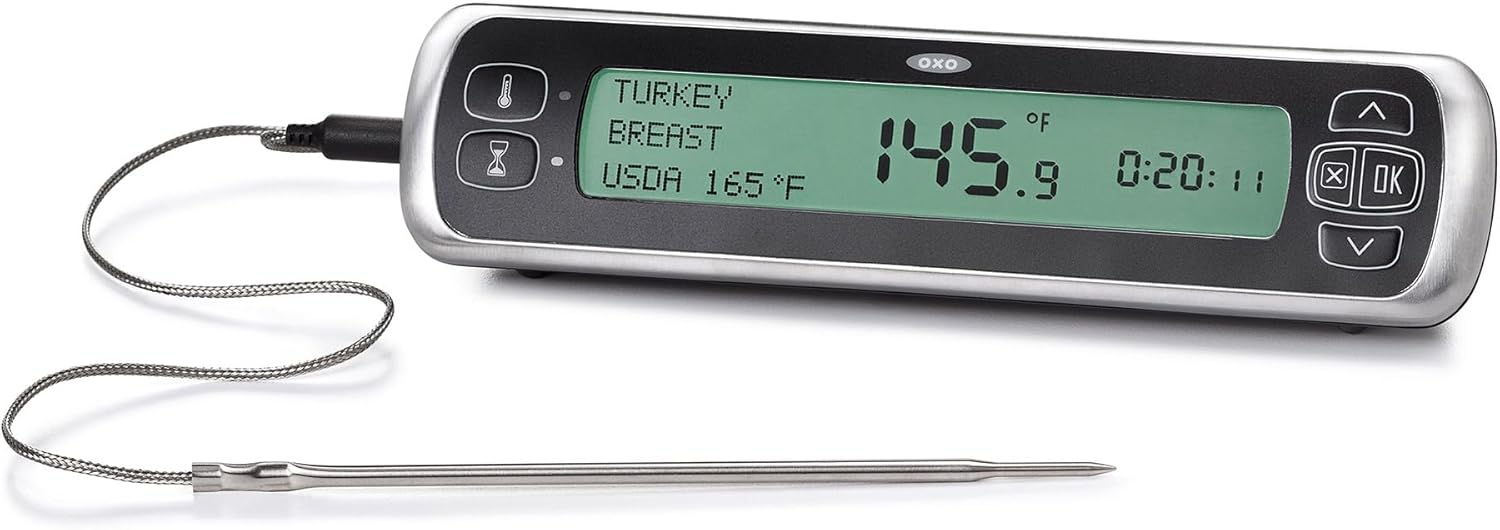
Figure 3: The probe connected to the side of the thermometer unit.
2. Operating Instructions
2.1 Power On/Off and Unit Selection
Press the power button to turn the unit on or off. On the back of the unit, there is a switch to select between Celsius (C) and Fahrenheit (F) temperature readings.
2.2 Setting Target Temperature
The thermometer offers preset USDA- and chef-recommended temperatures for various types of meat, poultry, and fish, as well as a manual setting.
- Press the 'Meat Type' button (thermometer icon) to cycle through preset options like Beef, Chicken, Fish, Ground Meat, Ham, Pork, and Lamb.
- Once a meat type is selected, use the Up/Down arrows to choose the desired doneness (e.g., Rare, Medium Rare, Medium, Well Done) or to set a custom temperature.
- Press the 'OK' button to confirm your selection.
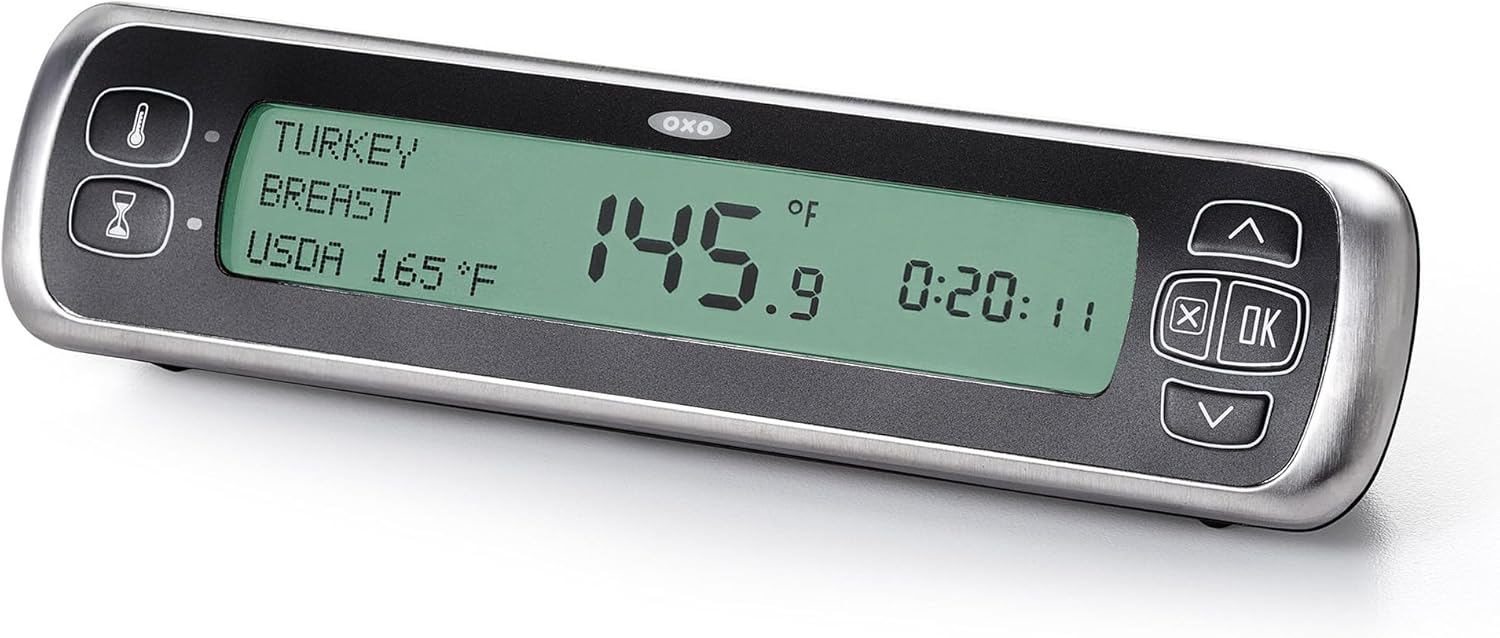
Figure 4: The display showing selected meat type and target temperature.
2.3 Using the Probe
For accurate temperature monitoring:
- Insert the stainless steel probe into the thickest part of the meat, ensuring it does not touch any bones or fat.
- Carefully close the oven or grill door, allowing the heat-resistant cable to pass through without being pinched or damaged.
- Place the digital display unit outside the oven or grill, on a stable surface, where you can easily monitor the temperature.
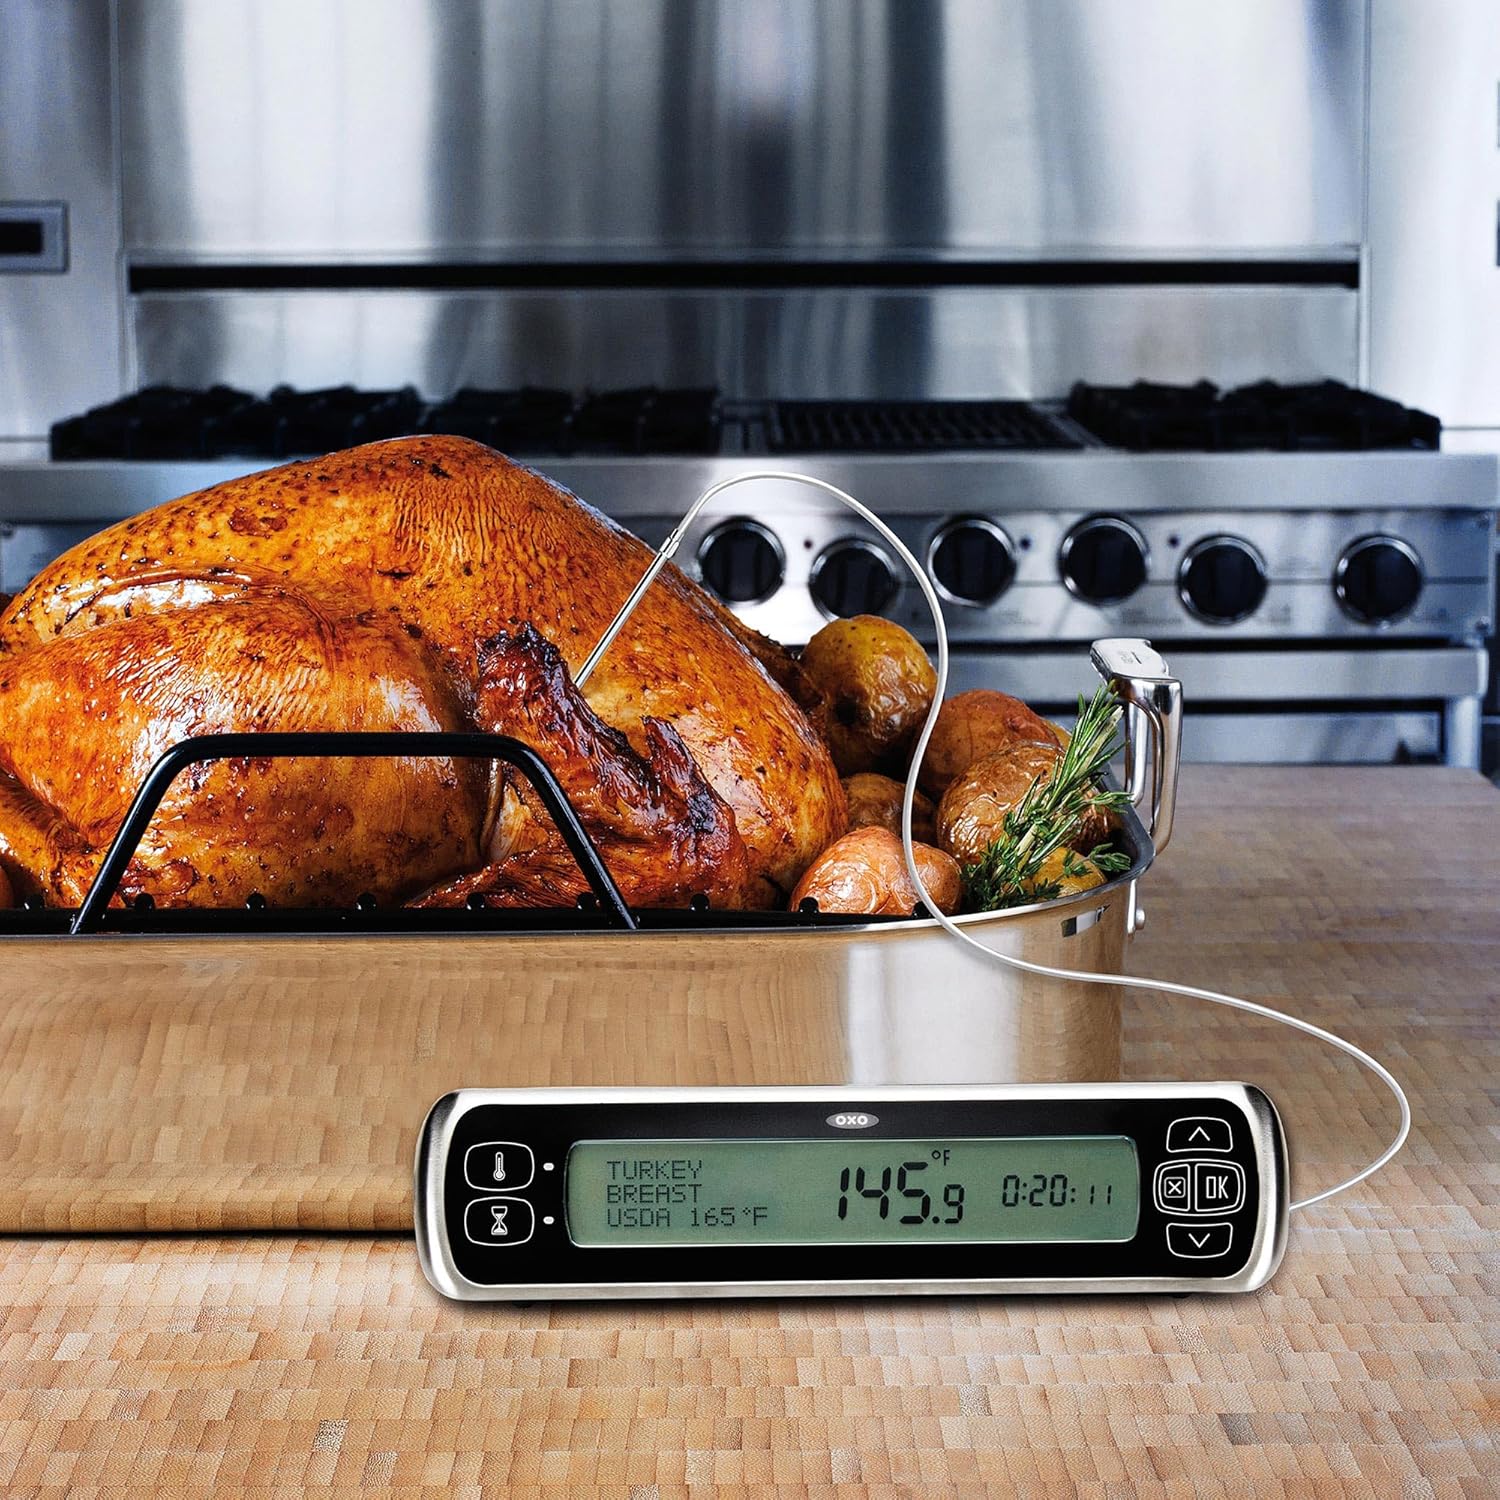
Figure 5: Thermometer in use with a turkey in the oven, showing the probe inserted and the display unit outside.
2.4 Timer Function
The thermometer includes a 24-hour timer. Press the 'Timer' button (hourglass icon) to access and set the timer using the Up/Down arrows and 'OK' button.
2.5 Alarm Function
The unit features a 10-degree warning alert that sounds before the target temperature is reached, allowing you to prepare for removal. A final alarm will sound when the meat reaches the set target temperature.
Video 1: Official product video demonstrating the features and use of the OXO Chef's Precision Digital Leave-In Thermometer.
3. Maintenance
3.1 Cleaning
- Probe: The stainless steel probe and cable can be wiped clean with a damp cloth and mild detergent. Do not immerse the probe connector or the entire unit in water.
- Display Unit: Wipe the digital display unit with a soft, damp cloth. Do not submerge in water or use abrasive cleaners.
3.2 Storage
The probe and its cable are designed to neatly nest within the base of the digital display unit for convenient and compact storage.
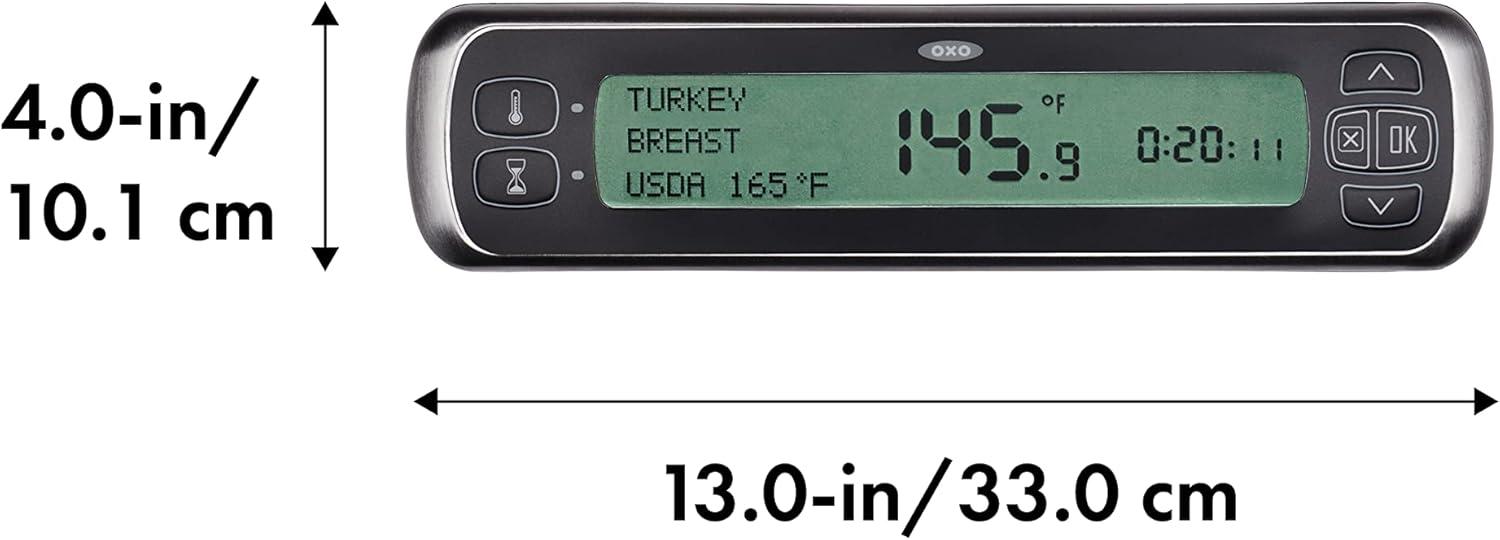
Figure 6: The probe and cable stored securely in the unit's base.
4. Troubleshooting
If you encounter issues with your thermometer, please refer to the following common problems and solutions:
| Problem | Possible Cause | Solution |
|---|---|---|
| Inaccurate Temperature Readings | Probe not fully inserted; probe touching bone/fat; probe or cable damage. | Ensure probe is inserted into the thickest part of the meat, away from bones. Inspect probe and cable for visible damage. Replace batteries if low. |
| No Display/Unit Not Turning On | Dead or incorrectly installed batteries. | Check battery polarity. Replace batteries with fresh AAA batteries. |
| Alarm Sounds, But Meat Not Done | Incorrect probe placement; incorrect target temperature setting. | Verify probe is in the thickest part of the meat. Double-check the selected meat type and doneness setting. |
| Probe Connection Issues (Intermittent Readings) | Loose connection; damaged probe jack/port. | Ensure the probe jack is firmly seated in the unit's port. If issues persist, the probe or unit may require replacement. |
For further assistance, please contact OXO Customer Support.
5. Specifications
- Model Name: Chef's Precision Digital Leave-In Thermometer
- Model Number: 11133300
- Brand: OXO
- Color: Stainless Steel
- Display Type: LCD
- Outer Material: Stainless Steel
- Power Source: 2 AAA Batteries (included)
- Item Length: 3.98 Inches
- Upper Temperature Rating: 700°F (370°C)
- Reusability: Reusable
- Item Weight: 11.8 ounces
- Manufacturer: OXO International Ltd.
- UPC: 719812684697
6. Warranty and Support
OXO products are designed for durability and performance. For specific warranty details and terms, please refer to the documentation included with your product or visit the official OXO website. OXO is known for its commitment to customer satisfaction, and their customer service team is available to assist with any product-related inquiries or support needs.
Contact Information:
- Website: www.oxo.com
- Refer to the website for customer service contact methods (phone, email, live chat).