1. Introduction
This manual provides detailed instructions for the installation, operation, and maintenance of your ICO BATH W1101 Savoy Hardwire Towel Warmer. Please read this manual thoroughly before installation and use to ensure proper function and safety.
The Savoy towel warmer is designed to add comfort and style to your bathroom by warming and drying towels. It features a contemporary European design and is available in white.
2. Safety Information
Important Safety Instructions:
- Read all instructions before using this appliance.
- Do not immerse the towel warmer in water or other liquids.
- Ensure the electrical installation complies with all local and national electrical codes. Installation should be performed by a qualified electrician.
- This appliance is designed for warming towels only. Do not use it for drying clothes or other items.
- The surface of the towel warmer will become hot during operation. Avoid direct contact with hot surfaces.
- Keep children and pets away from the towel warmer when it is in operation.
- Disconnect power before performing any maintenance or cleaning.
3. Package Contents
Verify that all components are present before beginning installation:
- ICO BATH W1101 Savoy Hardwire Towel Warmer Unit
- Mounting Brackets and Hardware
- Installation Template (if applicable)
- User Manual (this document)

Image 1: Front view of the ICO BATH W1101 Savoy Hardwire Towel Warmer. This image shows the full white unit with its horizontal bars and vertical side rails, designed for wall mounting.
4. Setup and Installation
The ICO BATH W1101 Savoy Towel Warmer is designed for hardwire installation. Professional installation by a qualified electrician is recommended.
4.1. Pre-Installation Checklist
- Ensure power to the installation area is turned off at the circuit breaker.
- Confirm the wall surface is suitable for mounting and can support the weight of the unit (approximately 24 pounds).
- Gather necessary tools: drill, level, measuring tape, screwdriver, wire strippers.
4.2. Mounting the Unit
- Determine the desired mounting location. The unit dimensions are 25" W x 15.5" D x 3.25" H.
- Use the provided template (if included) or measure and mark the drilling points for the mounting brackets. Ensure marks are level.
- Drill pilot holes at the marked locations.
- Secure the mounting brackets to the wall using the appropriate hardware.
- Carefully align the towel warmer with the mounted brackets and secure it in place.
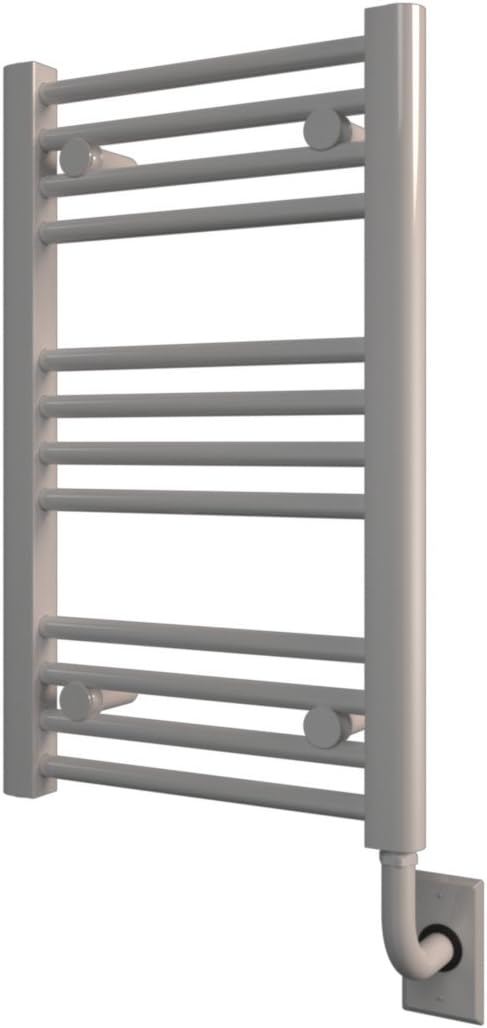
Image 2: Side view of the ICO BATH W1101 Savoy Hardwire Towel Warmer, highlighting its depth and wall-mounted design. This perspective shows the rounded horizontal bars and the sturdy vertical rails.
4.3. Electrical Connection (Hardwire)
Warning: All electrical work must be performed by a licensed electrician and comply with all applicable electrical codes.
- Locate the electrical connection point on the towel warmer (typically at the bottom right, as shown in product images).
- Connect the towel warmer's wiring to the household electrical supply according to the wiring diagram provided with the unit (not included in this general manual, refer to specific product packaging).
- Ensure all connections are secure and insulated.
- Install the cover plate over the electrical connection point.

Image 3: Close-up view of the hardwire electrical connection point at the base of the towel warmer. This image details the conduit and the wall plate where the electrical wiring is concealed.
5. Operating Instructions
Once properly installed and wired, operating your Savoy Towel Warmer is straightforward.
- After installation is complete and verified by a qualified electrician, restore power to the circuit at the breaker.
- The towel warmer will begin to heat up. The heating process may take some time to reach optimal temperature.
- Place towels over the bars of the warmer. Do not overload the unit.
- To turn off the unit, you will typically need to use an external wall switch or timer connected to the hardwired circuit (not included with the warmer).

Image 4: Detailed view of the top section of the towel warmer, showing the smooth white finish and the design of the horizontal bars and vertical rail. This image also shows a mounting point.
6. Maintenance
Regular cleaning will help maintain the appearance and performance of your towel warmer.
- Cleaning: Disconnect power before cleaning. Use a soft, damp cloth to wipe down the surfaces. Do not use abrasive cleaners, solvents, or harsh chemicals, as these can damage the finish.
- Inspection: Periodically inspect the unit for any signs of damage or loose connections. If any issues are found, disconnect power and contact a qualified technician.
7. Troubleshooting
If you experience issues with your towel warmer, refer to the following common problems and solutions:
| Problem | Possible Cause | Solution |
|---|---|---|
| Towel warmer does not heat. | No power supply; circuit breaker tripped; faulty wiring. | Check power supply and circuit breaker. Ensure proper electrical connection (consult a qualified electrician). |
| Unit is not heating sufficiently. | Overloaded with too many towels; ambient room temperature too low. | Reduce the number of towels. Allow more time for heating. Ensure room temperature is adequate. |
| Unusual noises from the unit. | Loose internal components; installation issue. | Disconnect power immediately. Do not attempt to repair. Contact customer support or a qualified technician. |
8. Specifications
Detailed specifications for the ICO BATH W1101 Savoy Hardwire Towel Warmer:
- Model: W1101
- Brand: ICO Bath
- Color: White
- Dimensions (L x W x H): 25" x 15.5" x 3.25"
- Installation Type: Wall-Mounted, Hardwire
- Shape: Straight
- Item Weight: Approximately 24 Pounds
- Manufacturer: ICO BATH
- UPC: 644287339516
9. Warranty and Support
The ICO BATH W1101 Savoy Hardwire Towel Warmer comes with a 2 Years Manufacturer's Warranty.
For warranty claims, technical support, or further assistance, please contact ICO Bath customer service. Refer to the original product packaging or the manufacturer's official website for the most current contact information.
Please retain your proof of purchase for warranty purposes.


