Important Safety Information
Always read and understand all safety warnings, instructions, illustrations, and specifications provided with this power tool. Failure to follow all instructions listed below may result in electric shock, fire, and/or serious injury.
- Wear eye protection and hearing protection.
- Keep hands away from cutting area and blade.
- Do not operate the saw if the guard is not functioning properly.
- Ensure the workpiece is securely supported.
- Disconnect power before making any adjustments or changing accessories.
Product Overview

Figure 1: Key components of the Genesis GCS130 Circular Saw. This diagram highlights the comfort rubber inserts on the handle, spindle lock for blade changes, 13-amp motor, externally accessible brushes, 24-tooth carbide-tipped blade, and dust discharge chute.
The Genesis GCS130 7-1/4-inch Circular Saw is designed for efficient and precise cutting of wood materials. It features a powerful 13-amp motor, a 7-1/4 inch blade, and adjustable cutting depth and bevel settings.
- 13-Amp Motor: Provides ample power for various cutting tasks.
- Spindle Lock: Facilitates quick and secure blade changes.
- Externally Replaceable Brushes: Allows for easy maintenance and extended tool life.
- Adjustable Bevel: Cuts from 0° to 45° for angled cuts.
- Adjustable Depth: Allows for precise control over cutting depth.
Setup and Assembly
Blade Installation and Removal
- Disconnect Power: Always unplug the saw from the power source before installing or removing the blade.
- Retract Lower Guard: Lift the lower blade guard lever to retract the guard.
- Engage Spindle Lock: Press and hold the spindle lock button to prevent the blade from rotating.
- Loosen Arbor Nut: Use the provided blade wrench to loosen the arbor nut by turning it counter-clockwise. Remove the outer washer and the old blade.
- Install New Blade: Place the new 7-1/4 inch blade onto the arbor with the teeth pointing in the direction of the arrow on the upper blade guard. Ensure the blade is seated correctly against the inner washer.
- Secure Blade: Replace the outer washer and arbor nut. Tighten the arbor nut firmly by turning it clockwise while holding the spindle lock button. Do not overtighten.
- Release Spindle Lock: Release the spindle lock button.
Adjusting Cutting Depth
The cutting depth can be adjusted to match the thickness of your workpiece.
- Loosen Depth Adjustment Lever: Locate the depth adjustment lever on the side of the saw and loosen it.
- Set Depth: Raise or lower the saw base to achieve the desired cutting depth. For optimal cutting, the blade should extend approximately 1/8 inch (3 mm) below the material being cut.
- Secure Lever: Tighten the depth adjustment lever firmly to lock the setting.
Adjusting Bevel Angle
The saw can make bevel cuts from 0° to 45°.
- Loosen Bevel Adjustment Lever: Locate the bevel adjustment lever at the front of the saw and loosen it.
- Set Angle: Tilt the saw base to the desired angle, aligning the indicator with the angle scale.
- Secure Lever: Tighten the bevel adjustment lever firmly to lock the setting.
Operating Instructions
Before operating, ensure all adjustments are secure and safety precautions are followed.
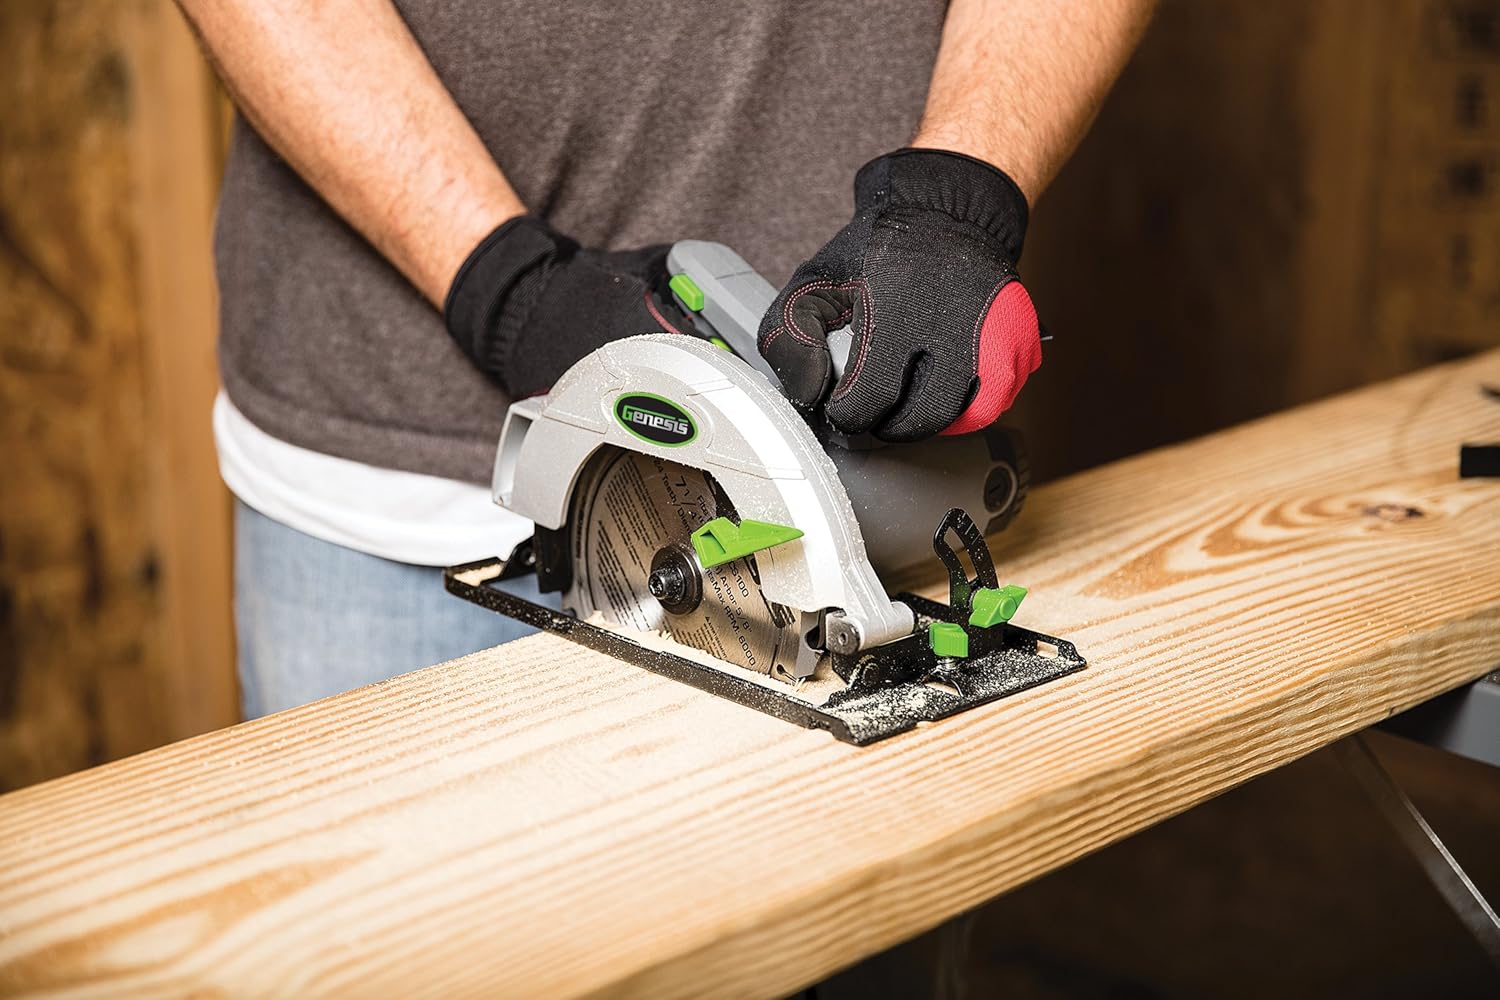
Figure 2: Proper technique for operating the circular saw. The user is wearing gloves and guiding the saw along a wooden board, demonstrating a typical cutting application.
- Secure Workpiece: Always clamp or otherwise secure the material you are cutting. Do not hold the workpiece by hand.
- Proper Stance: Maintain a balanced and stable stance. Keep your body to the side of the blade, not directly behind it.
- Starting the Cut:
- Place the front edge of the saw base flat on the workpiece, ensuring the blade is not touching the material.
- Depress the trigger switch to start the saw. Allow the blade to reach full speed before beginning the cut.
- Making the Cut:
- Slowly and steadily push the saw forward through the material. Do not force the saw; let the blade do the work.
- Maintain a firm grip on both handles.
- Ensure the lower blade guard retracts smoothly as you cut.
- Completing the Cut:
- Once the cut is complete, release the trigger switch and allow the blade to stop completely before lifting the saw from the workpiece.
- Ensure the lower blade guard returns to its closed position.

Figure 3: Detailed view of the saw in action, showing the blade engaging with the wood. This illustrates the precision and control during operation.
Using the Rip Guide
The included rip guide helps make straight, parallel cuts along the edge of a board.
- Insert the rip guide into the slot on the front of the saw base.
- Adjust the guide to the desired width of cut and tighten its locking screw.
- Rest the guide against the edge of the workpiece and proceed with the cut as described above.
Maintenance
Regular maintenance ensures the longevity and safe operation of your circular saw.
- Cleaning:
After each use, unplug the saw and use a brush or compressed air to clean dust and debris from the motor vents, blade guard, and dust discharge chute. Do not use solvents or harsh chemicals.
- Blade Inspection:
Regularly inspect the blade for sharpness, cracks, or missing teeth. A dull or damaged blade can cause kickback and poor cutting performance. Replace worn blades promptly.
- Brush Replacement:
The GCS130 features externally replaceable carbon brushes. If the motor performance decreases or sparks excessively, the brushes may need replacement. Refer to the brush cap locations on the motor housing. Disconnect power, unscrew the brush caps, remove old brushes, insert new brushes, and replace caps. Replace both brushes at the same time.
- Cord Inspection:
Check the power cord for any damage, cuts, or fraying. Do not use the saw if the cord is damaged.
Troubleshooting
| Problem | Possible Cause | Solution |
|---|---|---|
| Saw does not start. | No power supply; Faulty switch; Worn carbon brushes. | Check power outlet and cord; Contact customer service; Replace carbon brushes. |
| Saw cuts slowly or binds. | Dull or damaged blade; Incorrect cutting depth; Forcing the saw; Workpiece not secured. | Replace blade; Adjust cutting depth; Allow saw to work at its own pace; Secure workpiece firmly. |
| Excessive sparking from motor. | Worn carbon brushes. | Replace carbon brushes. |
| Blade guard sticks or does not retract. | Accumulation of sawdust; Damaged guard mechanism. | Clean guard area thoroughly; Contact customer service if damaged. |
If you encounter problems not listed here or if solutions do not resolve the issue, please contact Genesis customer service.
Specifications
| Feature | Detail |
|---|---|
| Model | GCS130 |
| Motor | 13 Amps |
| No-Load Speed | 5,500 RPM |
| Blade Diameter | 7-1/4 inches |
| Blade Teeth | 24T Carbide Tipped |
| Voltage | 120 Volts AC |
| Wattage | 1560 Watts |
| Max Cutting Depth (90°) | 2-7/16 inches |
| Max Cutting Depth (45°) | 1-13/16 inches |
| Bevel Capacity | 0° to 45° |
| Item Weight | 9.3 Pounds |
| Product Dimensions | 12"L x 9"W x 10"H |
Warranty and Customer Support

Figure 4: Official Genesis 2-Year Warranty badge, indicating the product's warranty period.
This Genesis GCS130 Circular Saw comes with a 2-Year Limited Warranty from the date of purchase. This warranty covers defects in material and workmanship under normal use.
For warranty claims, technical assistance, or any questions regarding your product, please contact our USA-based customer service team.
Genesis Customer Service:
- Toll-Free Hotline: 888-552-8665
- Website: Visit the official Genesis website for more information and support resources.
Please have your model number (GCS130) and date of purchase available when contacting customer service.


