
1. Introduction
This manual provides detailed instructions for the installation, operation, and maintenance of your DBPOWER Additional Camera (Model CA530). This camera is designed exclusively to expand your existing DBPOWER BMO-X1 Video Baby Monitor System. Please read this manual thoroughly before use and retain it for future reference.
2. Important Safety Information
- Strangulation Hazard: Keep all cables and cords out of reach of children (at least 3 feet / 1 meter away). Never place the camera or cords within a crib or playpen.
- Choking Hazard: This product contains small parts. Keep away from children.
- Heat Exposure: Do not place the camera near heat sources such as radiators, heat registers, stoves, or other appliances that produce heat.
- Ventilation: Ensure proper ventilation around the camera. Do not cover the camera or its power adapter with clothing, blankets, or other materials.
- Power Source: Use only the AC power adapter provided with the camera. Using other adapters may damage the device or pose safety risks.
- Water and Moisture: Do not expose the camera to water or moisture. Do not use it in damp environments.
- Interference: Keep the camera away from other electronic devices that may cause interference, such as microwave ovens or Wi-Fi routers.
- Adult Supervision: This camera is an aid and should not replace responsible adult supervision.
3. Package Contents
Carefully unpack the box and ensure all items are present:
- DBPOWER Additional Camera (Model CA530)
- AC Power Adapter for Camera
- User Manual (this document)
4. Product Overview
Familiarize yourself with the components of your additional camera.
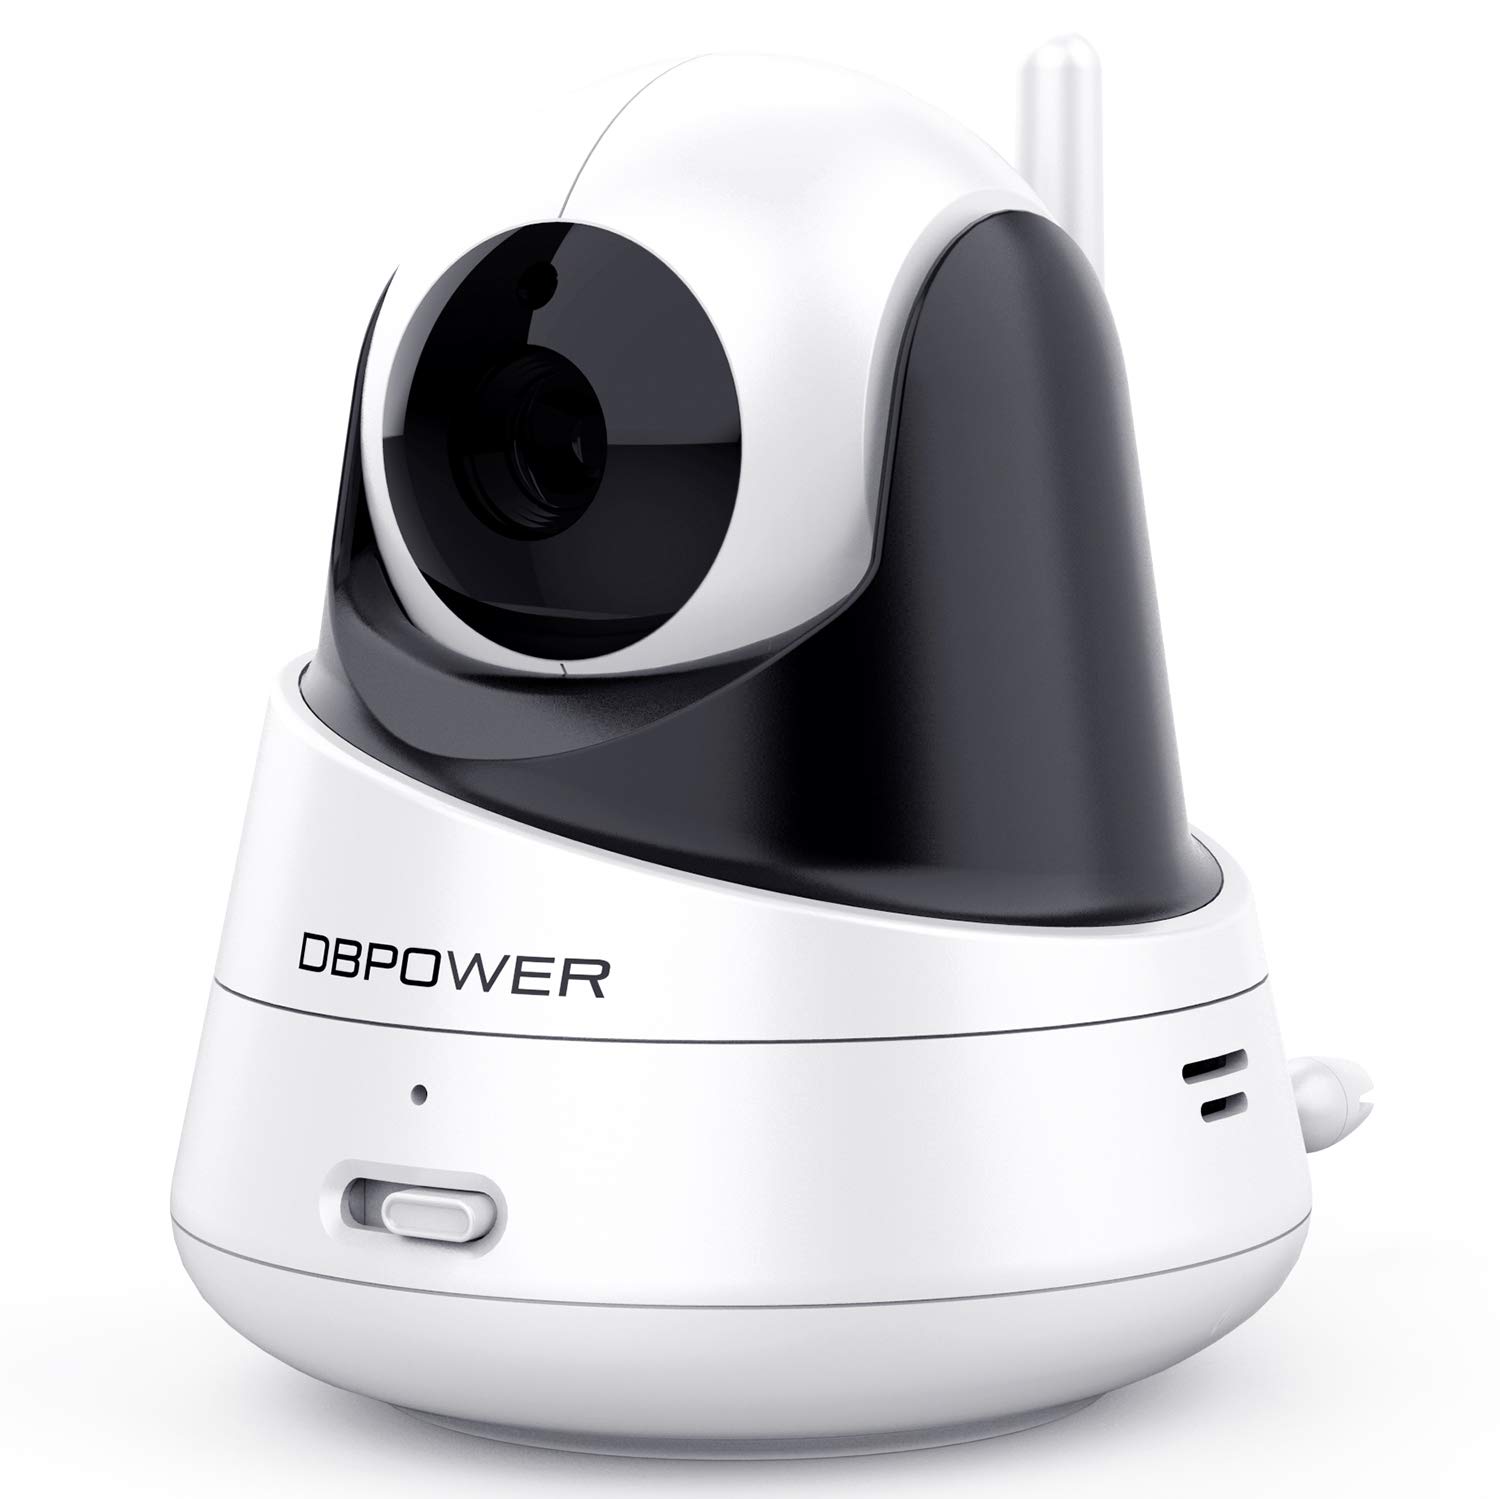
Image: Front view of the DBPOWER CA530 Additional Camera, showing the lens, microphone, and power indicator light.

Image: Rear and side view of the DBPOWER CA530 Additional Camera, highlighting the ON/OFF switch, temperature sensor, and antenna.
Camera Components:
- Camera Lens: Captures video feed.
- Infrared LEDs: For automatic night vision.
- Microphone: Picks up audio from the monitored area.
- Speaker: For two-way talk function and lullabies.
- Power Indicator: Lights up when the camera is powered on.
- ON/OFF Switch: To power the camera on or off.
- Temperature Sensor: Detects the ambient room temperature.
- Antenna: For wireless signal transmission to the monitor.
- PAIR Button: Used for pairing the camera with the BMO-X1 monitor.
- Power Port: Connects to the AC power adapter.
5. Setup and Pairing
5.1 Camera Placement
Choose a location for the camera that provides a clear view of your baby. Ensure the camera is placed at least 3 feet (1 meter) away from the baby's crib or playpen to prevent strangulation hazards from the power cord. The camera can be placed on a flat surface or mounted on a wall.

Image: The DBPOWER CA530 camera positioned in a nursery, providing a view of a baby in a crib.
5.2 Powering On the Camera
- Connect the AC power adapter to the camera's power port.
- Plug the other end of the adapter into a standard electrical outlet.
- Flip the ON/OFF switch on the camera to the 'ON' position. The power indicator light will illuminate.
5.3 Pairing with the BMO-X1 Monitor
Your additional camera needs to be paired with your existing BMO-X1 monitor. The monitor supports up to four cameras.
- Ensure your BMO-X1 monitor is turned on and fully charged or connected to power.
- On the BMO-X1 monitor, navigate to the 'Camera Settings' or 'Add Camera' menu option. Refer to your BMO-X1 monitor's user manual for specific menu navigation.
- Select an available camera channel (e.g., CAM 2, CAM 3, or CAM 4) to add the new camera.
- The monitor will display a message indicating it is searching for a camera or prompting you to press the PAIR button on the camera.
- Within 10 seconds, press and hold the PAIR button on the back or bottom of the additional camera until the monitor displays the camera's video feed.
- Once the video feed appears, the pairing is successful. You can exit the menu on the monitor.
6. Operating Instructions
This section describes the functions of the additional camera when used with your BMO-X1 monitor.
6.1 Remote Pan, Tilt, and Zoom (PTZ)
The camera features remote pan (horizontal), tilt (vertical), and digital zoom capabilities, controlled directly from your BMO-X1 monitor.

Image: The DBPOWER CA530 camera with arrows indicating its 360-degree horizontal pan and 90-degree vertical tilt capabilities.
- Pan: Use the directional controls on your BMO-X1 monitor to move the camera view horizontally up to 360 degrees.
- Tilt: Use the directional controls on your BMO-X1 monitor to move the camera view vertically up to 90 degrees.
- Zoom: Consult your BMO-X1 monitor manual for instructions on how to digitally zoom in or out on the camera's video feed.
6.2 Automatic Night Vision
The camera is equipped with infrared LEDs that automatically activate in low-light conditions. This provides a clear black-and-white video feed, allowing you to monitor your baby even in a dark room.
6.3 Lullaby Function
The camera can play built-in lullabies to soothe your baby. This feature is controlled from your BMO-X1 monitor. Refer to your monitor's manual for instructions on how to select and play lullabies.
6.4 Temperature Monitoring
The integrated temperature sensor on the camera continuously monitors the room temperature and displays it on your BMO-X1 monitor. This helps ensure your baby's room is at a comfortable temperature.
6.5 Multiple Camera View
If you have multiple cameras paired with your BMO-X1 monitor, you can switch between camera views or use the scan mode to cycle through all connected cameras automatically. Your monitor can display up to four cameras.

Image: The DBPOWER BMO-X1 monitor screen showing a split view of two camera feeds, demonstrating multi-camera capability.
7. Maintenance
- Cleaning: Disconnect the camera from power before cleaning. Use a soft, dry cloth to wipe the camera body. For the lens, use a lens cleaning cloth. Do not use liquid cleaners or aerosol sprays.
- Storage: If not in use for an extended period, turn off the camera, disconnect it from power, and store it in a cool, dry place away from direct sunlight.
- Cable Care: Regularly inspect the power cable for any damage. Do not use if the cable is frayed or damaged.
8. Troubleshooting
If you experience issues with your additional camera, please refer to the following common problems and solutions:
| Problem | Possible Cause | Solution |
|---|---|---|
| No video/audio from the camera on the monitor. | Camera is not powered on or not paired. | Ensure the camera is plugged in and the ON/OFF switch is in the 'ON' position. Re-attempt pairing as described in Section 5.3. |
| Poor video quality or signal loss. | Camera is too far from the monitor or there is interference. | Move the camera closer to the monitor. Avoid placing the camera near large metal objects or other electronic devices (e.g., Wi-Fi routers, microwaves). |
| Camera not responding to Pan/Tilt controls. | Temporary software glitch or camera malfunction. | Turn the camera off, unplug it, wait 10 seconds, then plug it back in and turn it on. If the issue persists, contact customer support. |
| Temperature reading seems inaccurate. | Camera placed near a heat source or draft. | Relocate the camera away from direct sunlight, vents, windows, or heating/cooling appliances. |
If the problem persists after trying these solutions, please contact DBPOWER Customer Support.
9. Specifications
| Feature | Detail |
|---|---|
| Model Number | CA530 |
| Brand | DBPOWER |
| Compatibility | DBPOWER BMO-X1 Video Baby Monitor System |
| Connectivity Technology | Wireless (Wi-Fi) |
| Video Capture Resolution | 720p |
| Video Capture Format | MPEG-4 |
| Night Vision | Automatic Infrared (Night Color) |
| Pan Angle | Up to 360 degrees |
| Tilt Angle | Up to 90 degrees |
| Focus Type | Auto Focus |
| Power Source | Corded Electric |
| Mount Type | Wall Mount |
| Color | White |
| Item Dimensions (L x W x H) | 6.93 x 4.02 x 4.02 inches |
| Item Weight | 12.32 ounces |
10. Warranty and Customer Support
DBPOWER products come with a standard warranty. For detailed warranty information, product registration, or technical assistance, please refer to the warranty card included with your original BMO-X1 monitor system or visit the official DBPOWER website. You can also contact DBPOWER customer support directly for any questions or concerns regarding your additional camera.
Contact Information: Please refer to your original product packaging or the DBPOWER official website for the most up-to-date customer support contact details.